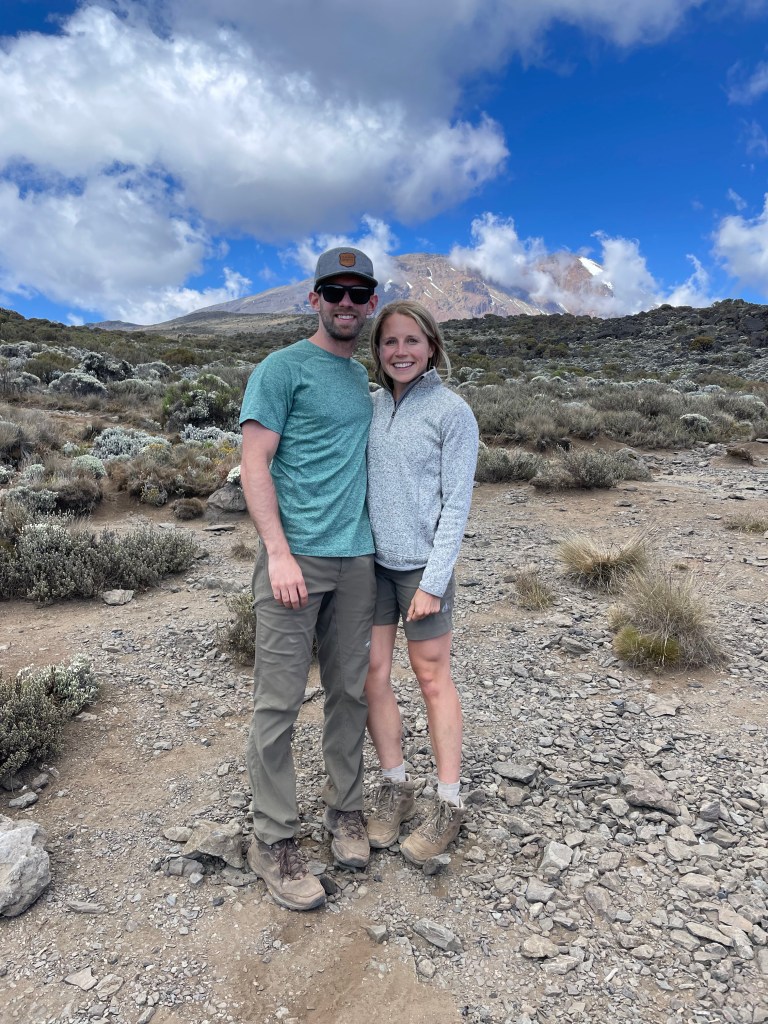
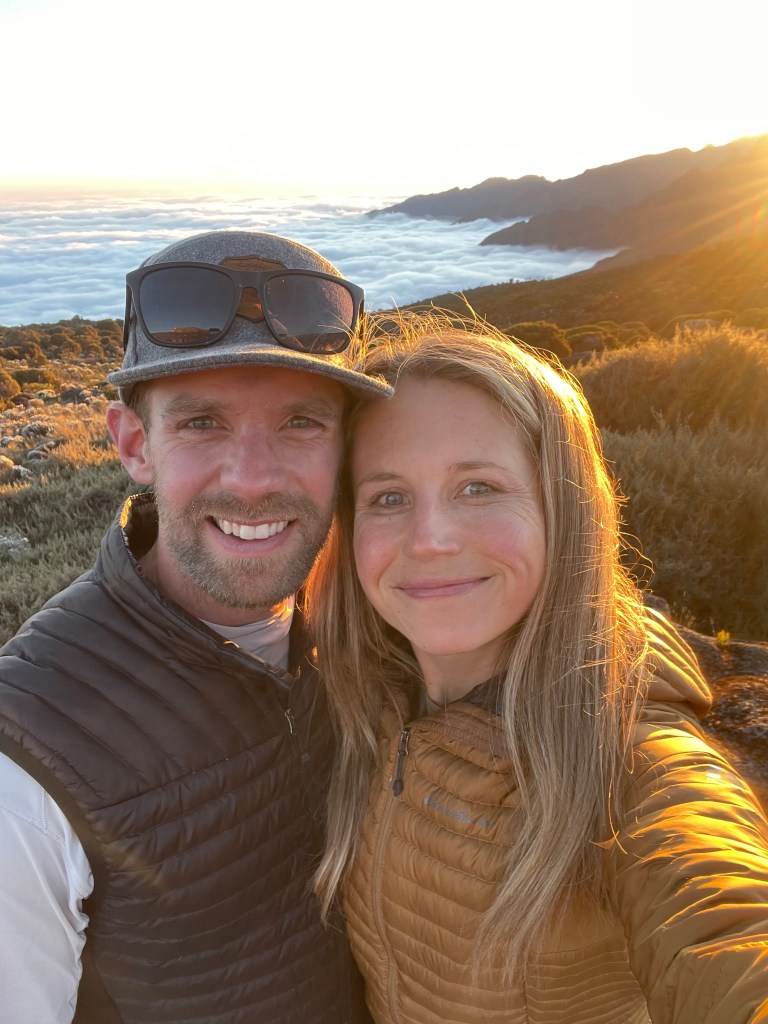
I had always dreamt of hiking Mount Kilimanjaro, but I never would have ever imagined I would be doing it twice, 6 weeks after the first one, and along side two incredible groups of humans.
When I learned about the mountain, many moons ago, I thought to myself, ‘How cool would it be to do this as your honeymoon’. I know it’s not the typical relaxing, romantic honeymoon people usually book, but such an incredible experience, to share with your loved one. When the opportunity came up to host a trip there, I thought ‘Okay now how do I combine this with a honeymoon’, as my husband and I had planned to get married before the trip dates. Craig was able to join me on the first dates, in July 2022, and even though the hike was spent with 14 other ‘strangers’, we then continued on for 10 days after, safariing and exploring Tanzania even more so. Best of both worlds. Having the support from a large group, summiting one of the 7 highest peaks in the world, and with your loved one, then being able to combine it with a more romantic, unique experience afterwards. We figured we would extend our stay in the country seeing as we were going to be flying WAY across the world.
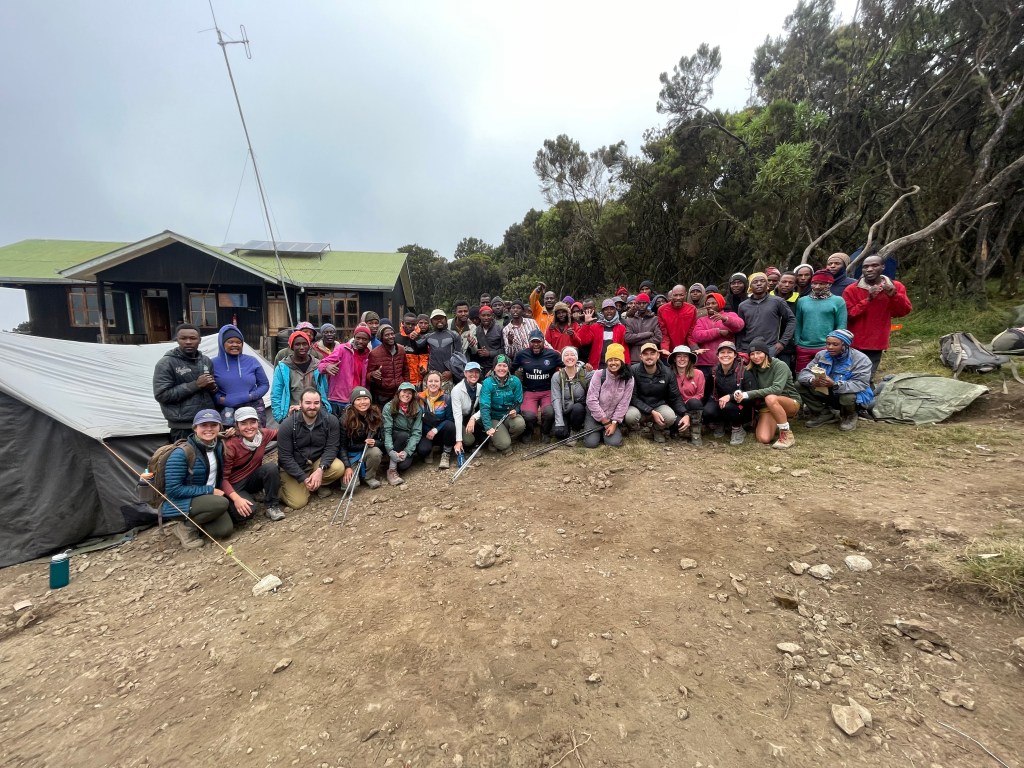
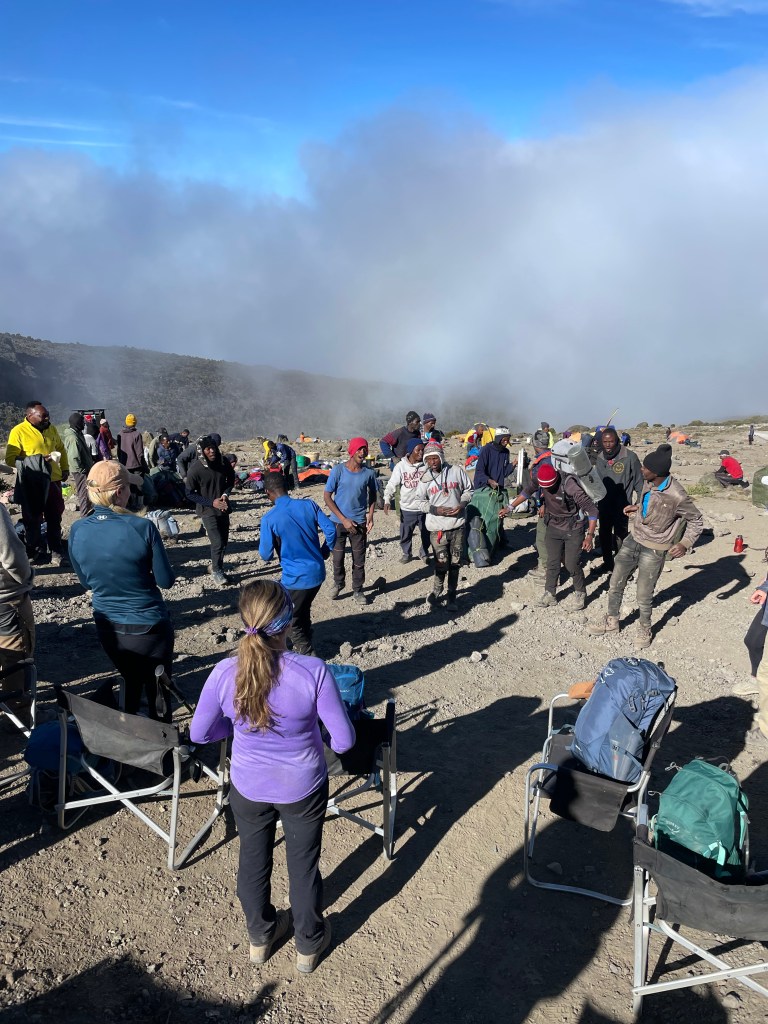
Our guiding company was ‘Monkey Adventures’. They were SO wonderful. The lead guide Remmy was with me both times, and then there were 5 assistant guides as well, helping the entire week. There were 3 porters for every traveller, and then cooks etc. We had a group of 75-78 people going up the mountain.
July-September are the busiest seasons on the mountain, and for good reason. Its dry season, so you won’t be hiking in rain every single day, and the temperatures are reasonable. YES it is still freezing at the top. I will talk about that more as the blog post goes on.
Packing List

Packing for Kilimanjaro was a feat in itself. I felt I spent way too much time adding things to piles, taking things out, and so forth. By the second trip there I feel I was able to perfect it.
The following are MY recommendations and what I was comfortable in. Some other people may have more or less or different items. You can also choose to rent a lot of items in Moshi, in Tanzania. Depending on whether or not you are comfortable bringing your own gear, or maybe you are traveling for a lot longer and don’t want to haul gear around. The rental prices are very reasonable and the quality of gear is great. I personally just liked the comfort is knowing I had my own gear.
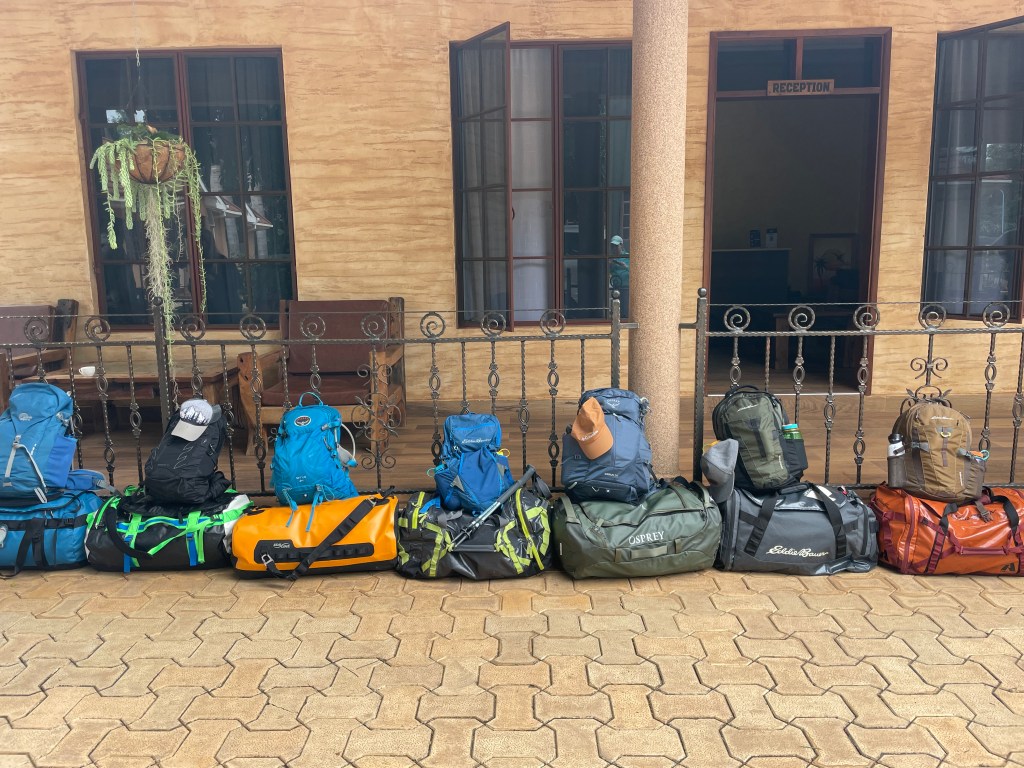
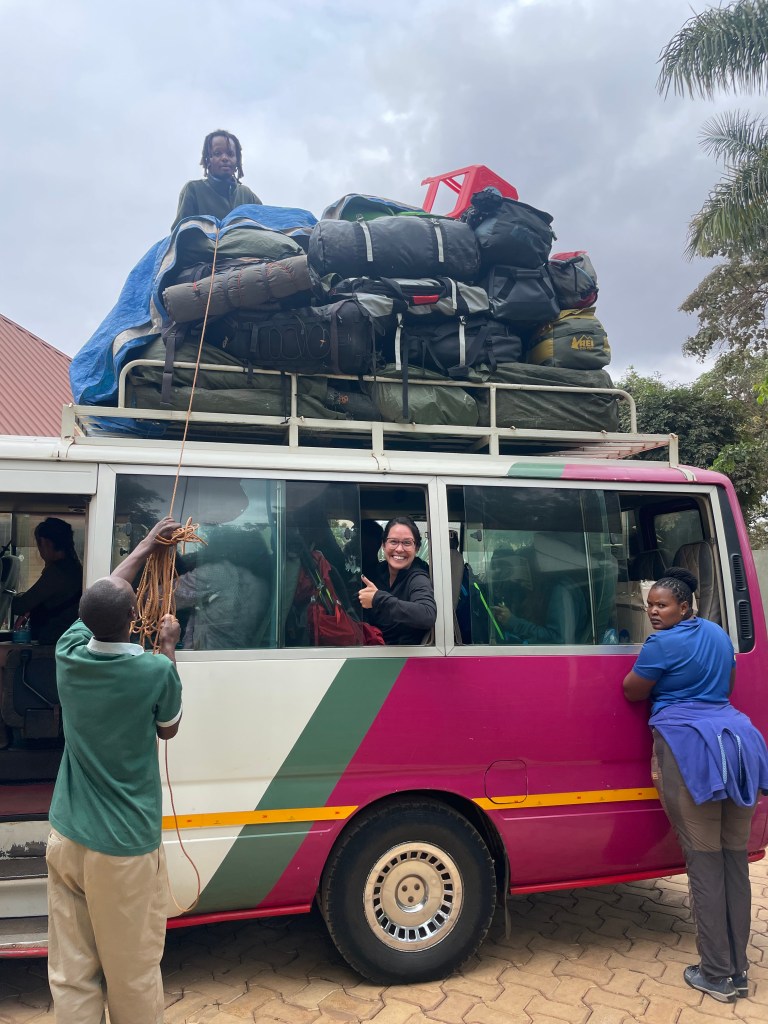
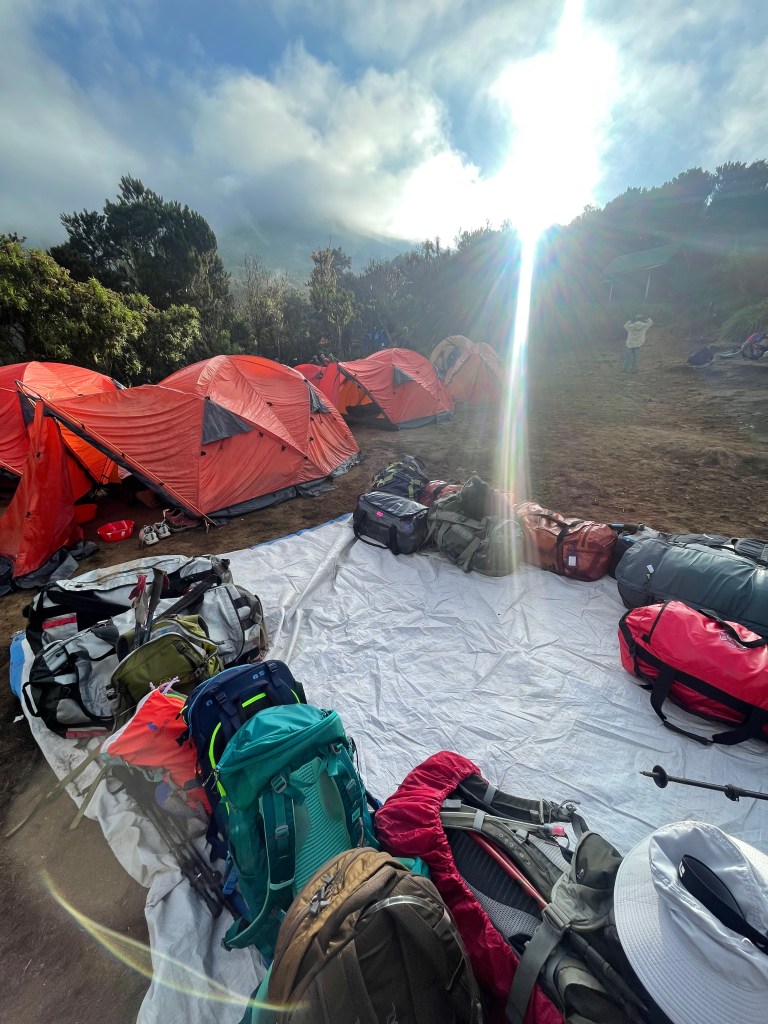
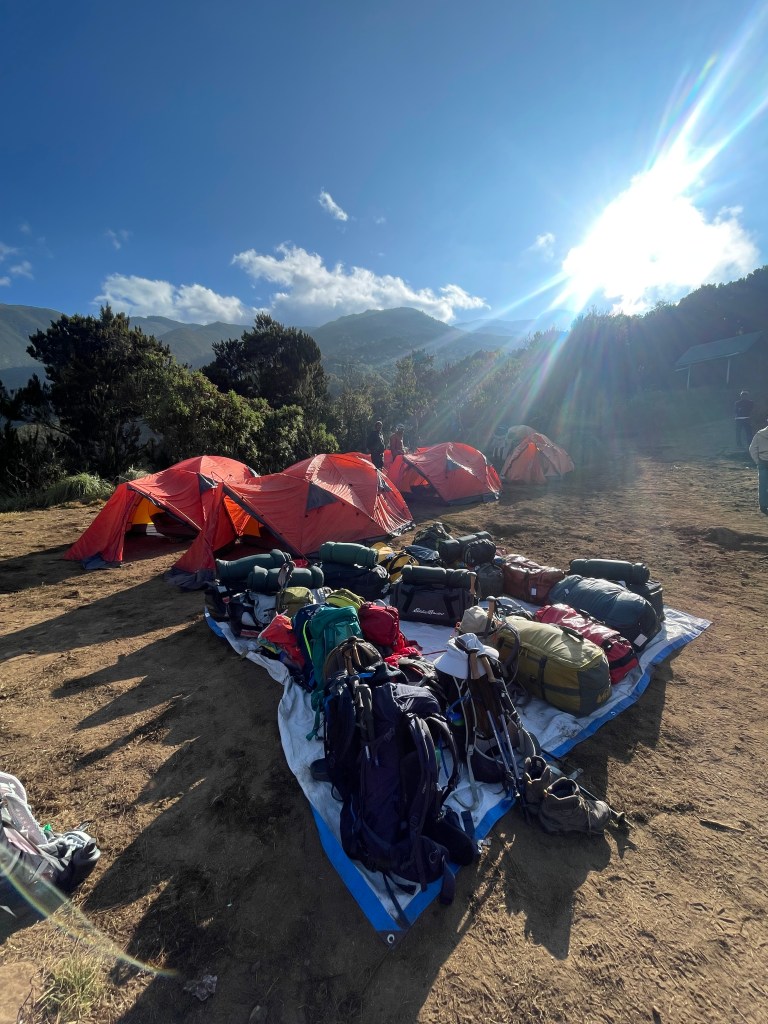
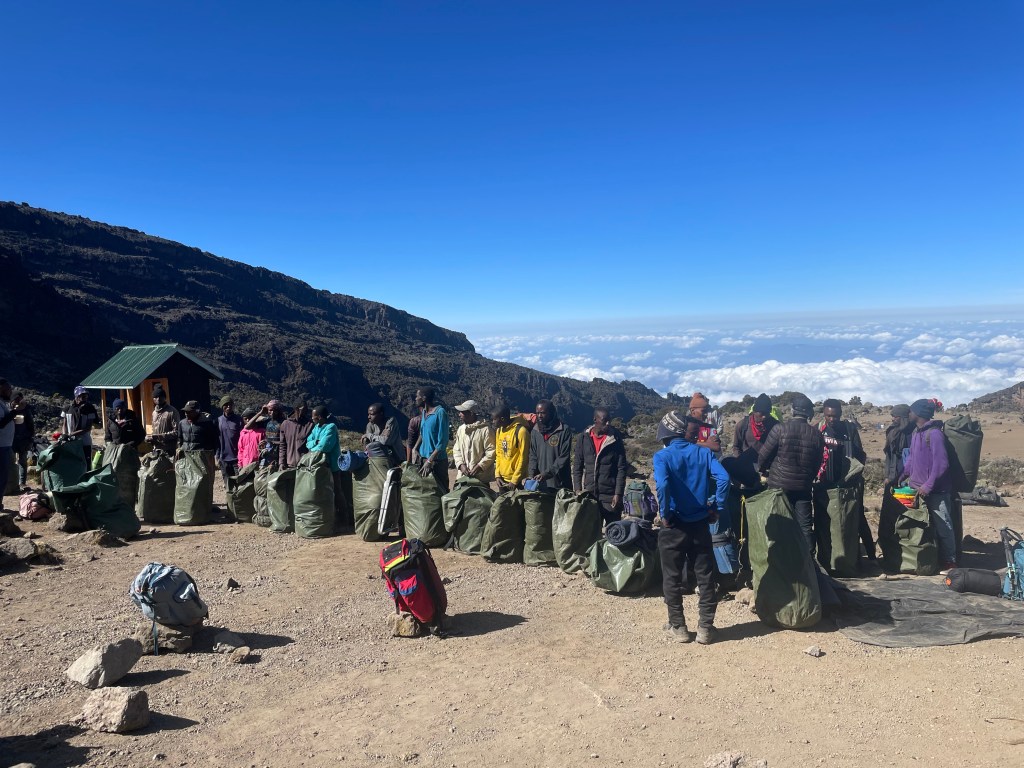
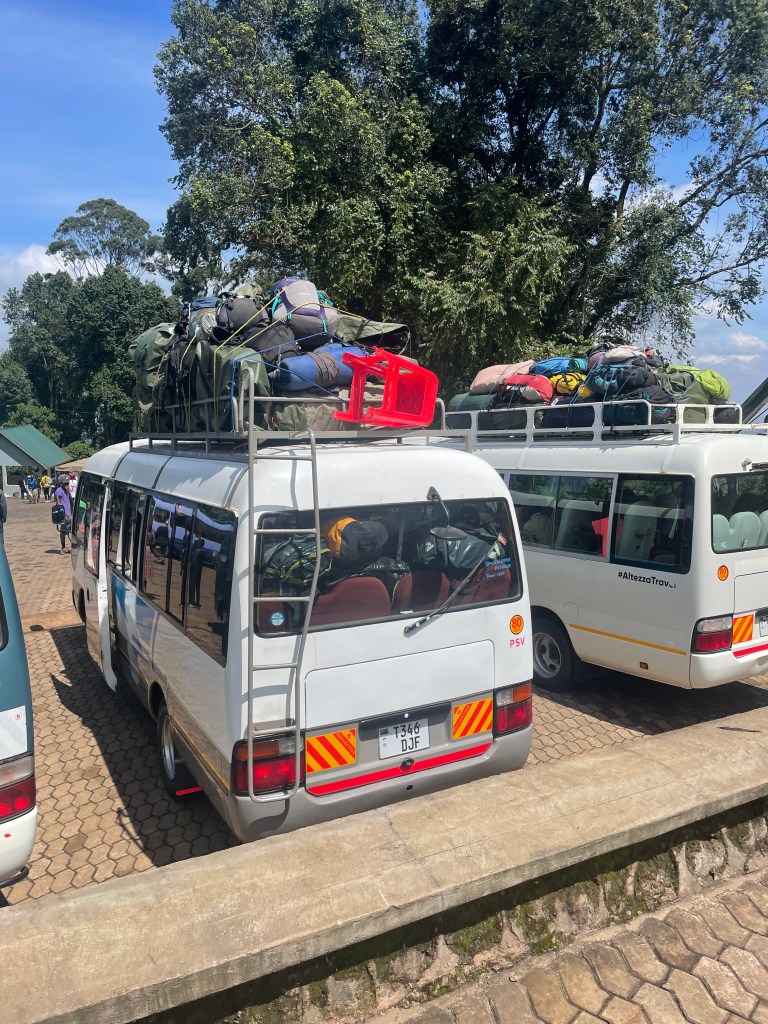
Below is a photo of the 70-90lb duffels and day packs.
The porters will carry your big bag, and you will have your day pack everyday.
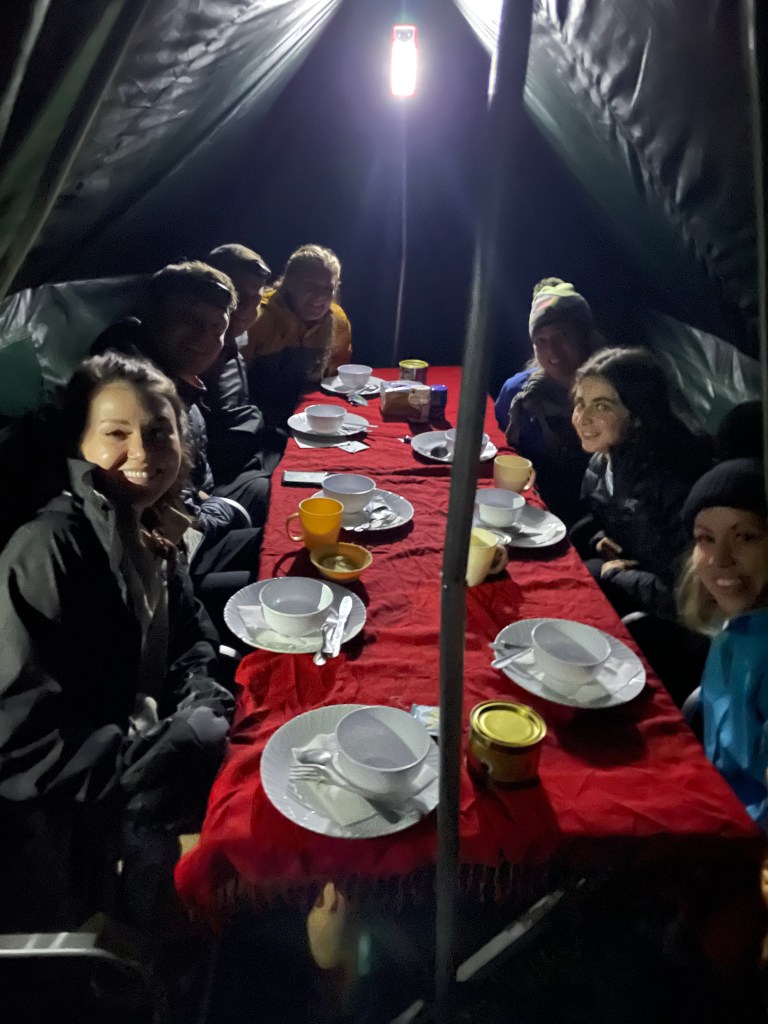
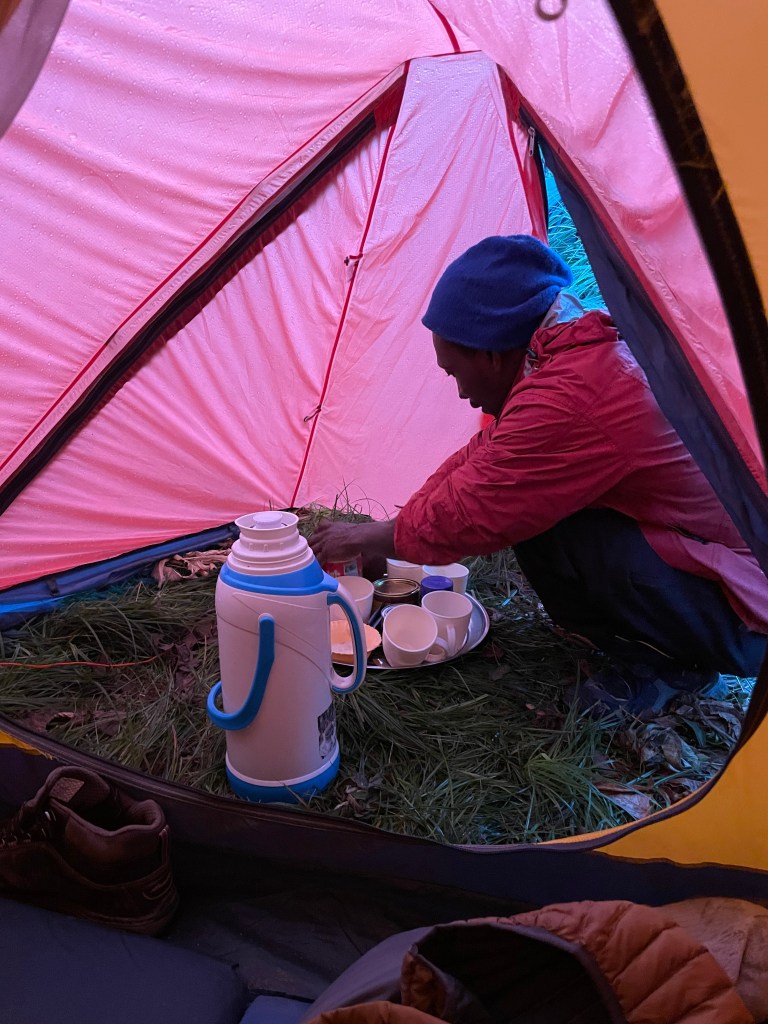
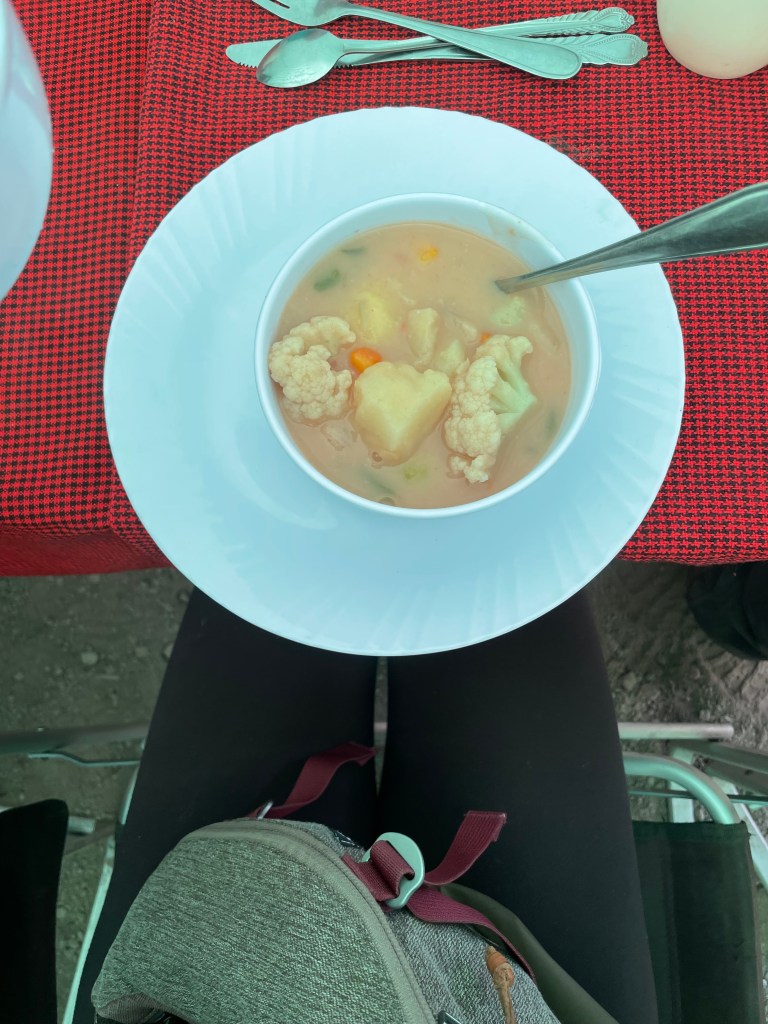
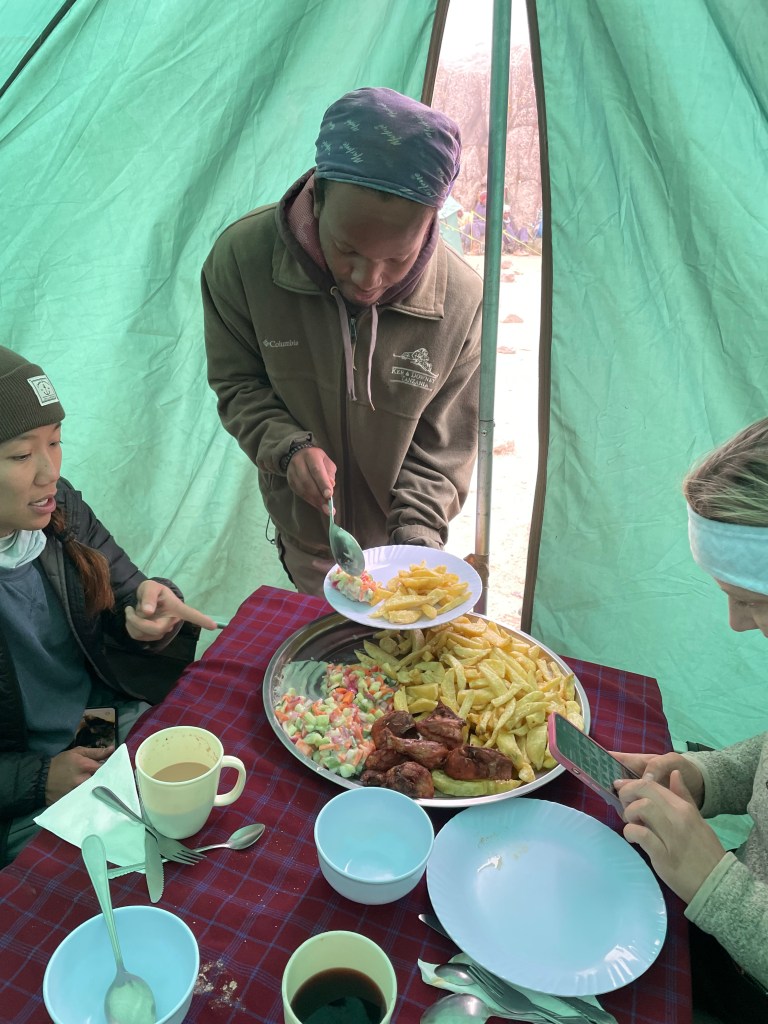
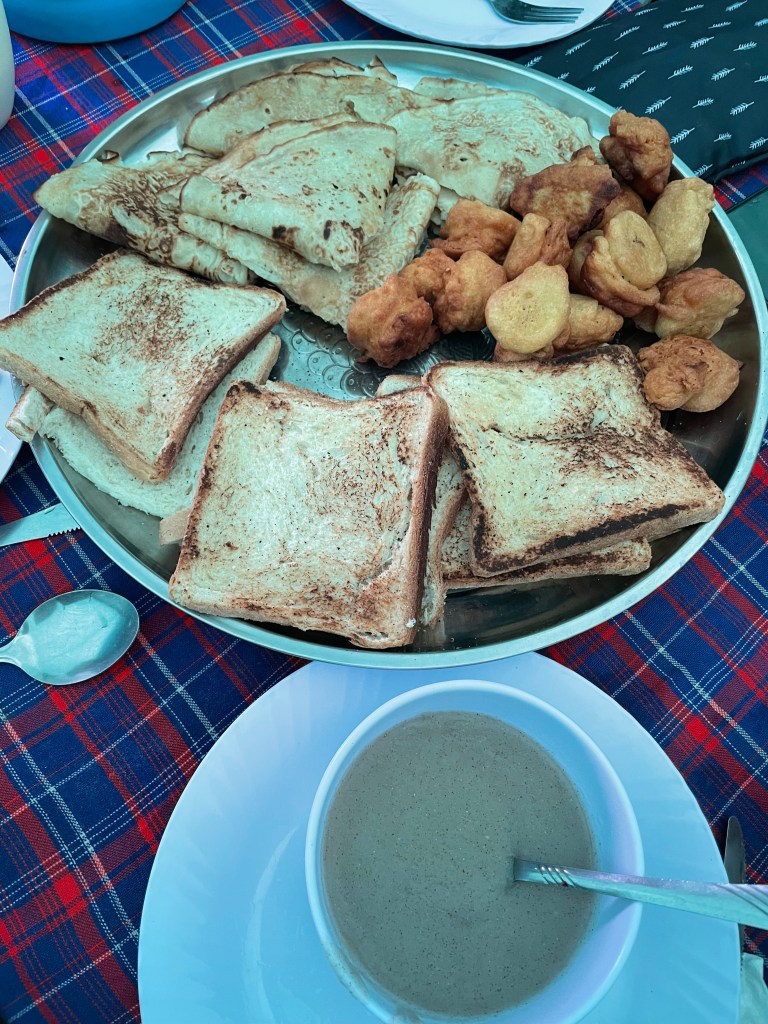
The guiding company provided wonderful 4 season tents, the sleeping pads, and breakfast, lunch and dinner everyday, along with coffee/tea/hot chocolate. They also provide all the cooking gear, plates, bowls, cups, utensils, so you don’t have to worry about bringing any of that. I did bring my own coffee thermos the second time around because I love mine, but they do provide one.
The guiding company also provides water purification items and first-aid supplies.
I have linked as many of my clothing/gear items. They are affiliate links and I do earn a small commission from sales, so if you do love it and would love to purchase any items, and want to support me in that, it would mean a lot to me if you used the links to do so ❤
Clothing:
- 3 long sleeves – 2 to hike in, 1 to sleep in
- 2 t-shirts
- 1 tank top
- 2 Puffy’s – One thinner and one thicker for summit day
- 3 pairs of leggings – 2 to hike in, 1 to sleep in. I made sure to bring a pair of fleece lined leggings to wear for summit day.
- 2 hiking pants – windproof/water resistant
- 1 pair of shorts
- 1 ski pant for summit day
- 1 vest – I love a good vest all the time.
- 7 pairs of underwear – one for everyday
- 4 pairs of socks – 3 for day to day and 1 to sleep in
- 2 fleece – one pull over for at camp and then a zip up to hike in
- 1 pair of hiking boots
- Camp sandals/runners to wear at camp. No one wants to be in their boots ALL day. You could also bring camp booties. It felt so good to take the hikers off at the end of the day.
- 2 hats – baseball cap and a wide brimmed hat with more sun protection
- 1 rain shell
- Ski jacket – for summit day
- 2 buffs – it gets dusty, and to protect from the sun. Necessary for summit day as the wind can be intense.
- 2 pairs of gloves. 1 thinner pair for day to day and one ski glove for summit day.
- 1 toque
Gear:
- 90L duffel bag – which your porter will carry for you. This will be where you place ALL your gear – sleeping bag, extra clothing, snacks etc. Minus the tent and sleeping pad they provide you with.
- 30L backpack for day to day
- Hiking poles
- Sleeping bag (-17C or a -7/-10C with a -10 liner). I have linked two options here.
- 3L water bladder, and a 1L Nalgene bottle. I highly recommend a bladder. I didn’t pack one for the first trip and do regret it. It made it easier to stay on top of my water consumption. They won’t let you on the mountain without 3L of water space. No plastic bottles allowed either on the mountain. An insulated one is important to as the hose can freeze on summit day.
- Head lamp – make sure it works/new batteries!
- Gaiters – can be packed. I didn’t pack any but they are recommended in some packing lists.
Other packing items:
- Phone for photos – I kept my cellphone off the entire week, though some people chose to turn theirs on every once and a while as the mountain does have cell coverage in some locations if you are wanting to get in touch with loved ones.
- Garmin Inreach – I brought one but its not necessary. I brought it to text my husband on the second trip, at the end of everyday to let him know I was safe and sound at camp. The guiding company has devices.
- Camera – if you have a camera you want to bring. It does add a lot of weight to your day pack
- Charging blocks – you are on the mountain for 7 days so making sure you have a way to charge your phone or other electronic devices.
- Sunglasses
- Sport watch – I pack mine with me everywhere. Kept track of my mileage everyday.
- Sunscreen – high SPF. The sun is so intense.
- Lip-balm – SPF
- Medication – Tylenol, Benadryl, Gravol, Advil, Pepto, TUMS. These are some items I brought with me. Like I mentioned above the guiding company has first aid supplies, but I am always more comfortable bringing some medications for myself incase.
- Altitude medication – Make sure you book a medical appointment before you go and talk to them about altitude meds!
- A book – if you like to read there is lots of down time at camp.
- Hand sanitizer and baby wipes
- Hand/footwarmers
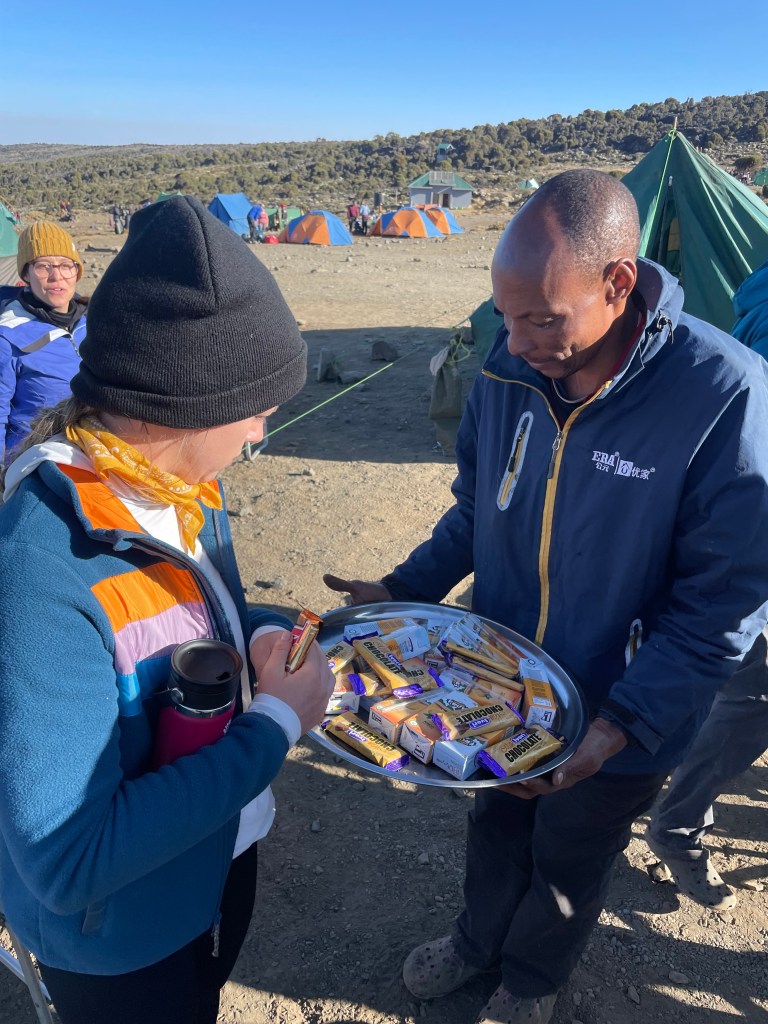
Snacks:
Like I mentioned above the guiding company does provide breakfast. lunch and dinner but NOT snacks. I made sure to bring a lot of things from home. There are snacks available in the town of Moshi but comfort items from home are lovely to have with you. I would put a few things in my backpack every morning. Some things I brought:
- Sausage sticks
- Gummies – sugar is key – watermelon candies, gummy bears etc.
- Corn-nuts
- Gold fish crackers & pretzel sticks
- Dried mangos
- Granola bars/protein bars – high calorie bars
- Electrolytes for your water
- Mio/Kool-aid drops to add flavour to my water
- Kuju Coffee – they do provide you with coffee, but for the second trip I decided to bring my own as I LOVE Kuju!
Common questions:
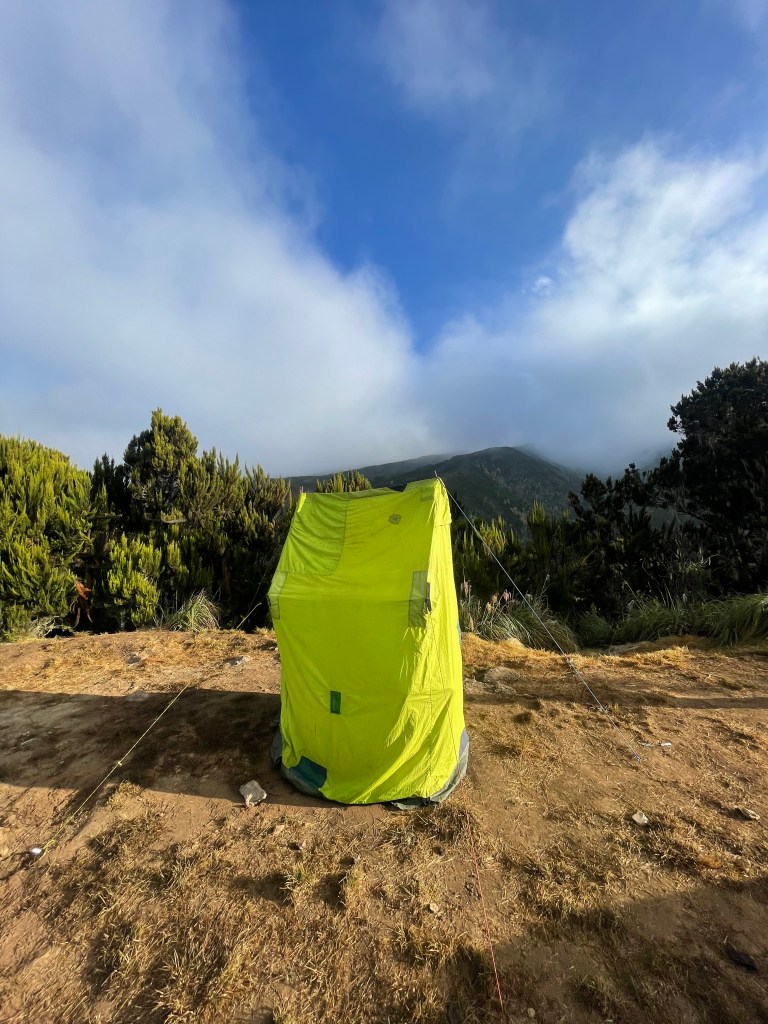
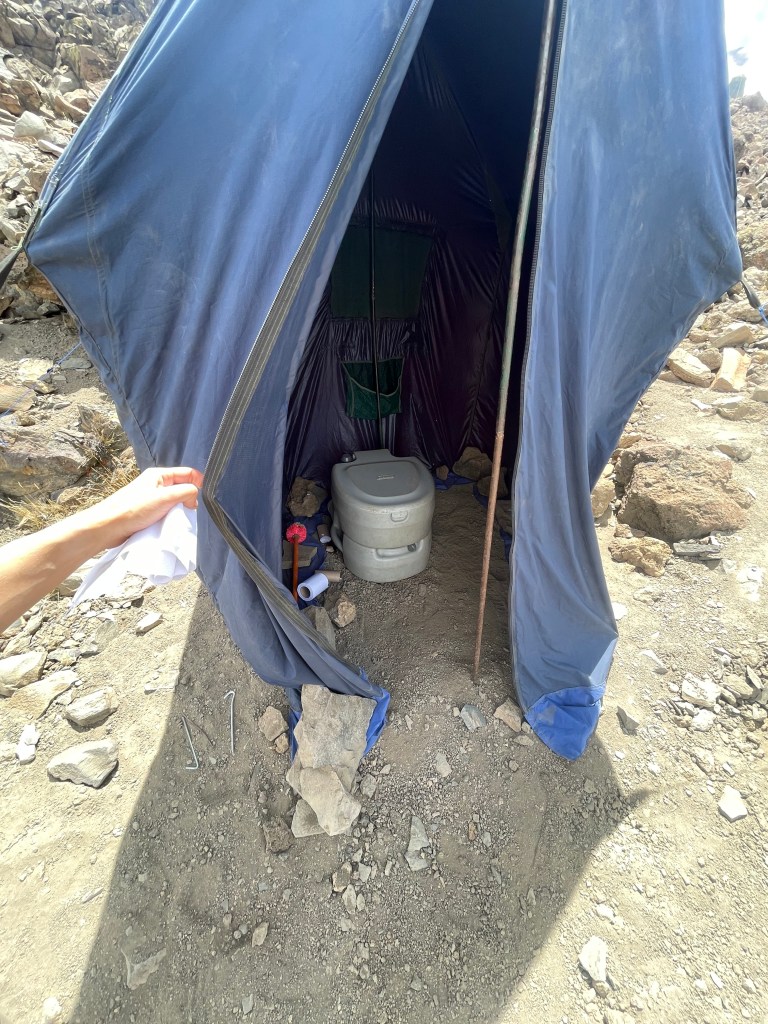
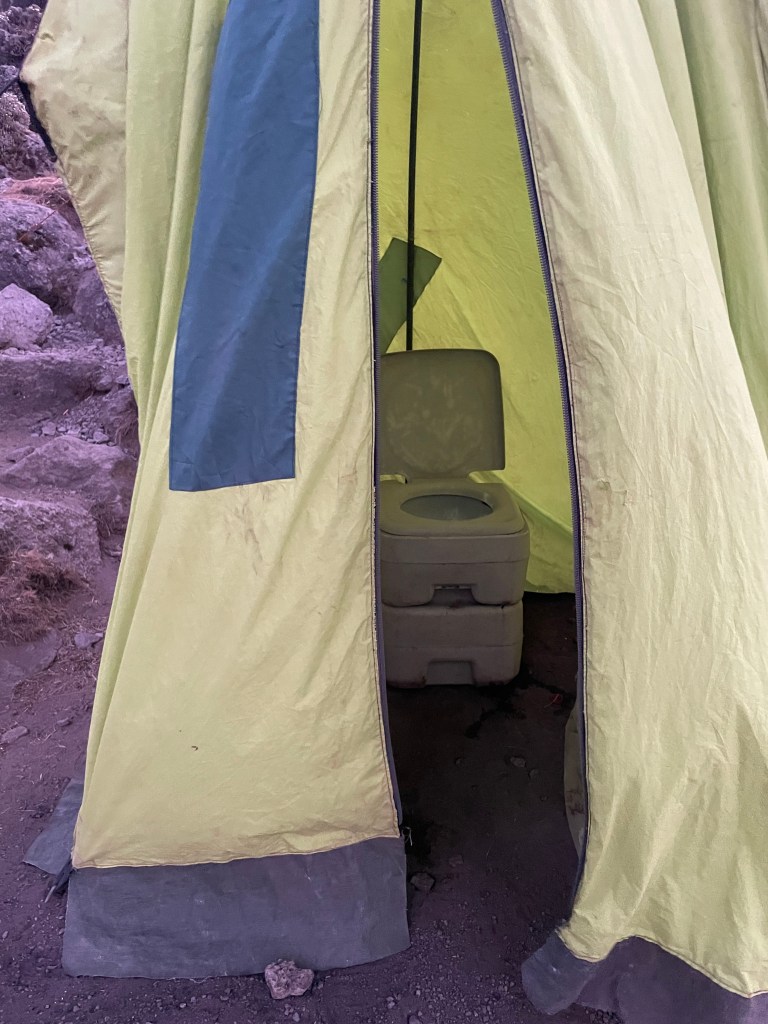
What is the bathroom set up like on the mountain?
- There are bathroom porters who haul up portable toilets and set up individual tents around them.
- They provide the toilet paper so bringing your own isn’t necessary.
Are you able to rent gear there, instead of bringing your own?
- Yes. You can choose to rent a lot of items on site in Tanzania (Moshi). Depending on whether or not you are comfortable bringing your own gear, or maybe you are traveling for a lot longer and don’t want to haul gear around. The rental prices are very reasonable and the quality of gear is great. I personally just liked the comfort is knowing I had my own gear.
- You can rent gear ahead of time – there are many different gear stores. Whichever guiding company you go with may have a recommended store you can rent through.
Is it really that cold at the top?
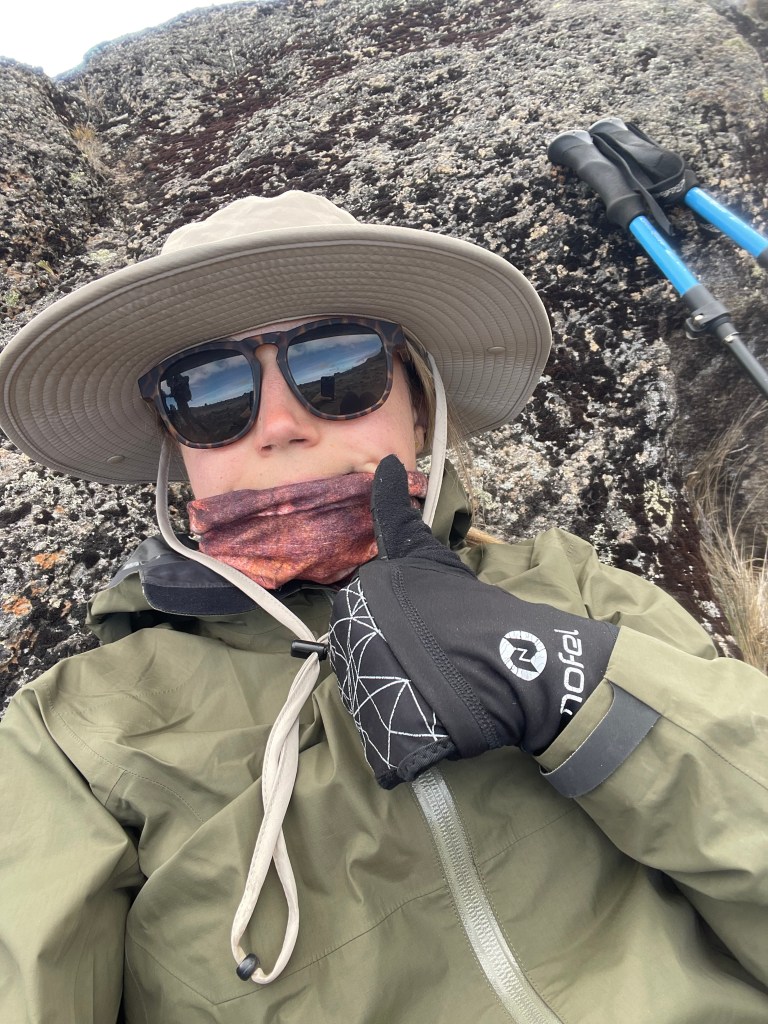
- YES. Don’t underestimate it. My toes and fingers froze both times. Making sure you are packing GOOD quality gear or renting proper layers will make or break your summit experience. Weather can be unpredictable and summit day is cold. The wind adds to it. Your guiding company will make sure to check ALL of your layers before you step foot on the mountain to make sure you have what you need to have a comfortable summit experience. Even though I had warm mittens and hiking boots/socks, along with hand warmers/foot warmers I still was chilly. Looking back I may have brought heated gloves/socks with me. Again this is a personal recommendation as I often have cold toes and hands!

What if you are vegetarian/vegan or have specific food allergies/preferences?
- Our company was amazing with this. We just let the company know in advance our food preferences/dietary accommodations and they cooked accordingly. I assume all other guiding companies would be the same way. Whether you are meat free/gluten free/lactose etc.
Was the altitude a big issue for you?
- Altitude sickness is a real thing. It can effect anyone, especially if you are not use to higher altitudes, and hiking. Making sure you book an appointment with your doctor before you go/pharmacist is necessary. They will go over your current health, and make sure you are fit to climb, and if you are approved to take altitude medication. If you are good, you will be prescribed altitude medication, that you will then take daily there.
- My husband and I booked an appointment at a local travel clinic, which was a huge help. They went over the signs and symptoms of altitude sickness.
- The guiding company also checks 02 levels and heart rate daily, and carry oxygen tanks with them incase of emergency.


Is a visa necessary for Tanzania?
- YES. You can google how to do this. Depending on what country you are coming in from, the type of visa you will apply for will vary. As a Canadian we had single entry (ordinary) visas, but as a United States citizen they had multiple entry visas.
- Visa Link – it took ten days to come in.
- You can also apply for it upon entry, but I advise doing it in advance, in order to avoid any delays at the airport.
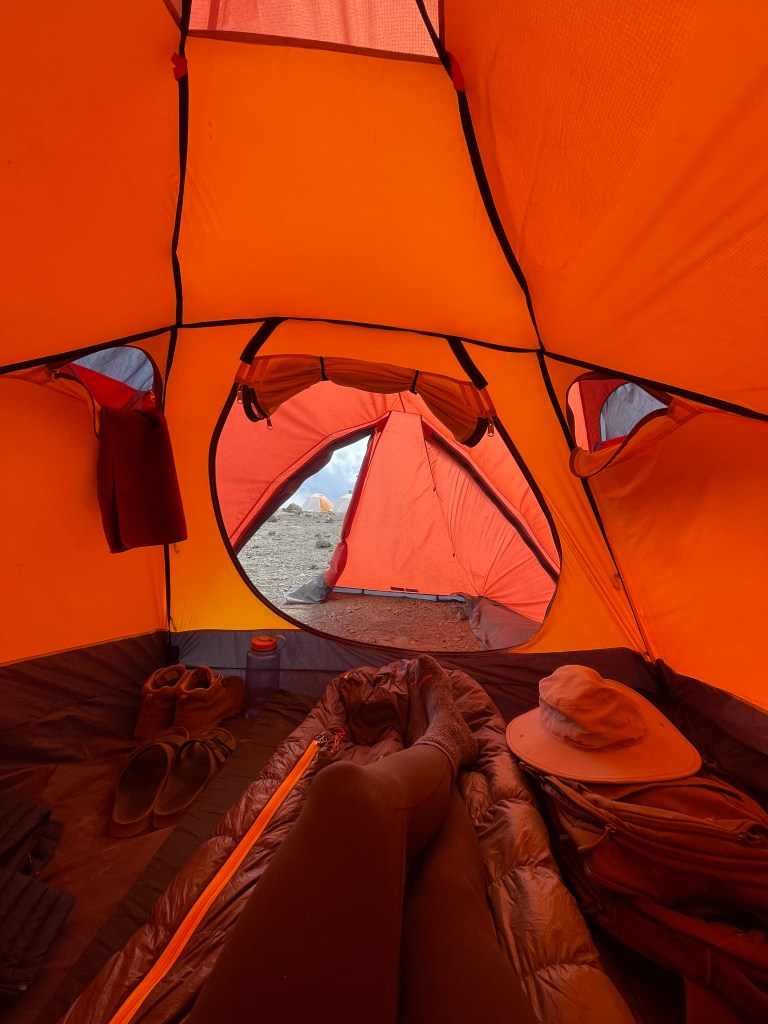
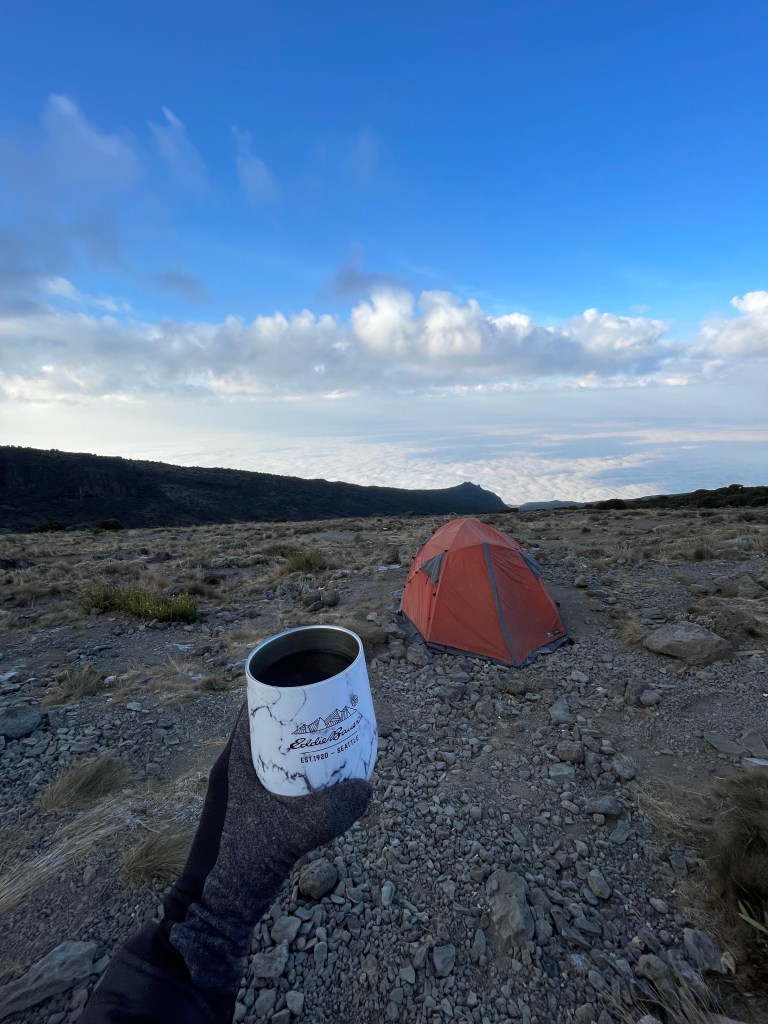
Was it cold at night?
- This will depend what time of year you go. It only got below freezing one night I think for us.
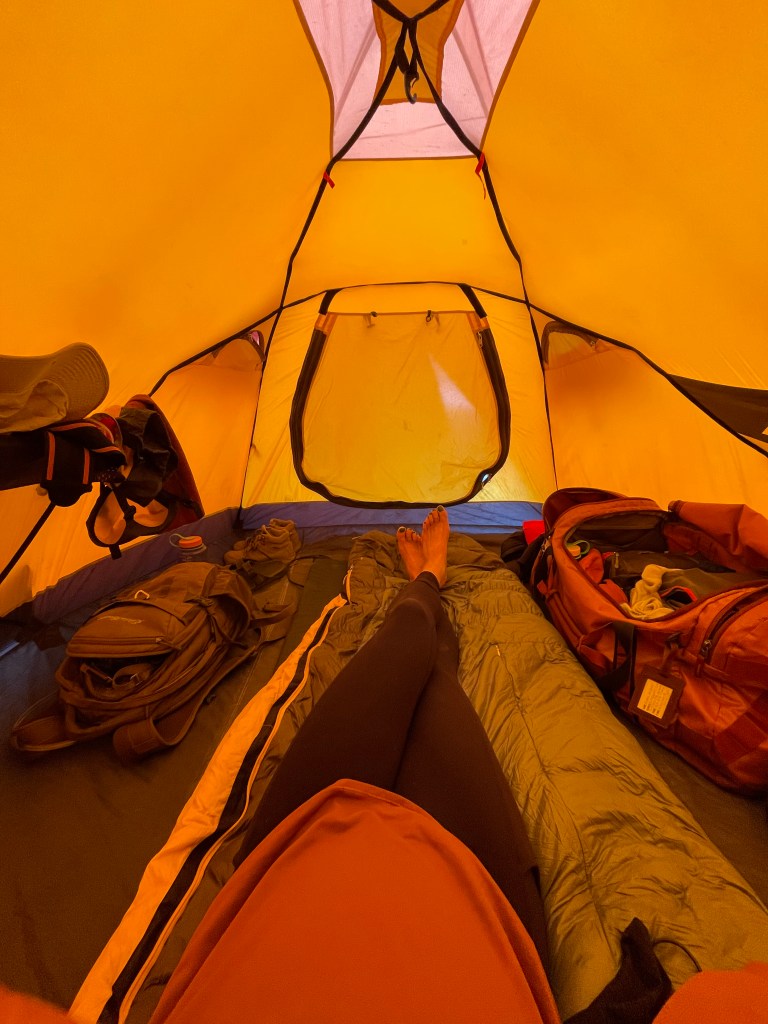
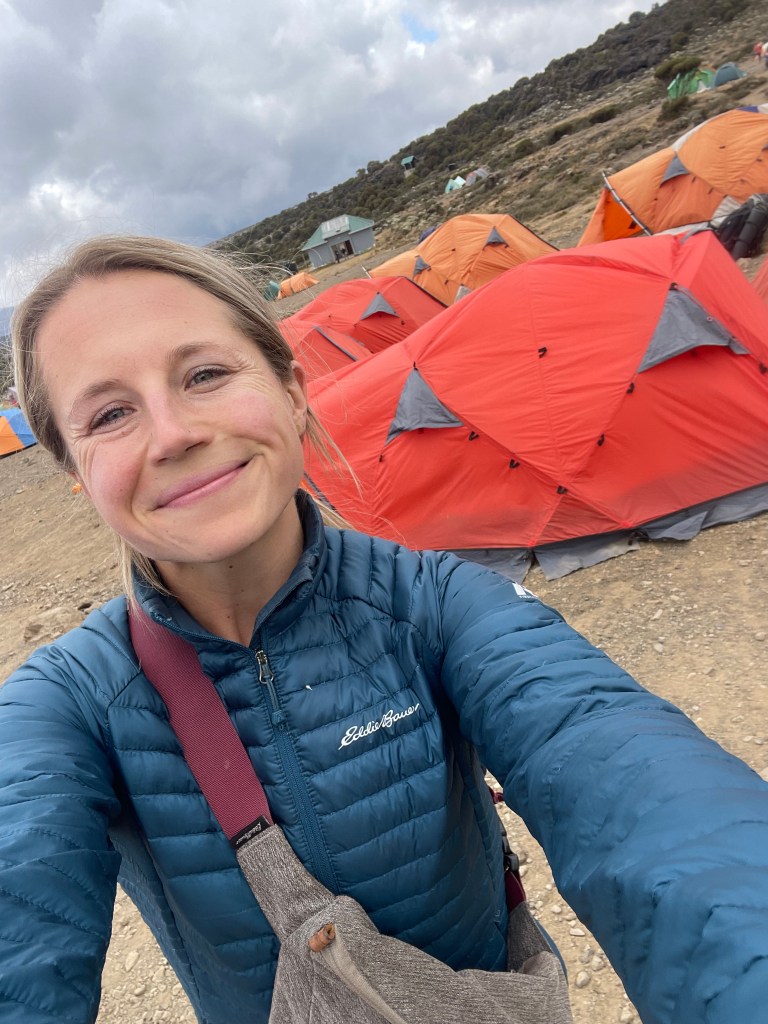
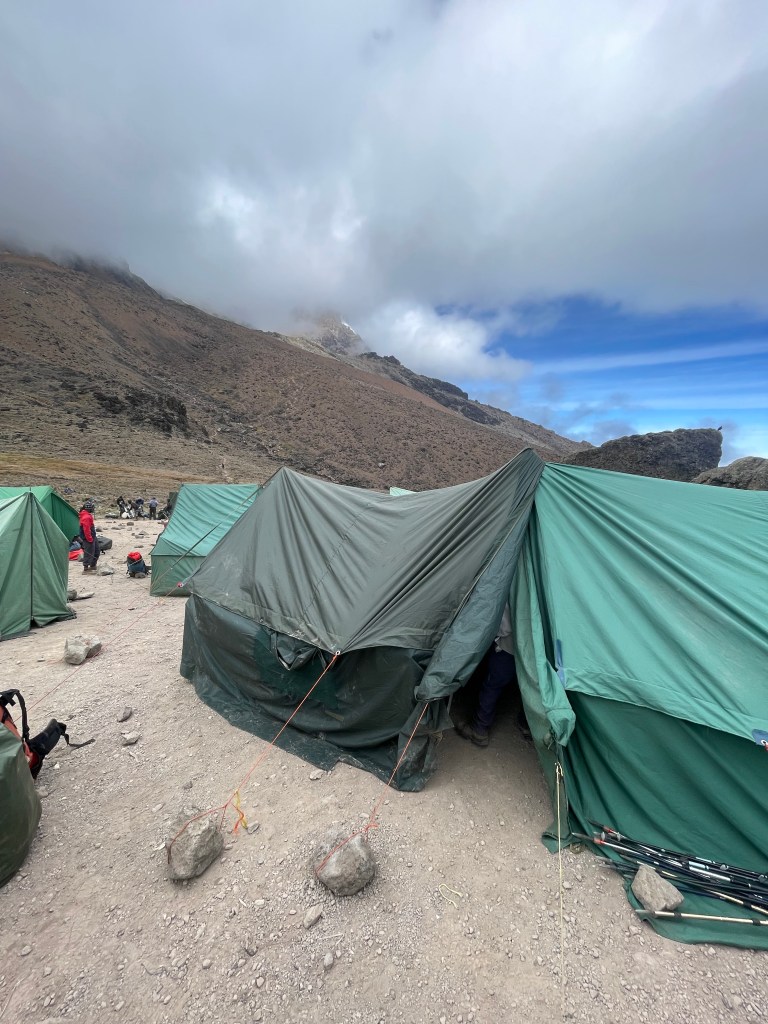
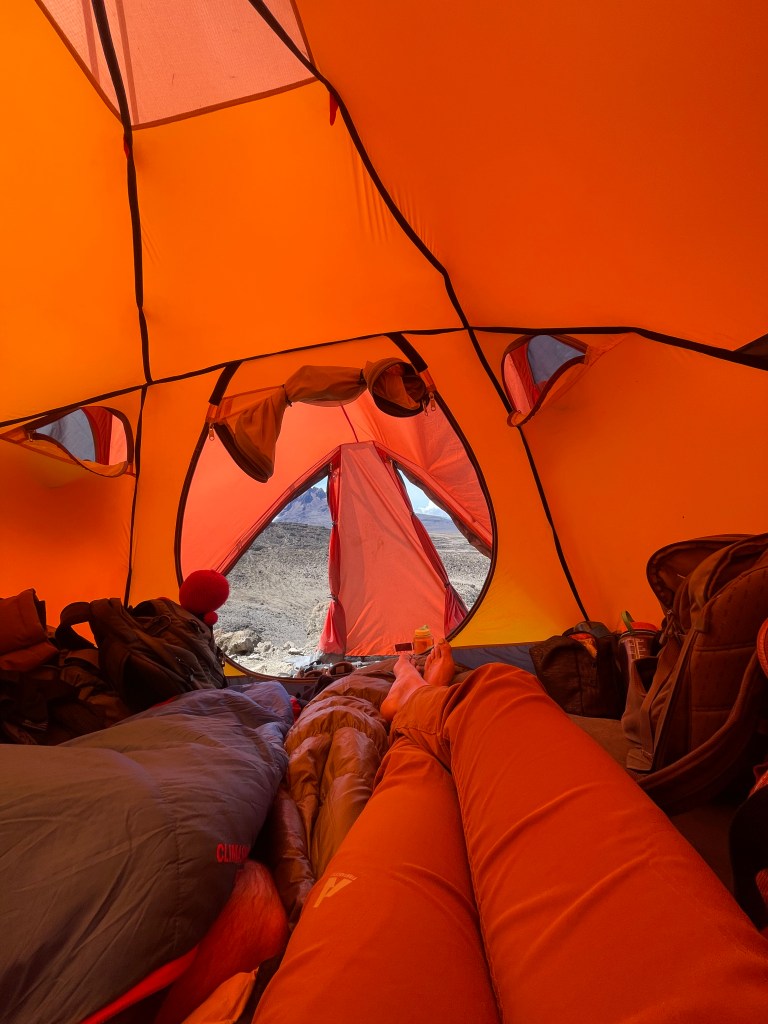
- The guiding company provides 4 season tents which were lovely!
- The thicker sleeping pads were great keeping us off the group. You can also opt in for a double thermarest for $10 extra for the week.
- A -17C degree sleeping bag is ideal. Or a -7/-10 with a heated liner to make it -17.
- I comfortably slept in tights and a long sleeve every night and with a toque to keep my head warm on the even cooler nights.
Did you share a tent with someone?
- They pair you up – 2 people to a tent.
- The first trip I shared a tent with Craig, but second time I was on my own as the company I hosted for had me by myself. I suggest sharing a tent for warmth, or you can opt in to have your own for a bit of a higher cost. This will change depending on the guiding company you are with.
- Remember the porters carry all this gear up, so sharing a tent with someone will also allow for one less tent needed to be carried, which helps.

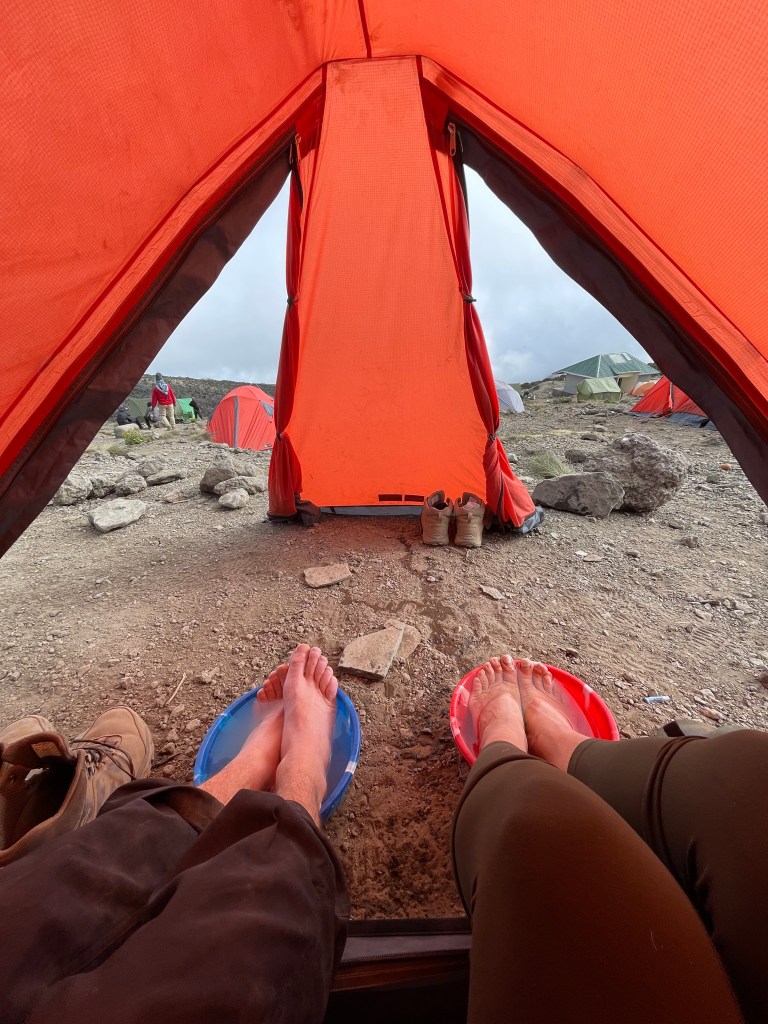
That is the water/washing situation like?
- Everyday you will be provided with 3L of clean, filtered drinking water.
- Between my bladder and a nalgene this was perfect.
- At camp you are provided with hot cleaning water, in a tub outside your tent. This is where a pack towel comes in handy. You can have a little ‘towel bath’. I did this and used body wipes every day.
- The only camp you’re not provided hot water at is base camp, because there is no water source, so only drinking water is ported up to the camp.
How did you train for the hike? Was it hard?
- I always find this question a bit challenging to answer. Yes you do have to have some some sort of baseline fitness. It really is ‘pole-pole’ which means ‘slowly, slowly’. They have you go slow, never hiking at a fast speed, it’s just for longer durations and the altitude really does start to effect people. I found it to be more mentally challenging than anything. Day after day, throwing on that bag and putting one step in front of the other. I also have a lot of hiking and running experience, endurance and elevation wise.
- Training at altitude would be helpful but some people don’t have that option, with where they live. If there are no mountains then resorting to the stair climber at the gym, or stairs in the area would be a great backup. Biking, swimming, yoga, jogging are all great ways to get ready for the hike. ‘Gym activities including step aerobics, treadmill,bicycling, or elliptical trainers to name a few. A modest weight training program focusing on the muscles that support the ankles, knees, back, and shoulders is also beneficial’ – TrovaTrip.
- Getting out for longer walks/hikes on mixed terrain/rocks would be a good idea. Being sure to break in your hiking boots/trainers before the hike. Increasing the weight on your backpack too when you go out. On the hike you will be carrying no more than 20lbs. Having a backpack that fits you properly is important, as I did find my back to even start to get sore as the days went on, with the weight everyday, and having it on for many hours at a time. Train with it 🙂 ‘Start with short hikes (1-hour in length) with a light daypack. From week to week build the length and difficulty of your hikes and gradually increase your pack weight until you’re comfortably able to hike 6-8 hours a day carrying the weight you’ll have on your trip (refer to your trip packet for exact pack weight). Unless you’re in great shape it is ideal to begin your training at least 12 weeks prior to your trip’.
- There are quite a few training plans that can be found online, for Kilimanjaro, that you can follow.
Did you tip the guiding company? The porters?
- The guiding company does rely on tips. Their income is not very high, so tipping after the trek is expected. I will attach a link here that will help guide you with tipping. It depends on group size (how many travellers are with you), and how many there are helping guide/support the group (lead guide, assistant guides, porters, cooks, etc). These are recommended numbers, to guide you, but if you feel the local teams have added to the experience, you can always tip more.
- With our group of 16, the recommended per person tip to the group was $250USD, though some gave more. This can all be placed in an envelope at the end of the trek and given to the lead guide, who will then disperse it amongst the group.

Vaccinations?
- For vaccination info: https://wwwnc.cdc.gov/travel/destinations/traveler/none/tanzania
Travel insurance?
- ‘Due to the trek’s high elevations, travel insurance covering high-altitude treks is required to be purchased before departure. TrovaTrip recommends World Nomad’s Standard Policy which covers treks up to 19,685 feet (6,000 meters)’. TrovaTrip is the company I hosted the trip with: www.worldnomads.com
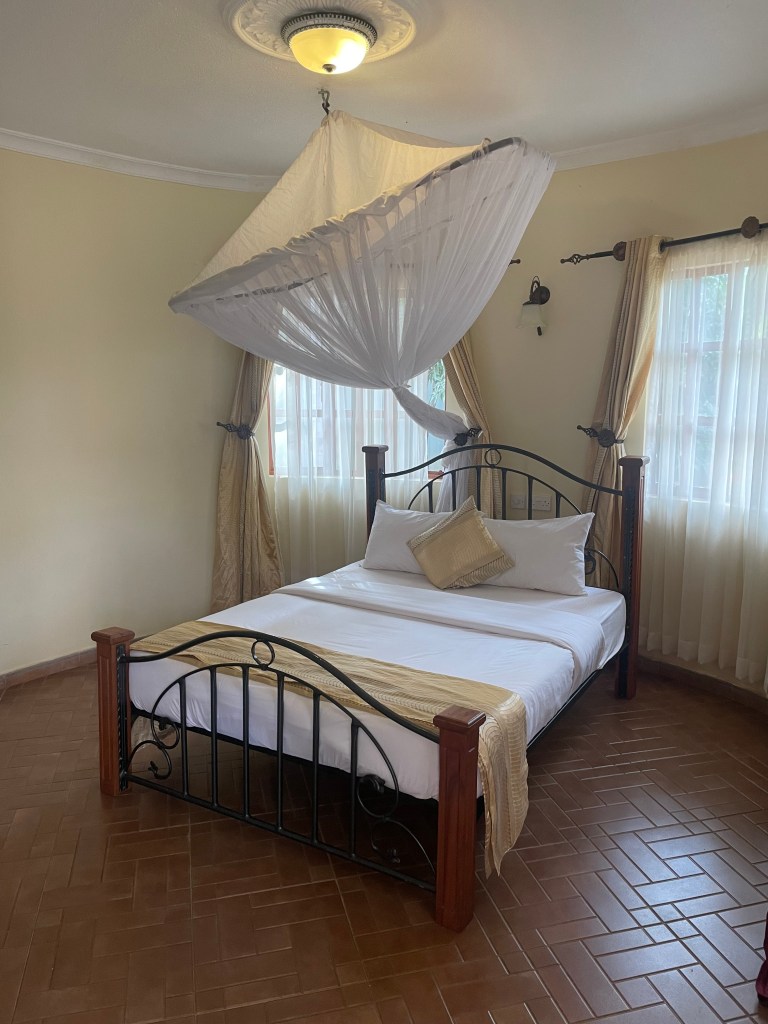
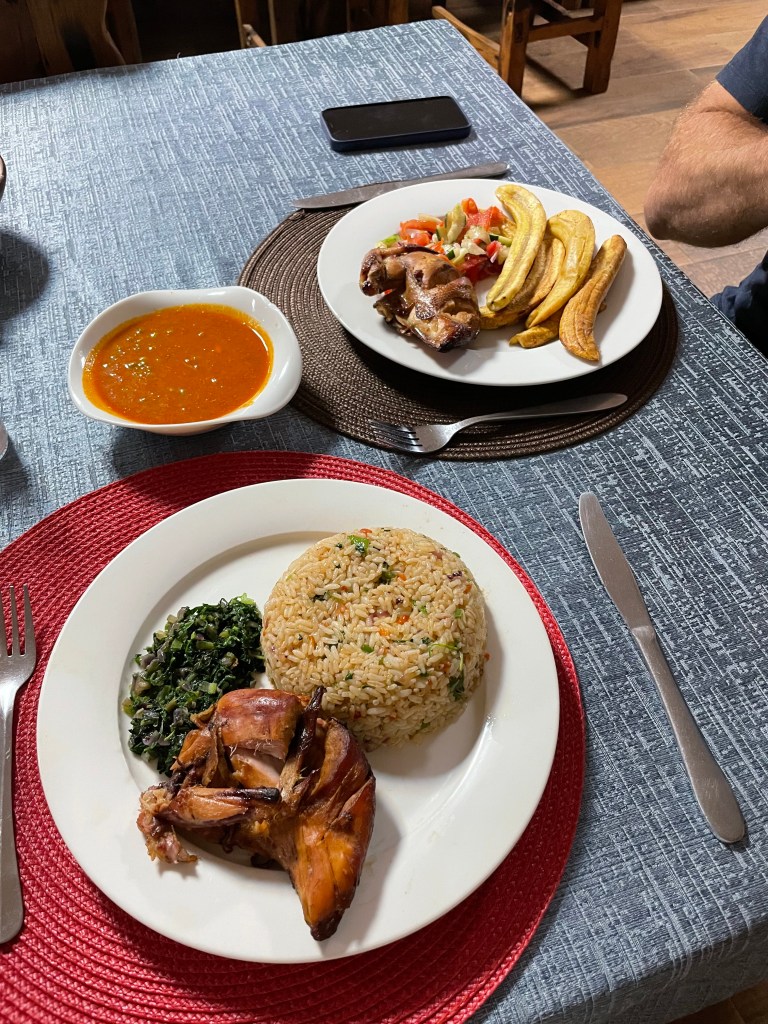
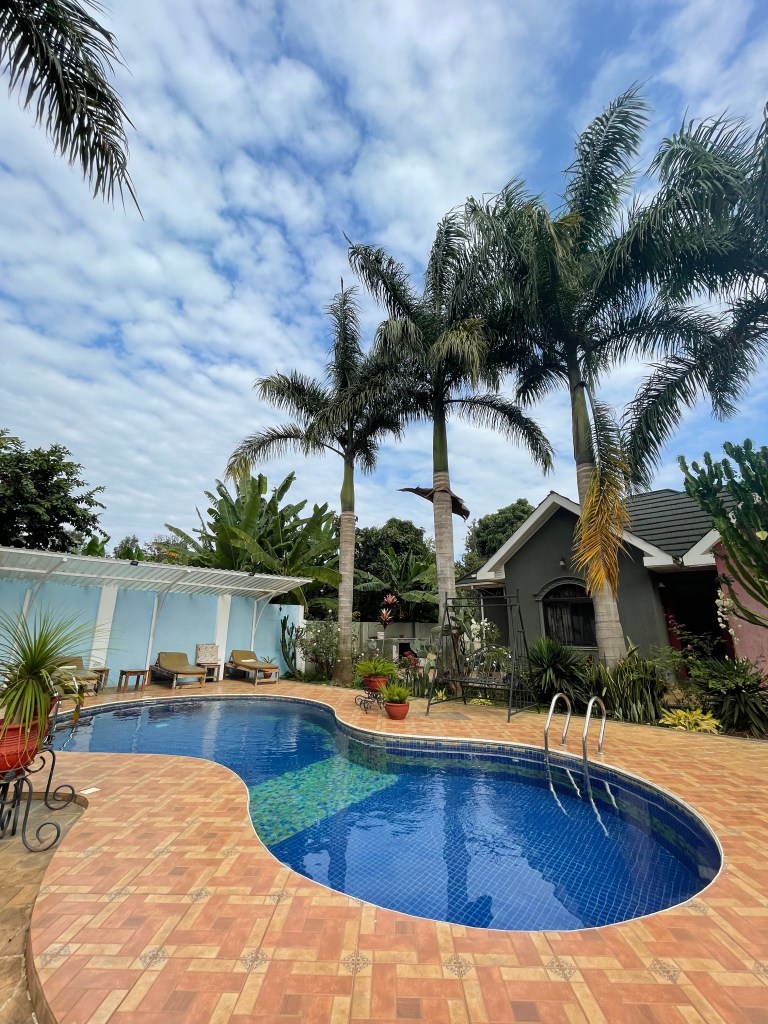
Where did you stay in Moshi? Before and after the hike?
- We stayed at Lindrin Lodge – We loved it here. Highly recommend it.

Day to Day on the Hike
We took the Machame Route up the mountain. There are 7 different routes linked here. I also attached a photo below to show the various routes on the mountain.
Here is a day to day break down of what things were like for the 7 days. You can do the route in 6 days but 7 is recommended. Some people go directly from Baranco to Bafaru camp (basecamp), and skip Karanga. So your day 5 would be 9kms instead of 5kms, then 4kms. There does tend to be a higher success rate, so i was told for those who stay at Karanga. This helps with altitude acclimatization and more time to rest.
‘The trek begins in the south-west area of the mountain at Machame Gate. The descent is down Mweka, on the south-east side of the mountain. Because of the ascent in the west and descent down the north, Machame offers great vistas of Kilimanjaro. Additionally, Machame visits stunning places such as Shira Plateau, Barranco, and Lava Tower. Machame is ideal for those who want a more difficult climb, and are confident in their ability to hike over extended periods of time on sometimes steep terrain. Climbers using Machame place a premium of varied scenery, but also accept heavy traffic’ – Kilimanjaro Routes.
Day 0 – Lindrin Lodge
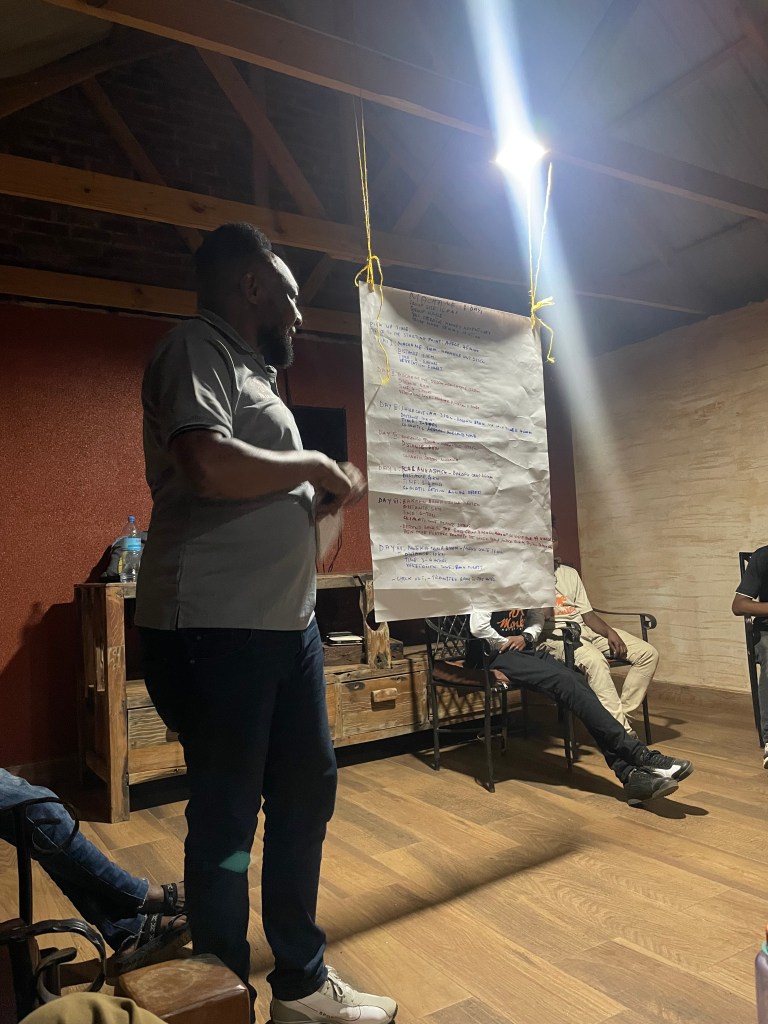
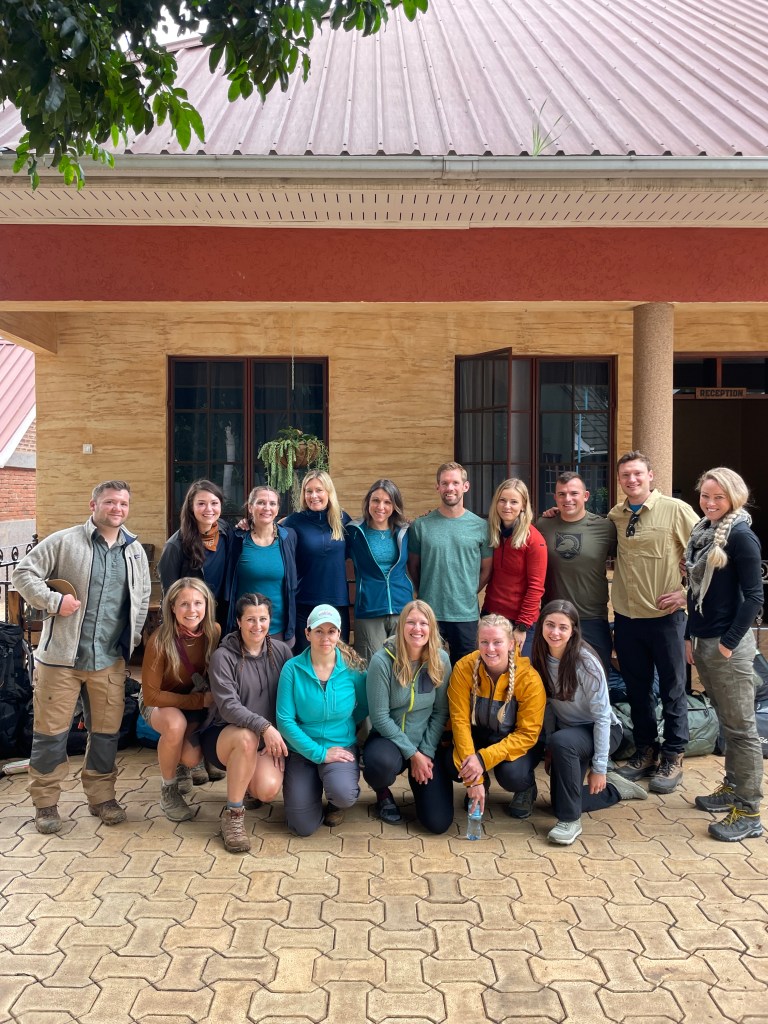
- The lead guide and a couple assistant guides came to meet our group in the evening before we started the trek.
- They went over the entire trek, how it would look day to day and then had us all bring our duffel bags and day packs/items we planned to bring on the hike with us, to show them what we had.
- If they felt as though we had to much weight, or not enough gear/had to rent certain items they made a list and tracked down those items for us/anyone who needed specific things. This helped prep the group and made sure everyone would be comfortable on the 7 day trek. Example, making sure everyone had a headlamp, and batteries charged, and proper layers for summit day.
- Then we enjoyed a welcome dinner.


This entire break down of the 7 day trek below was taken from: https://kilimanjaroroutes.com/machame-route
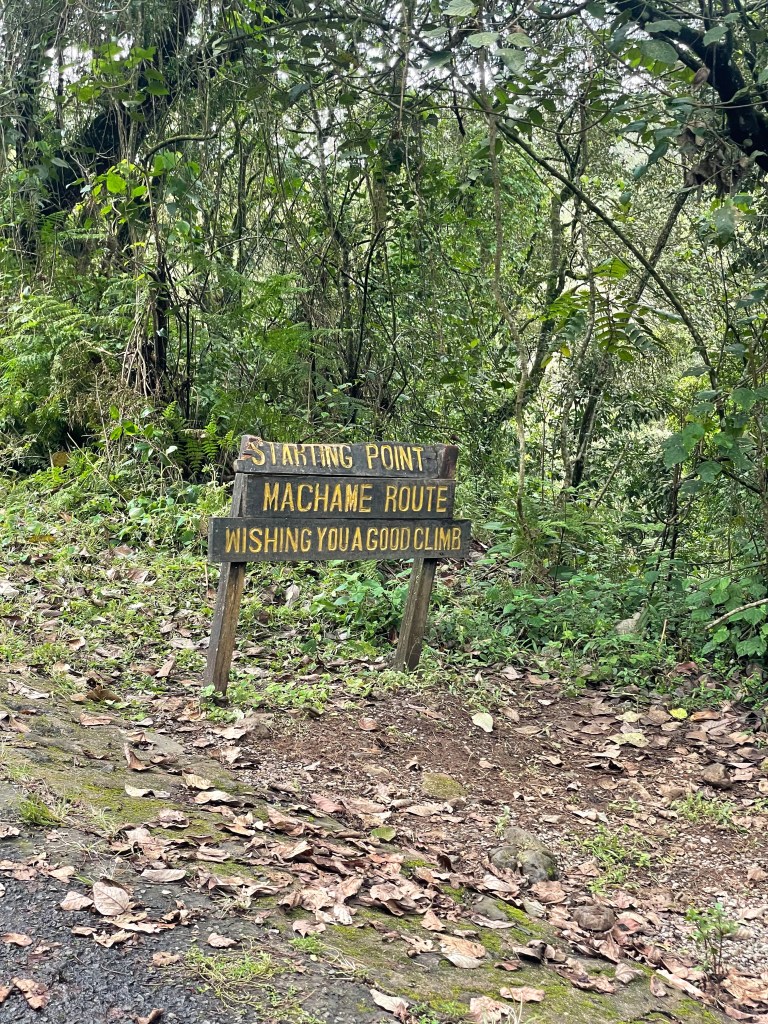
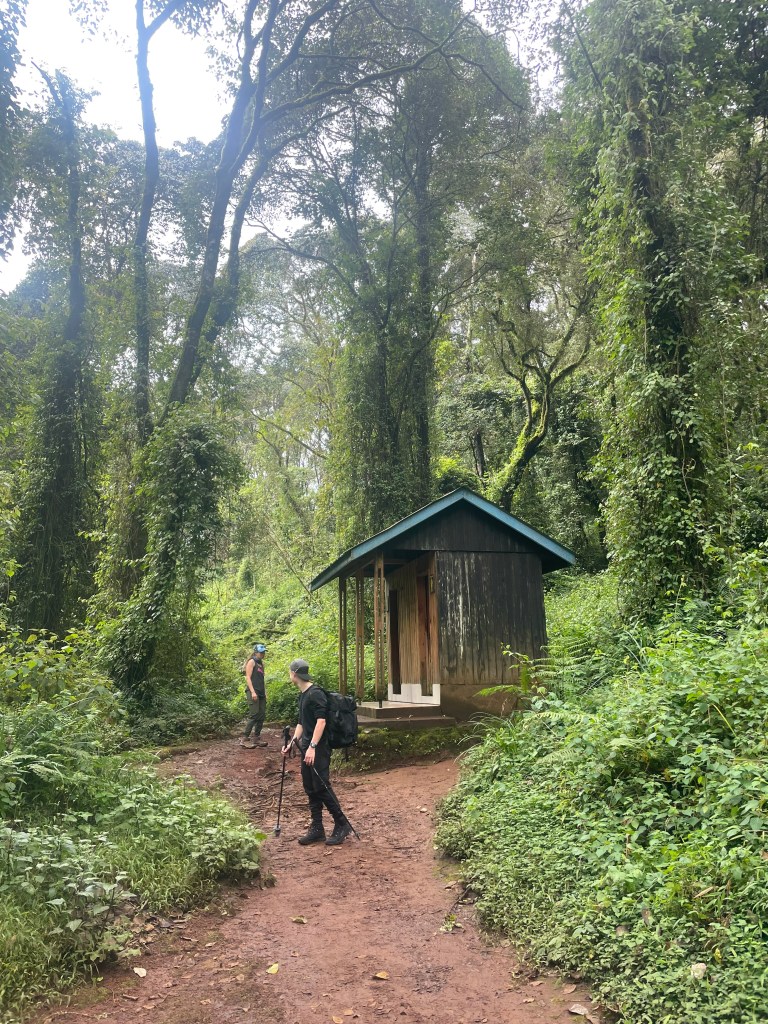
DAY 1
Machame Gate to Machame Camp
Elevation: 5,380 ft to 9,350 ft
Distance: 11 km
Hiking Time: 5-7 hours
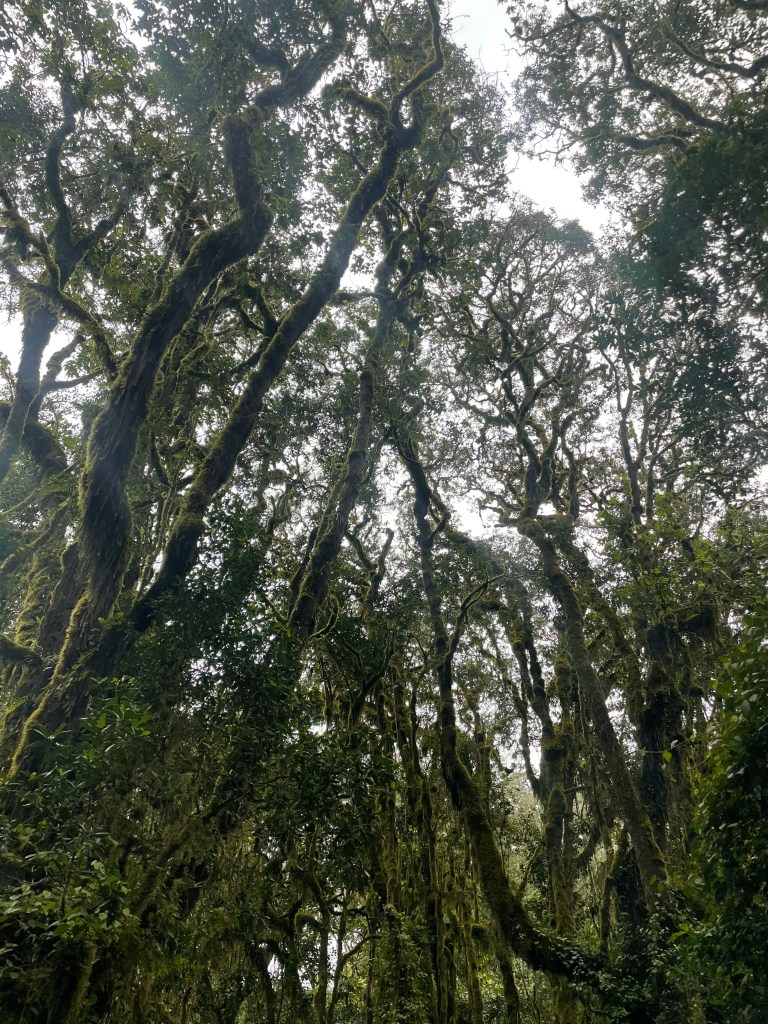
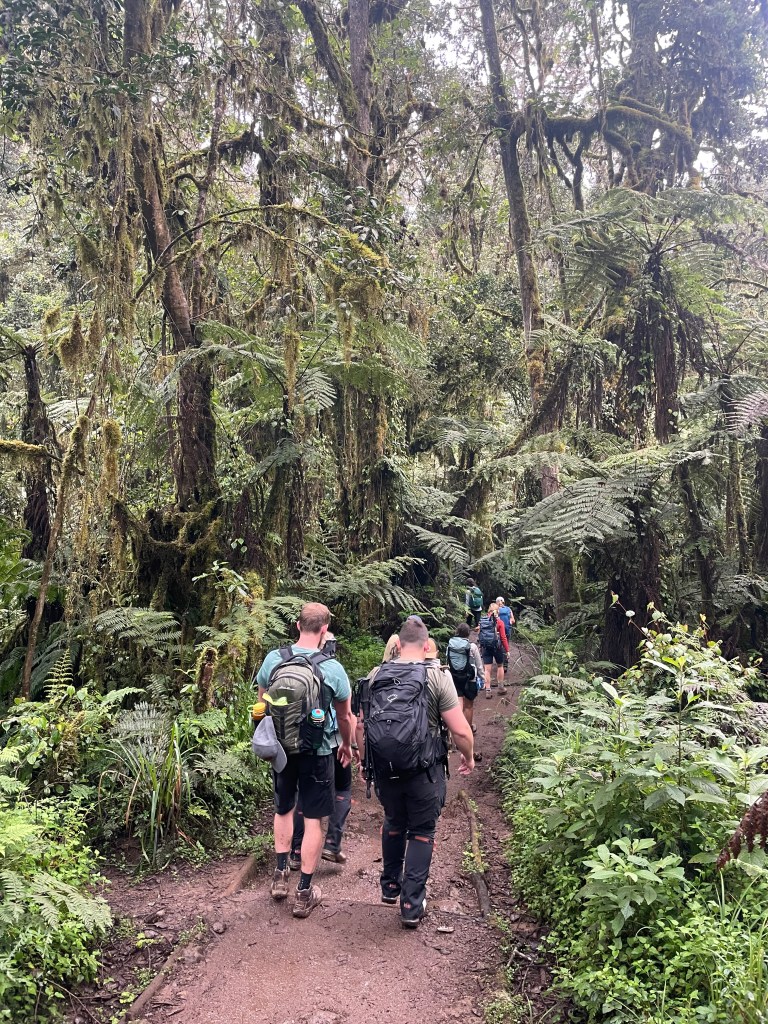
Habitat: Rain Forest
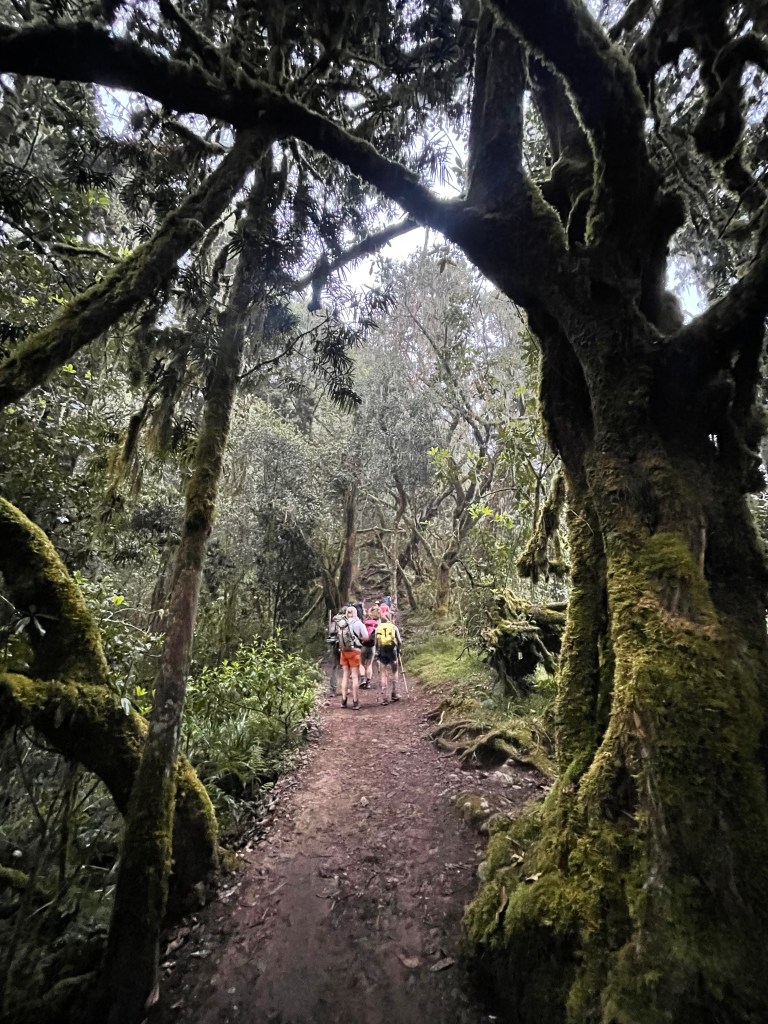
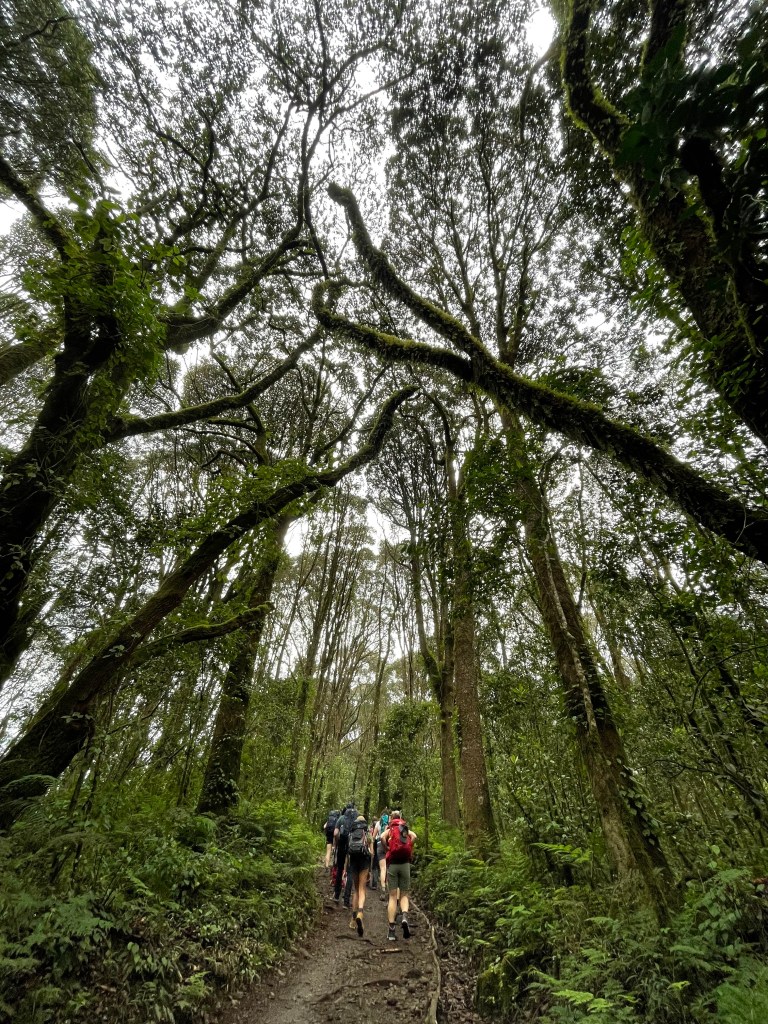
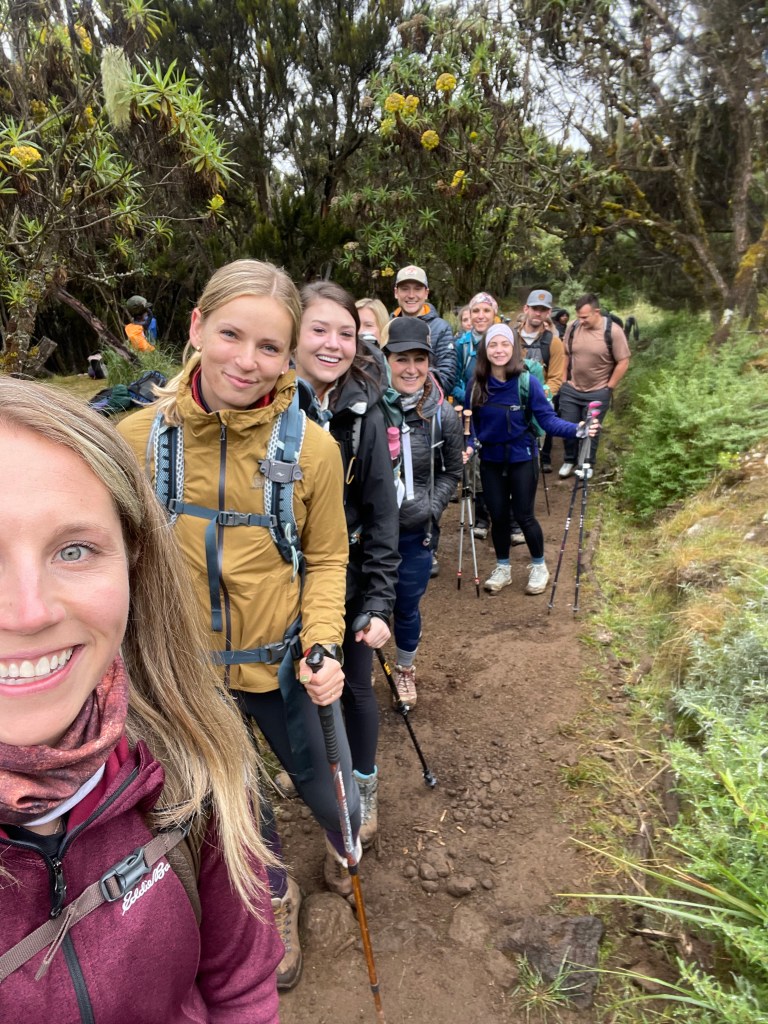
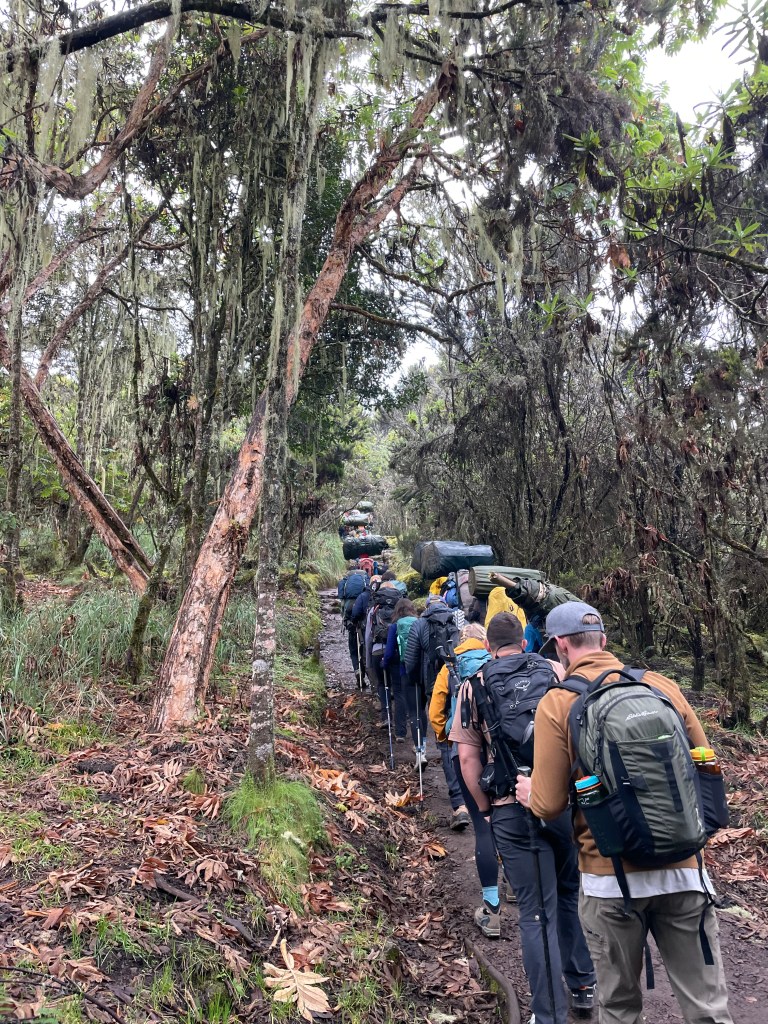
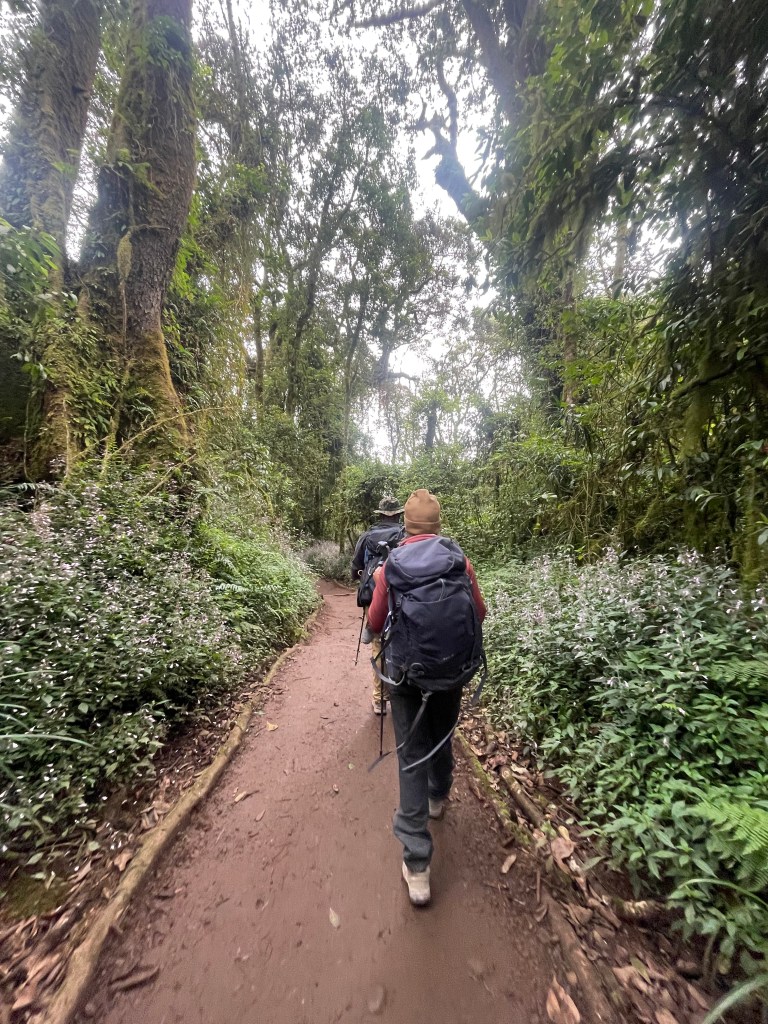
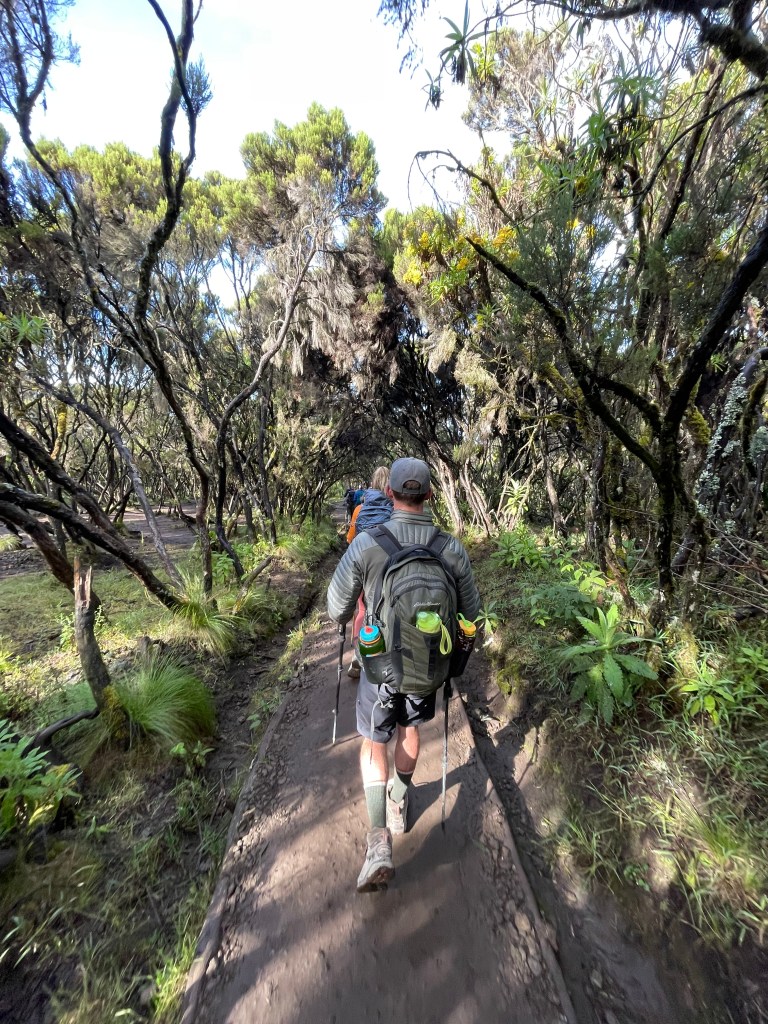
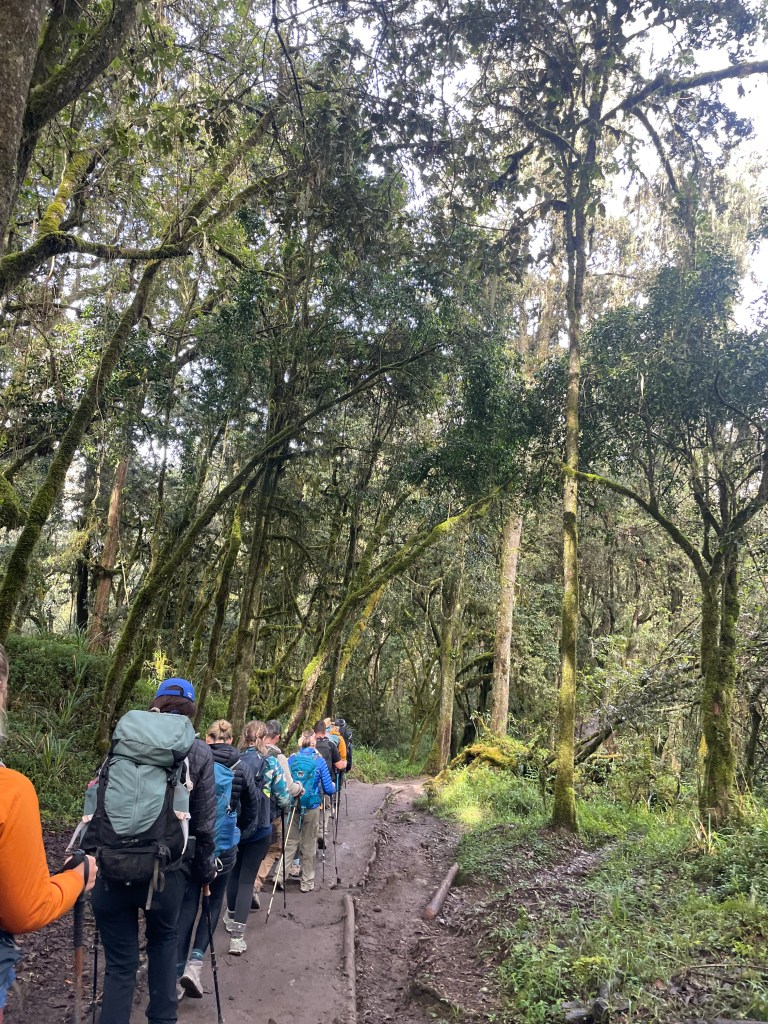
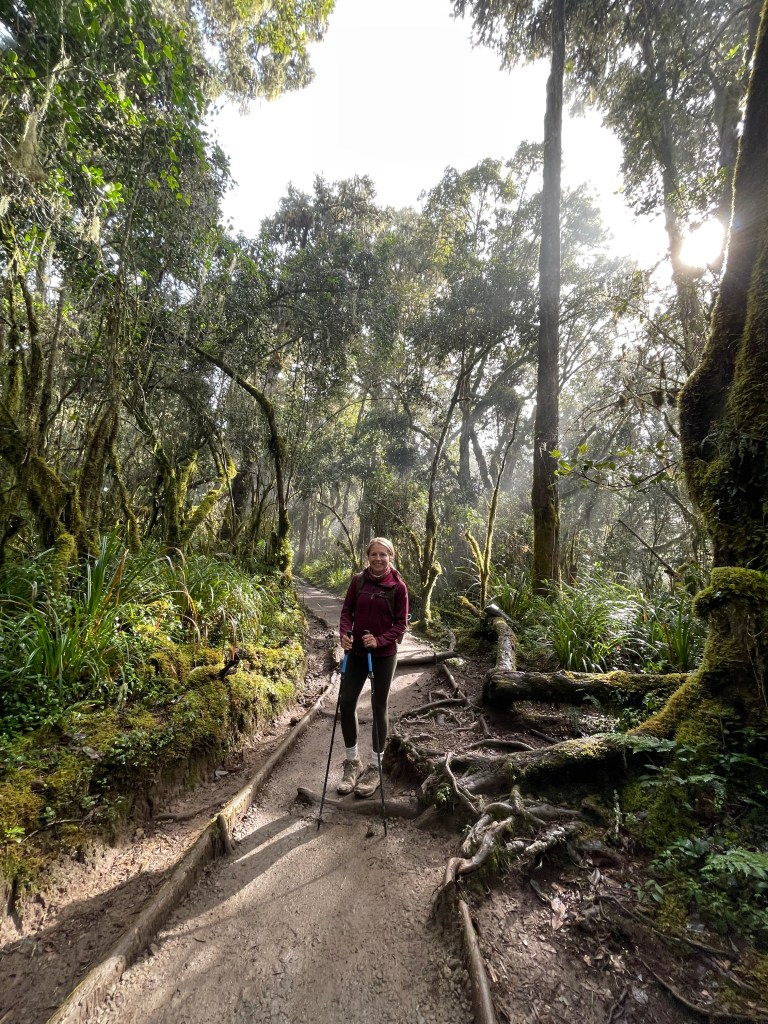
The drive from Moshi to the Machame Gate takes about 50 minutes. The journey passes through the village of Machame which is located on the lower slopes of the mountain. As we leave the park gate, we walk through the dense rain forest on a winding trail up a ridge until we reach the Machame Camp.
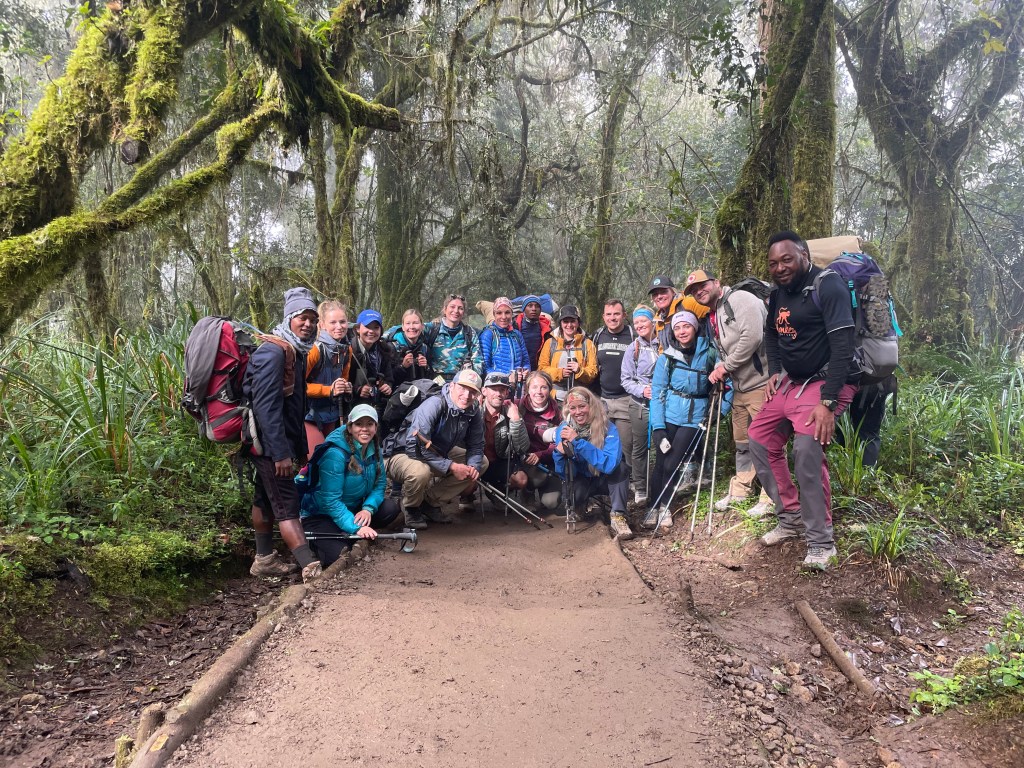
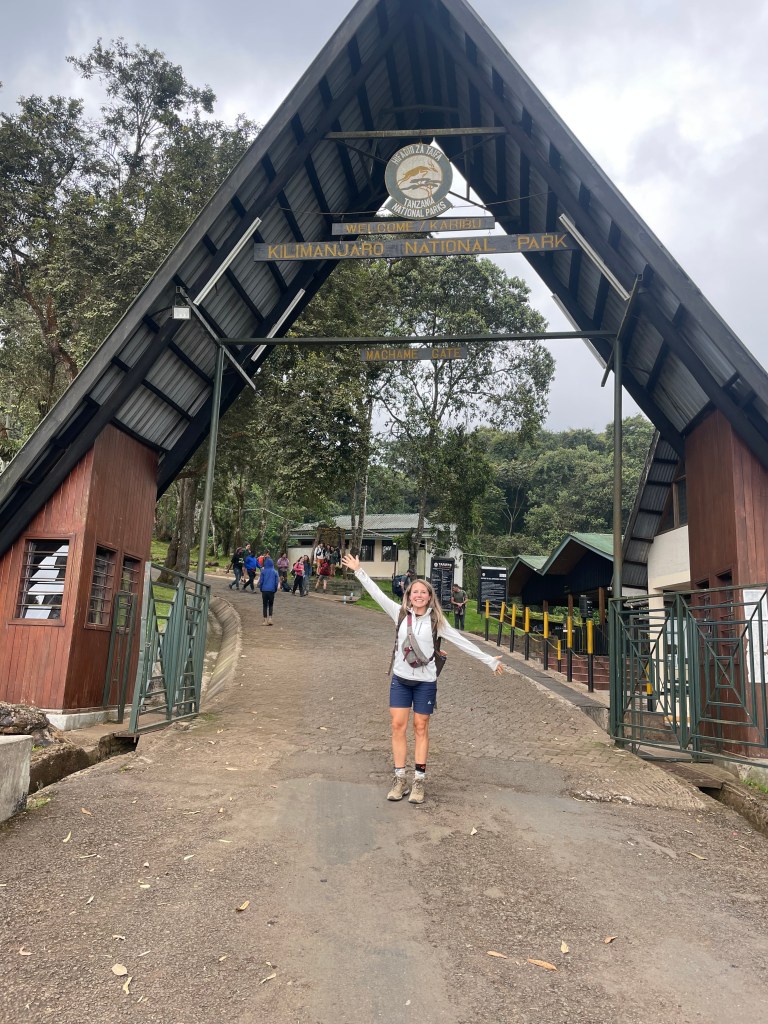
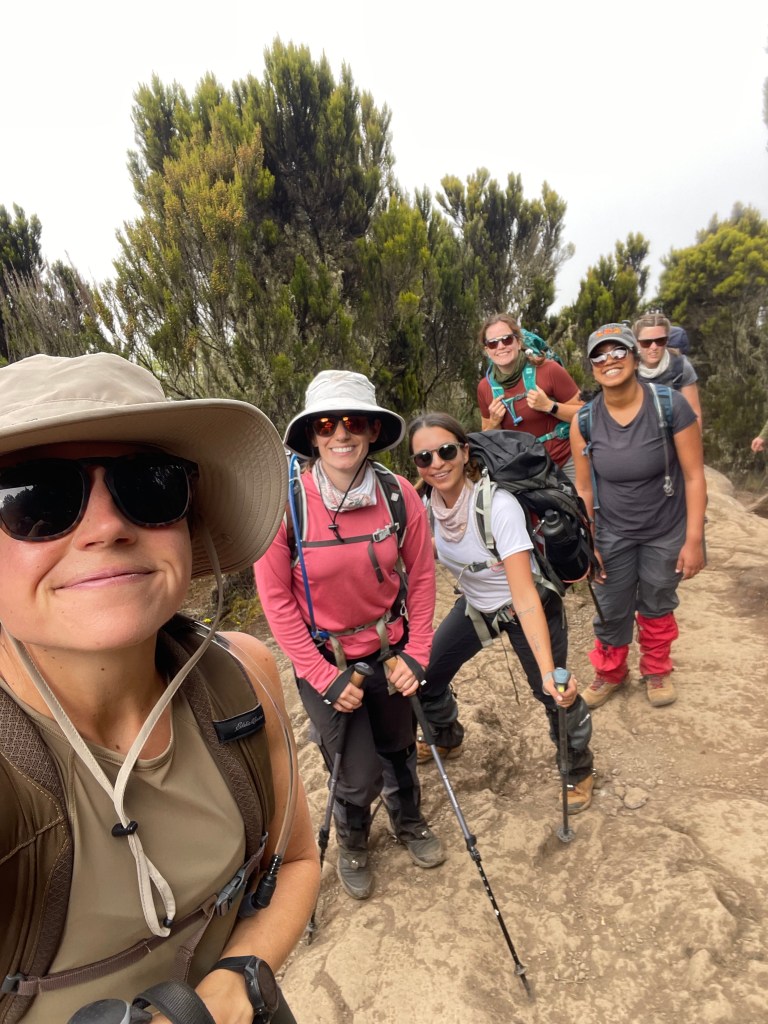
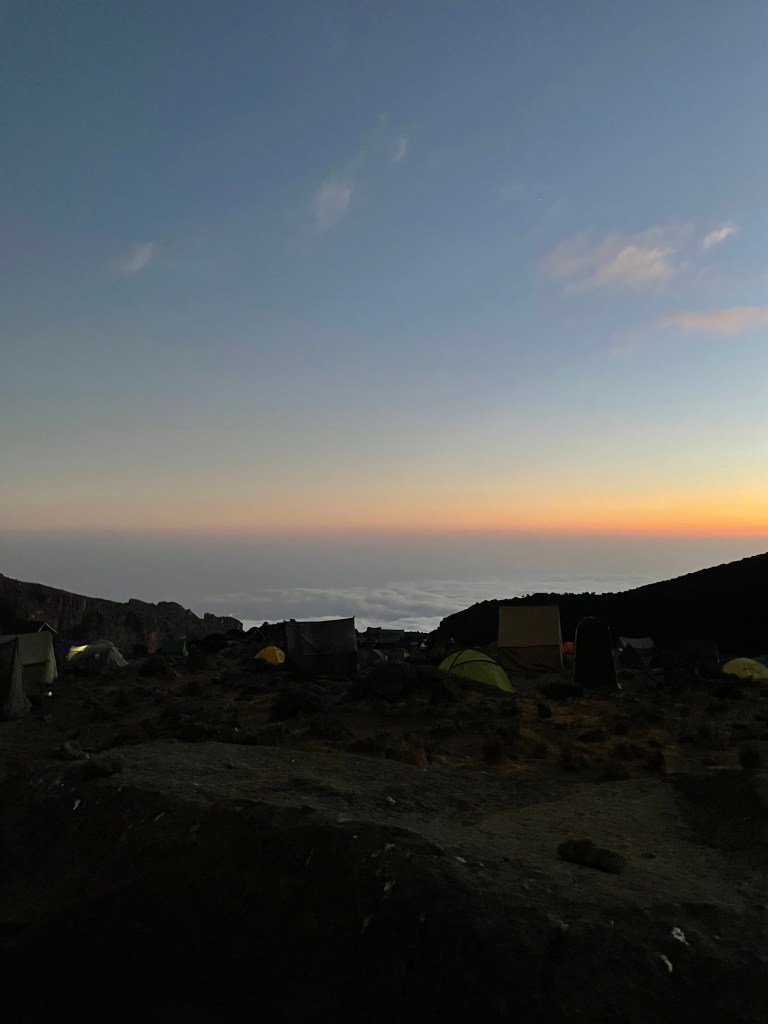
Below are photos from the first day. Starting at Machame Gare and the trail to Machame Camp. I have mixed in photos from both my July trip & my September trip.

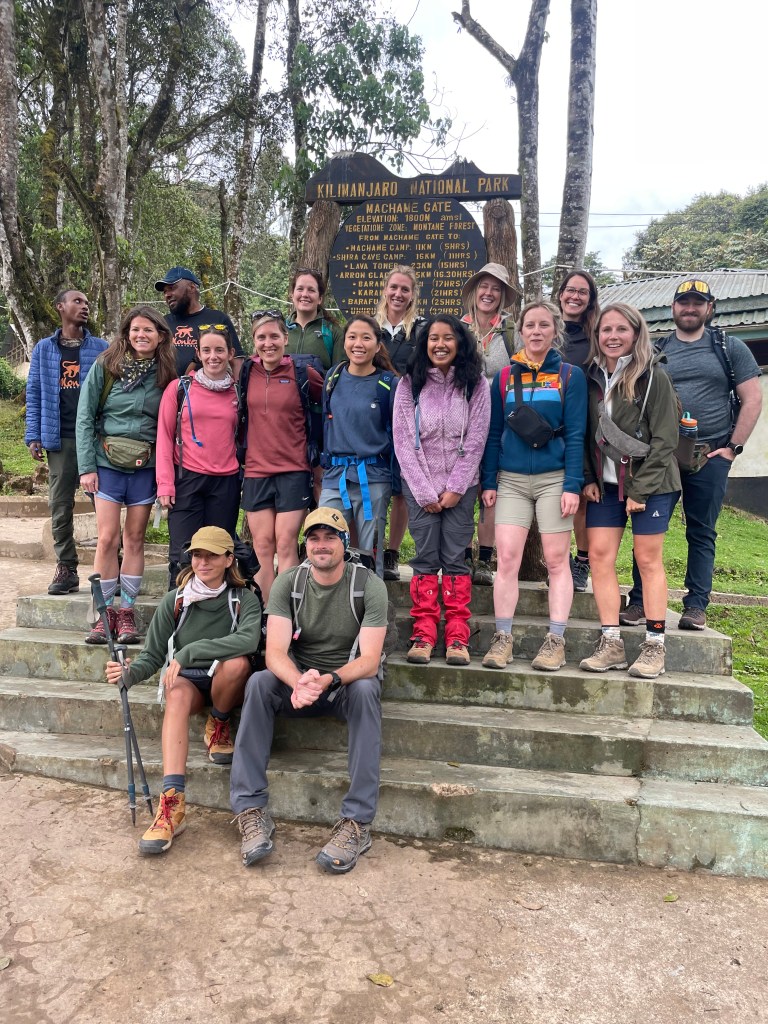


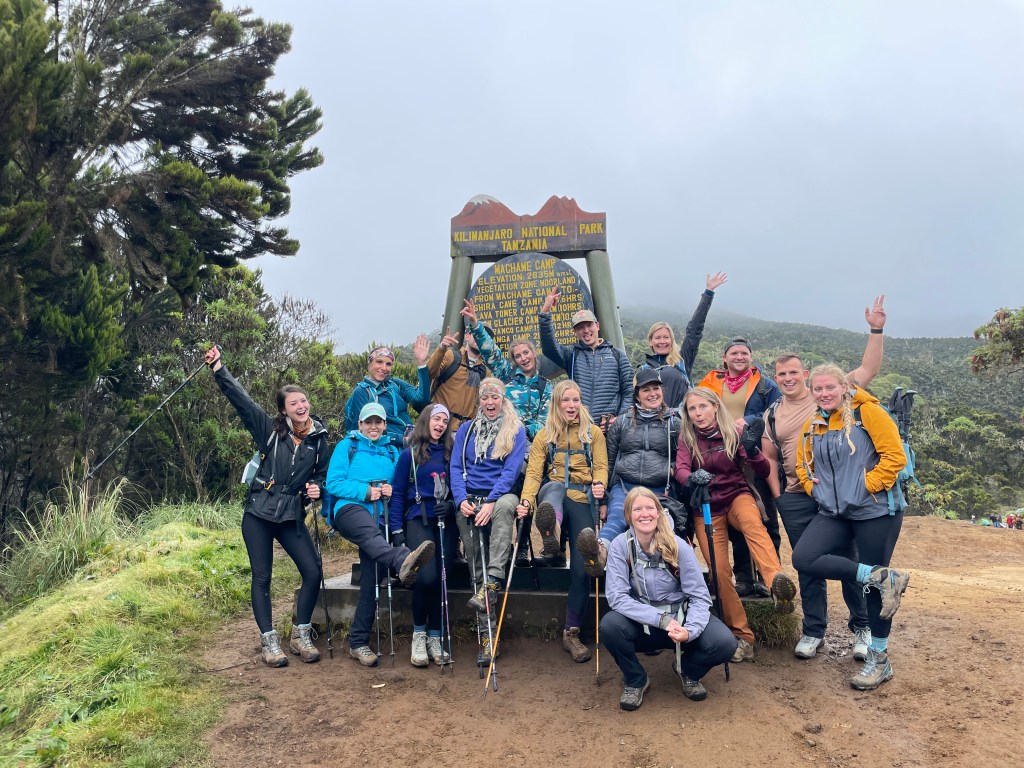
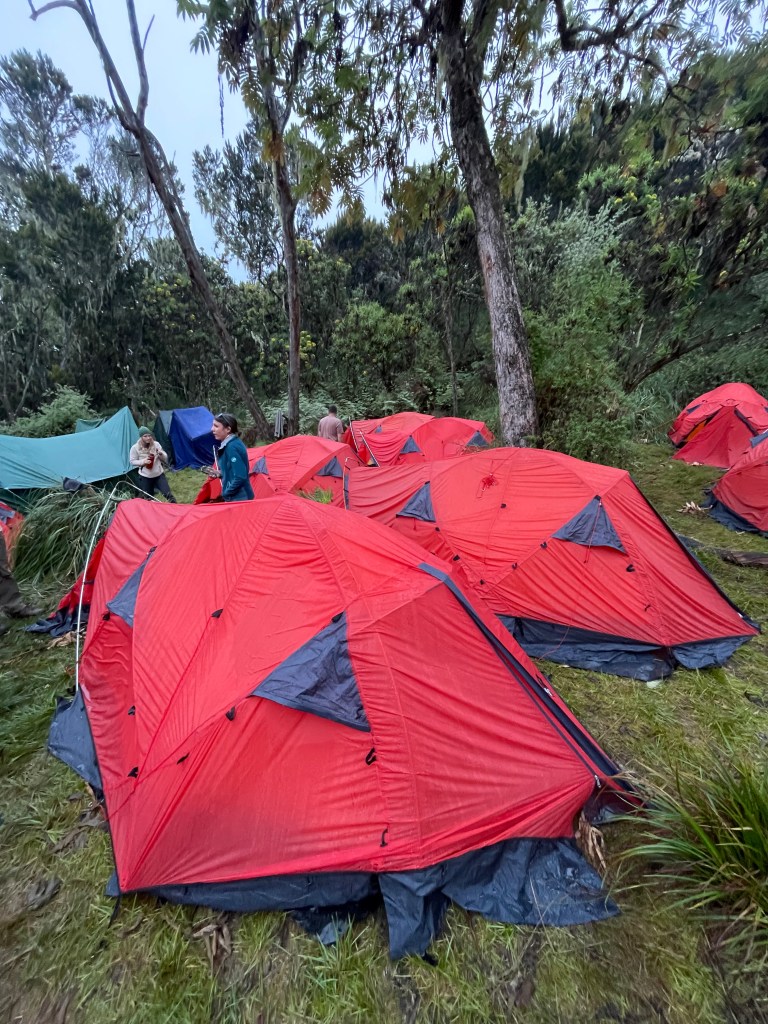


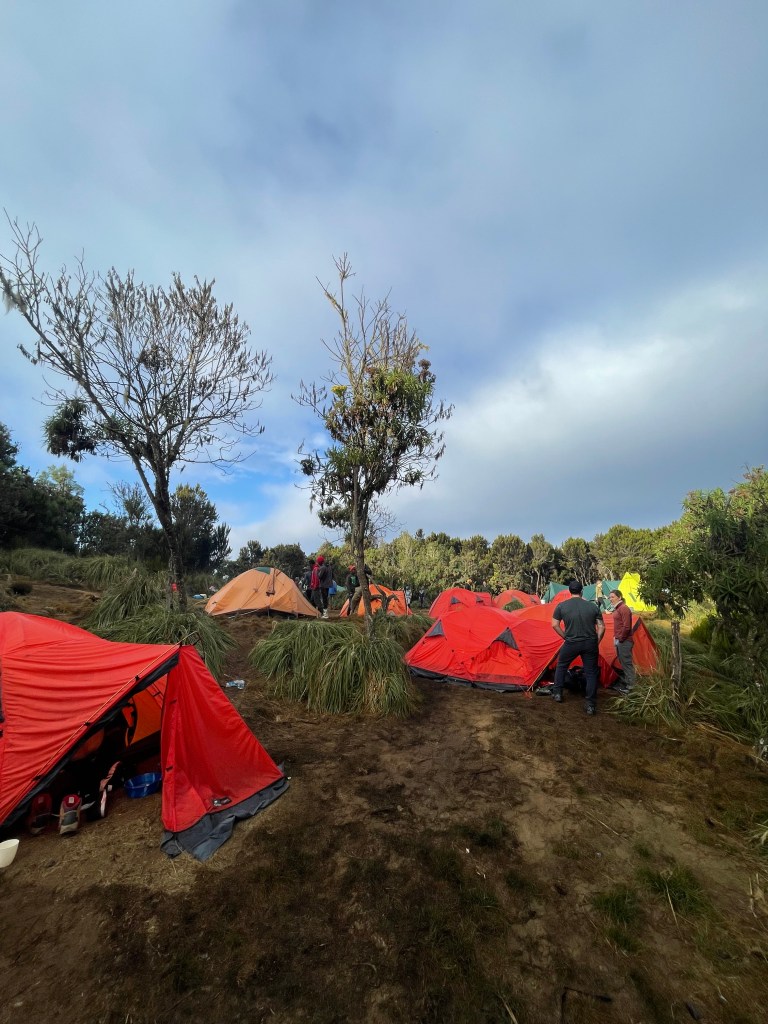

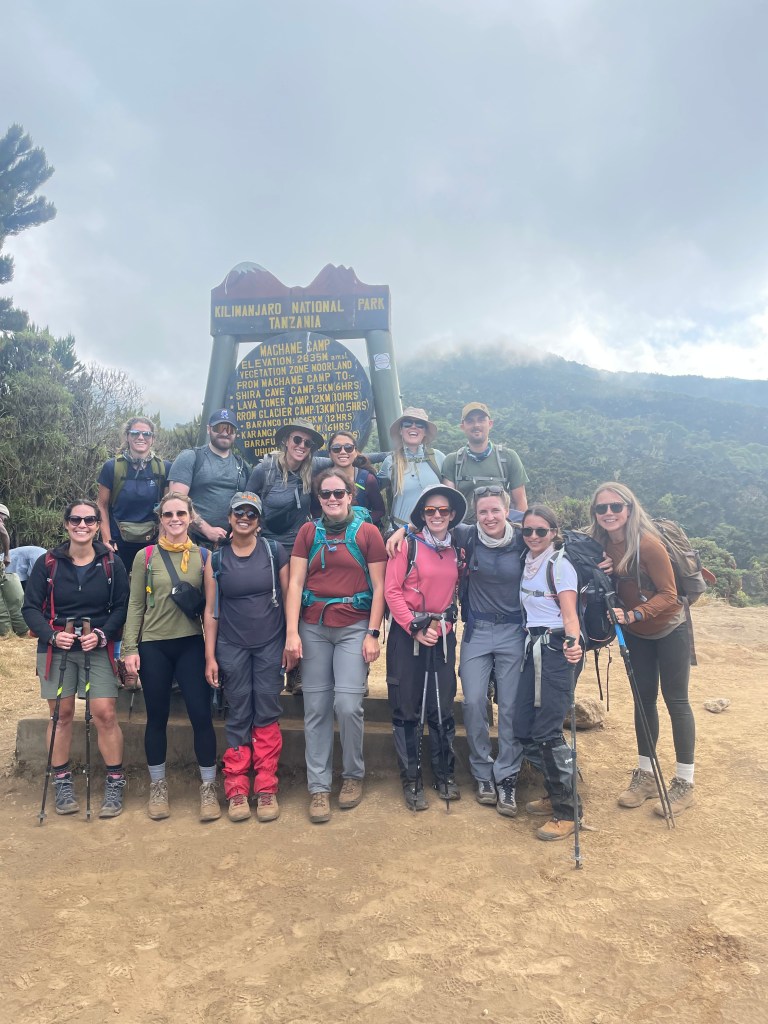
Above are photos from the morning at Machame Camp, before starting our trek for the day. I do recommend getting an earlier start the first day if you are going at a peak time. The gate gets VERY busy and paper work there and organizing the crew does tend to take a long time. Both times we left a bit late and ended up getting to camp when it was dark.
DAY 2


Machame Camp to Shira 2 Camp
Elevation: 9,350 ft to 12,500 ft
Distance: 5 km
Hiking Time: 4-6 hours
Habitat: Heath
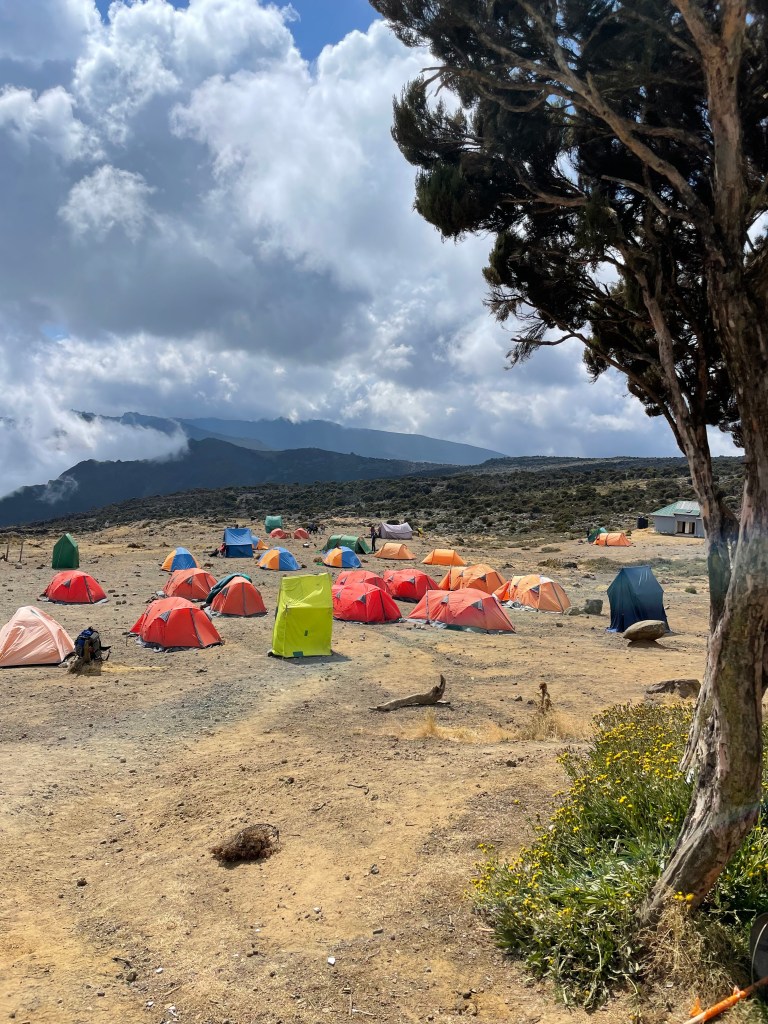
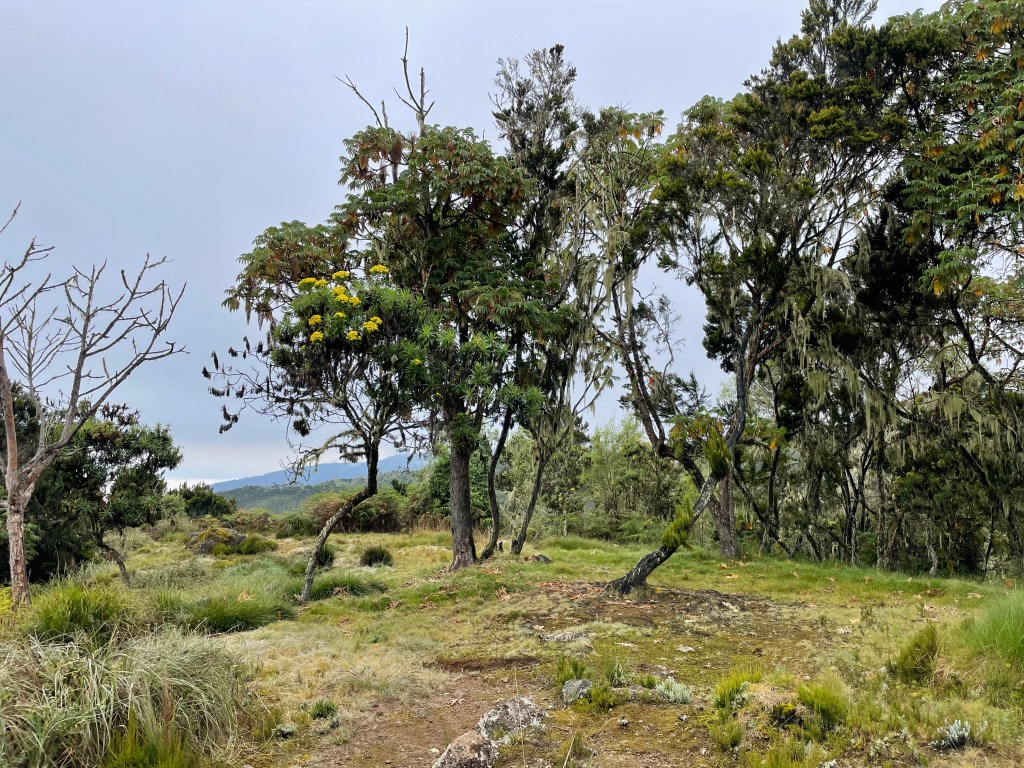
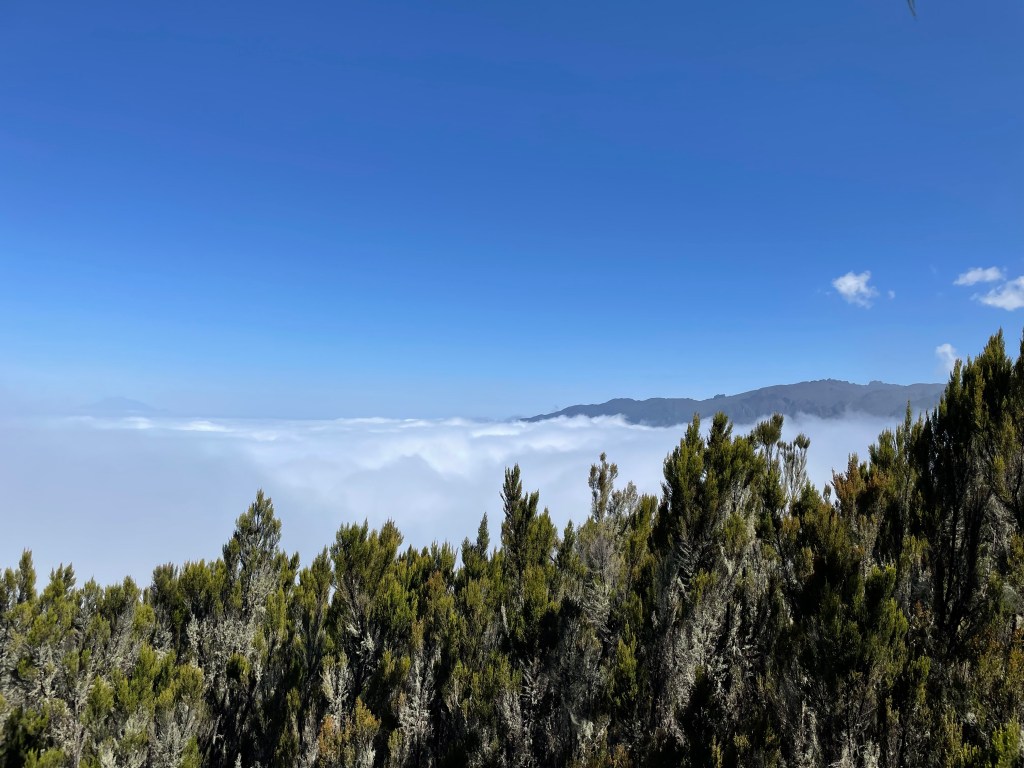
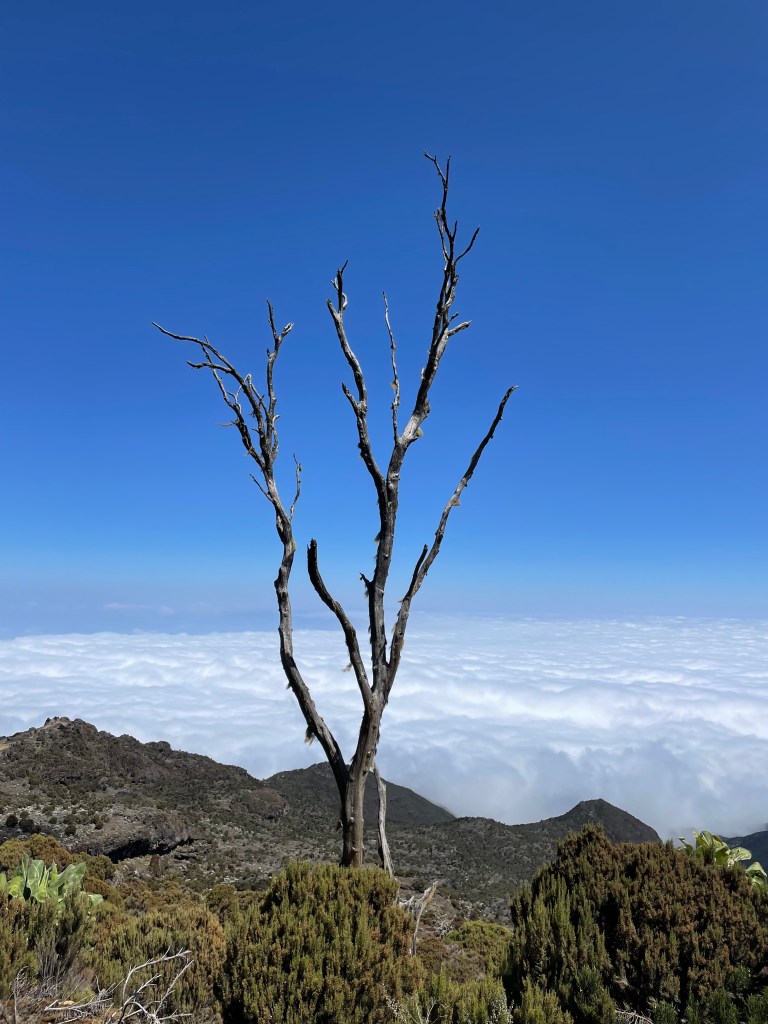
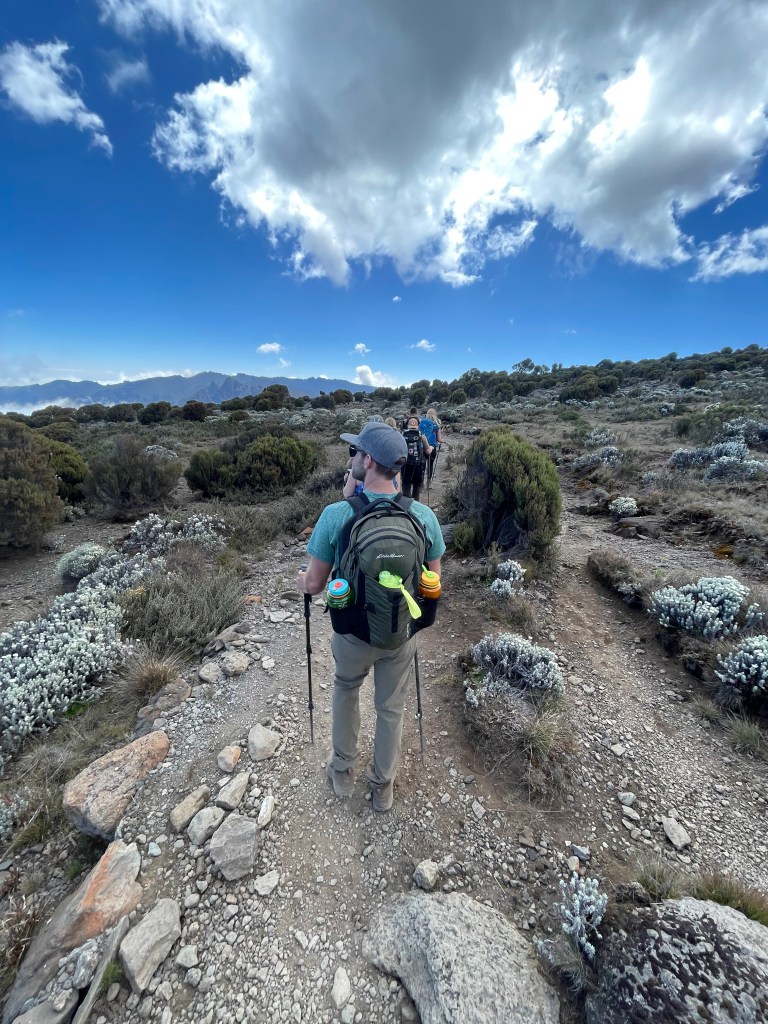
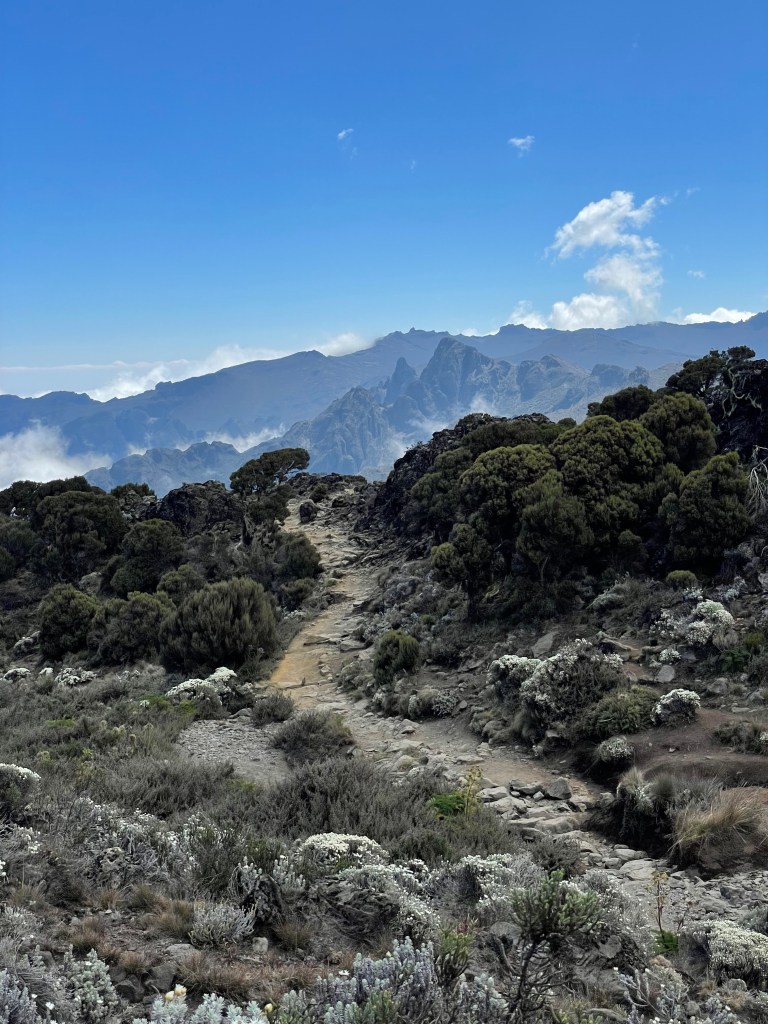
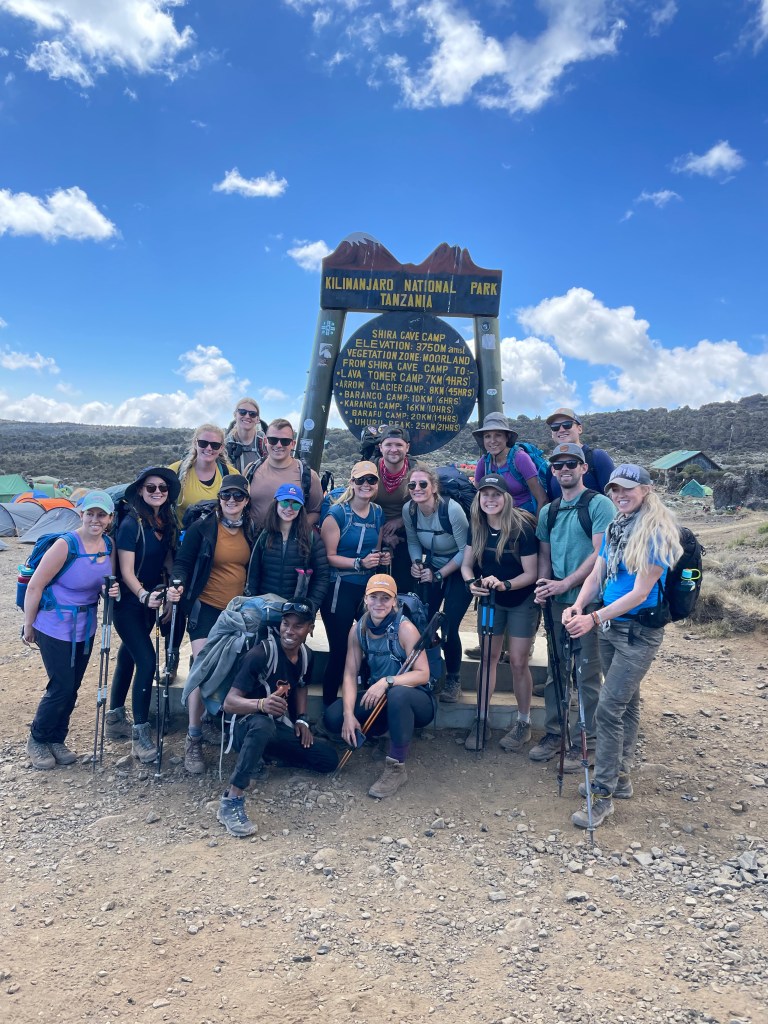
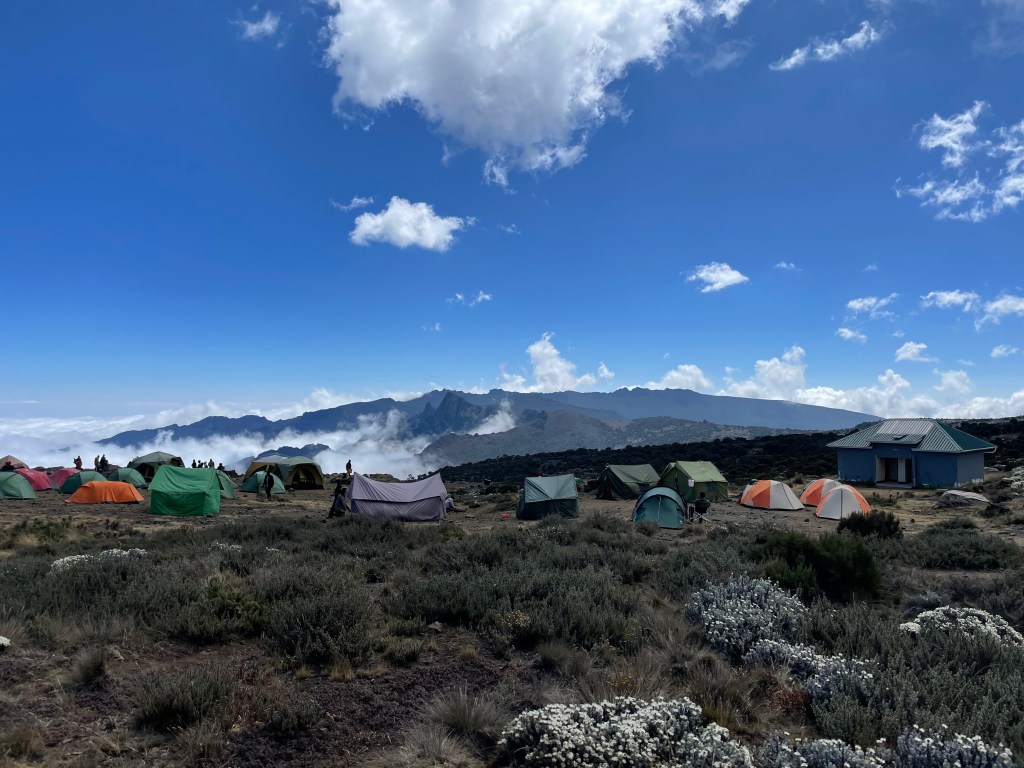
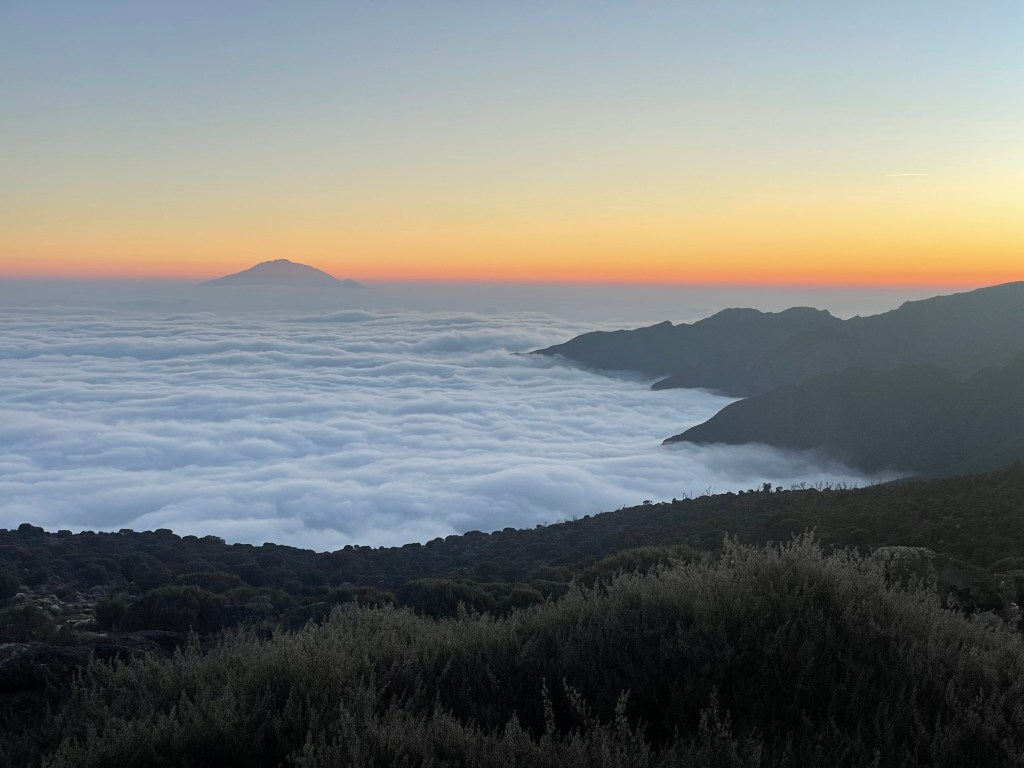
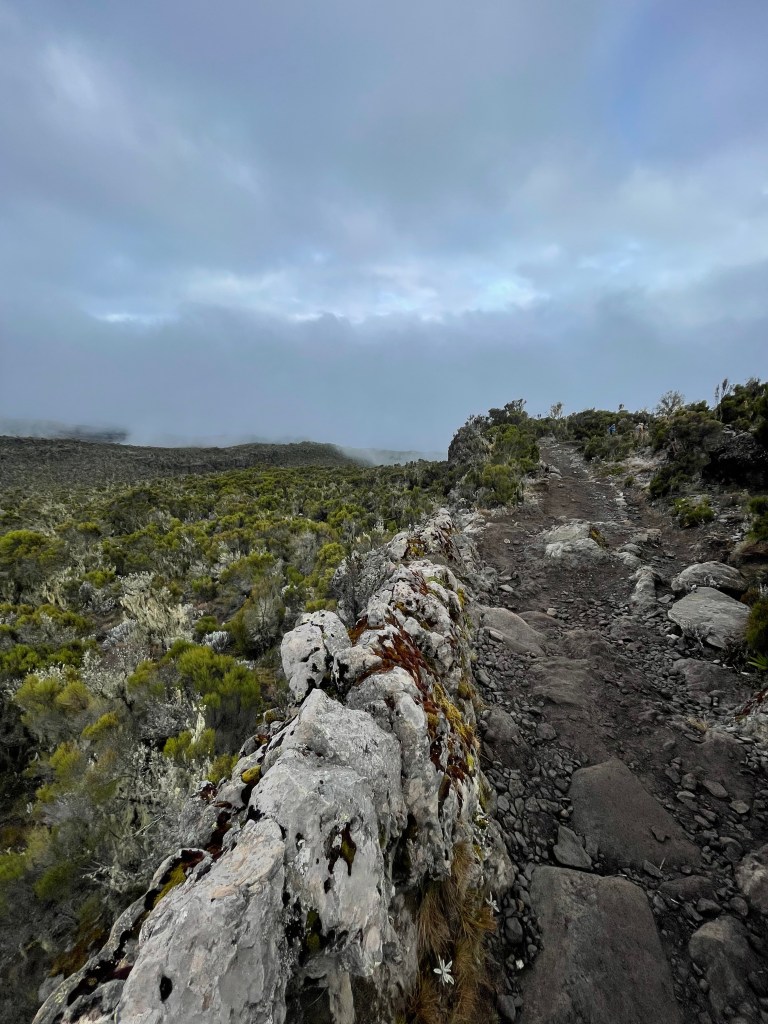
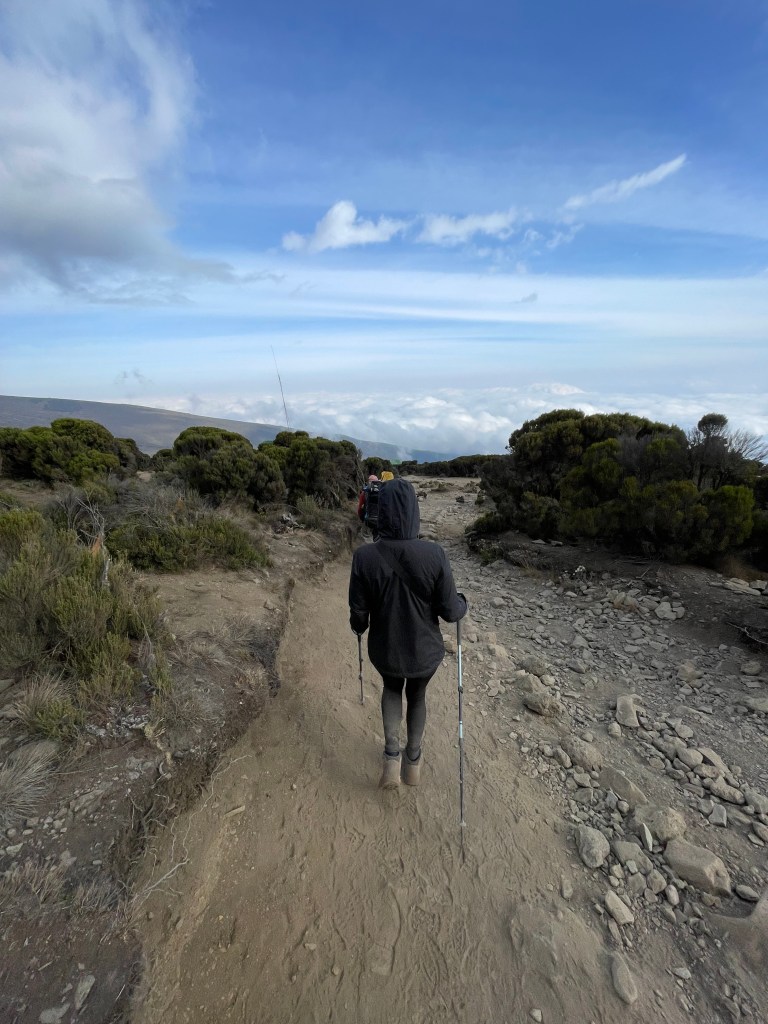
We leave the glades of the rain forest and continue on an ascending path up to a steep, rocky ridge. On the Shira Plateau, we pass through heather and open moorlands, then cross a large river gorge to Shira 2 Camp.
DAY 3
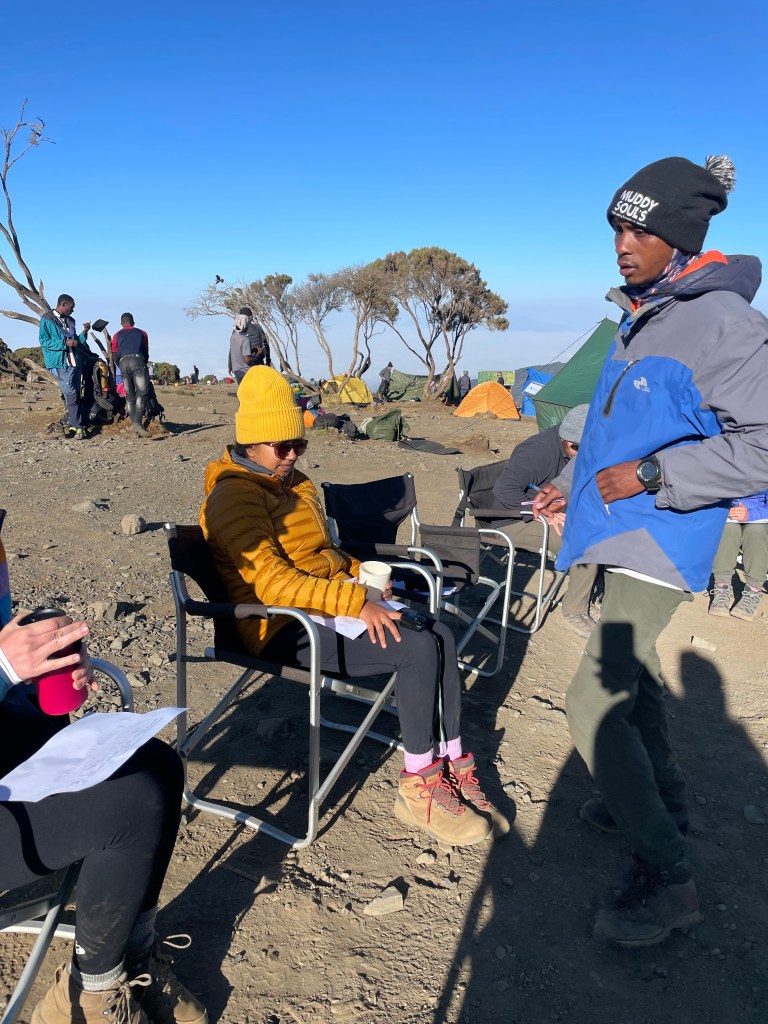
Photos below are from the morning at camp to the Lava Tower. Every morning they would check out O2 levels and Heart Rate.
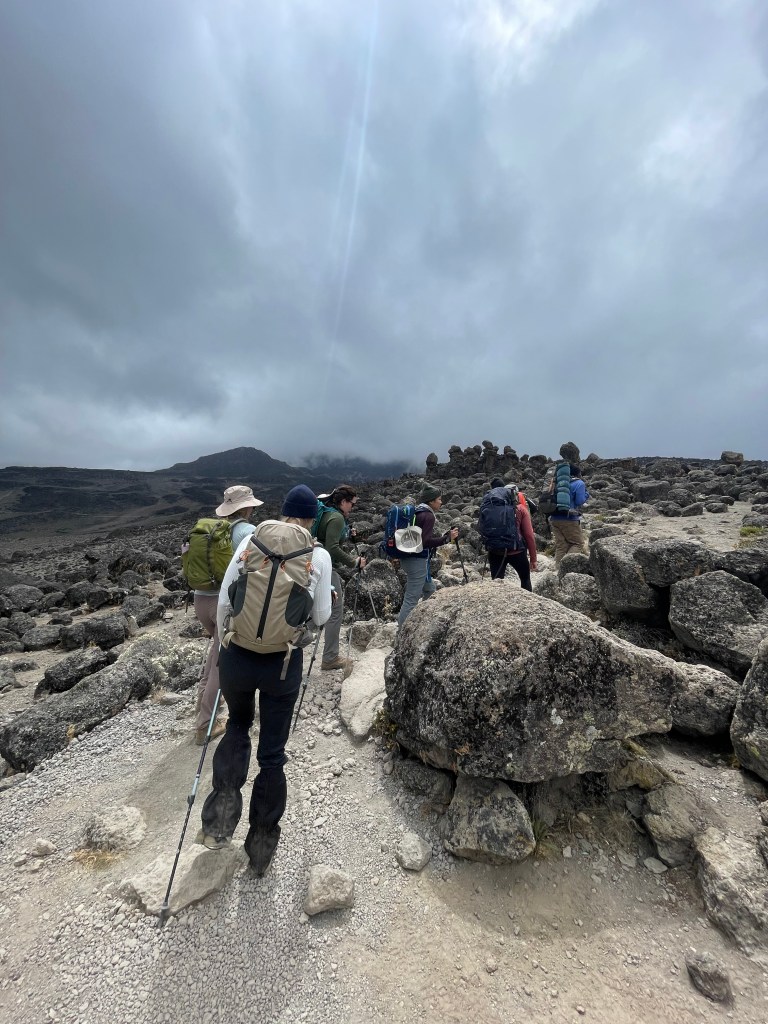


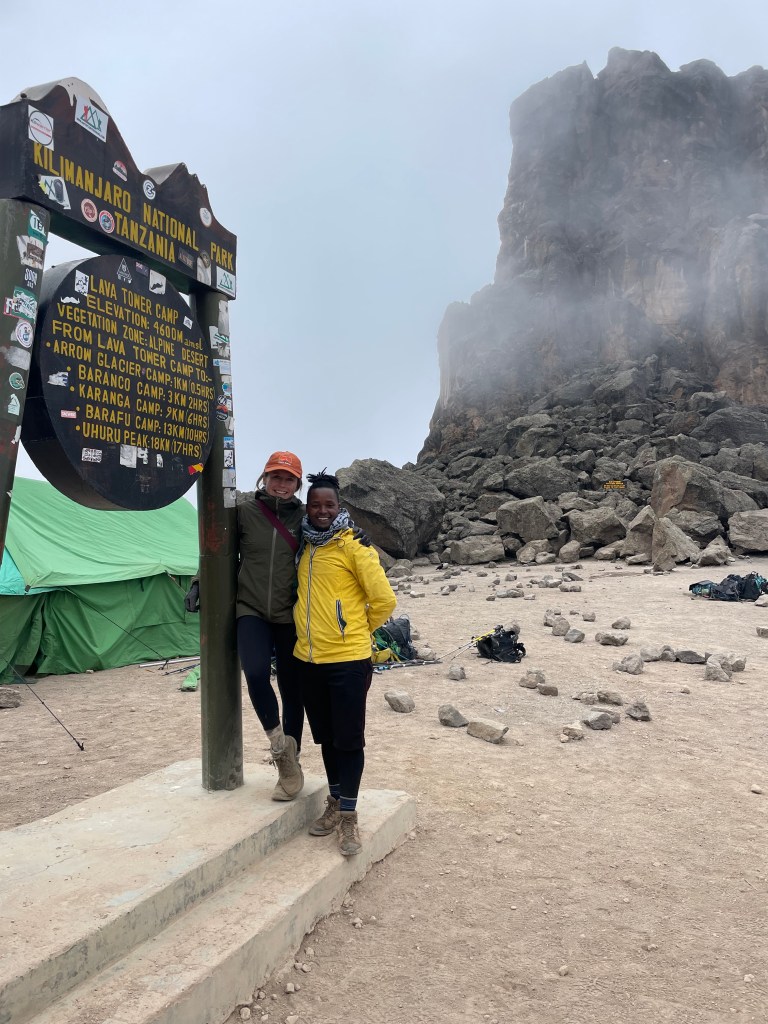


Shira 2 Camp to Lava Tower
Elevation: 12,500 ft to 15,190 ft
Distance: 7 km
Hiking Time: 4-5 hours
Habitat: Alpine Desert


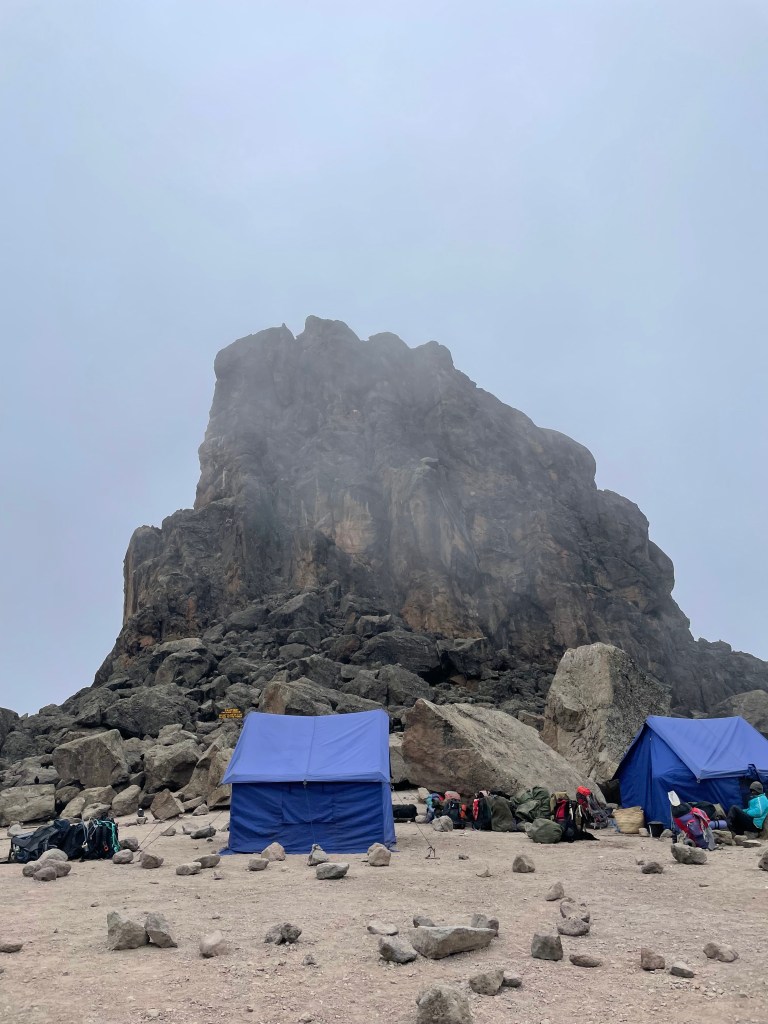
Lava Tower to Barranco Camp
Elevation: 15,190 ft to 13,044 ft
Distance: 3 km
Hiking Time: 2-3 hours
Habitat: Alpine Desert
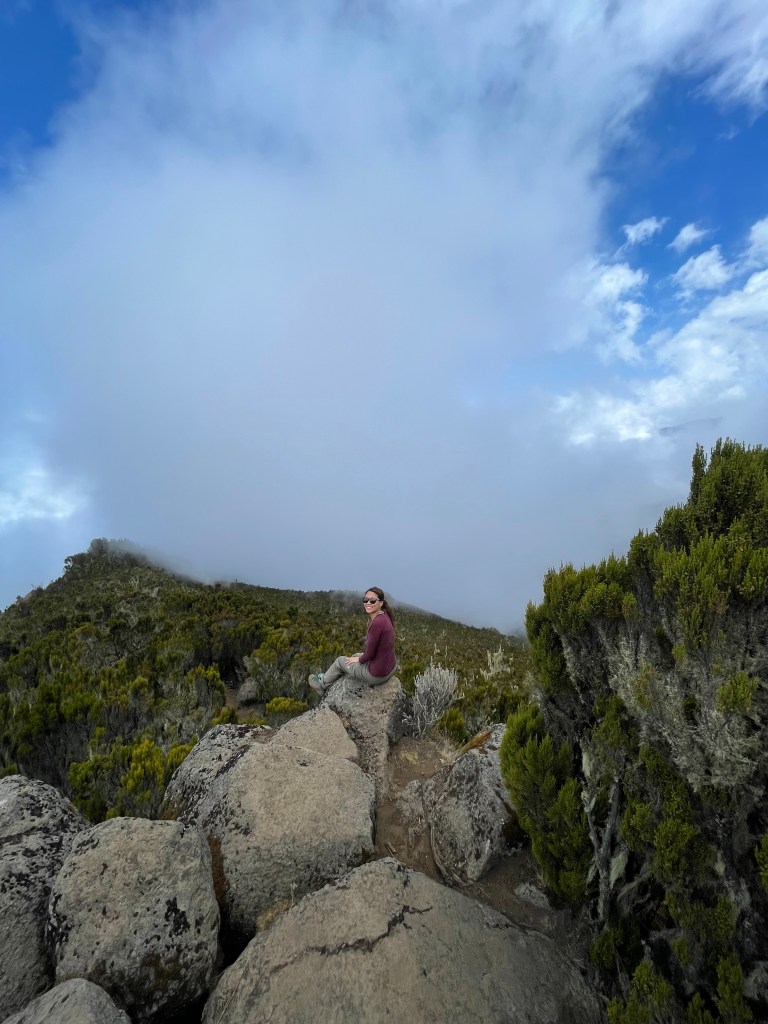
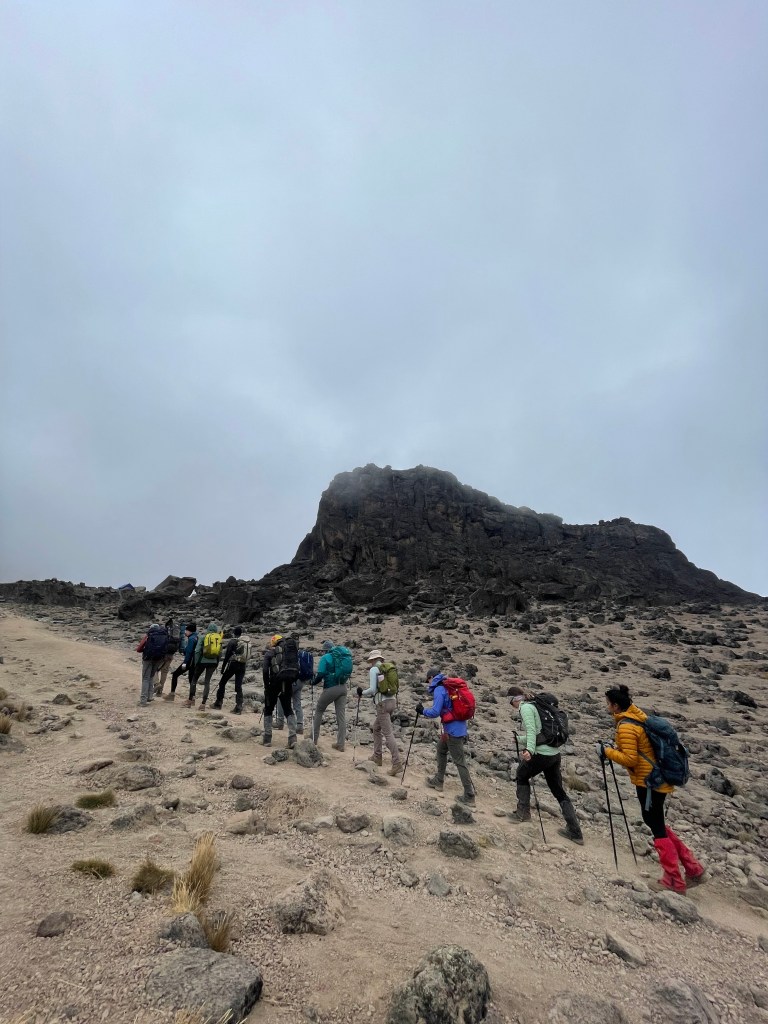
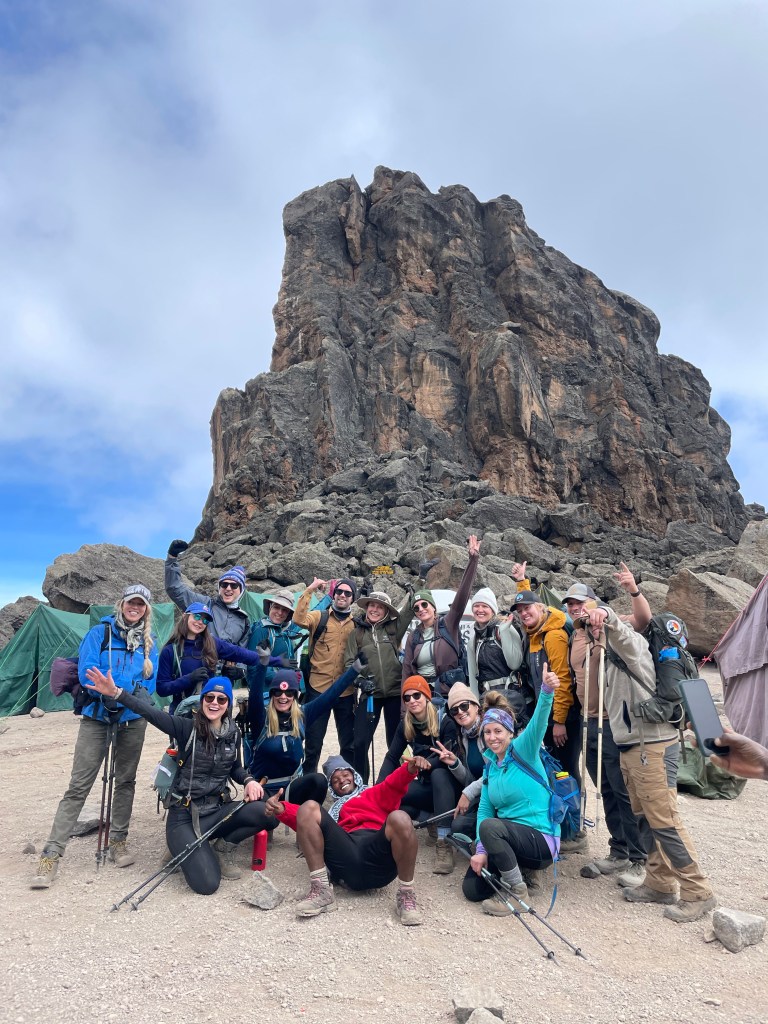
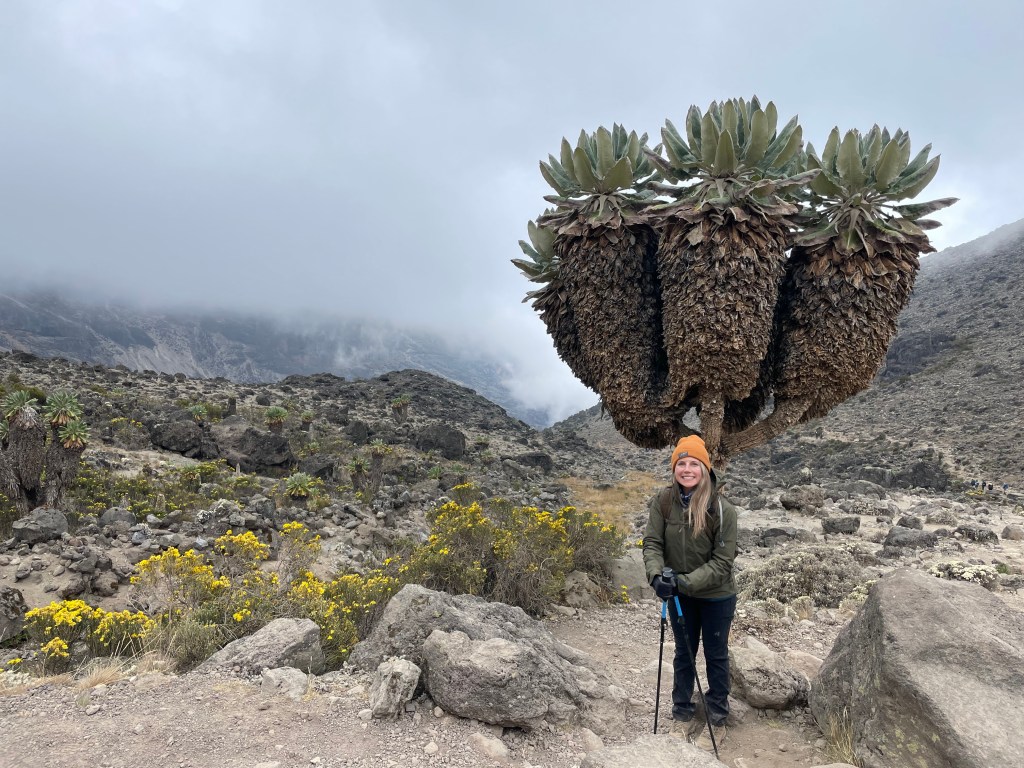
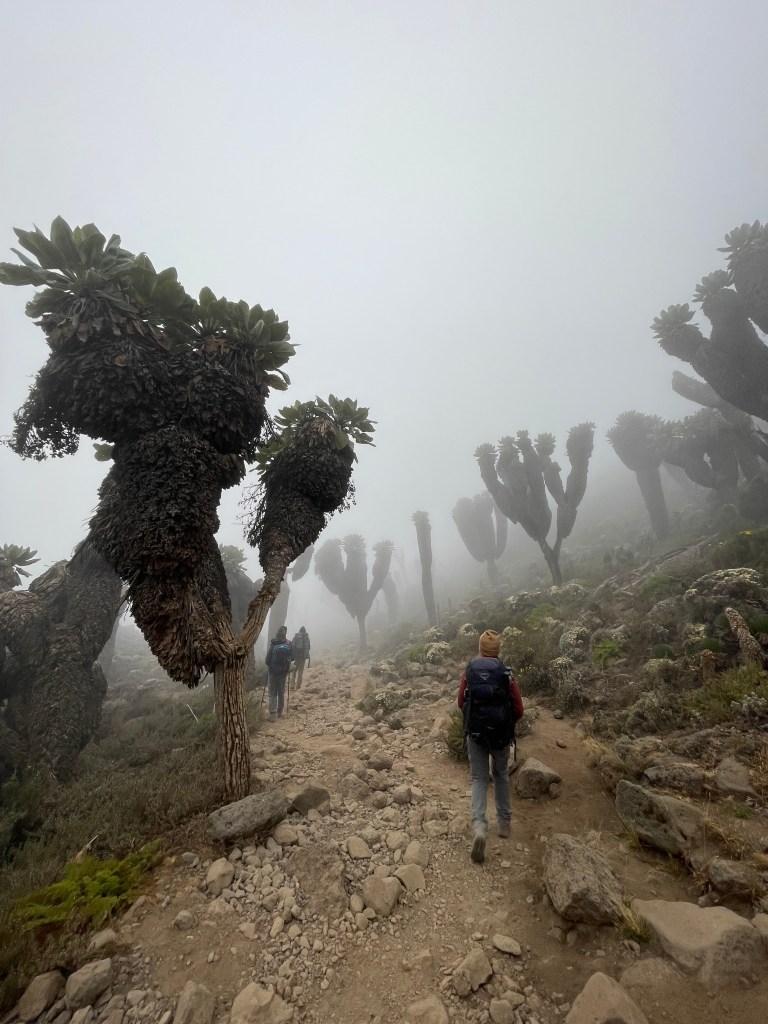
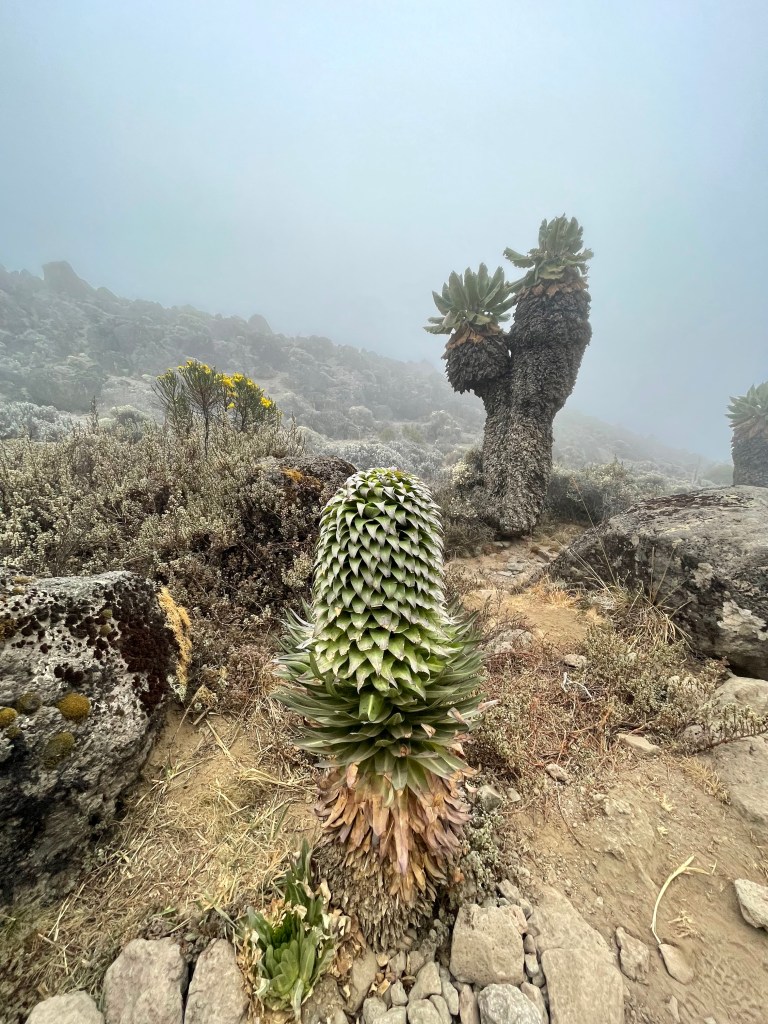
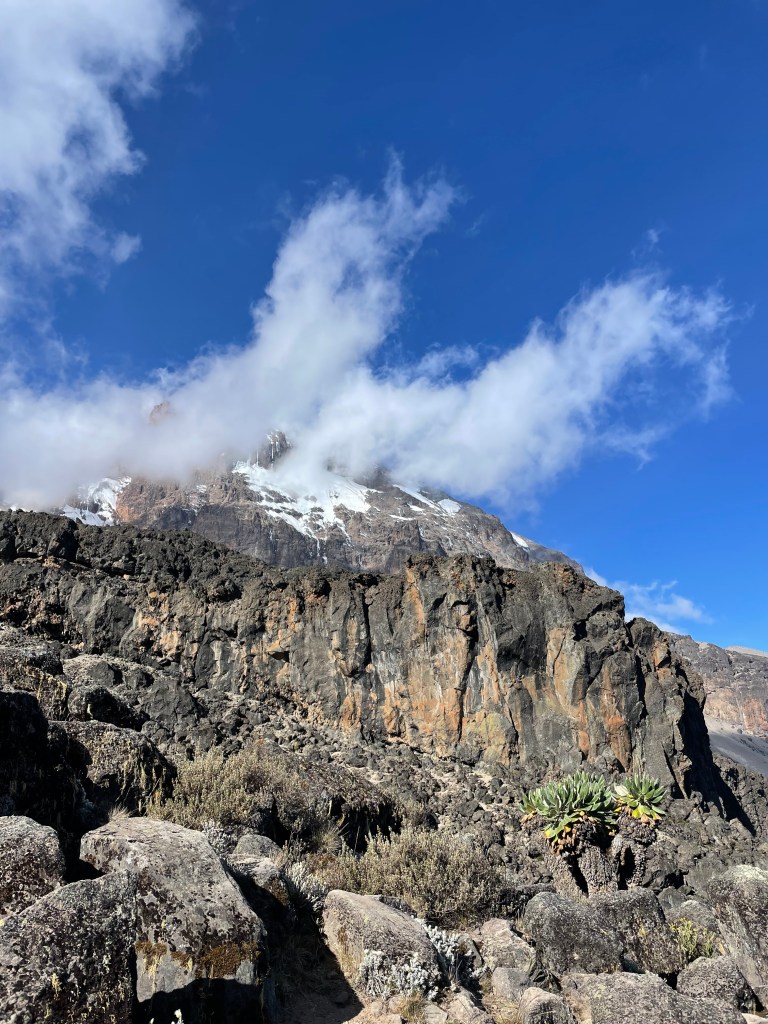
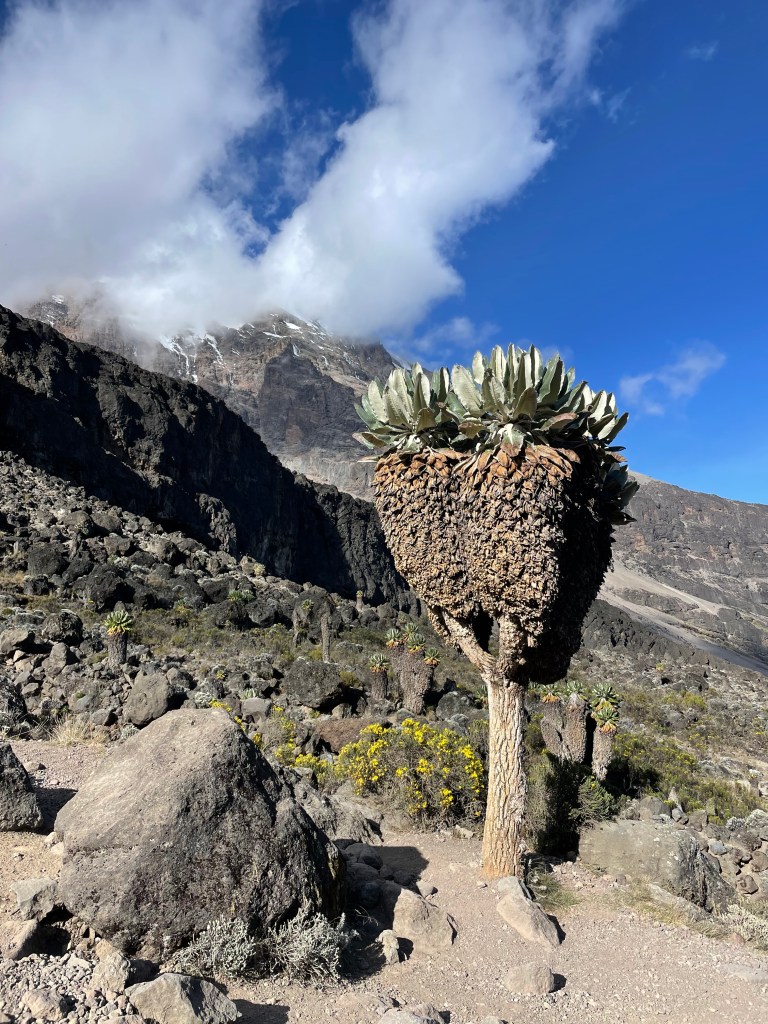
We continue to the east up a ridge and then head southeast towards the Lava Tower – a 300 ft tall volcanic rock formation. We descend down to Barranco Camp through the strange but beautiful Senecio Forest to an altitude of 13,000 ft. Although you begin and end the day at the same elevation, the time spent at higher altitude is very beneficial for acclimatization.
DAY 4
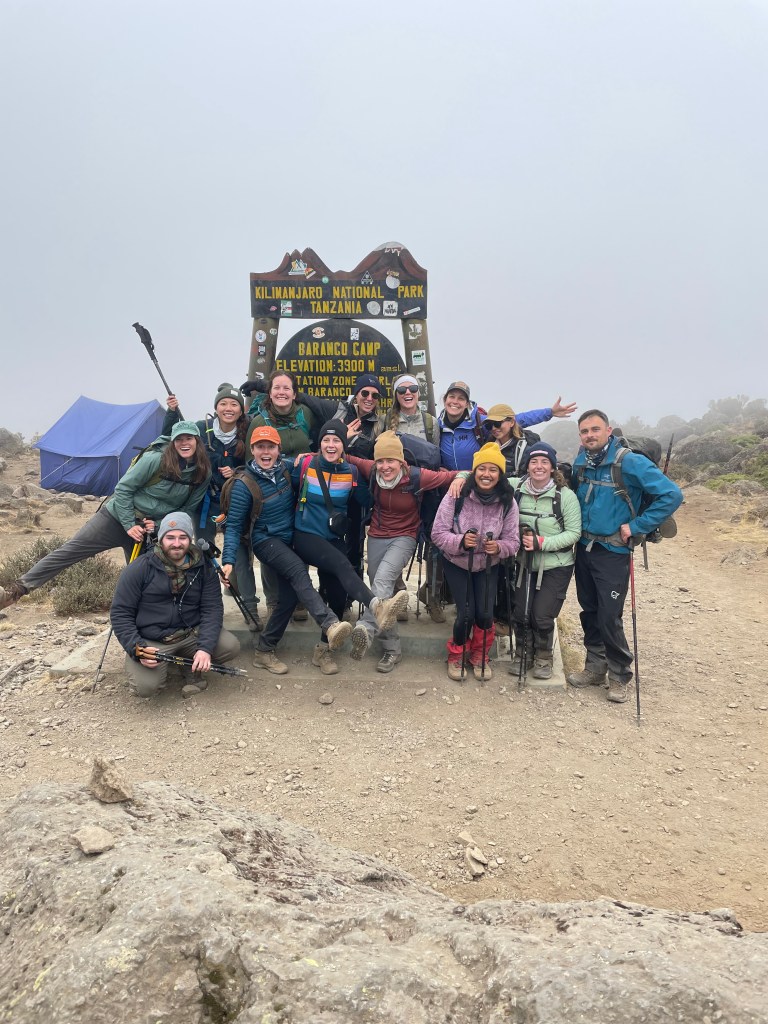
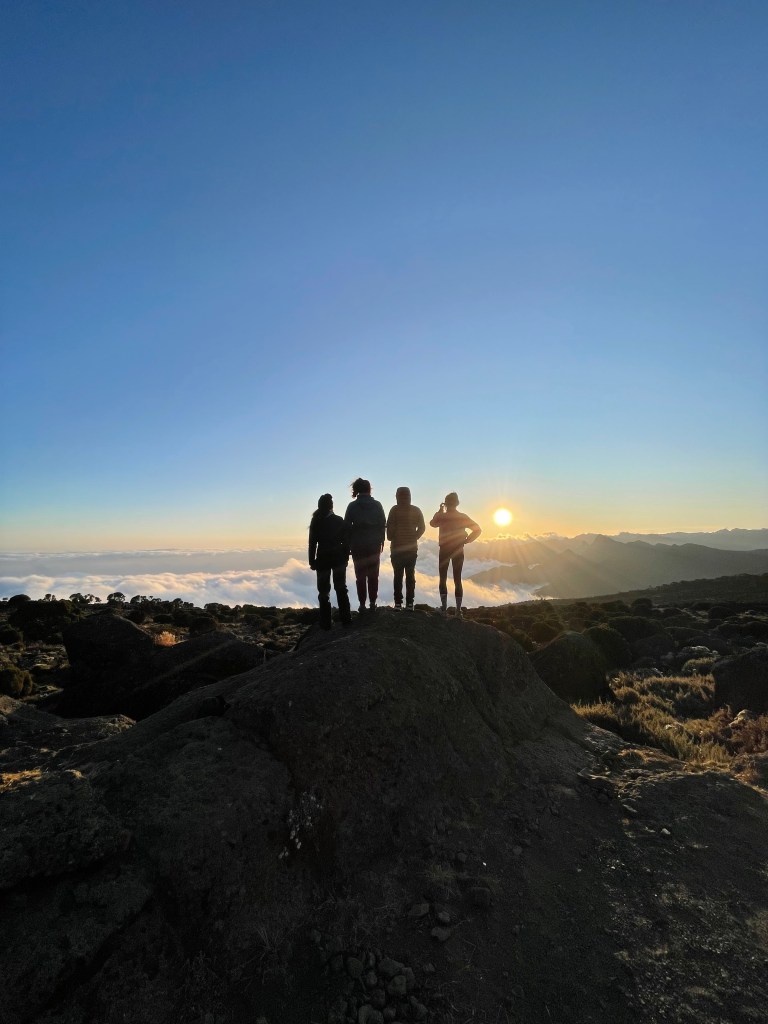
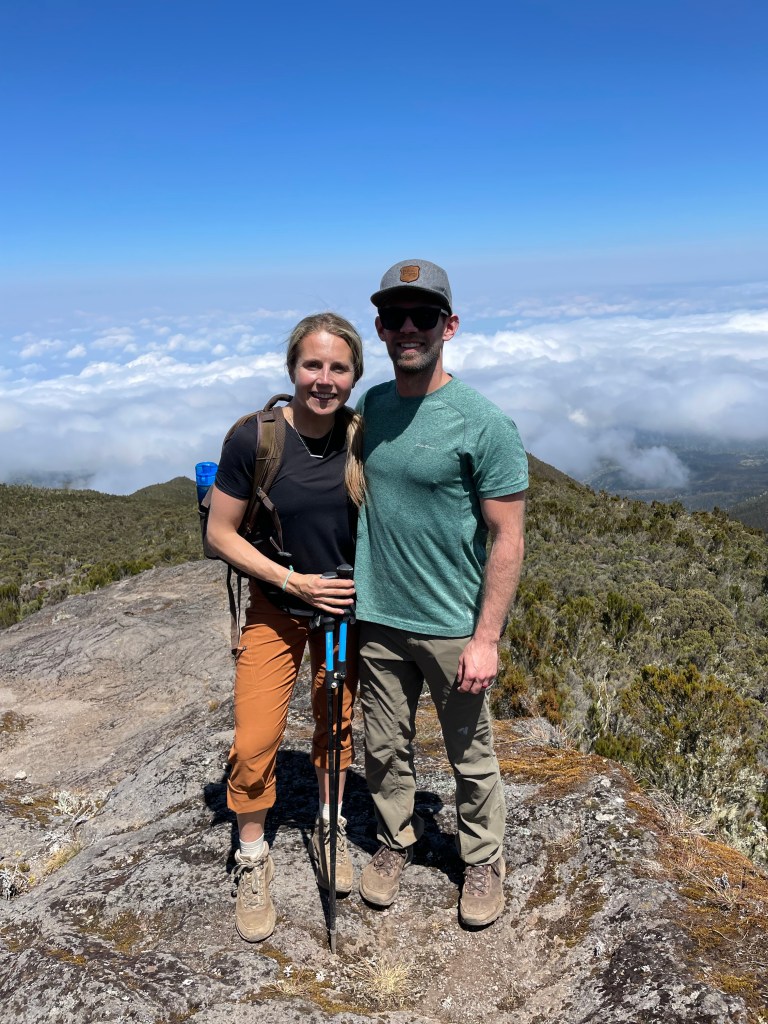
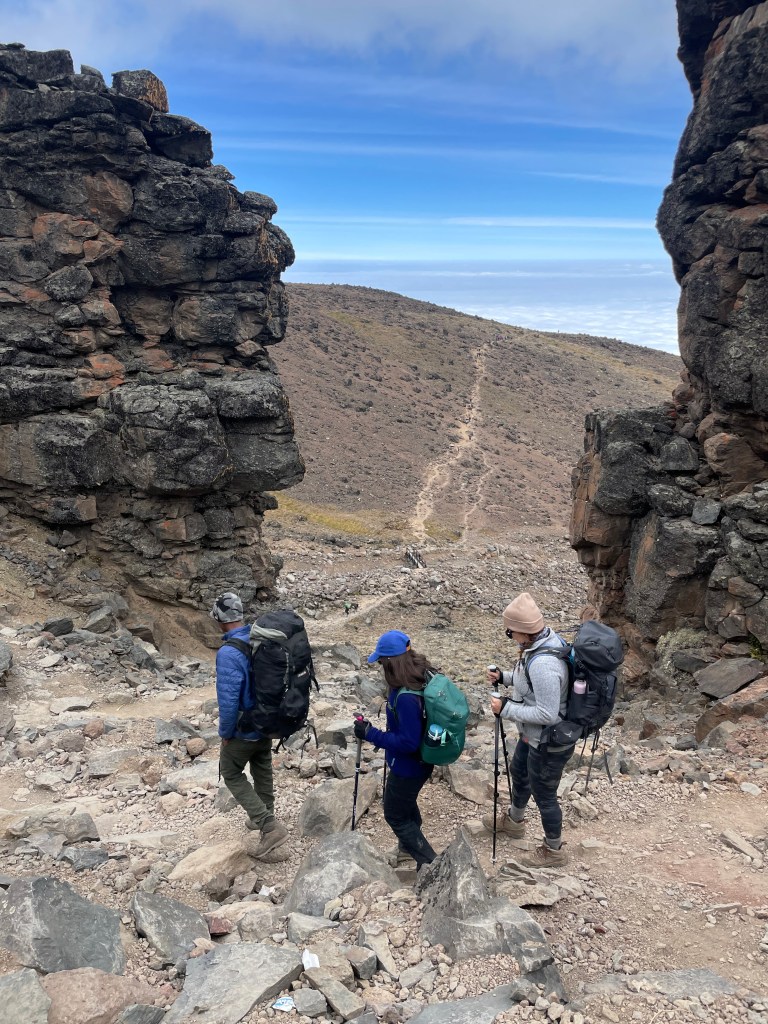
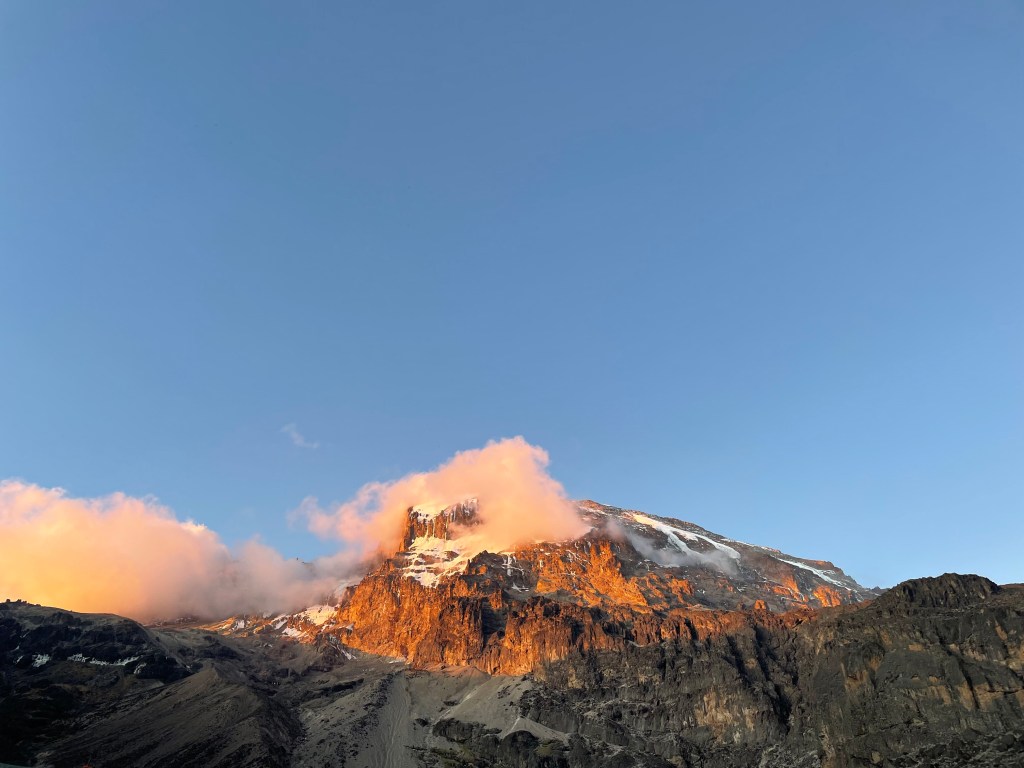
This was one of my favourite days. I loved the Barranco wall! We left camp a little bit later in the morning to allow for other groups to get through the wall, that way we wouldn’t have to wait for them. It was a shorter day anyways to the next camp, so made sense to wait longer.
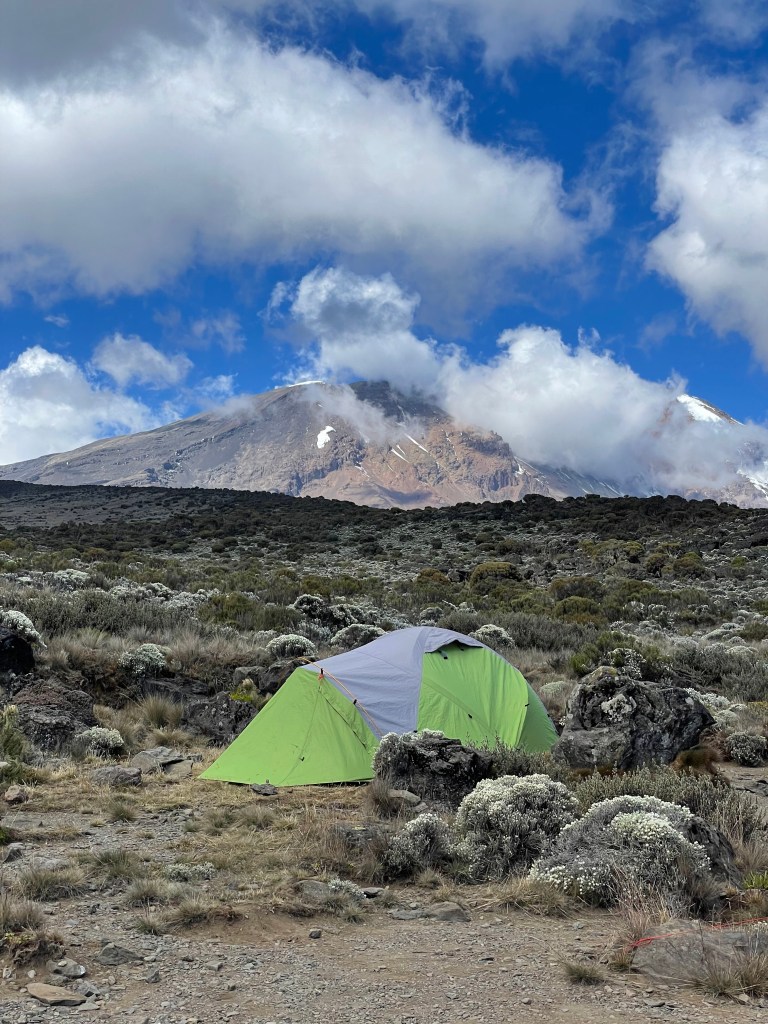
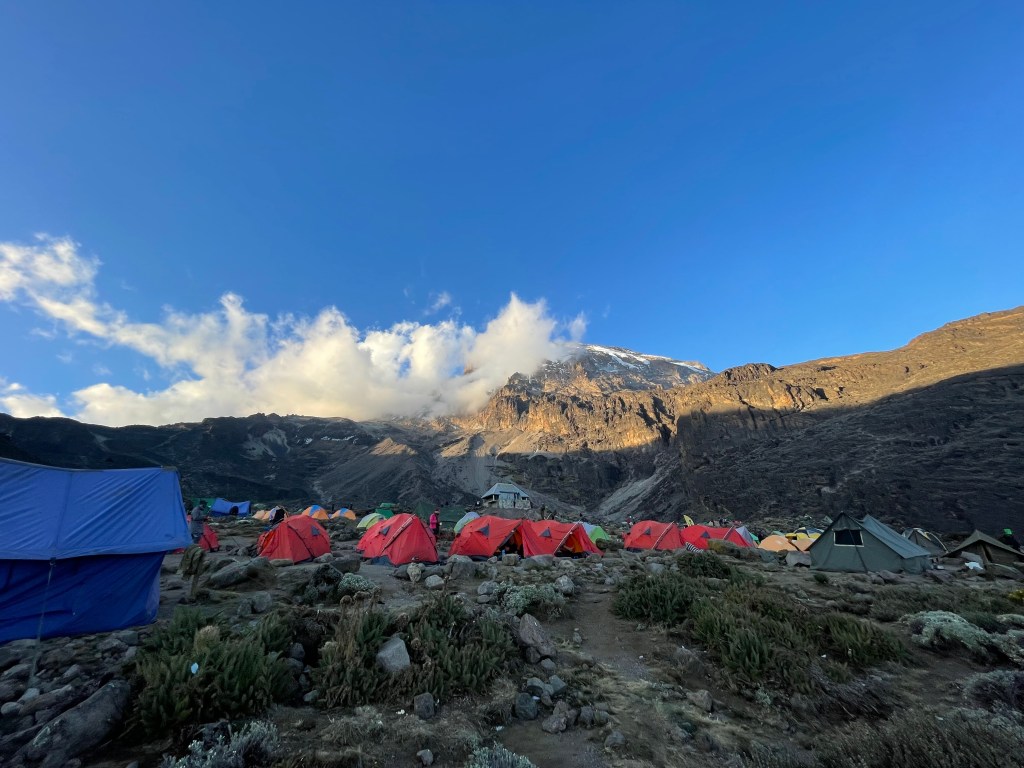
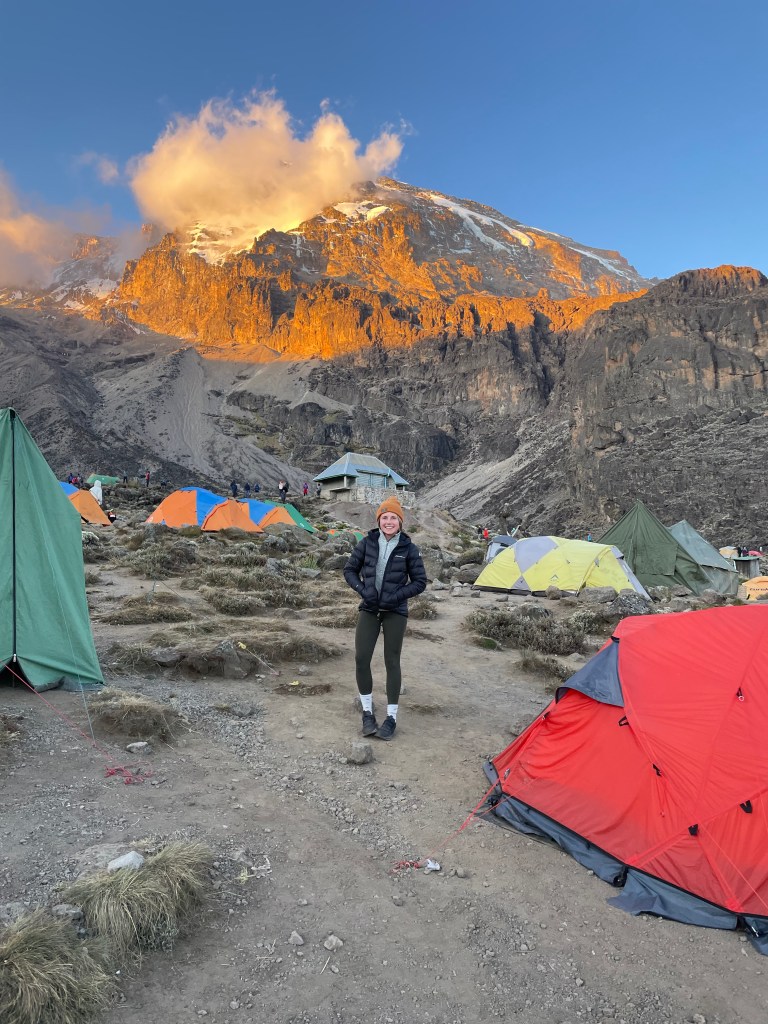
Below are photos from the morning at Barranco Camp.


Barranco Camp to Karanga Camp
Elevation: 13,044 ft to 13,106 ft
Distance: 5 km
Hiking Time: 4-5 hours
Habitat: Alpine Desert
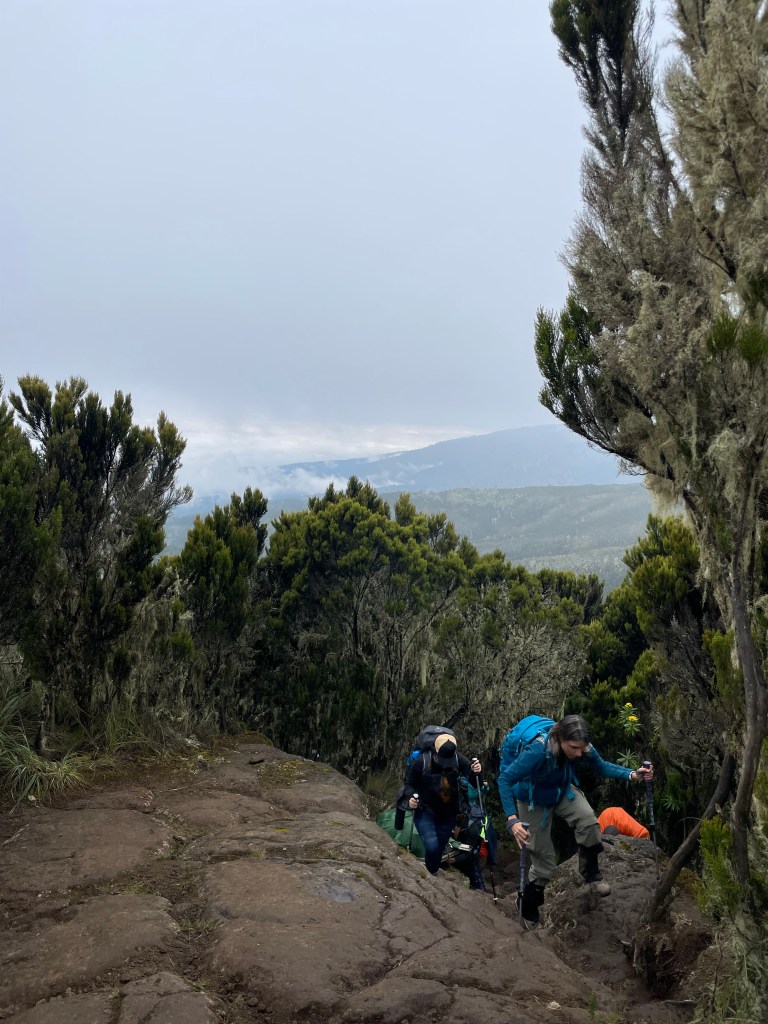
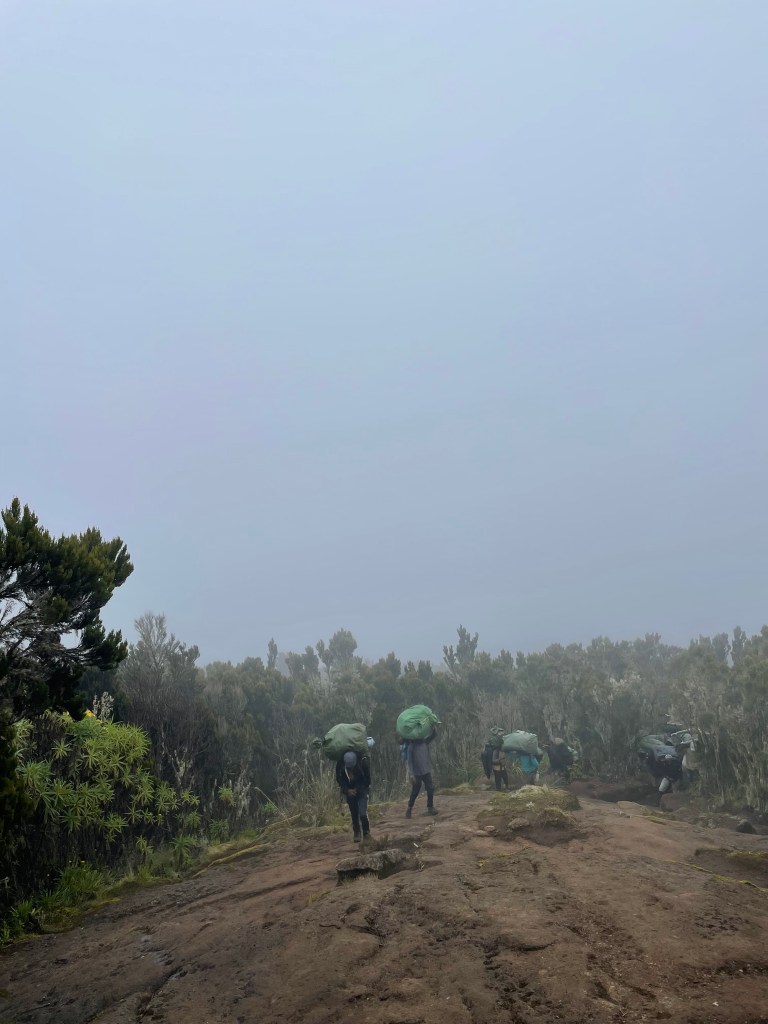
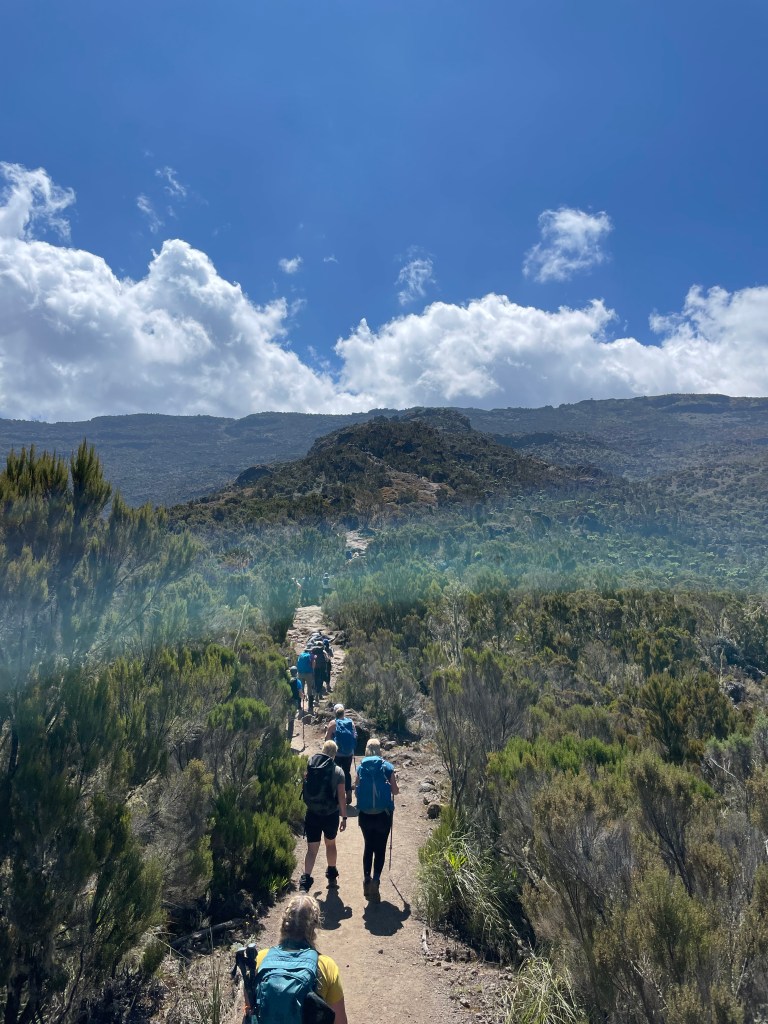
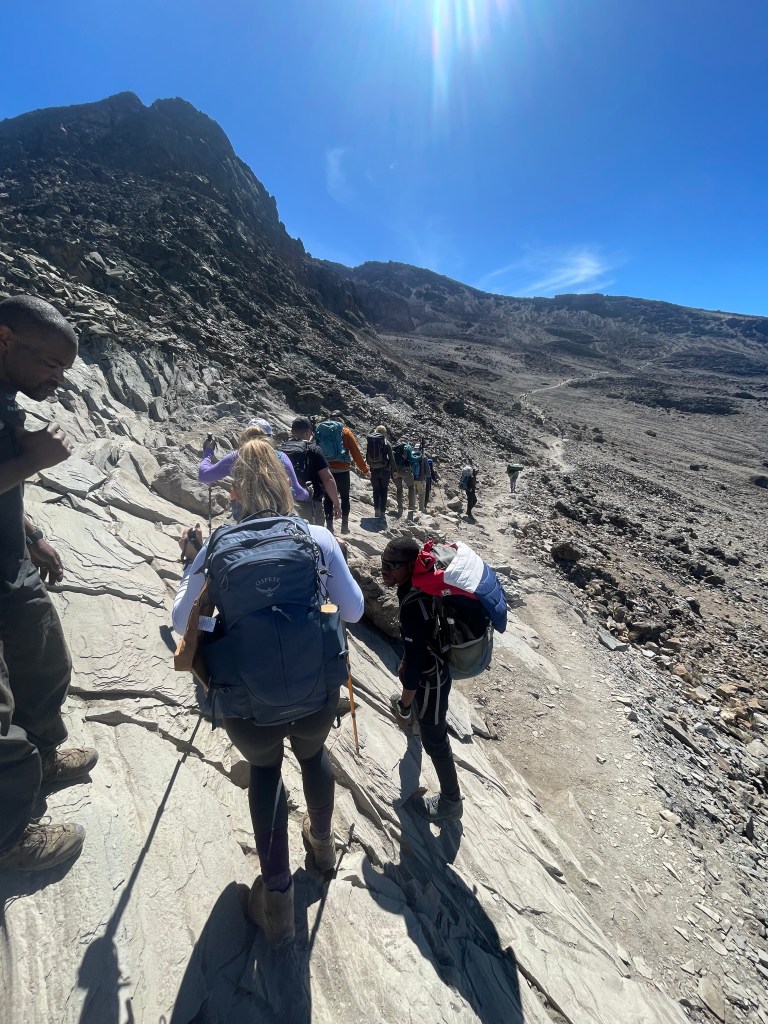
We begin the day by descending into a ravine to the base of the Great Barranco Wall. Then we climb the non-technical but steep, nearly 900 ft cliff. From the top of the Barranco Wall we cross a series of hills and valleys until we descend sharply into Karanga Valley. One more steep climb up leads us to Karanga Camp. This is a shorter day meant for acclimatization.
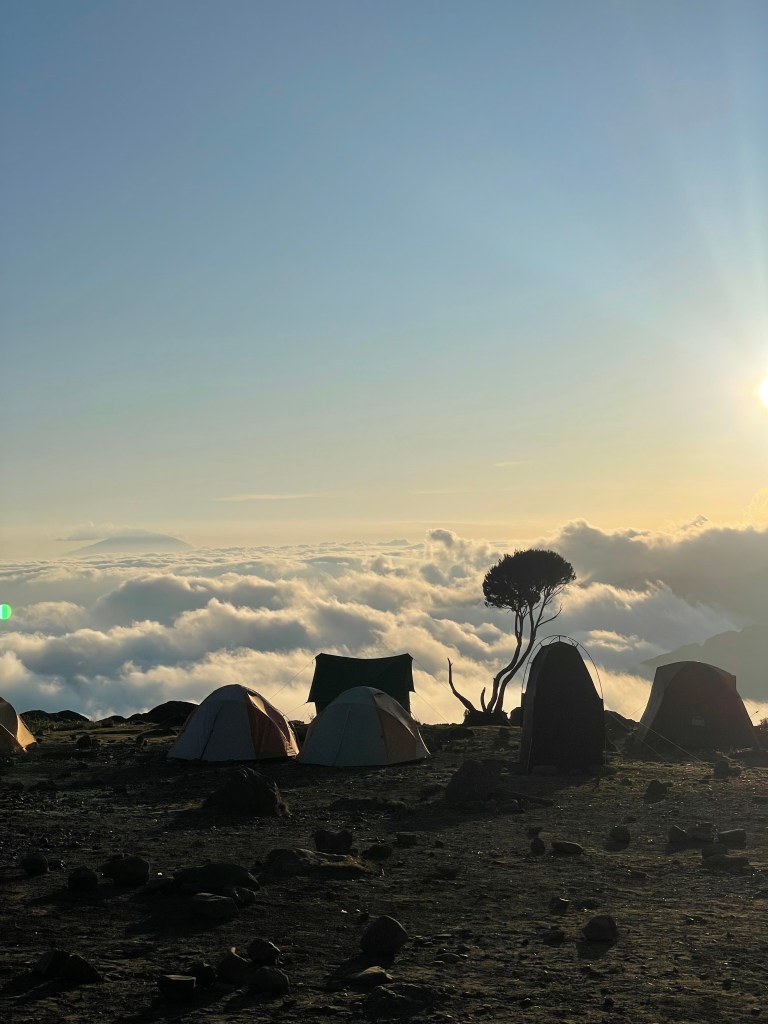
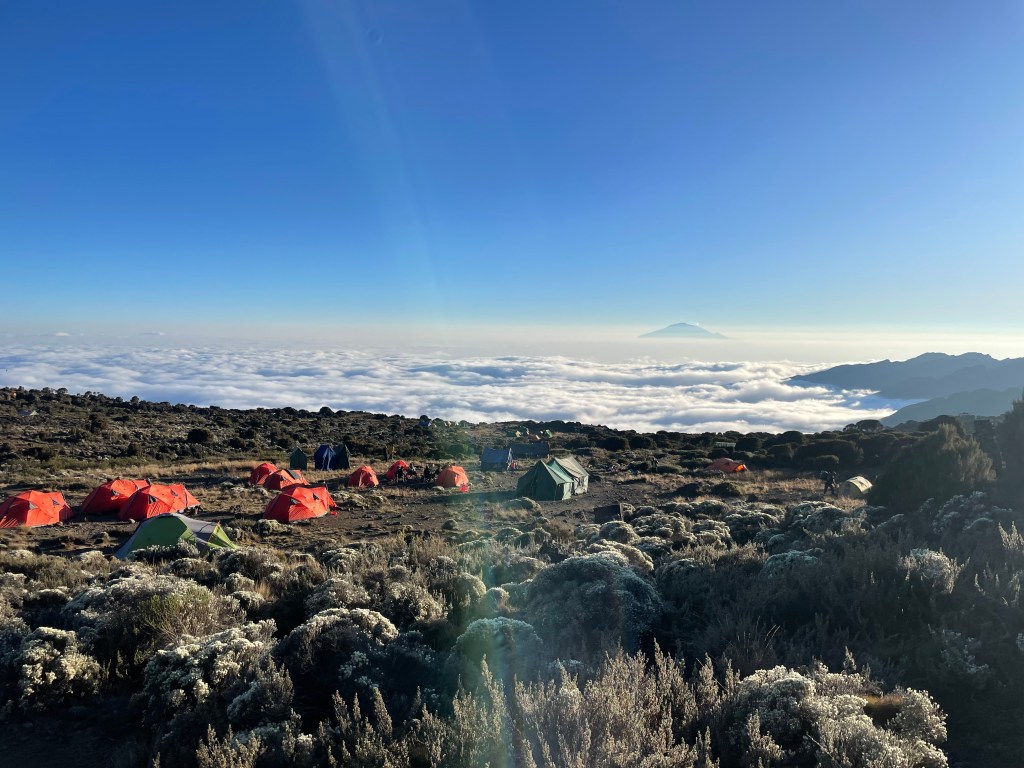
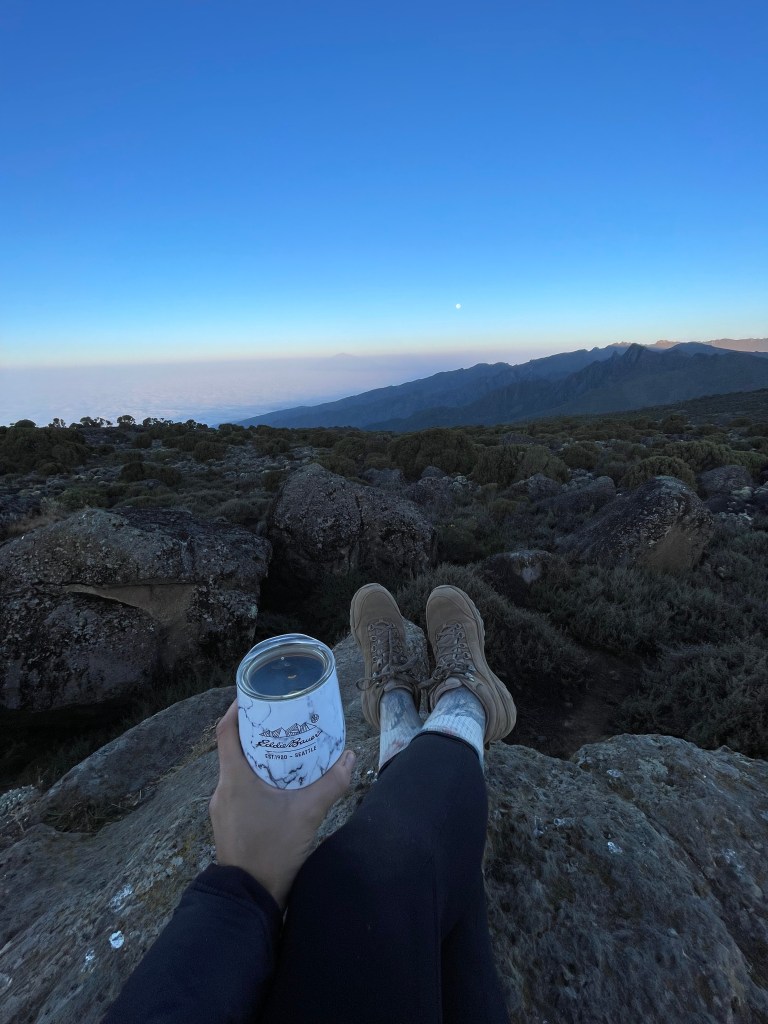
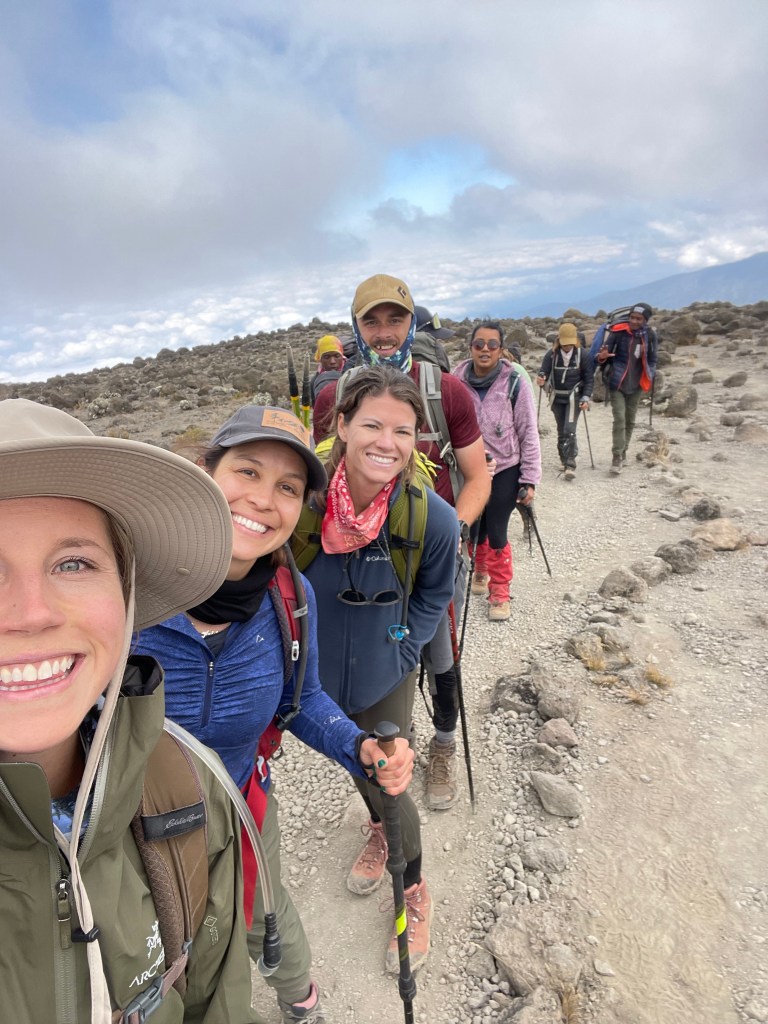
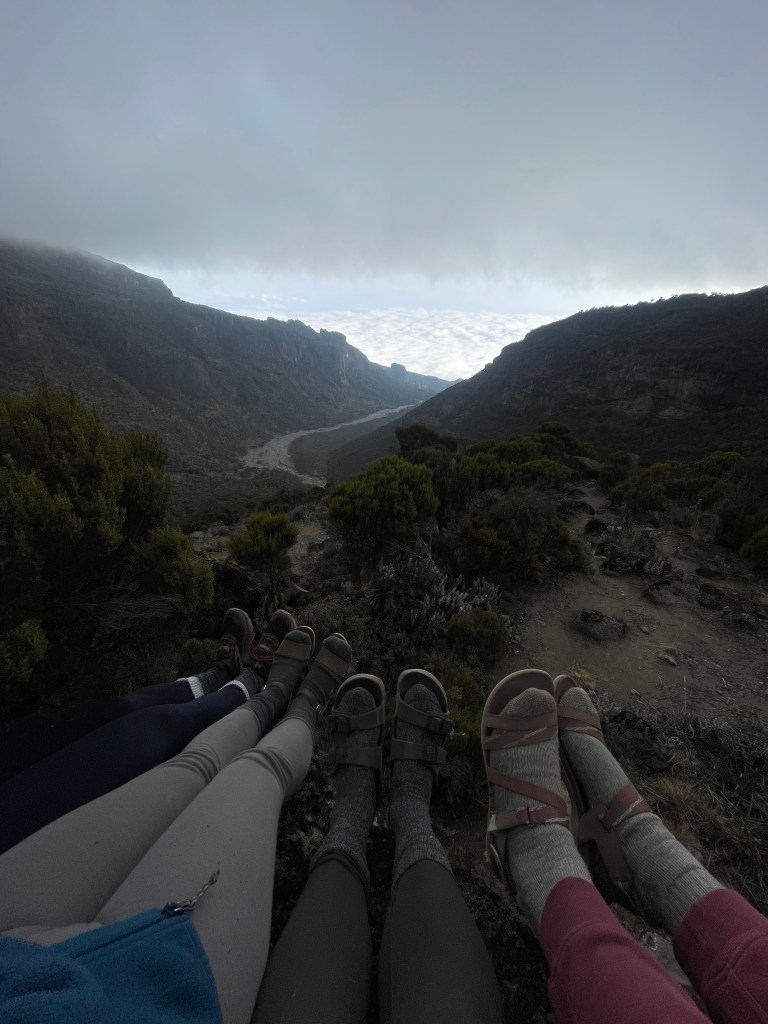
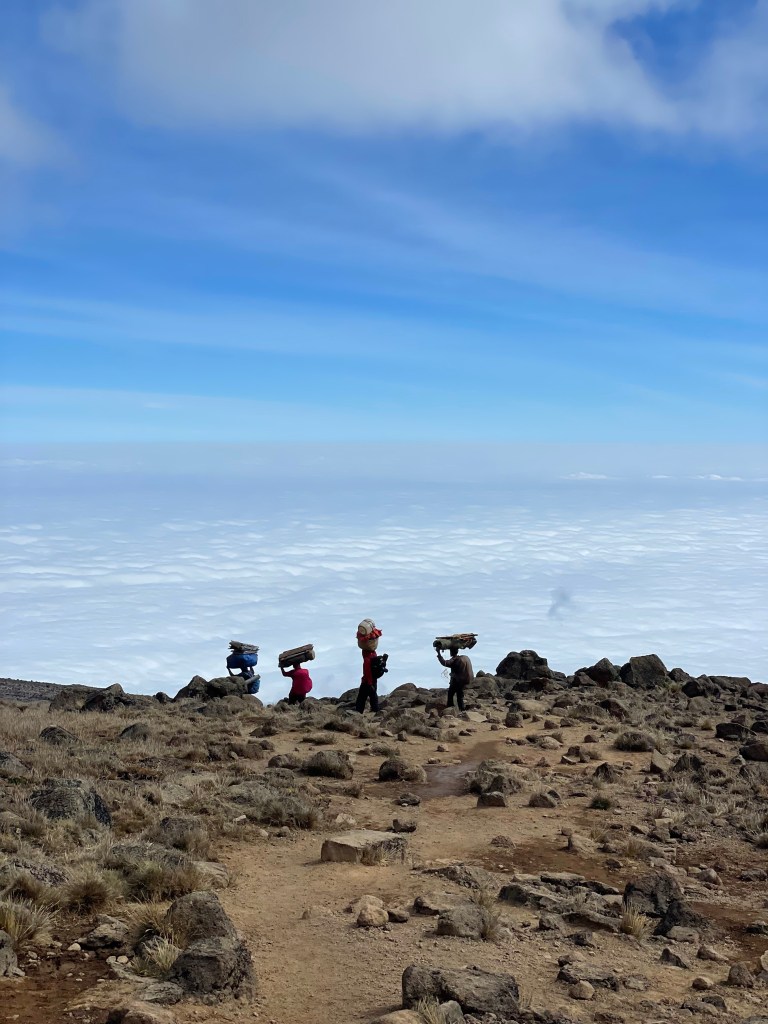
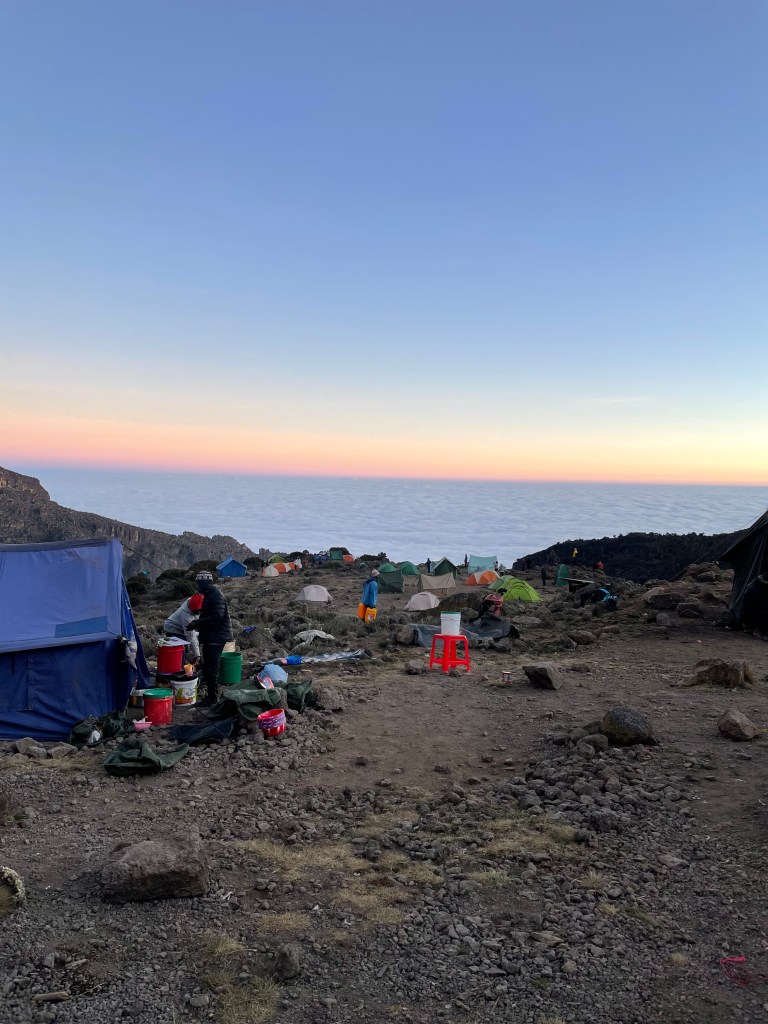
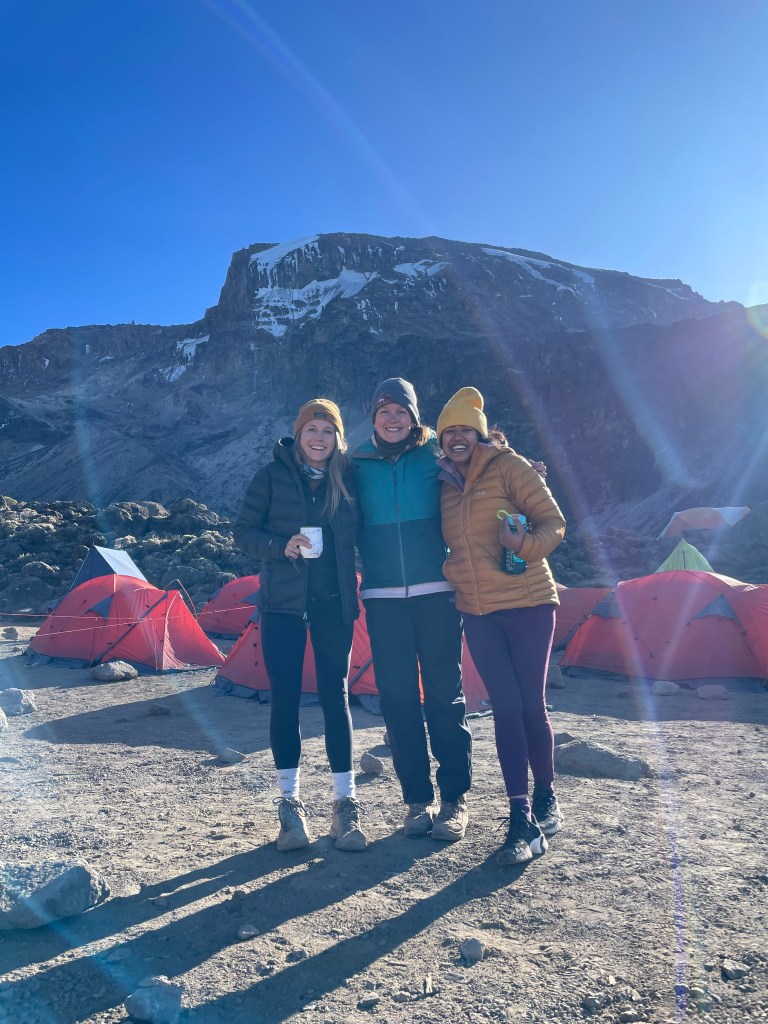
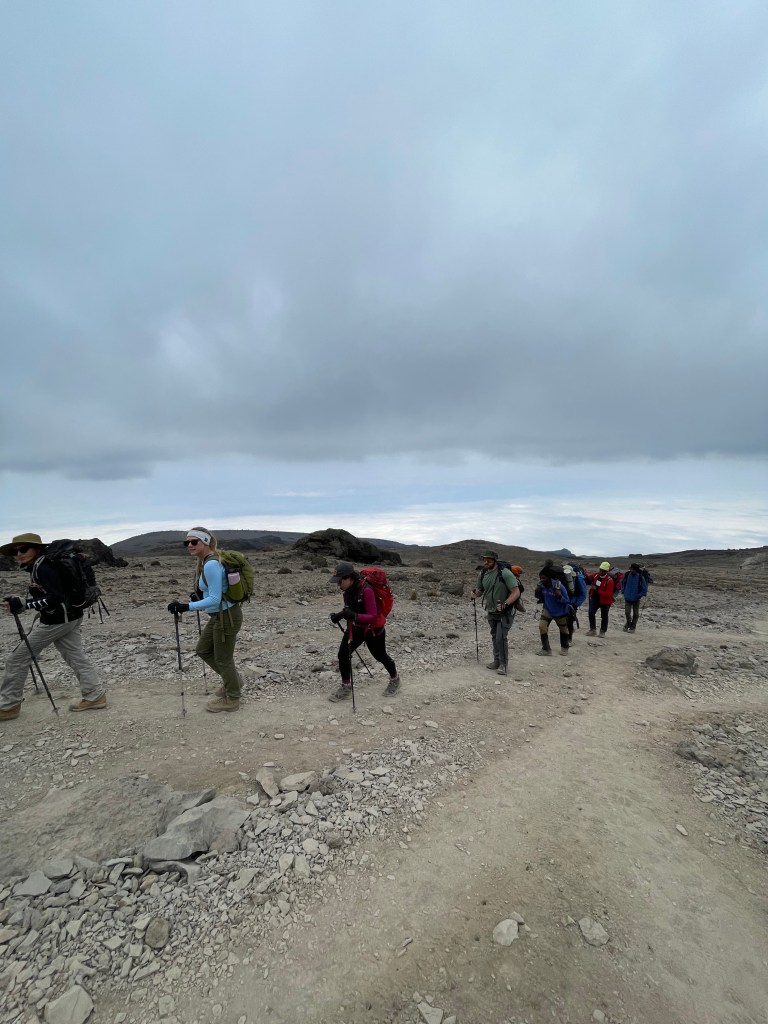
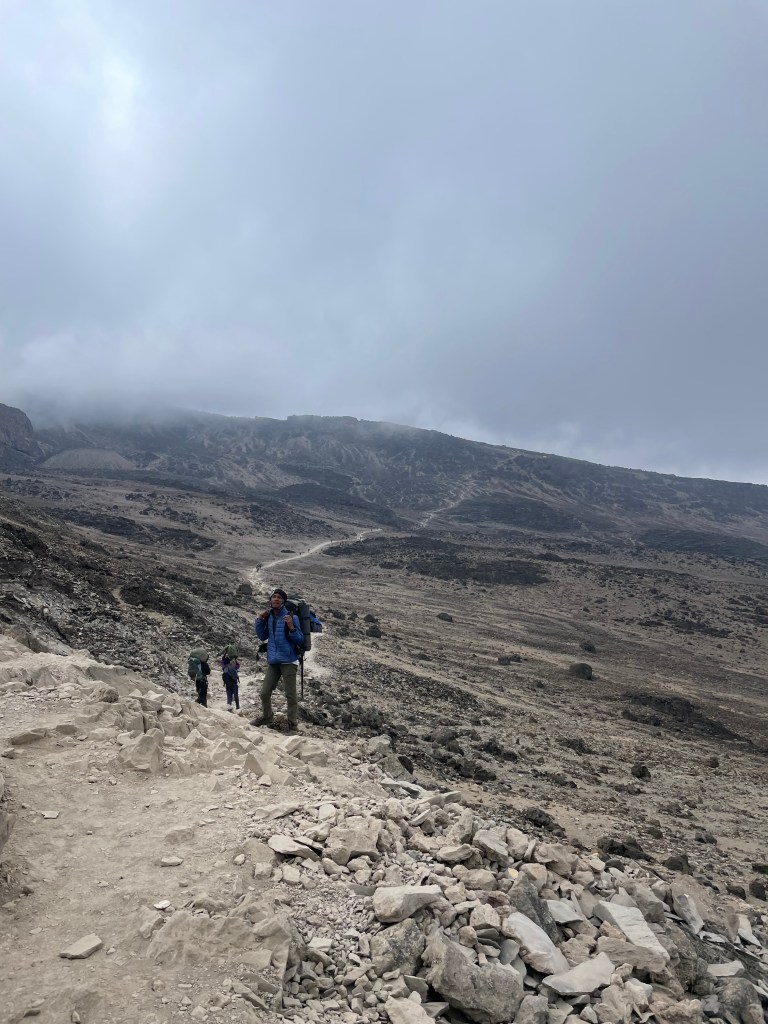
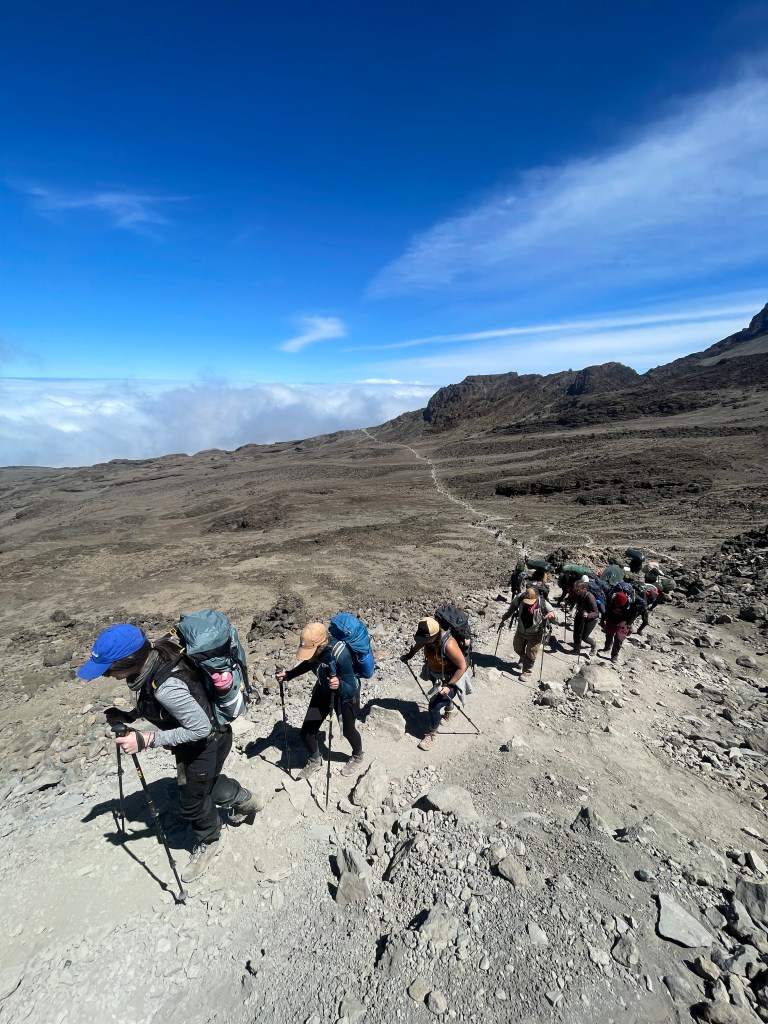
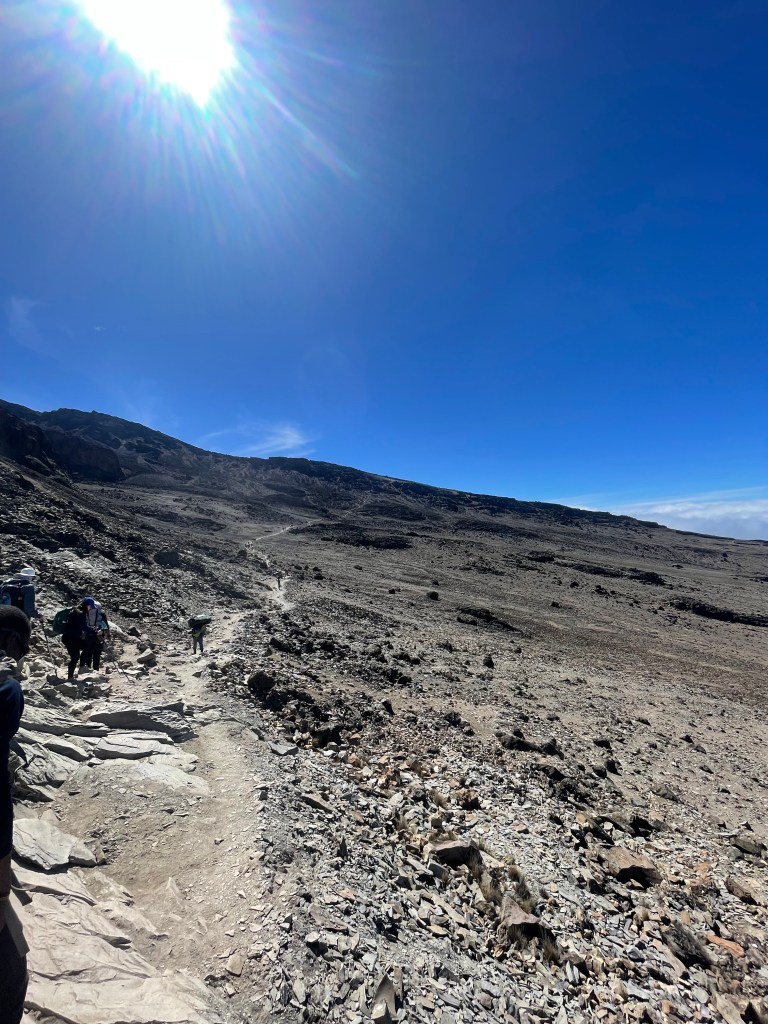
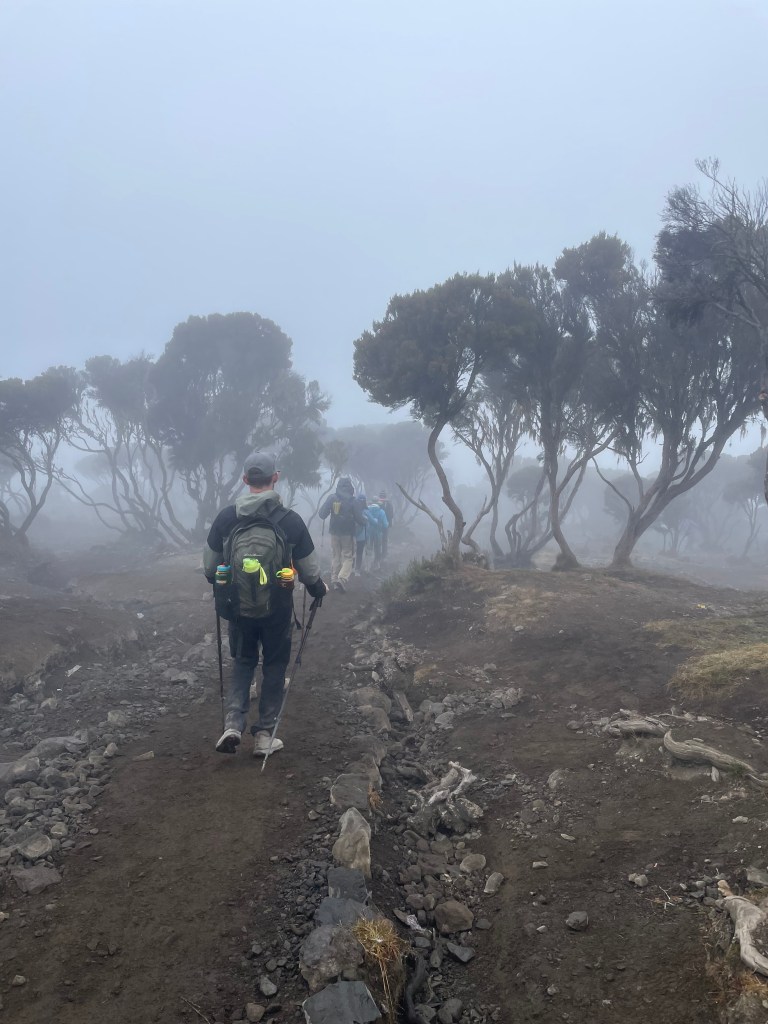
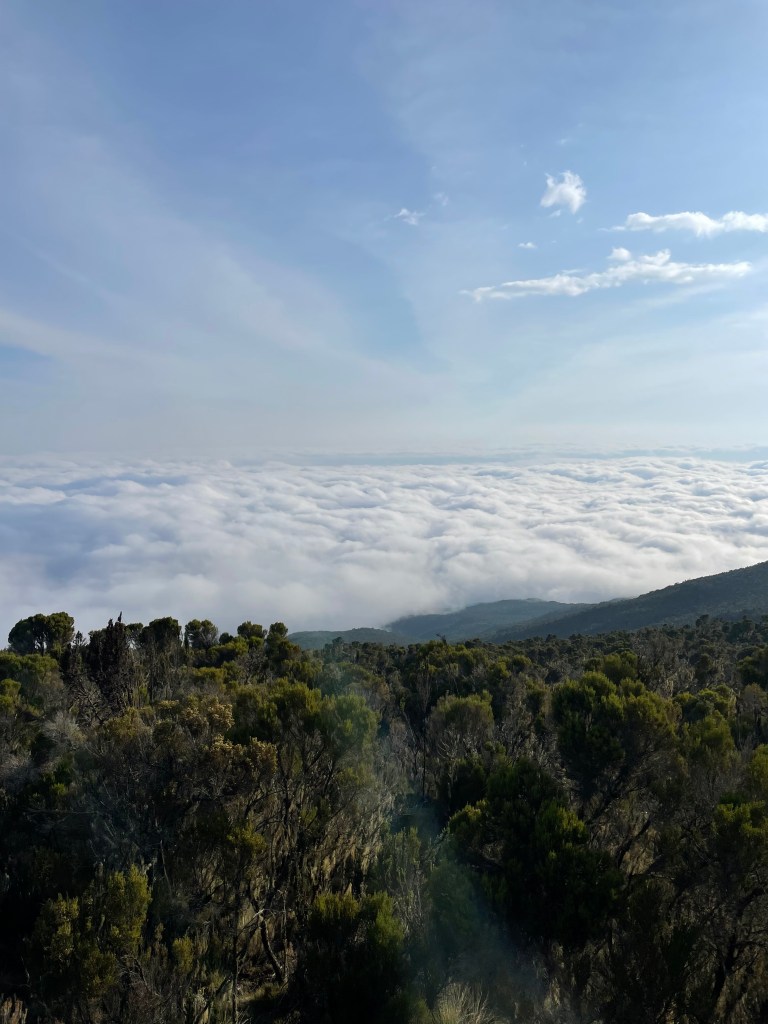
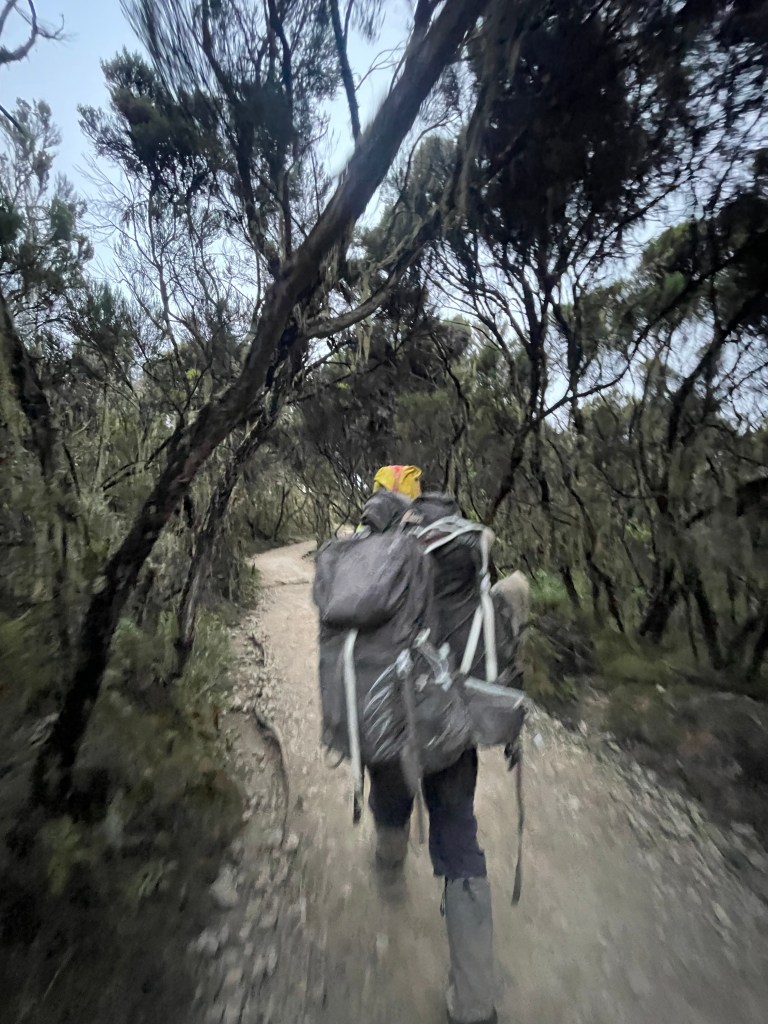
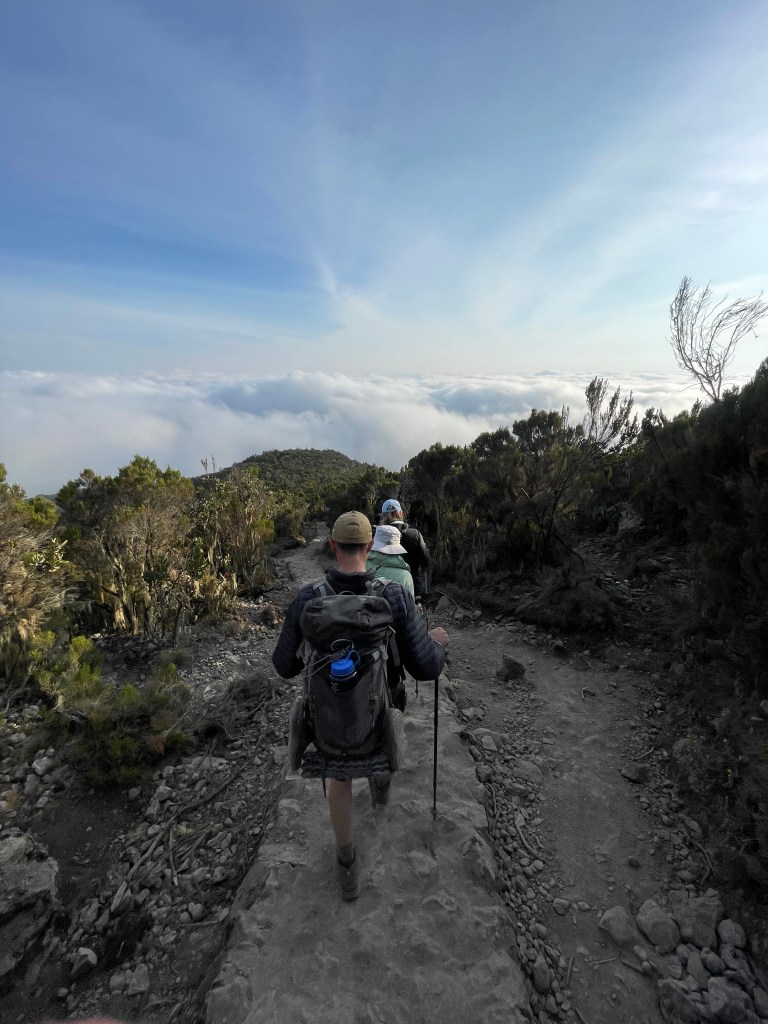
Below are photos from the trek to Karanga, and at Karanga Camp.
DAY 5
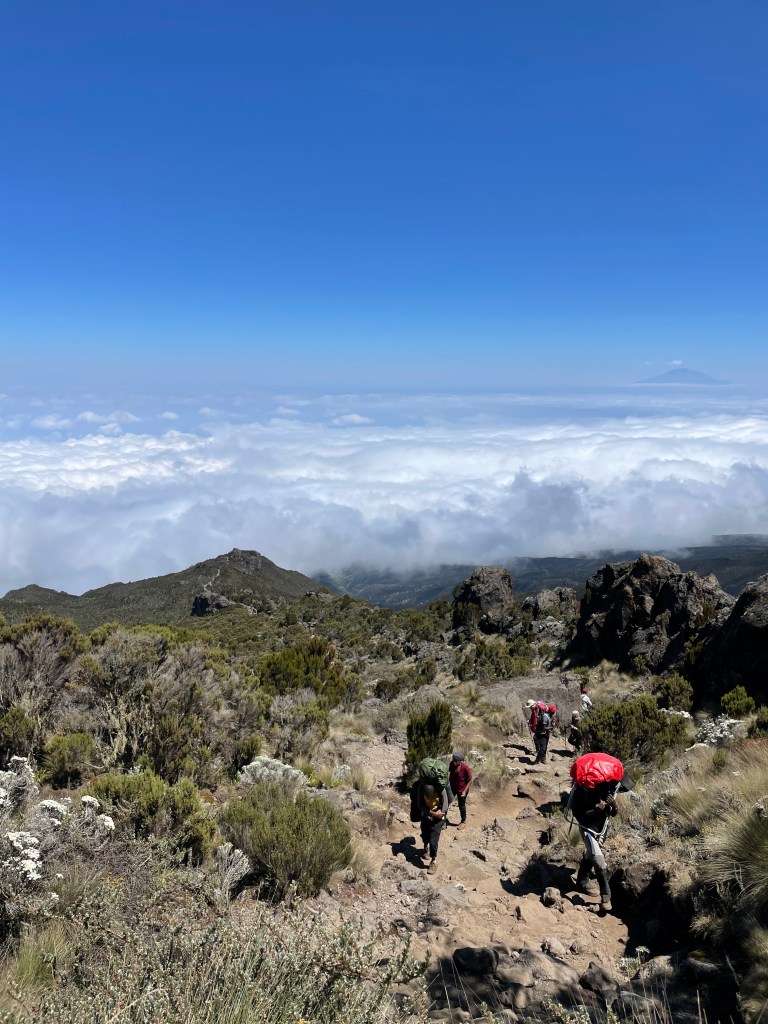
Morning at Karanga, then the hike over to basecamp.


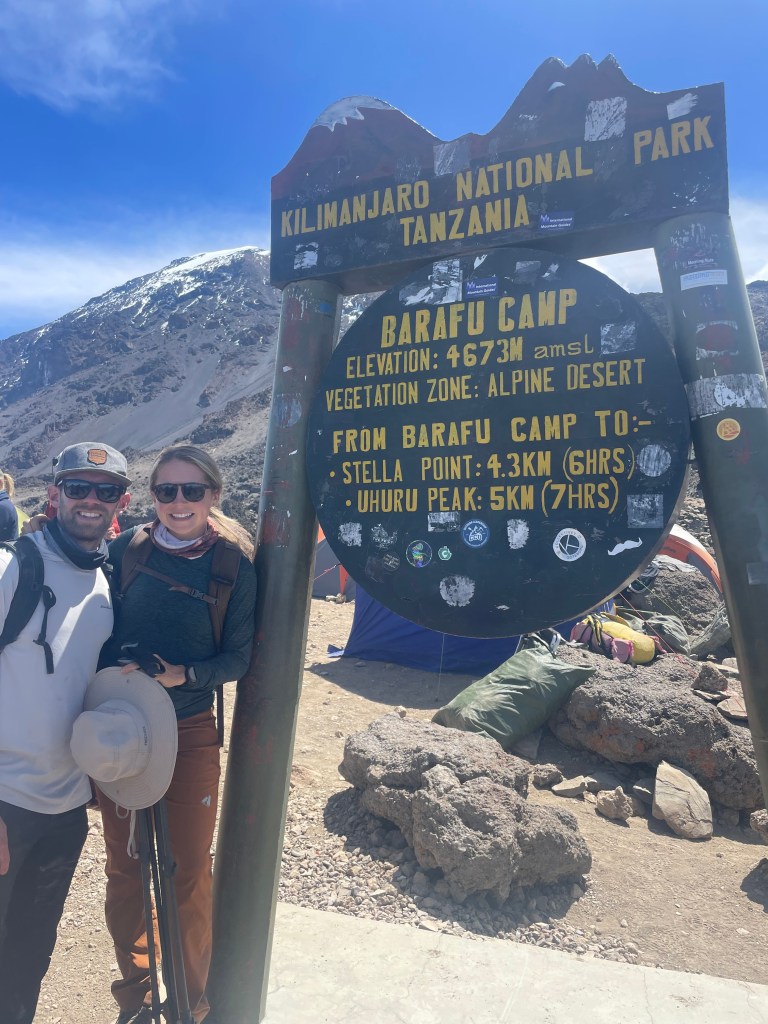
Karanga Camp to Barafu Camp
Elevation: 13,106 ft to 15,331 ft
Distance: 4 km
Hiking Time: 4-5 hours
Habitat: Alpine Desert
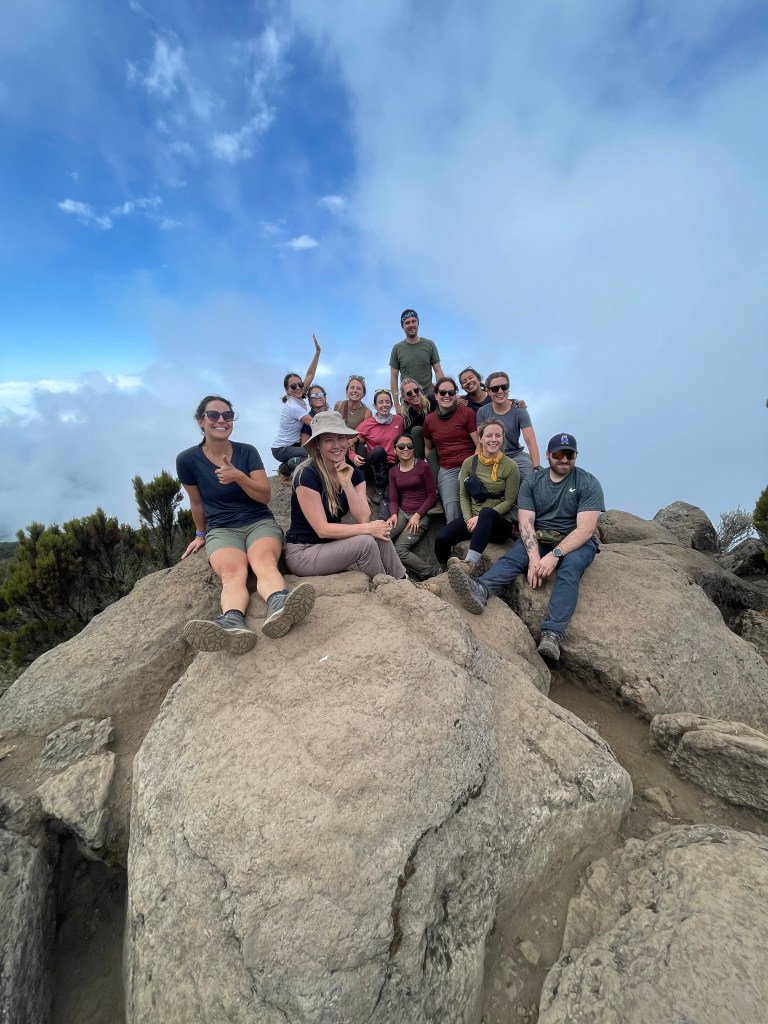
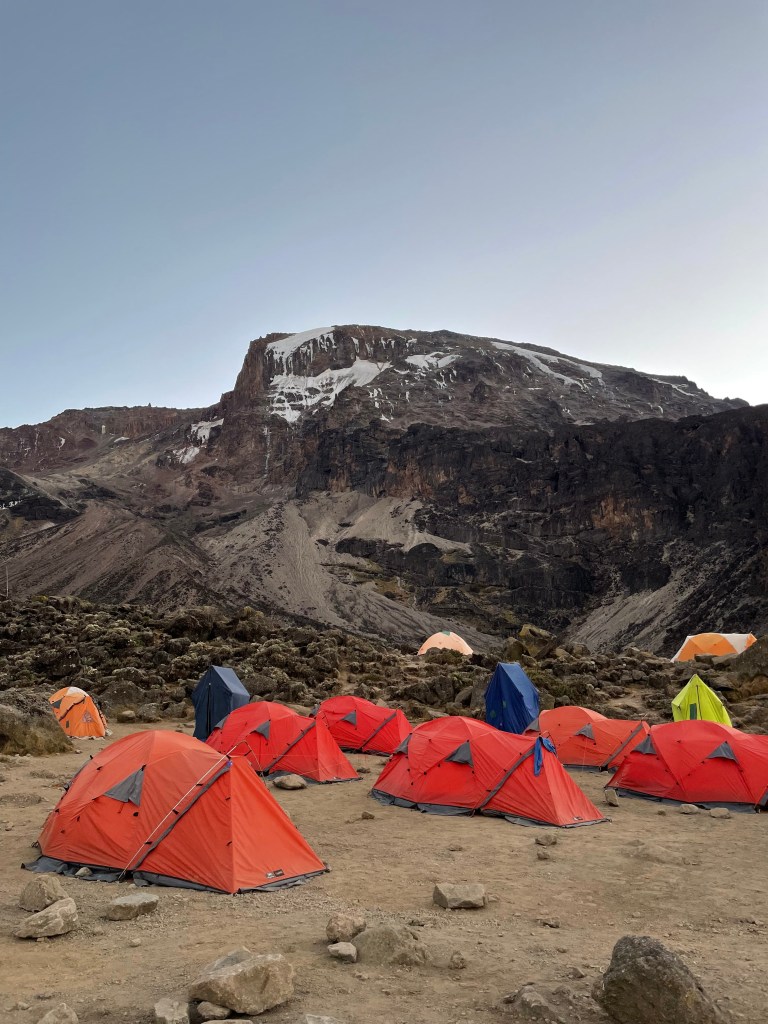
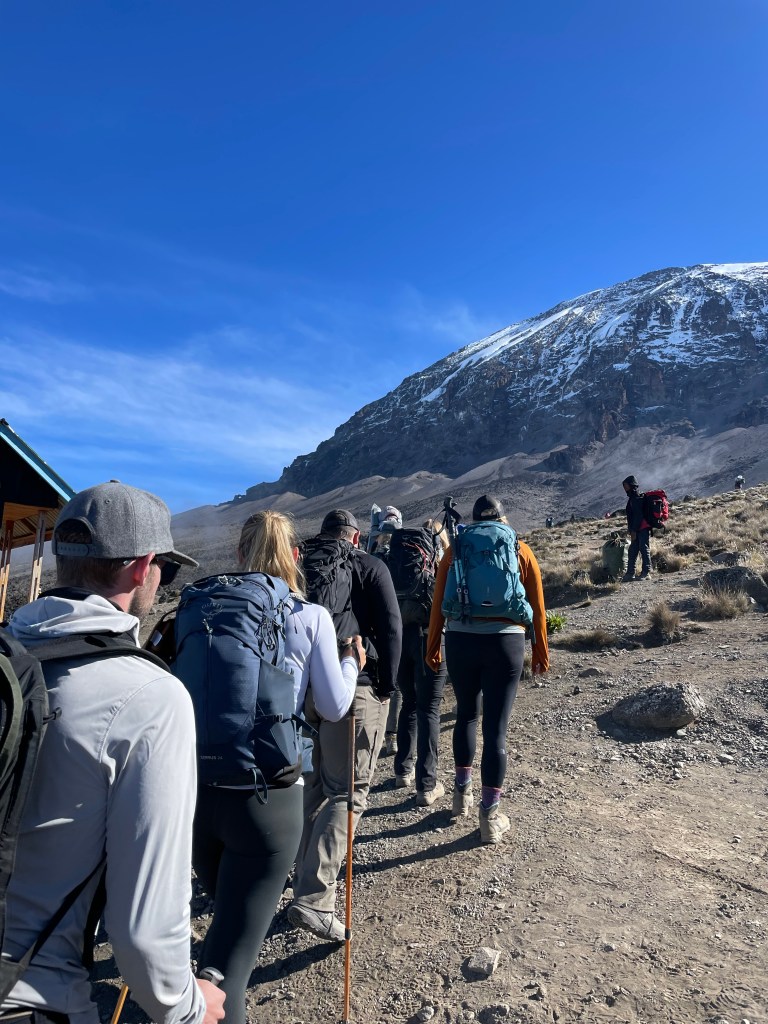
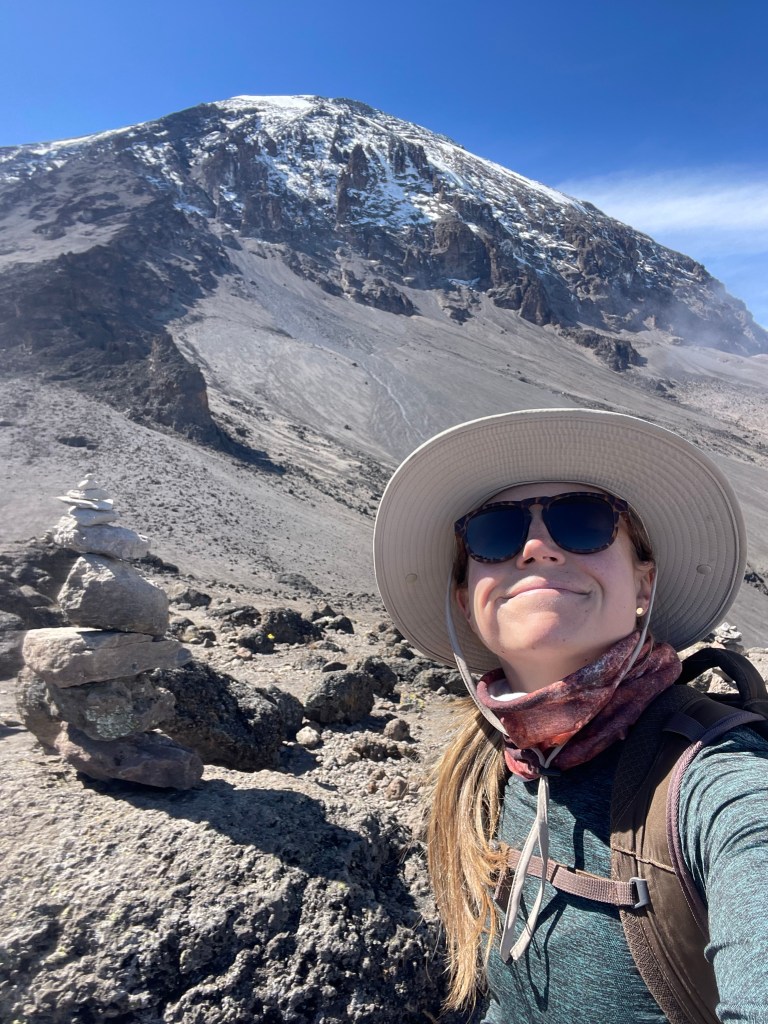
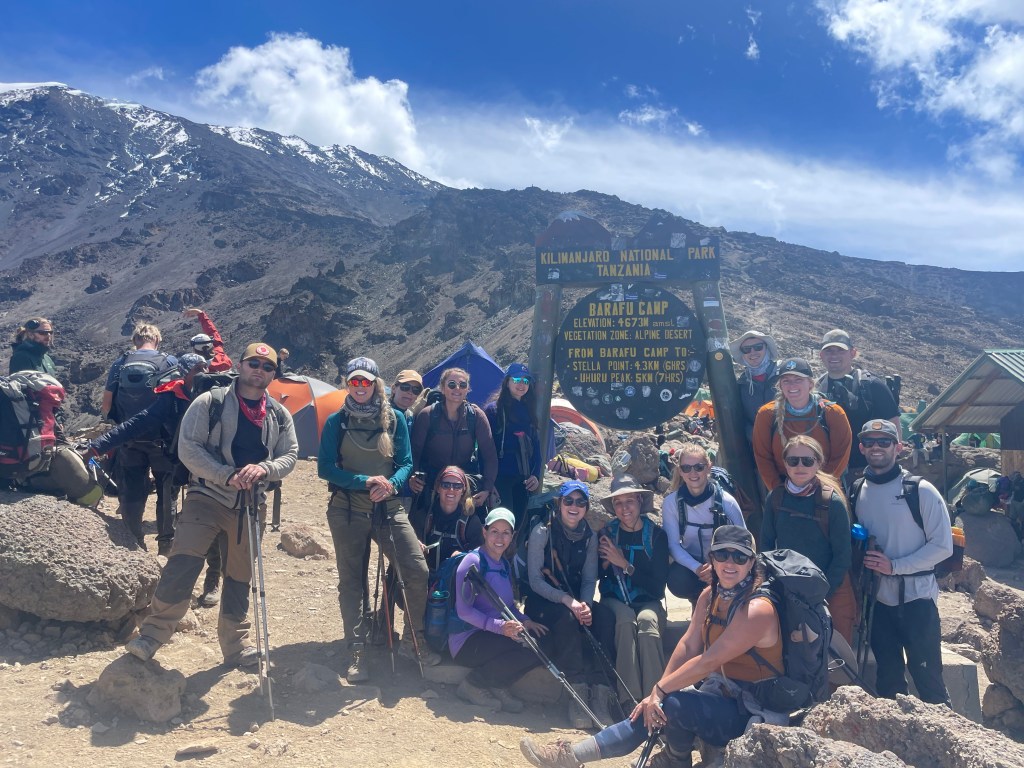
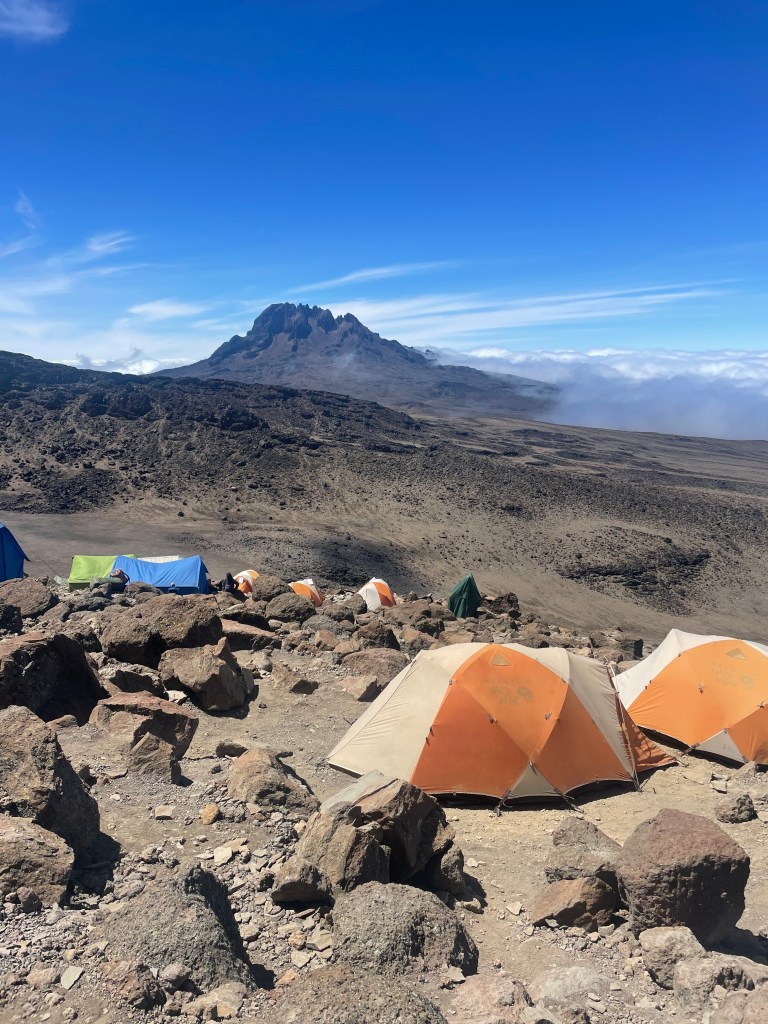
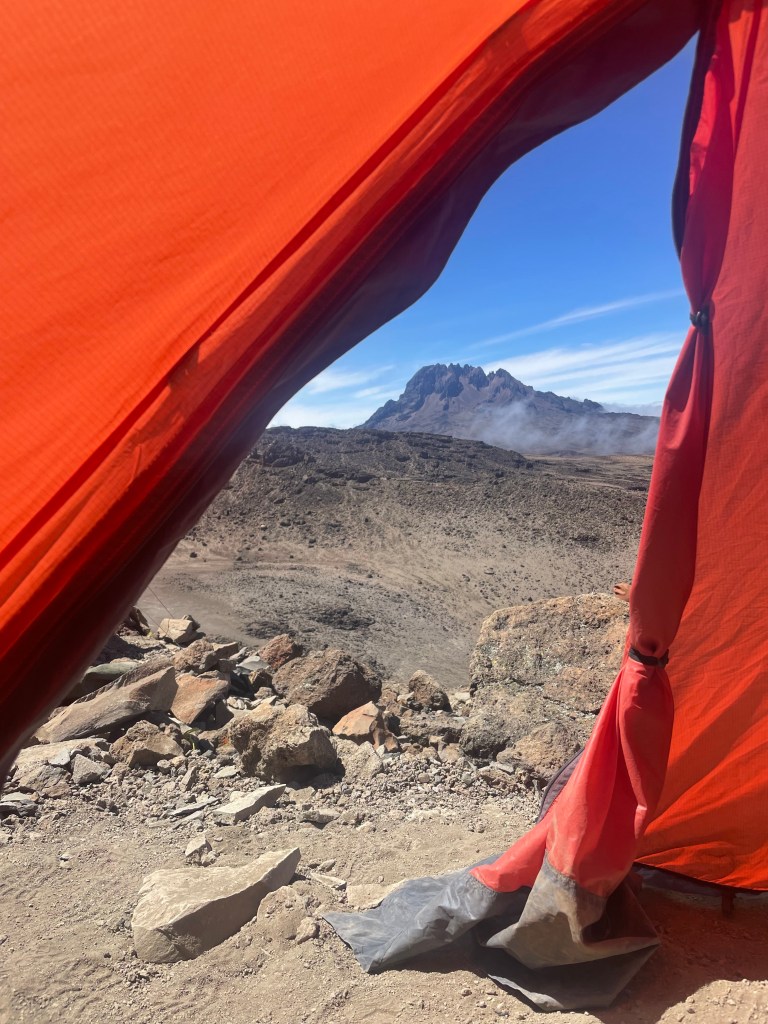
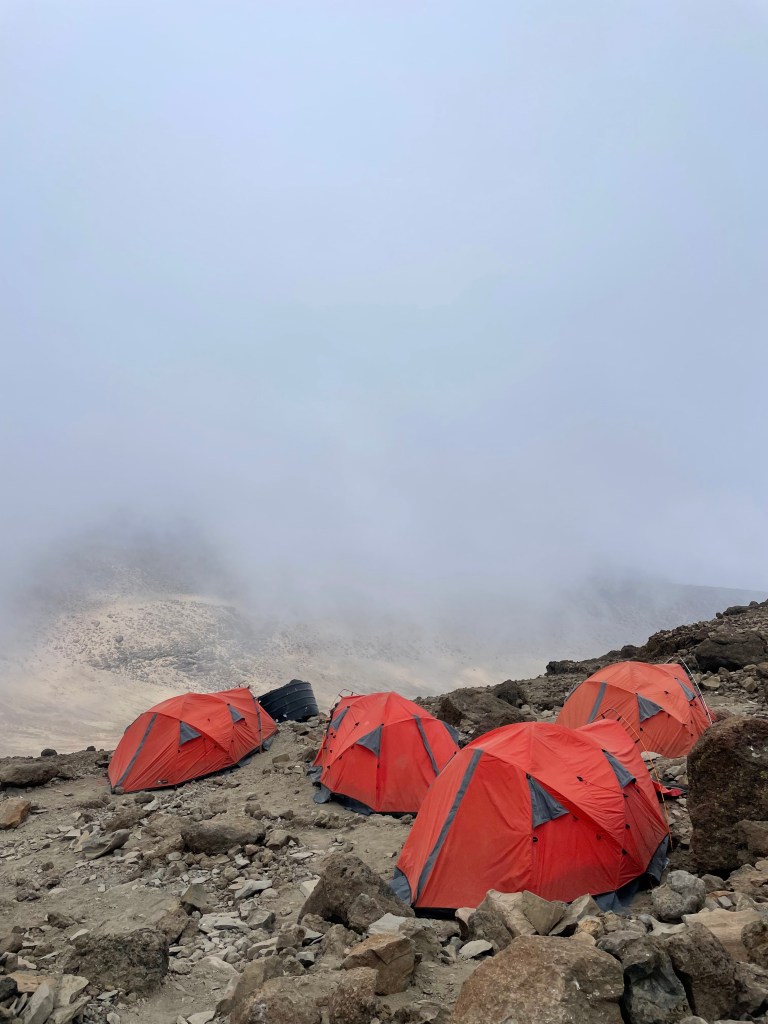
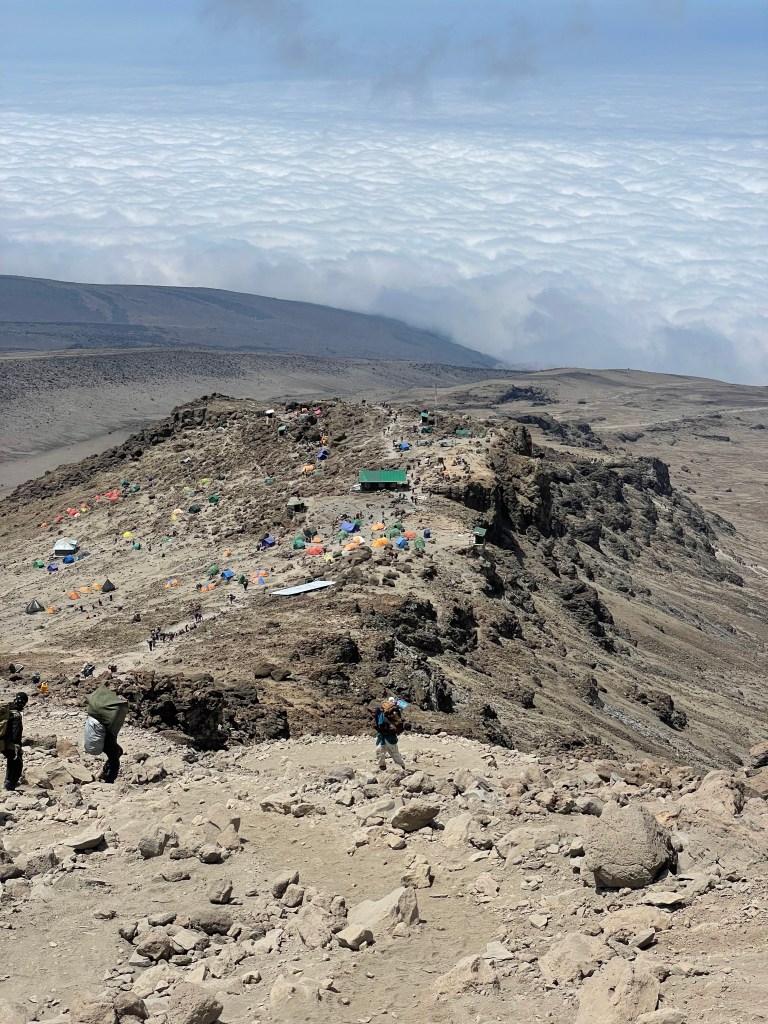
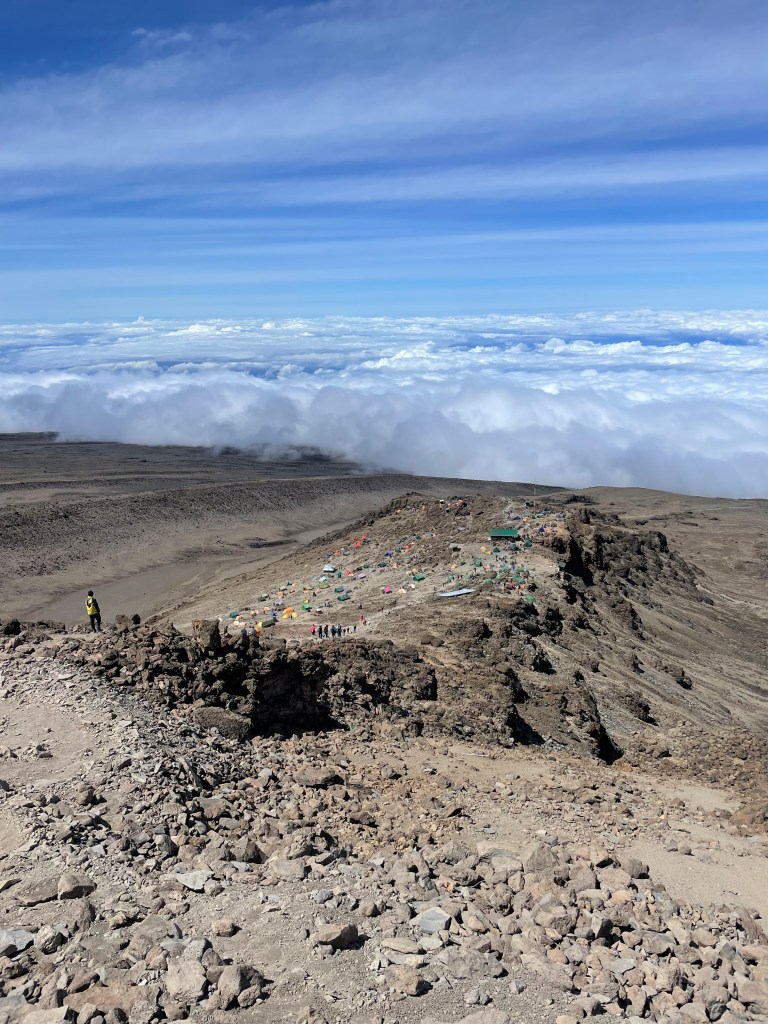
We leave Karanga and hit the junction which connects with the Mweka Trail. We continue up to the rocky section to Barafu Hut. At this point, you have completed the Southern Circuit, which offers views of the summit from many different angles. Here we make camp, rest and enjoy lunch to prepare for the summit day. The two peaks of Mawenzi and Kibo are viewable from this position.
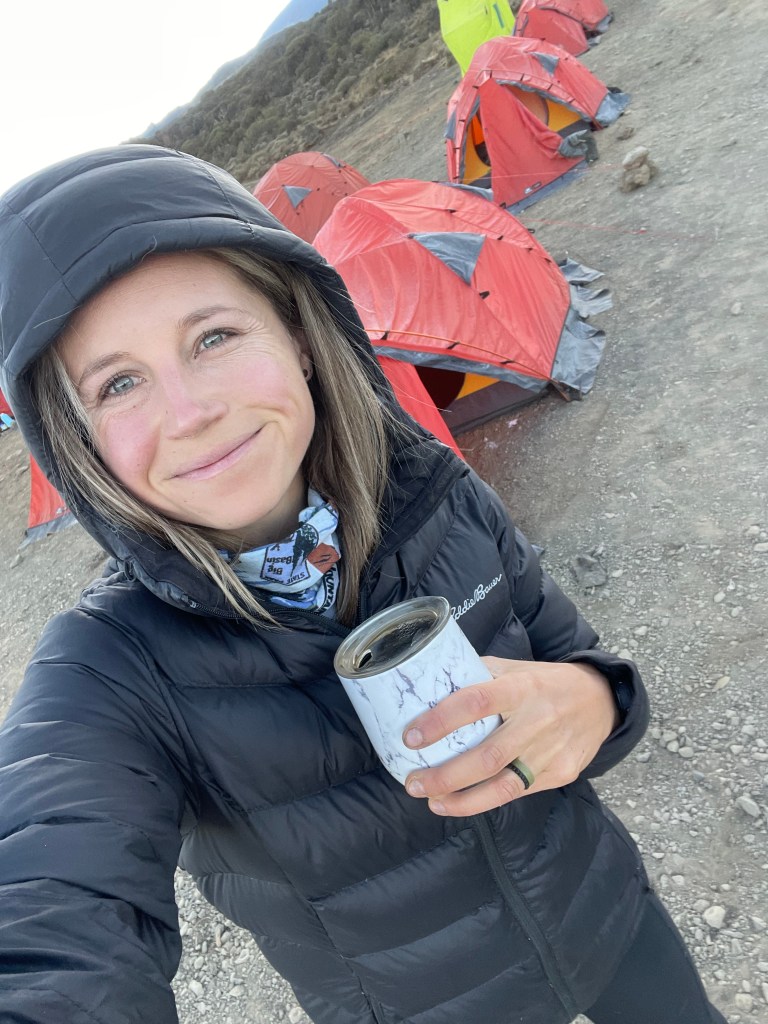
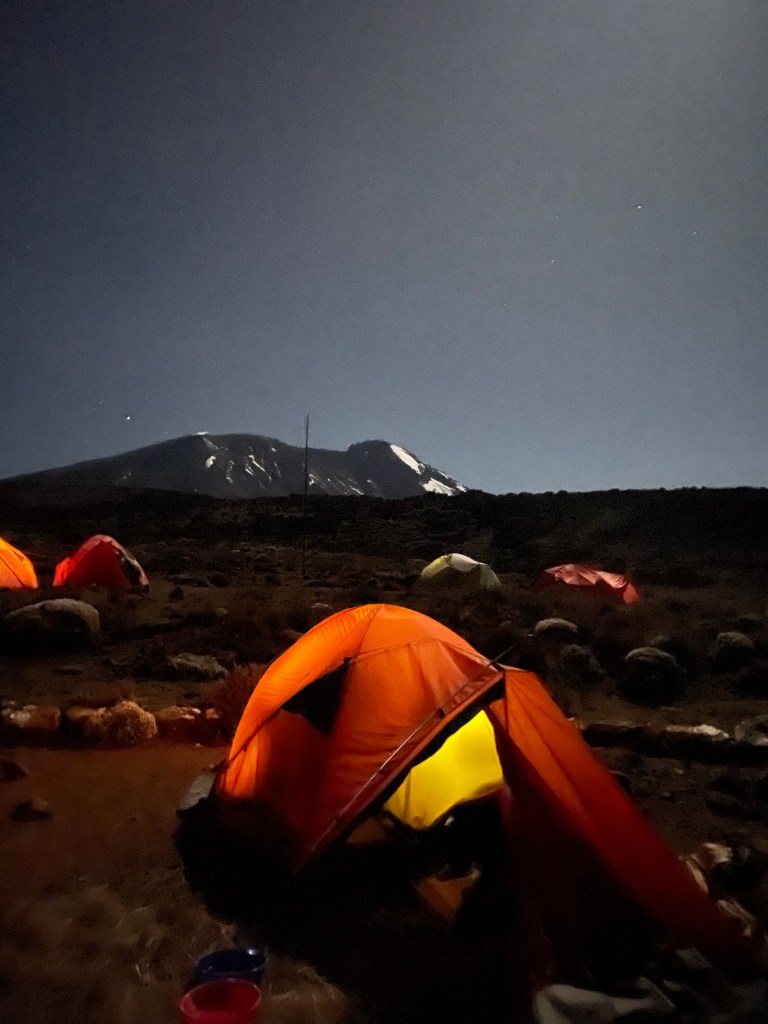
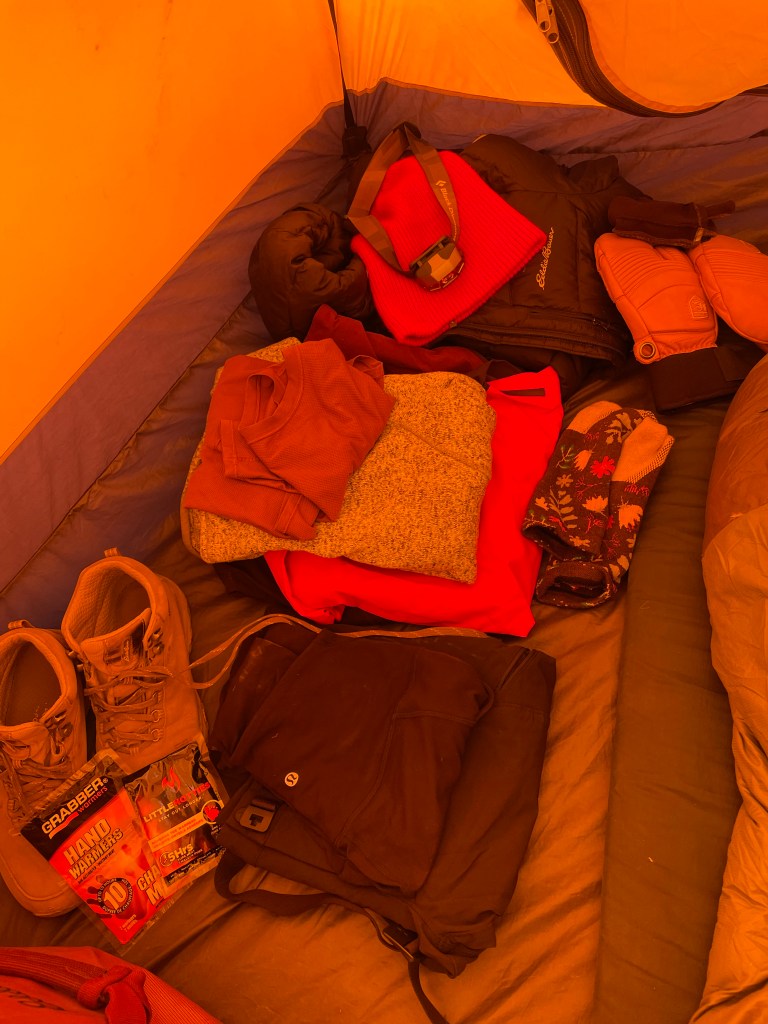
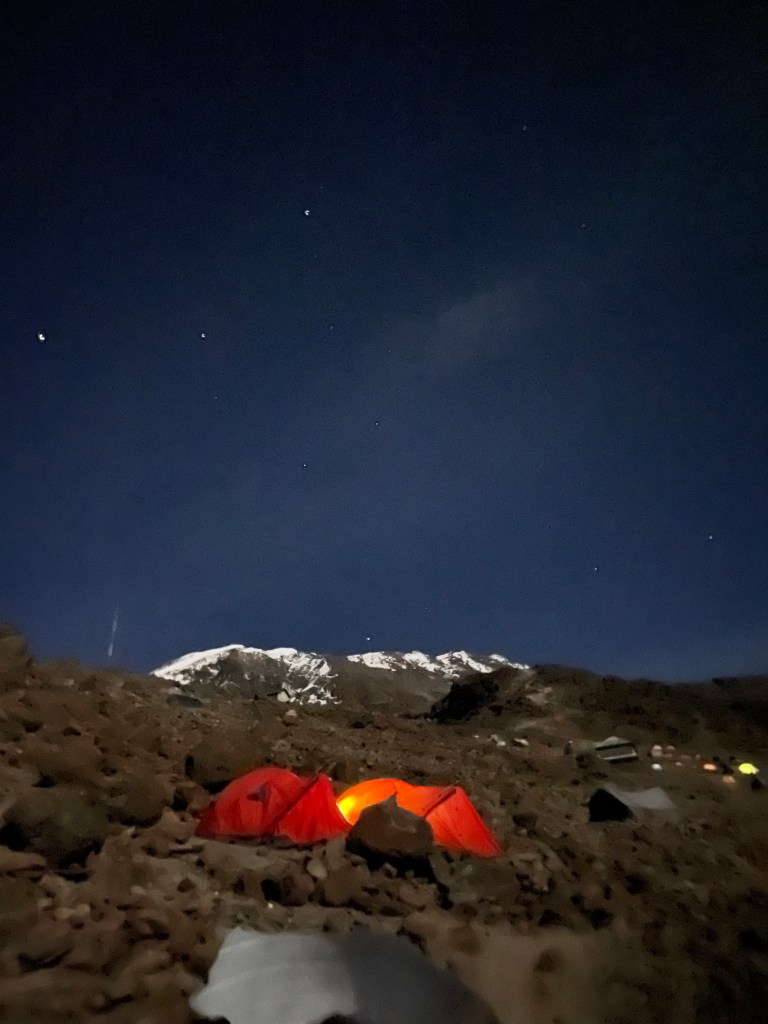
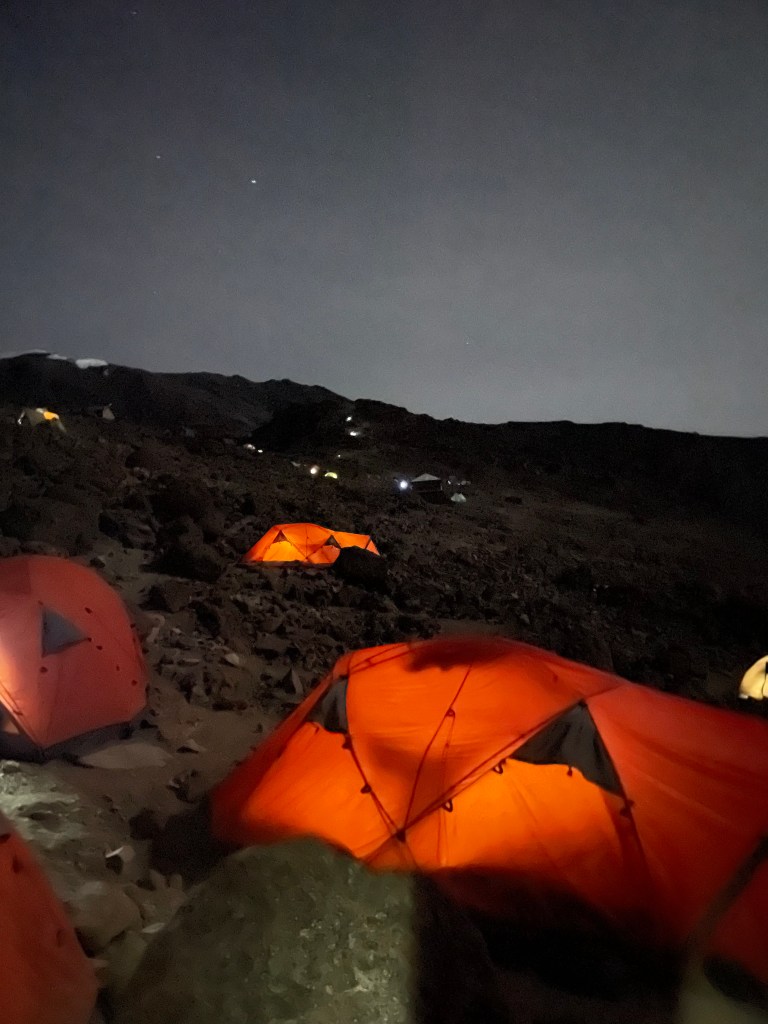
Photos of basecamp below. You will see my summit attire layout pictured in one photo. We arrived at camp at around 1pm, ate lunch and then went to bed, sleeping from 2-10pm. 8 hours of rest and then the guides woke us up and we had a later dinner, and packed up and prepared to hike to the summit.

DAY 6
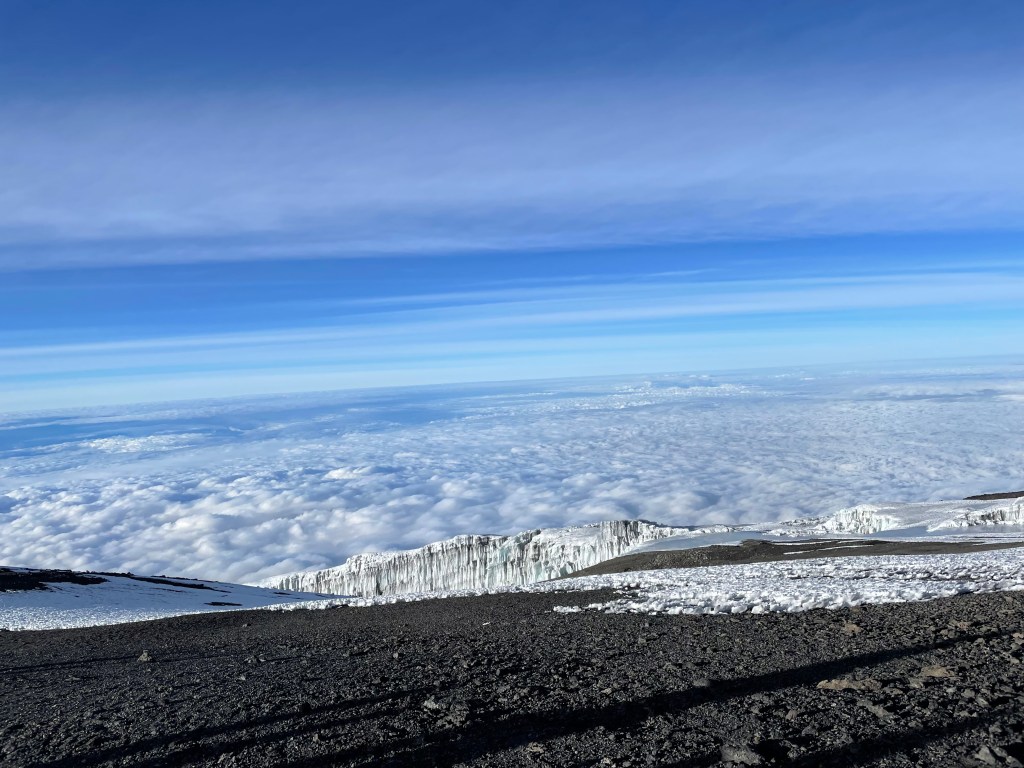
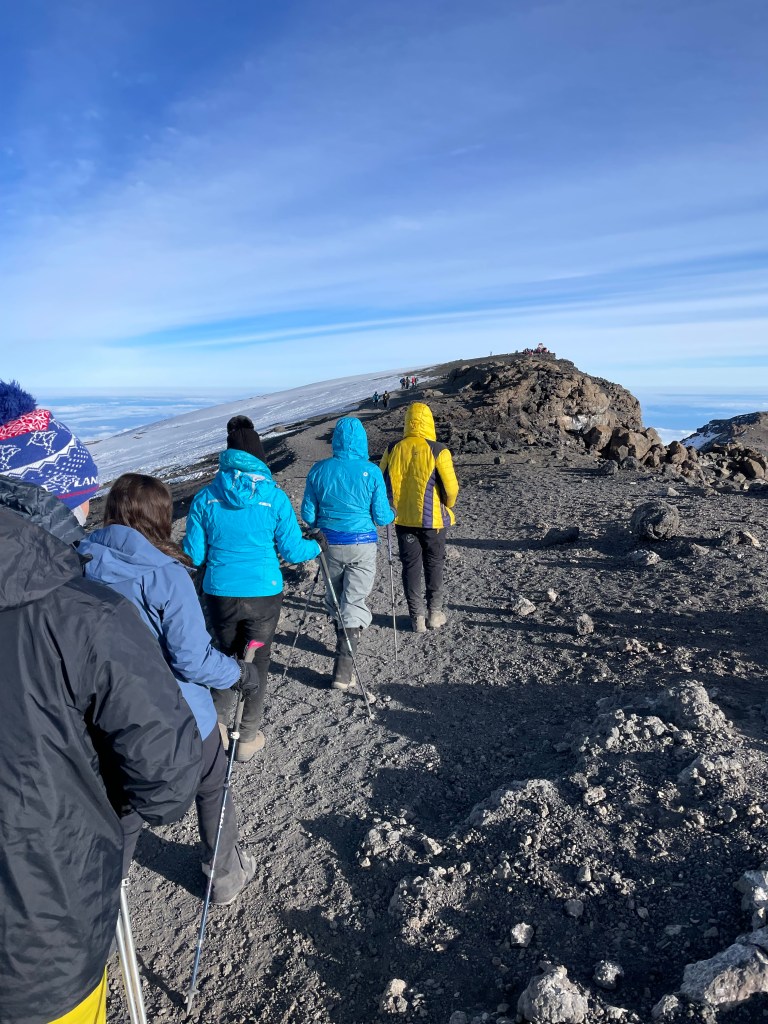
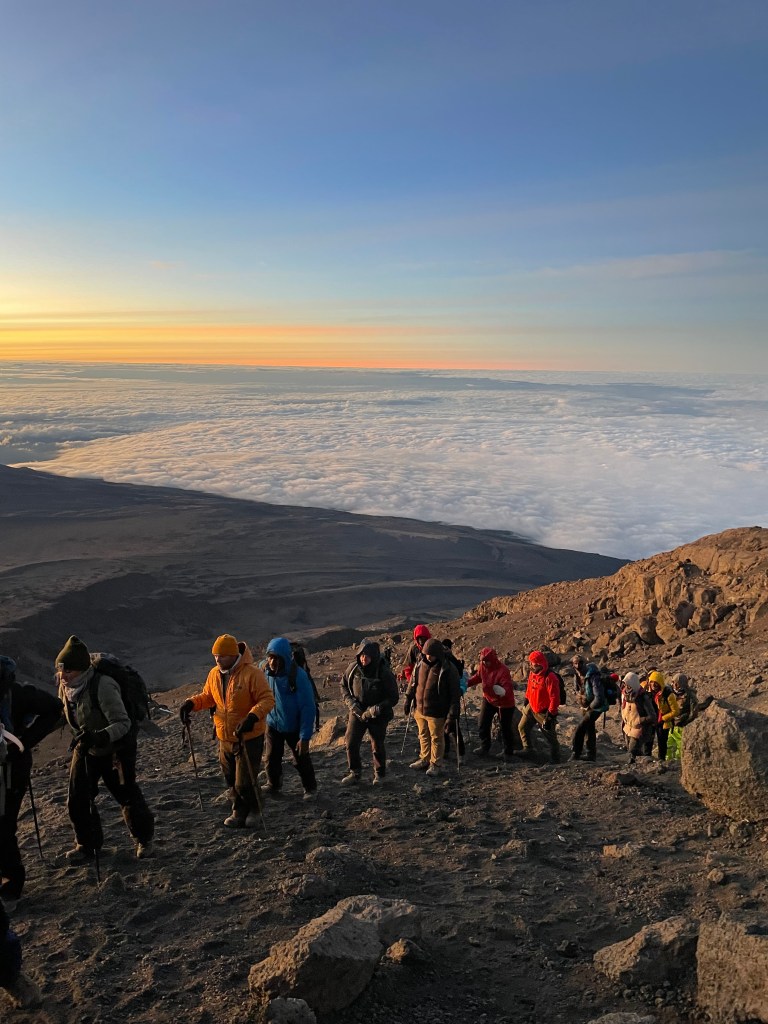
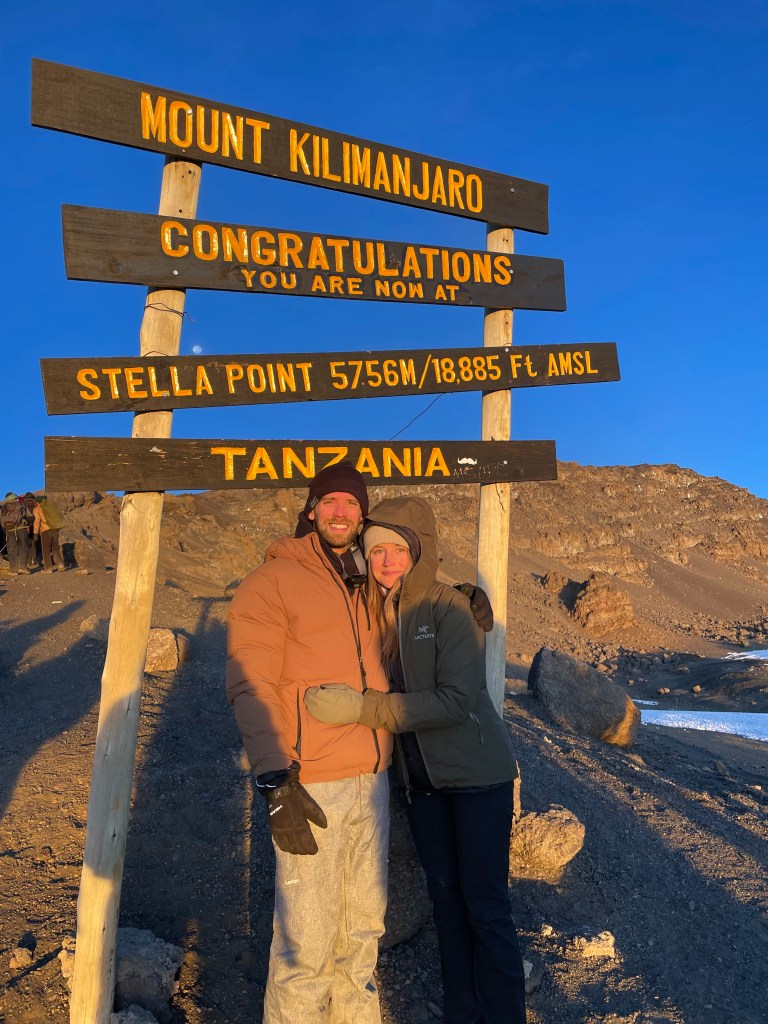
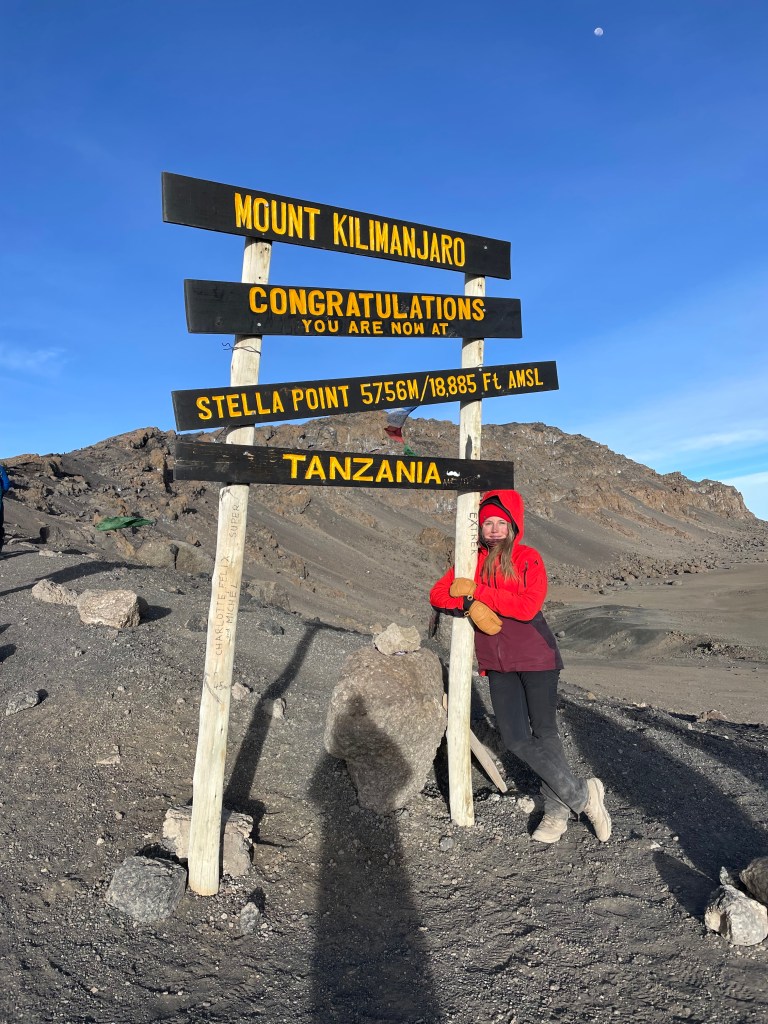
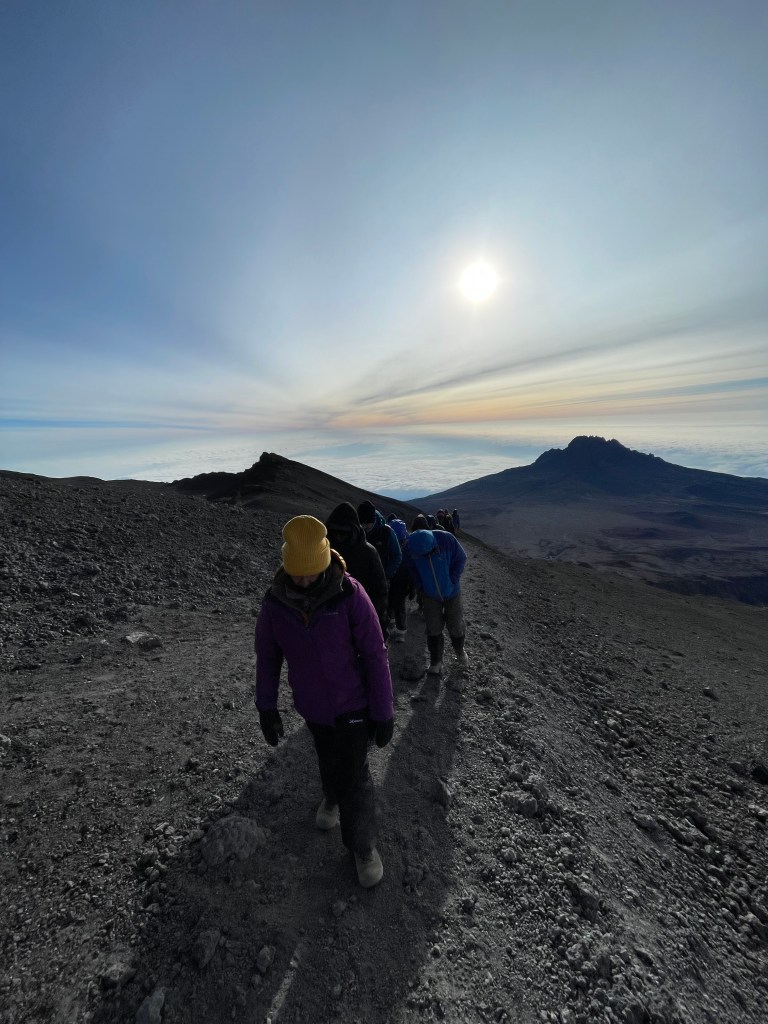
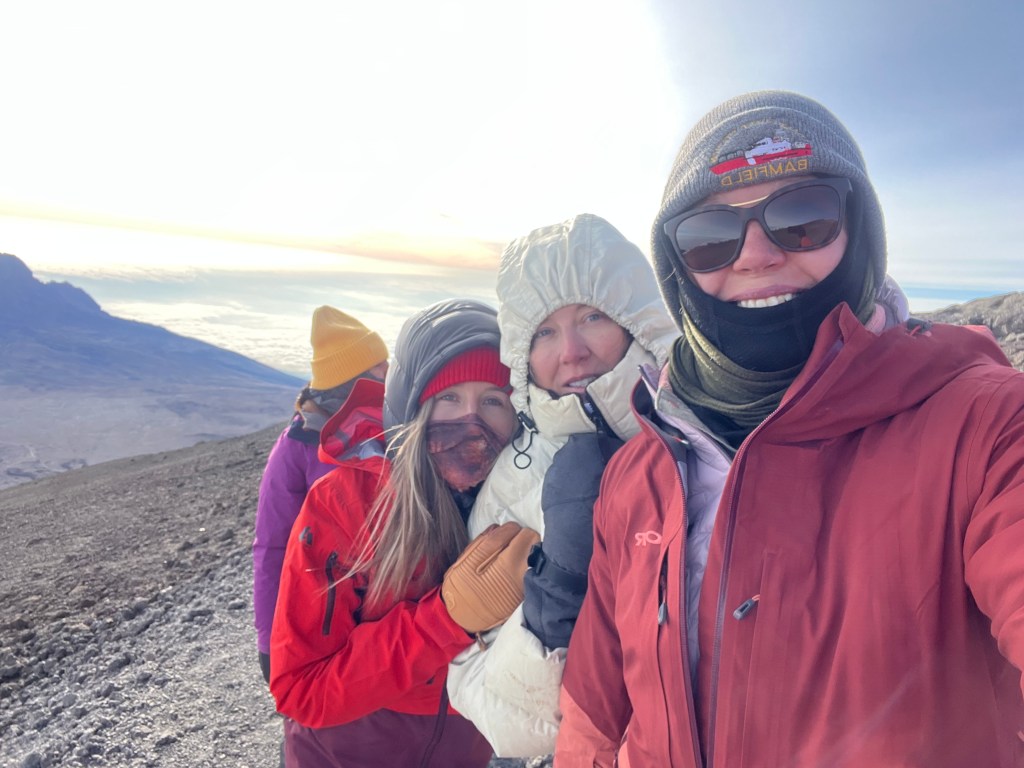
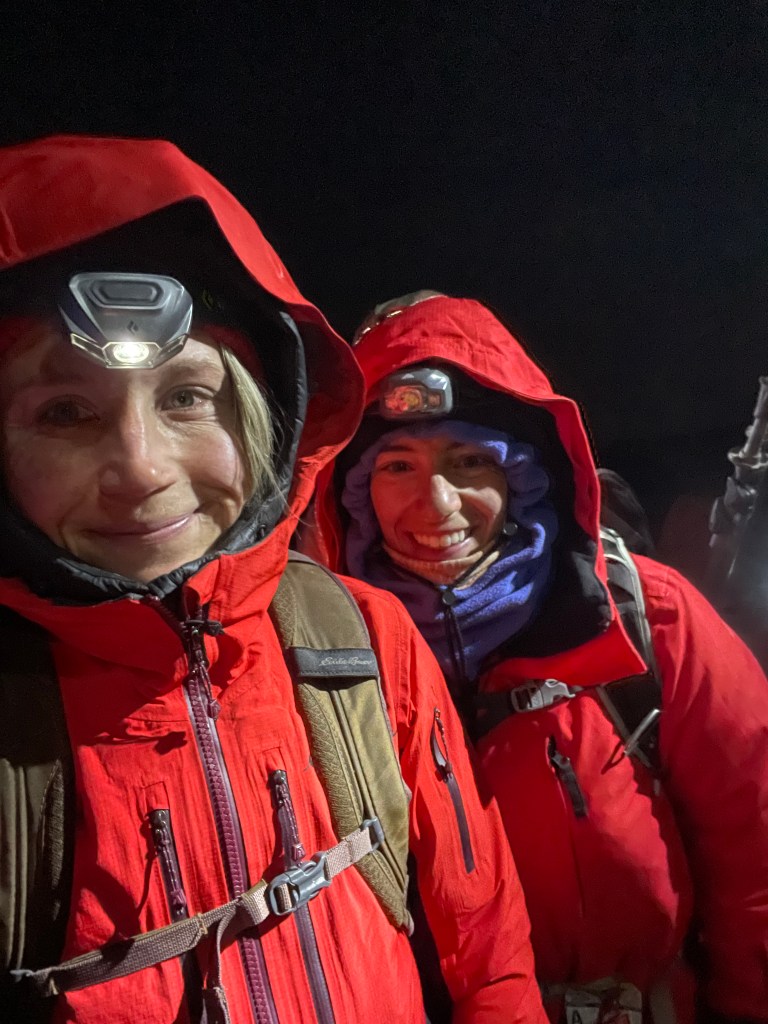
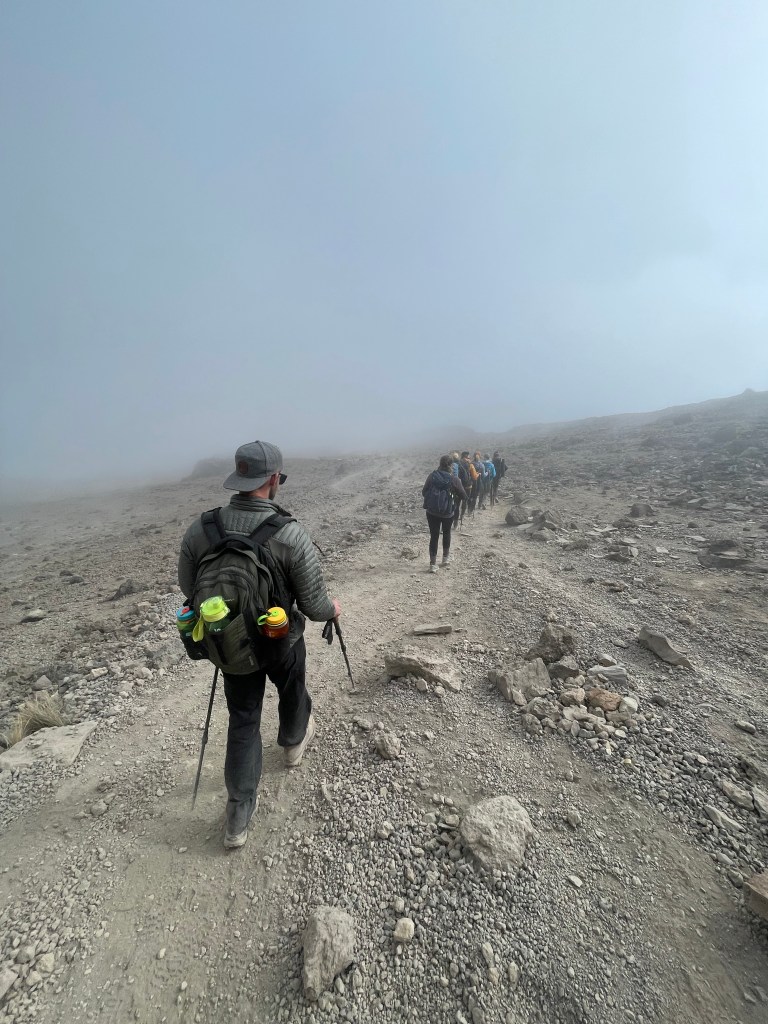
We started hiking to the summit at midnight. Below are photos from the hike to Uhuru Peak and then back down to basecamp.
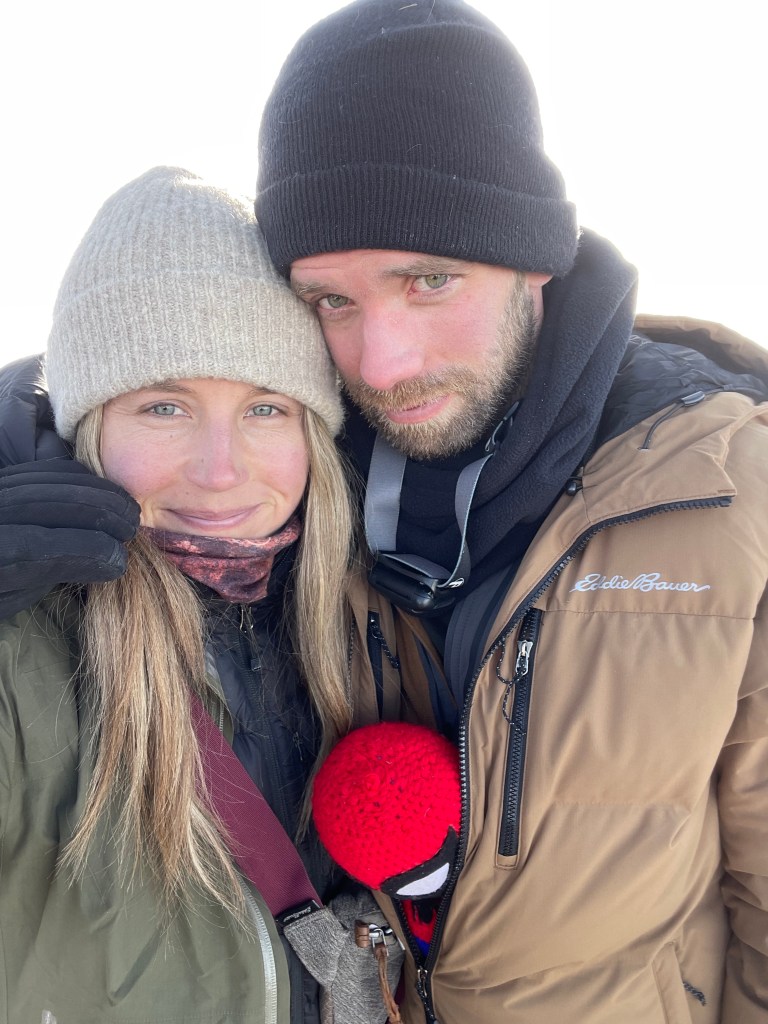
This was a VERY long day. I found my July summit to be much harder than my September, maybe because I knew what to expect, but also feel I was more acclimatized. It was VERY cold. I had hand-warmers, and foot warmers in my mitts and boots.
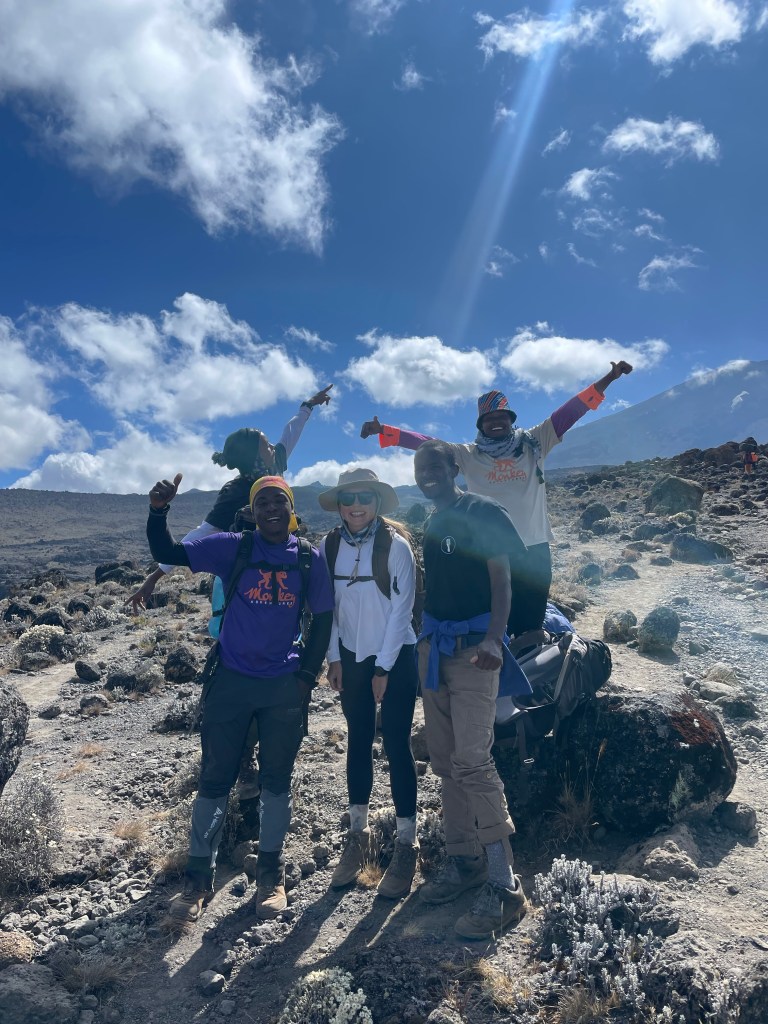
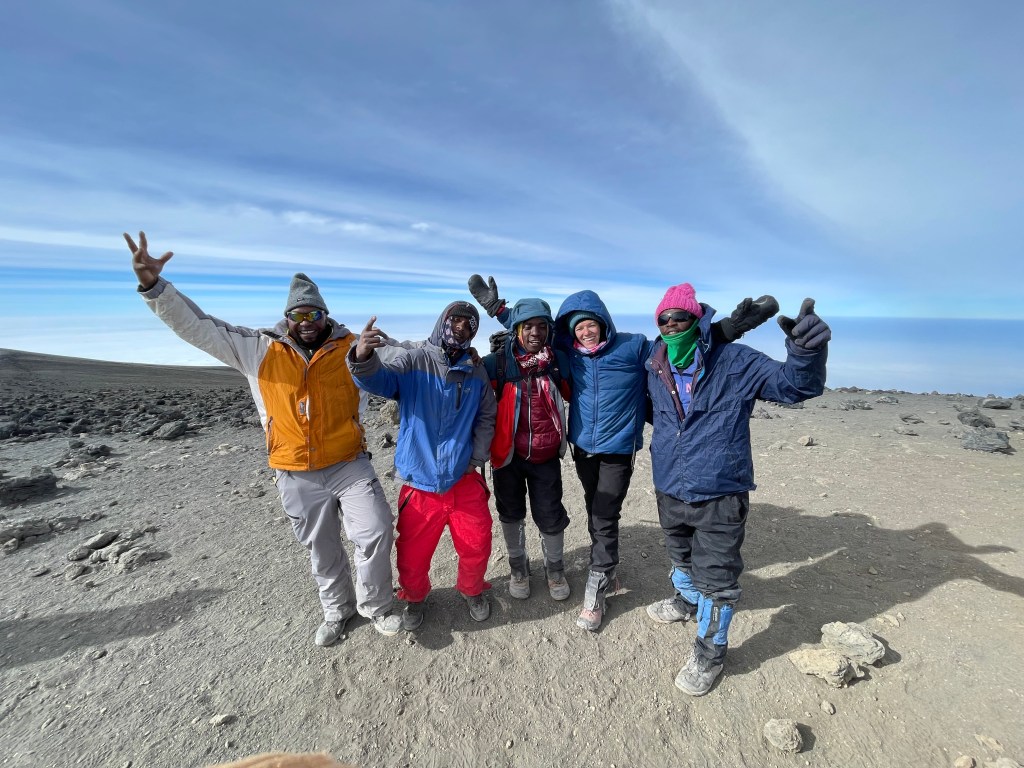
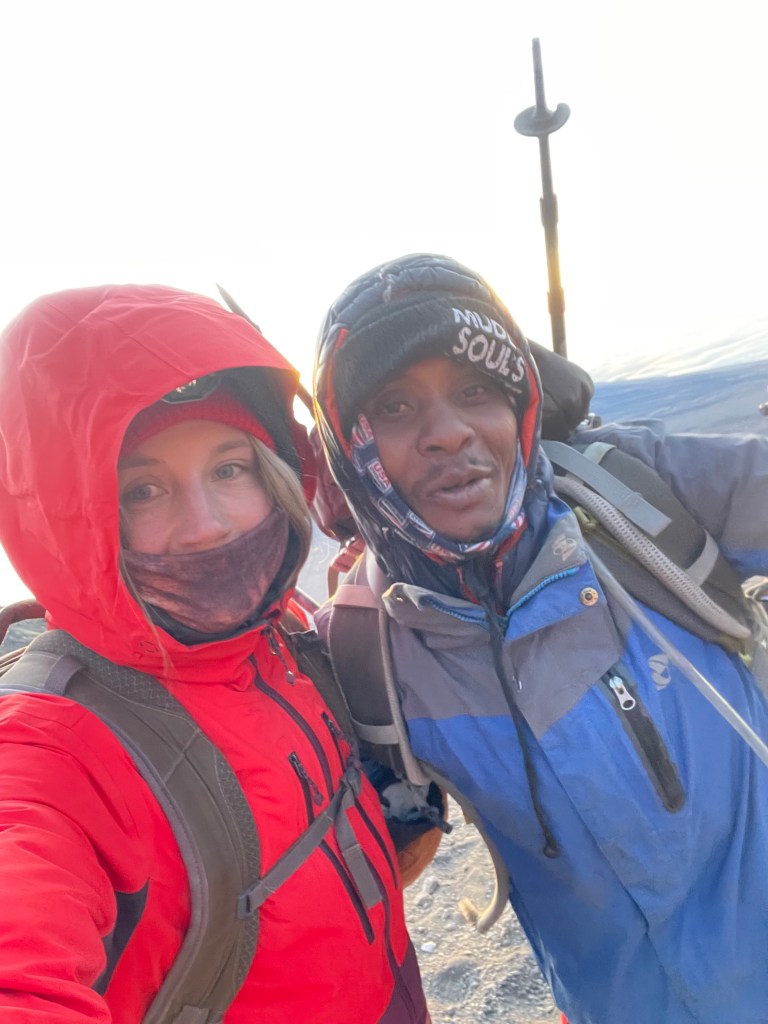
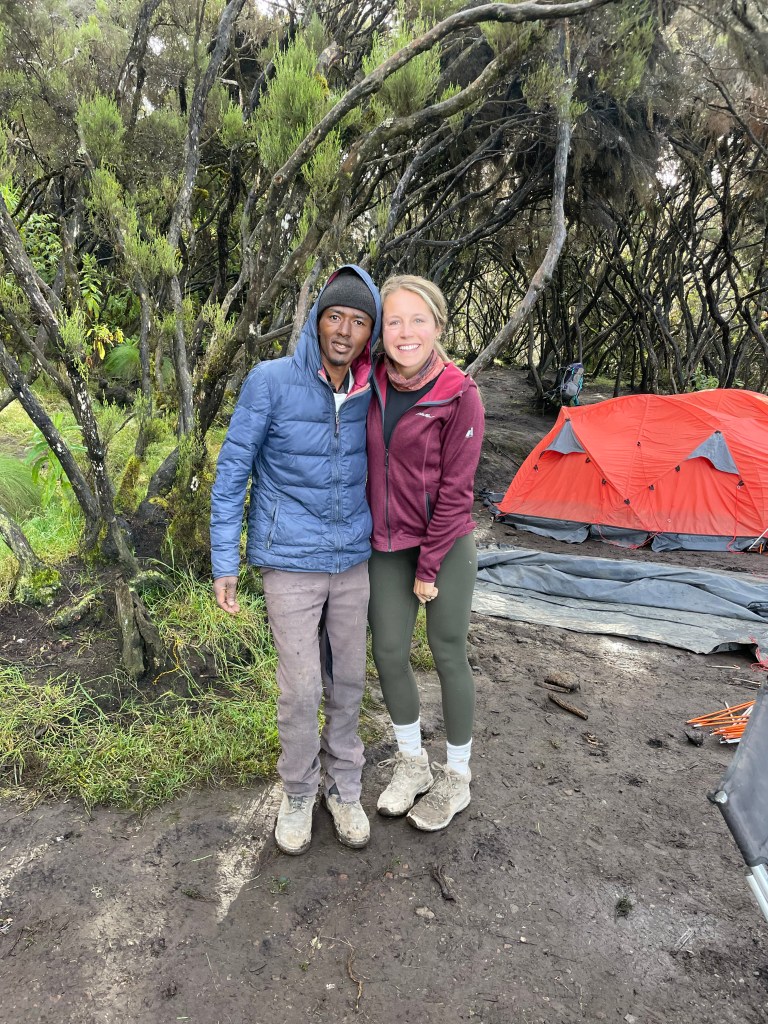
Our guides/porters kept us so motivated and positive. It was a long 6 hours in the dark, before the sun started to rise. They sang, they took our backpacks, they helped us with our poles/gear if we looked like we were struggling. They were overall just SO amazing.
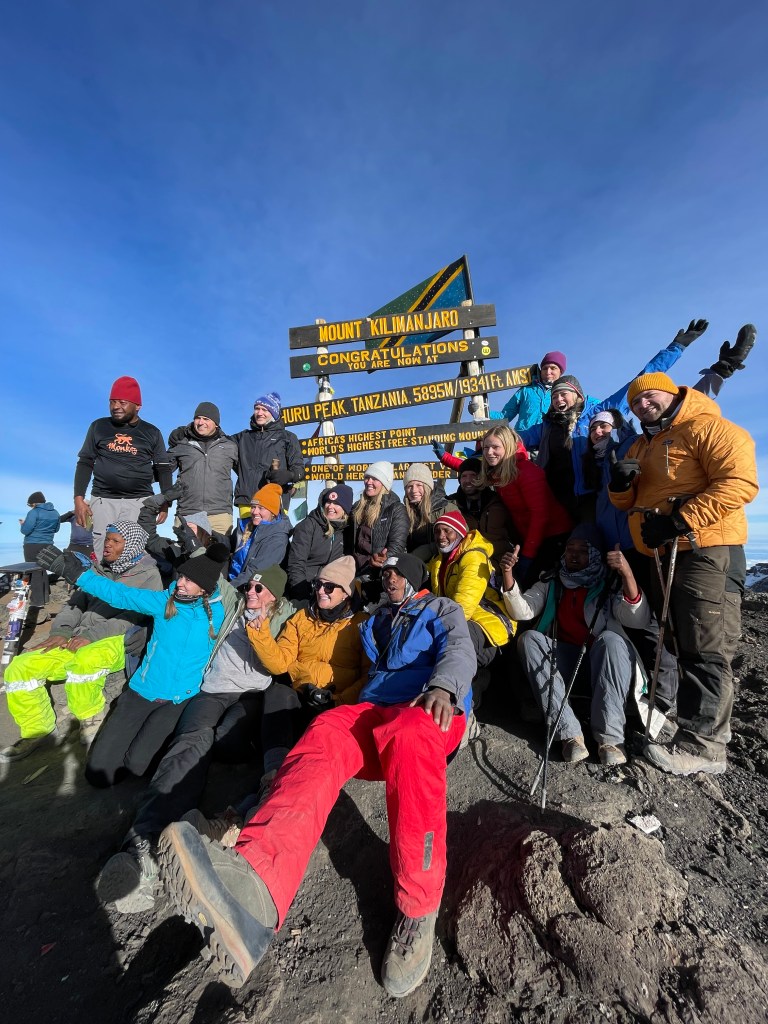
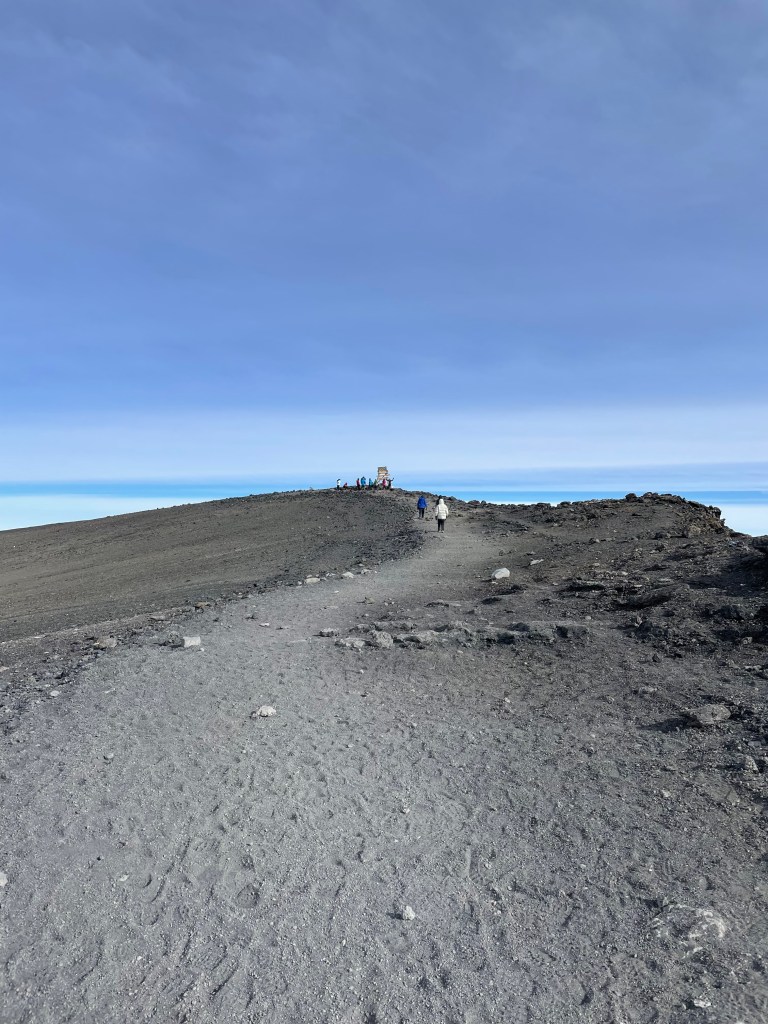


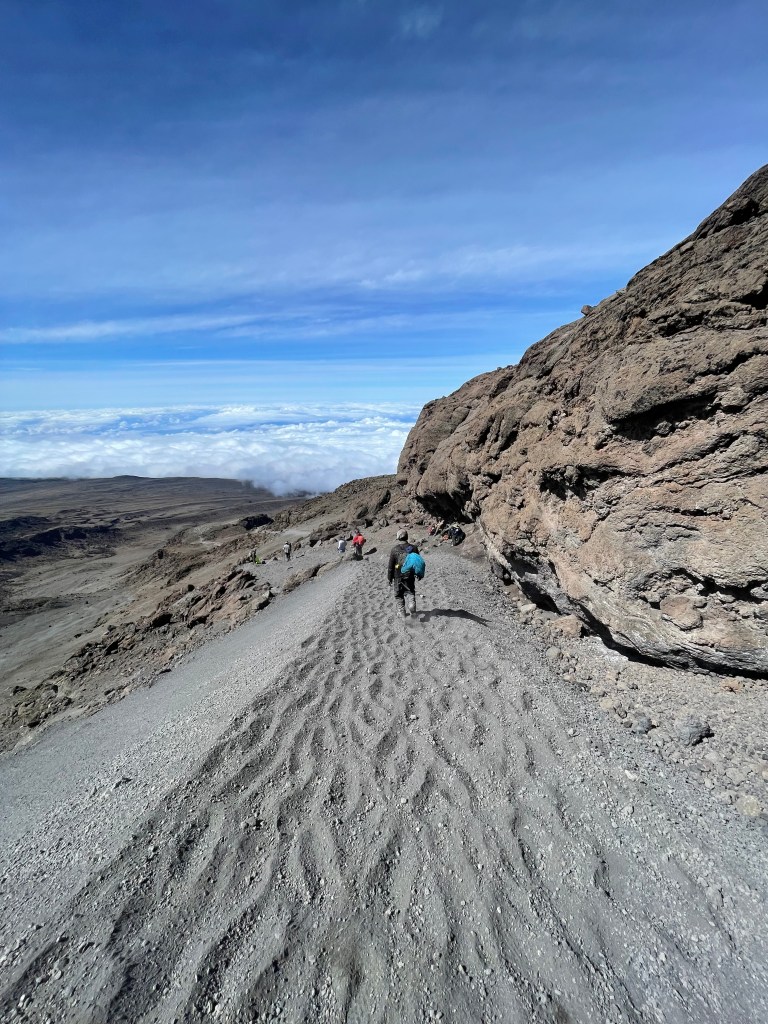


Barafu Camp to Uhuru Peak
Elevation: 15,331 ft to 19,341 ft
Distance: 5 km
Hiking Time: 7-8 hours
Habitat: Arctic
Uhuru Peak to Mweka Camp
Elevation: 19,341 ft to 10,065 ft
Distance: 12 km
Hiking Time: 4-6 hours
Habitat: Rain Forest
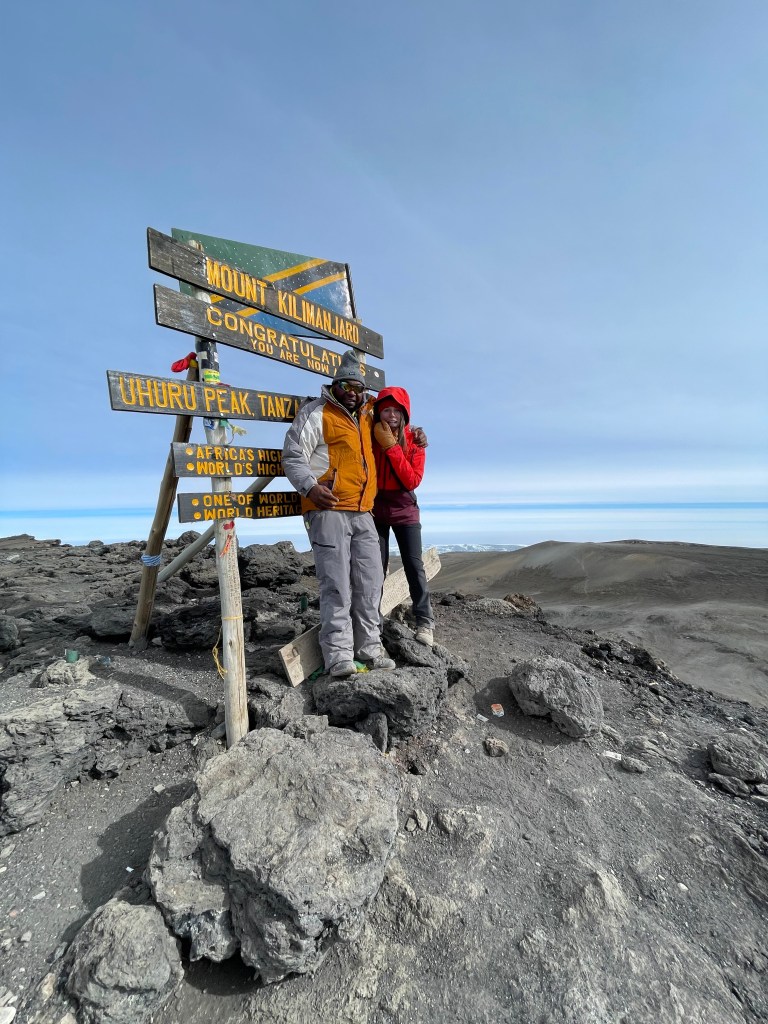
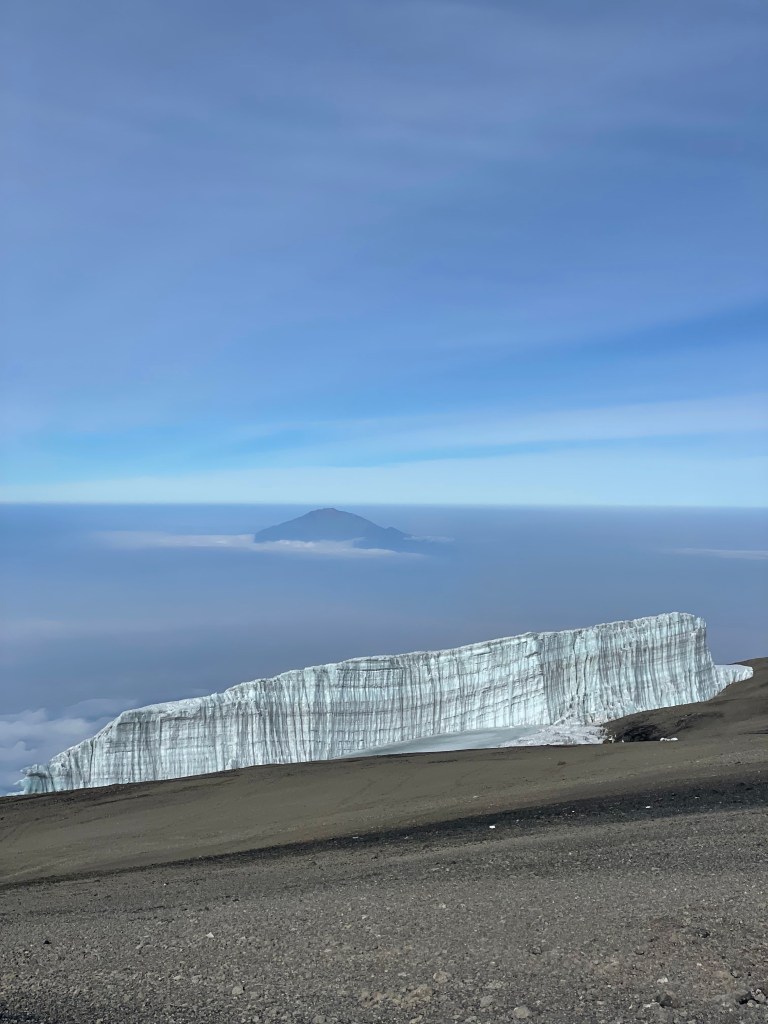
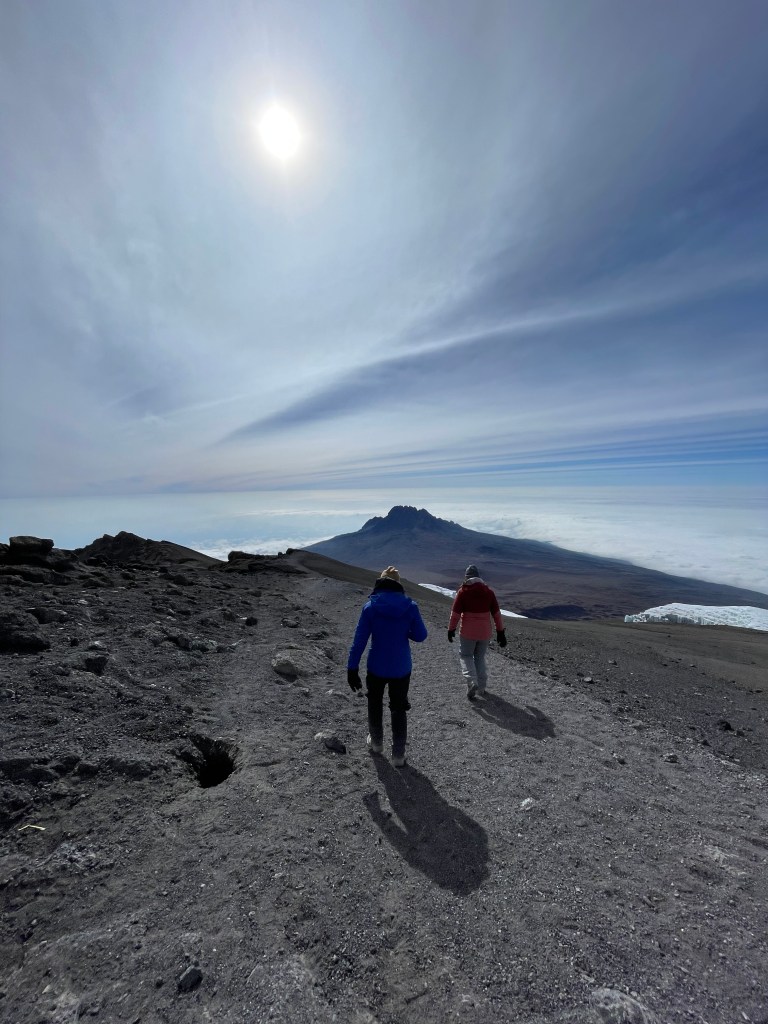
Very early in the morning (around midnight), we begin our push to the summit. This is the most mentally and physically challenging portion of the trek. The wind and cold at this elevation and time of day can be extreme. We ascend in the darkness for several hours while taking frequent, but short, breaks. Near Stella Point (18,900 ft), you will be rewarded with the most magnificent sunrise you are ever likely to see coming over Mawenzi Peak. Finally, we arrive at Uhuru Peak- the highest point on Mount Kilimanjaro and the continent of Africa.
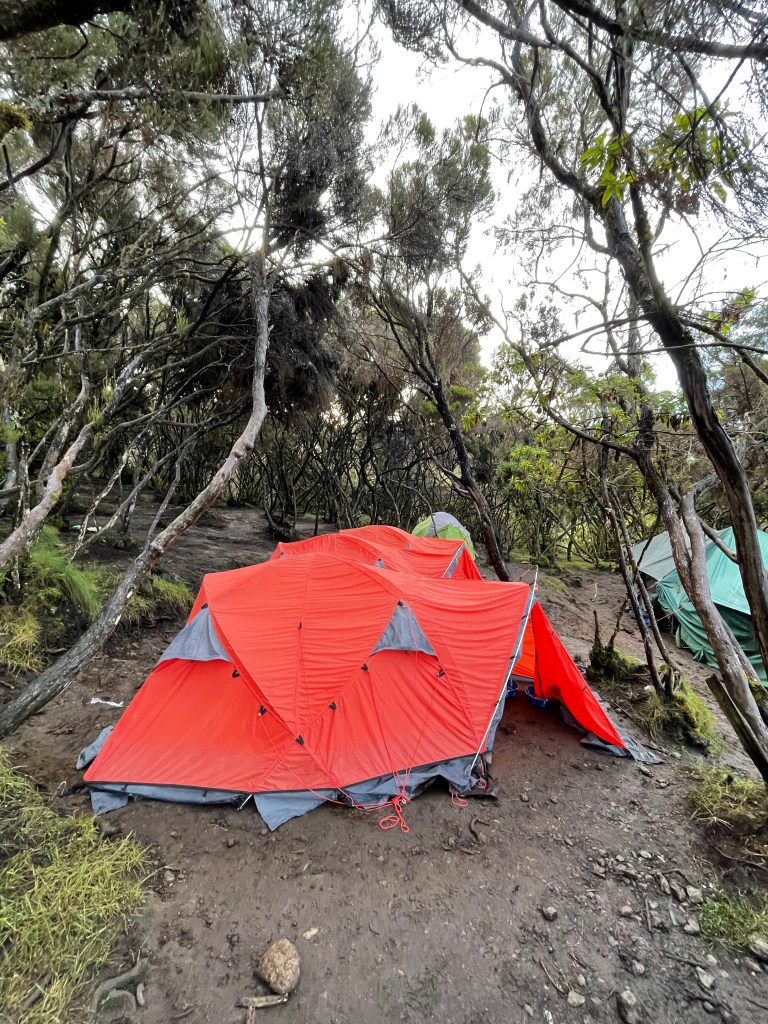
From the summit, we now make our descent continuing straight down to the Mweka Hut camp site, stopping at Barafu for lunch. The trail is very rocky and can be quite hard on the knees; trekking poles are helpful. Mweka Camp is situated in the upper forest and mist or rain can be expected in the late afternoon. Later in the evening, we enjoy our last dinner on the mountain and a well-earned sleep.
When we got back down to basecamp, we had 2 hours to rest up before waking up, eating lunch and heading down to Mweka Camp. The reason they don’t allow you usually to stay another night at basecamp is to try to get you down to lower elevation ASAP. We were SO tired and it was hard waking up and getting going but as we descended it felt GREAT!
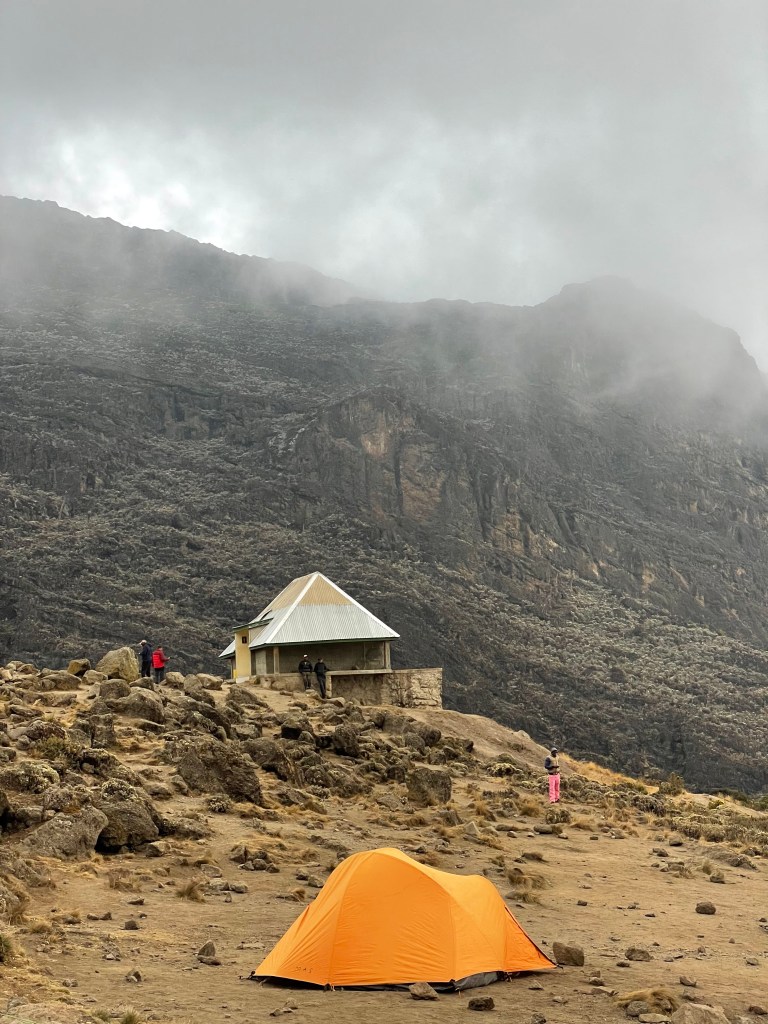
Below are photos from basecamp to Mweka Camp. Arriving just as the sun was setting both trips.


DAY 7
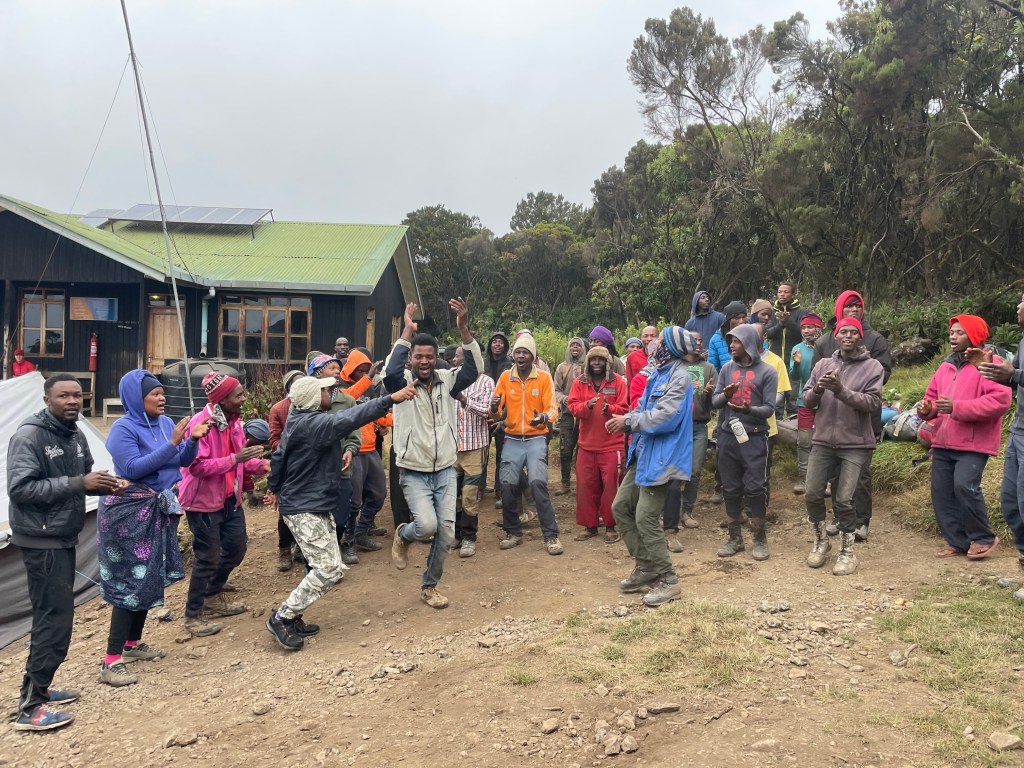
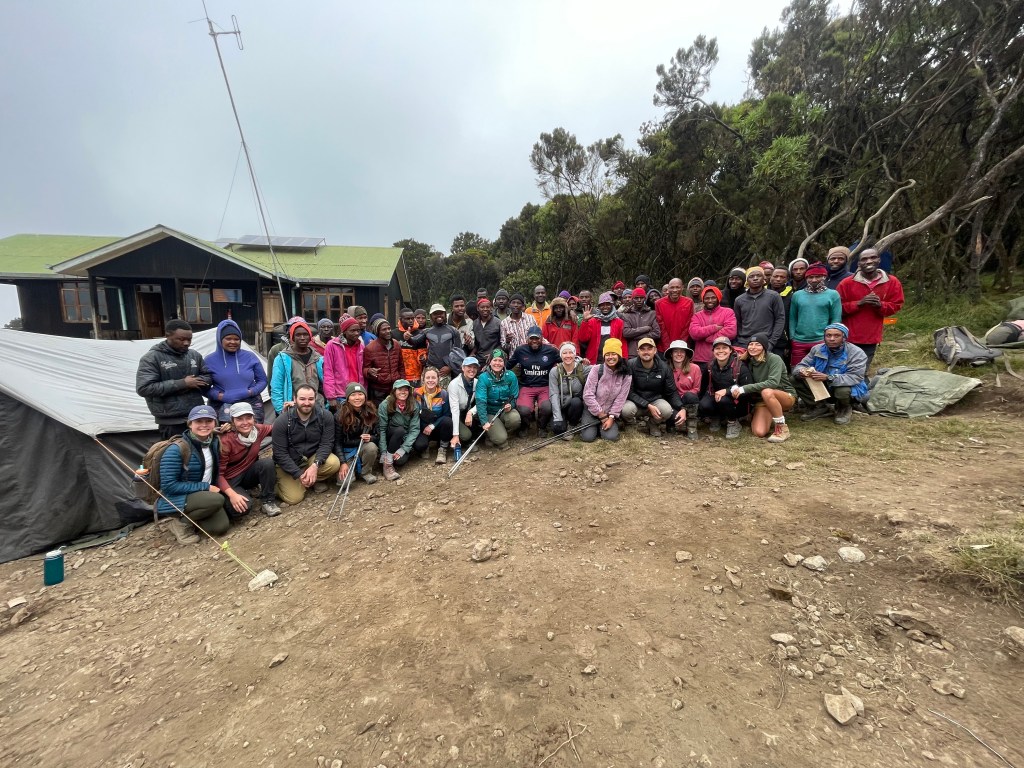
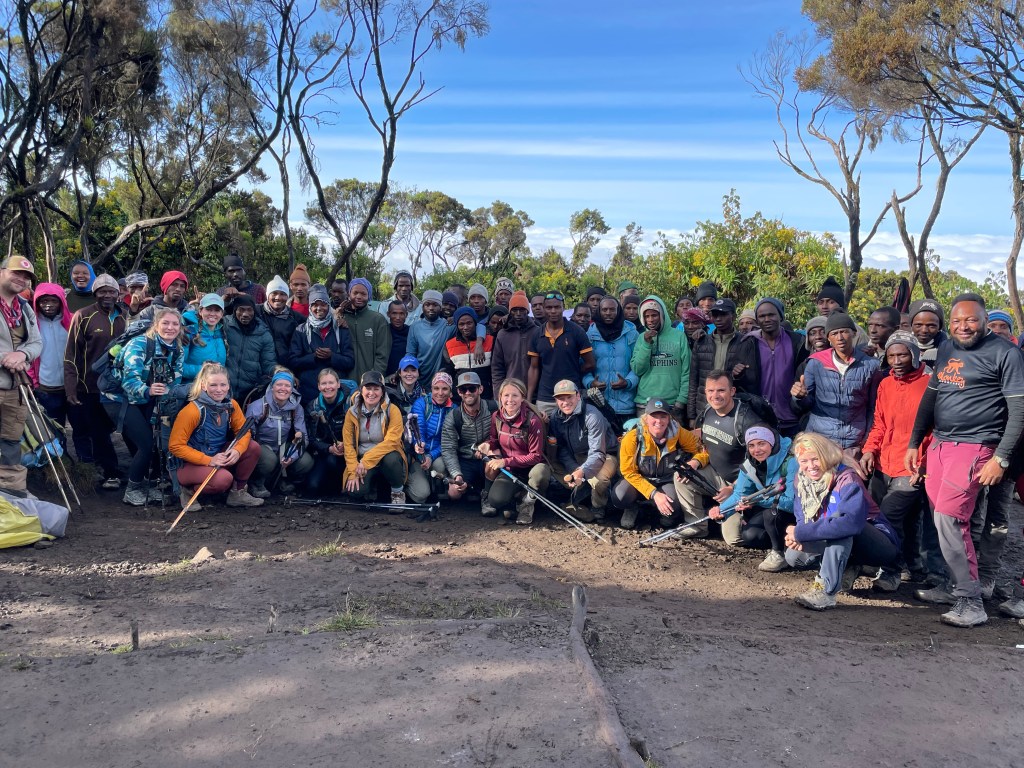
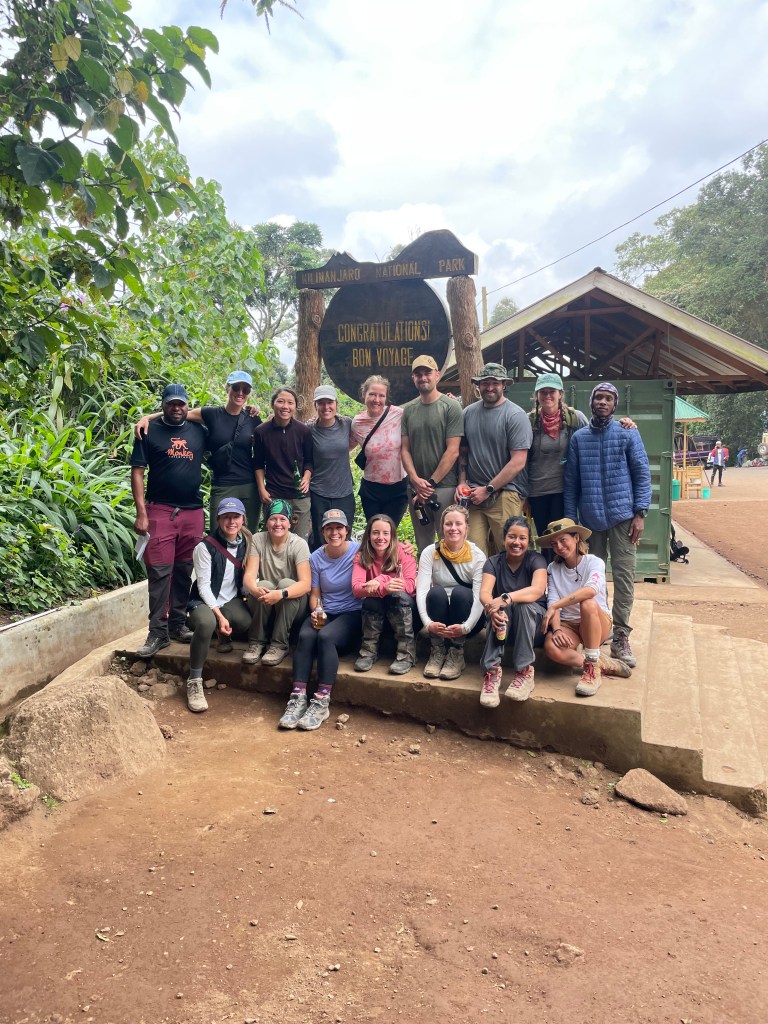
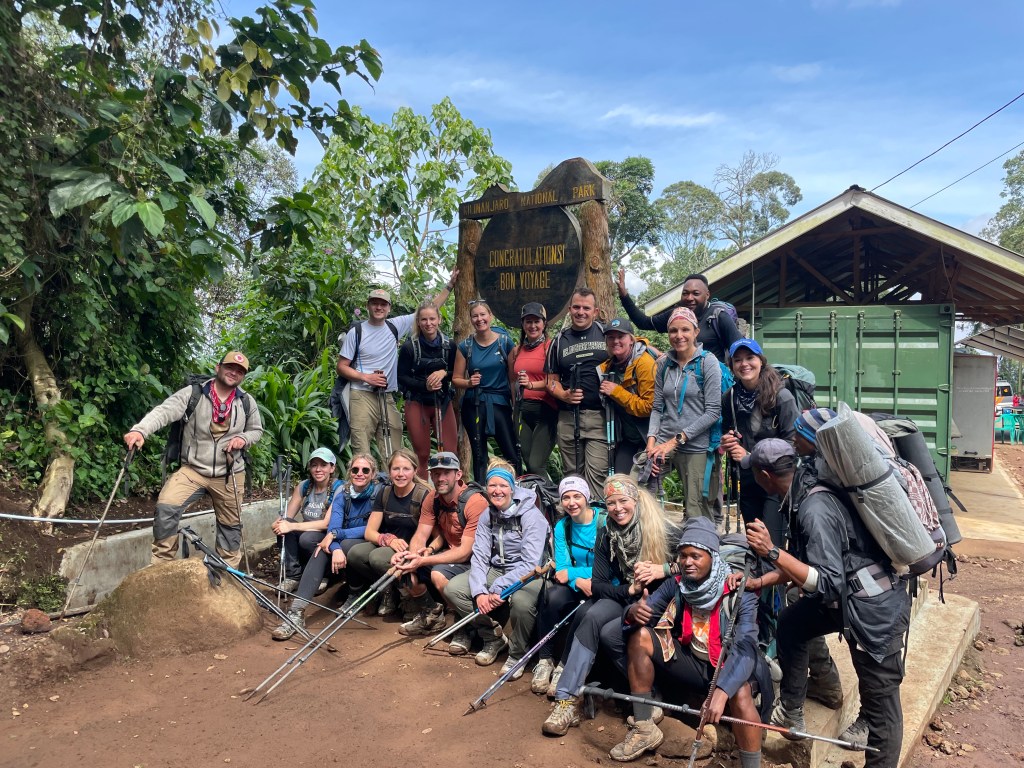
We woke up early on the last day and had a 2.5 hour hike out to Mweka Gate. Breakfast and then our lead guide had the entire group get together for some introductions, along with a final ‘hurrrahhhh’ song and dance.


Mweka Camp to Mweka Gate
Elevation: 10,065 ft to 5,380 ft
Distance: 10 km
Hiking Time: 3-4 hours
Habitat: Rain Forest
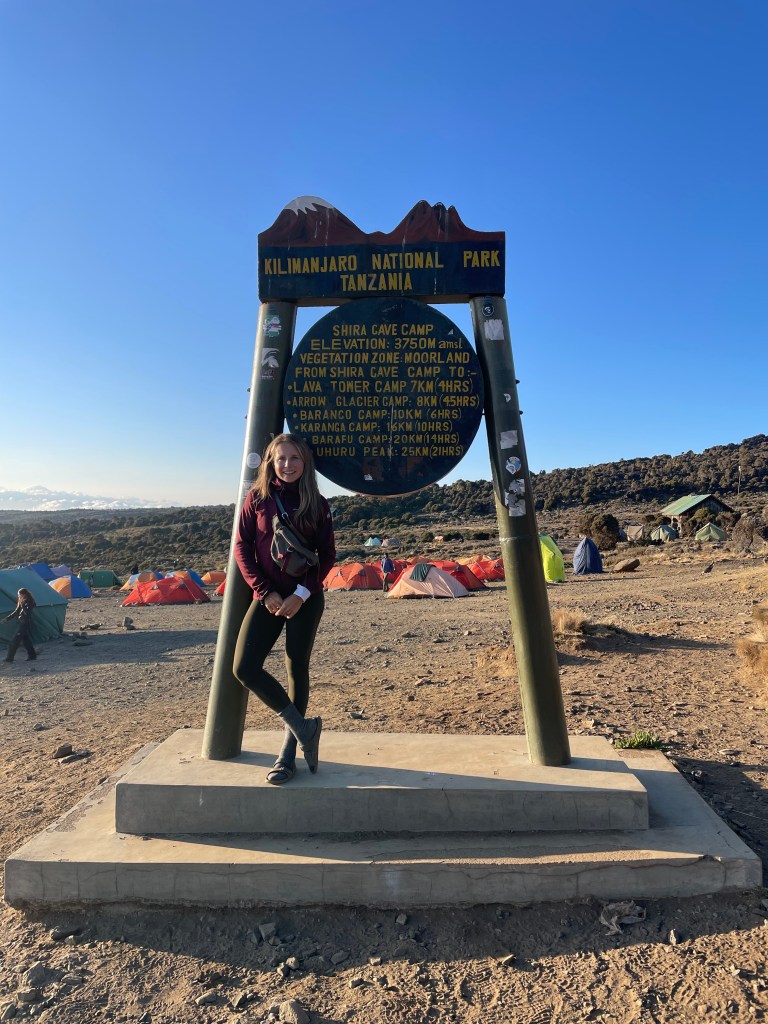
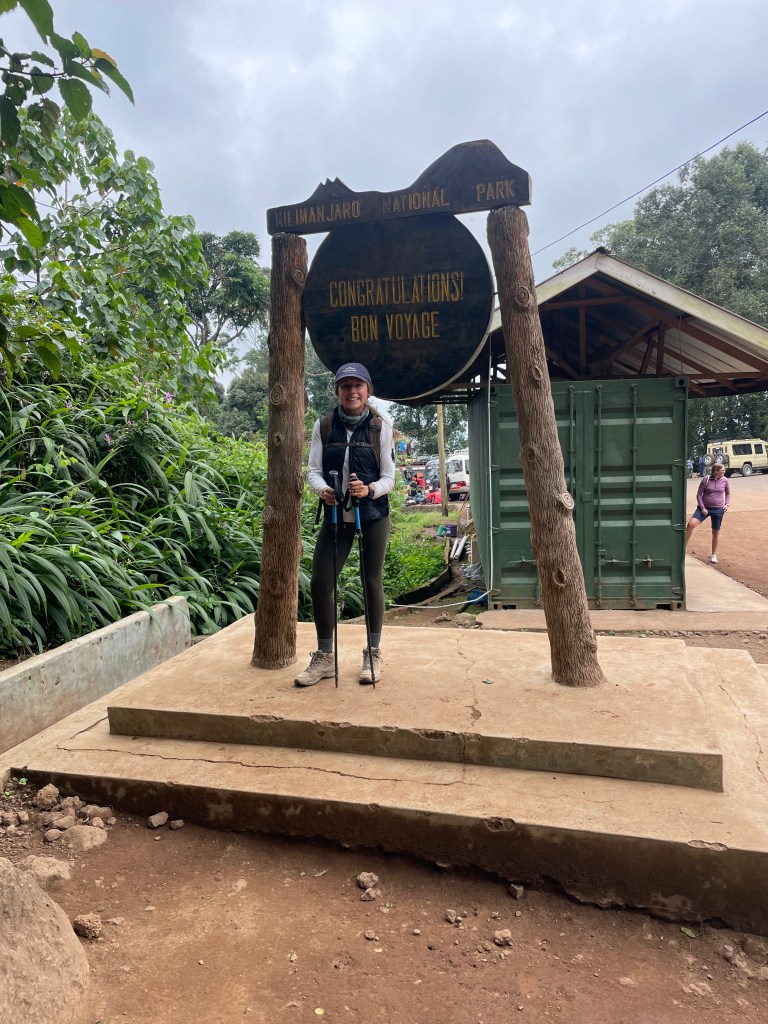
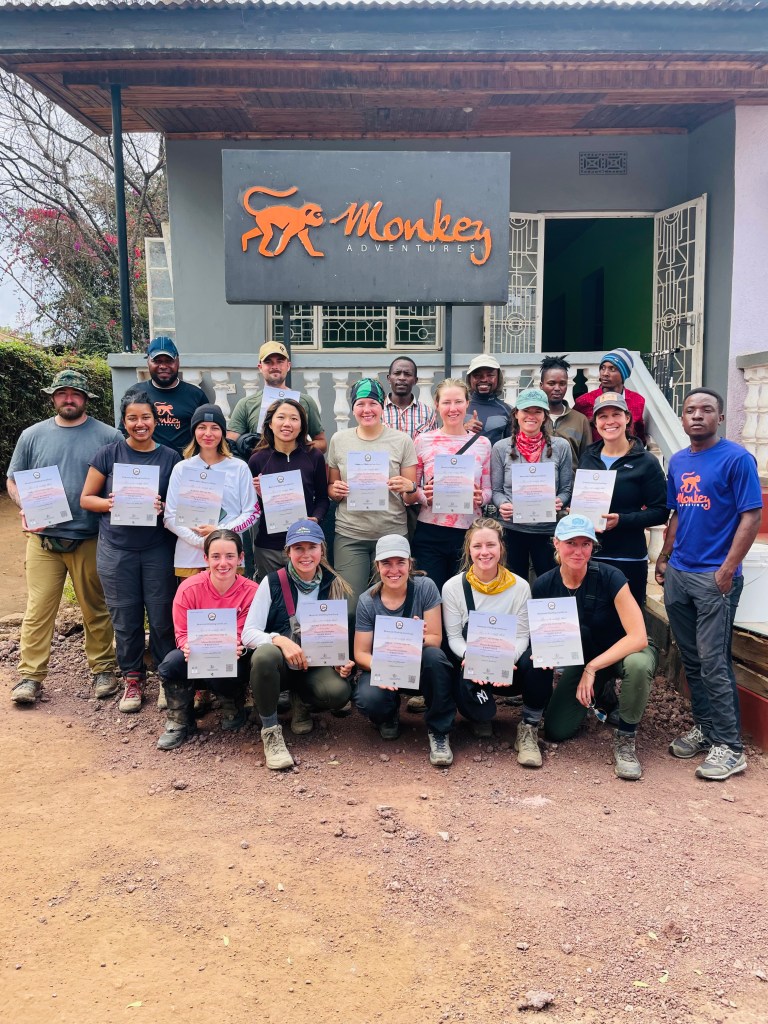
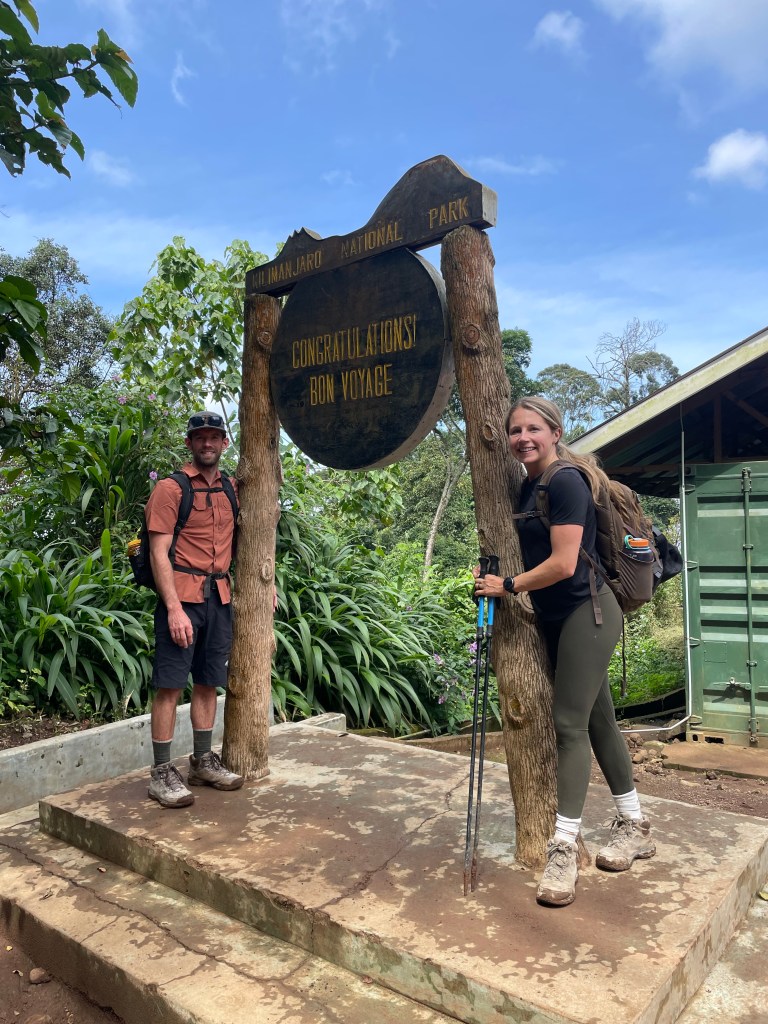
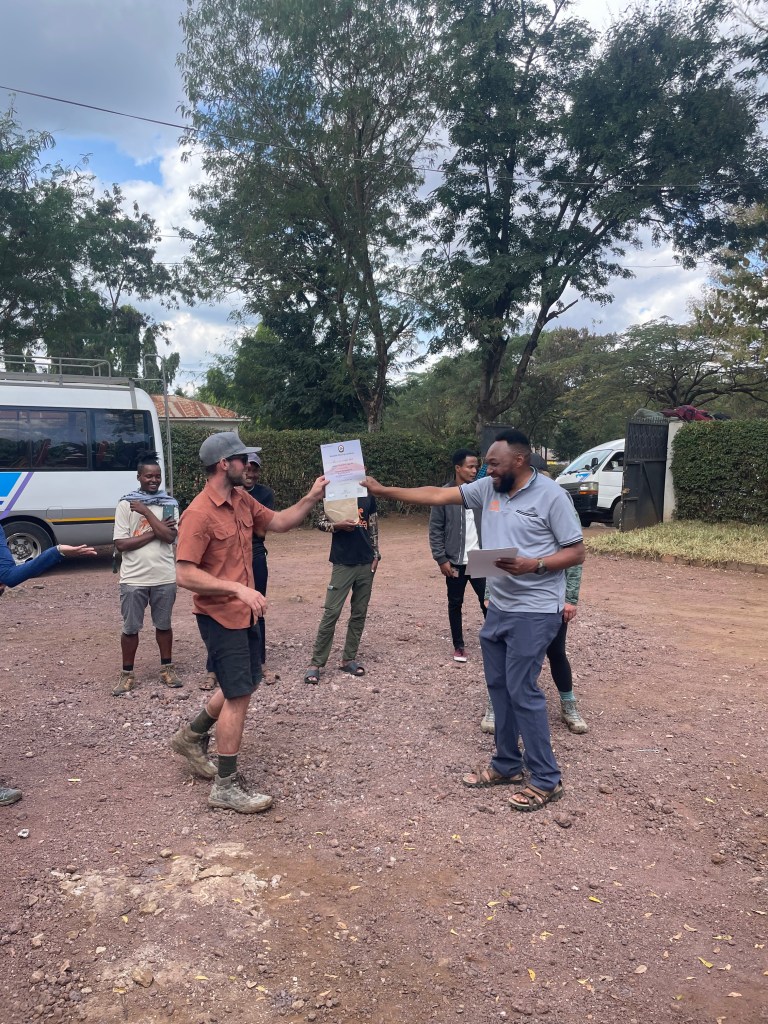
On our last day, we continue the descent to Mweka Gate and collect the summit certificates. At lower elevations, it can be wet and muddy. From the gate, we continue another hour to Mweka Village. A vehicle will meet us at Mweka Village to drive us back to the hotel in Moshi.
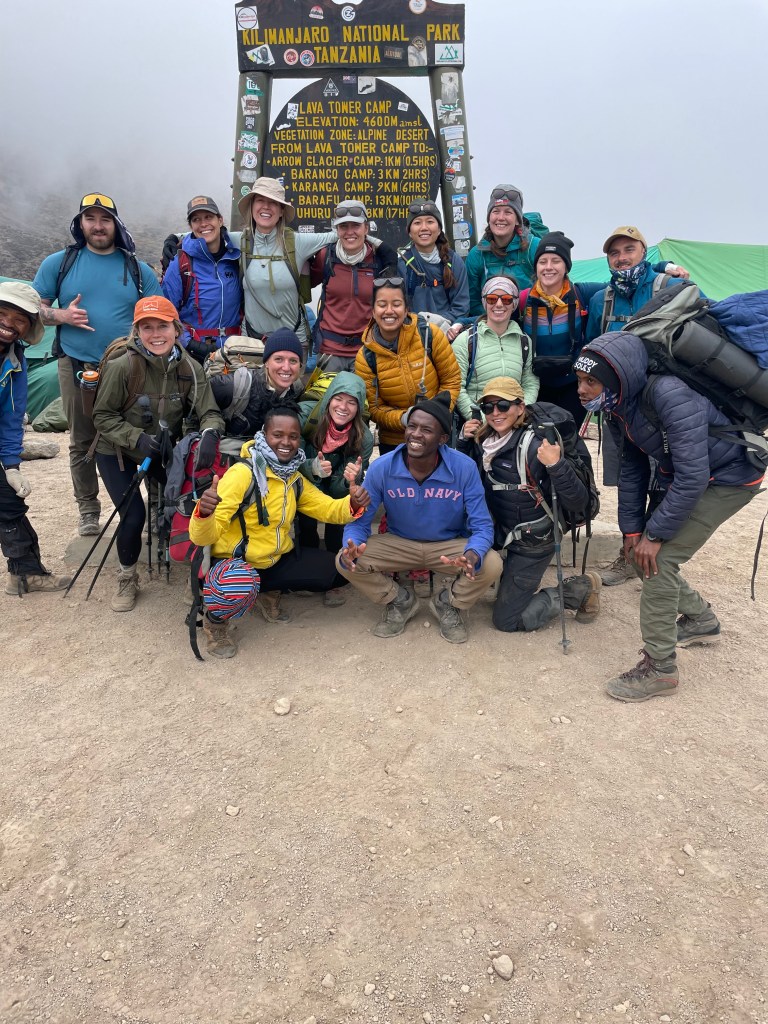
Gate photos/certificates below.
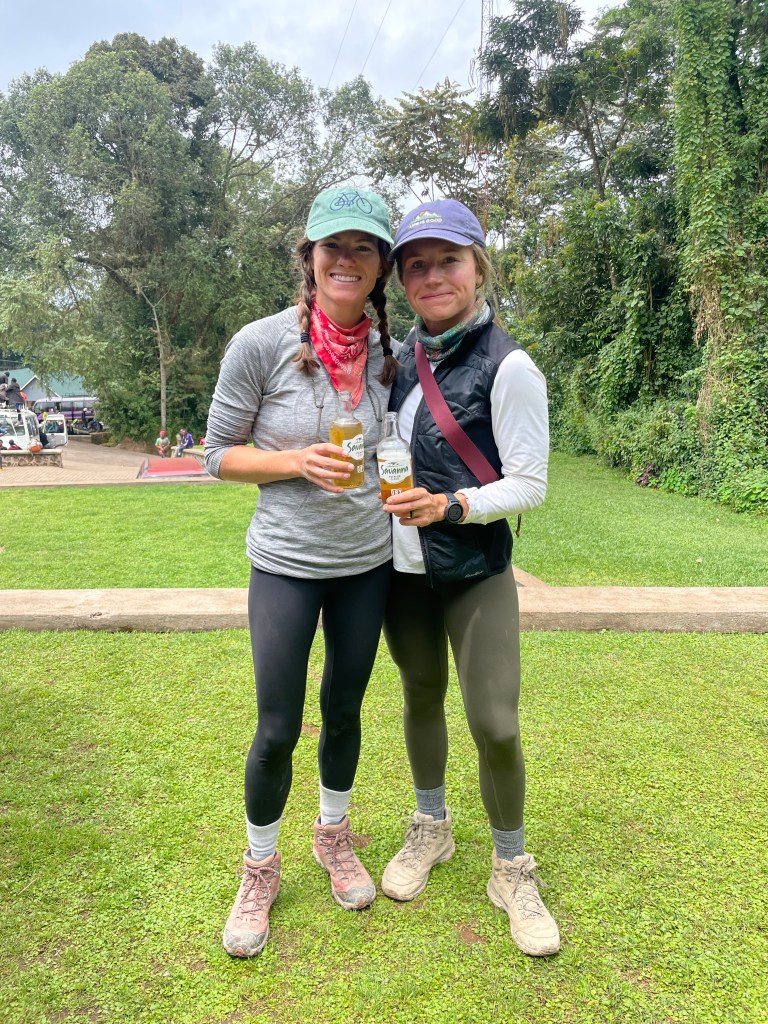
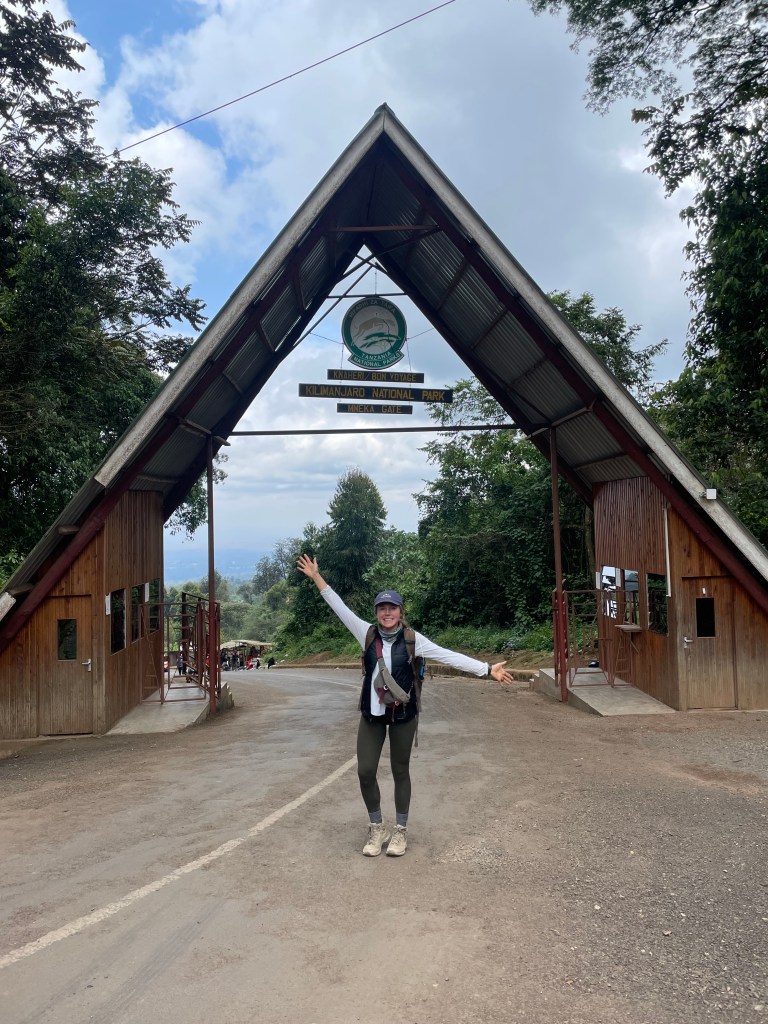


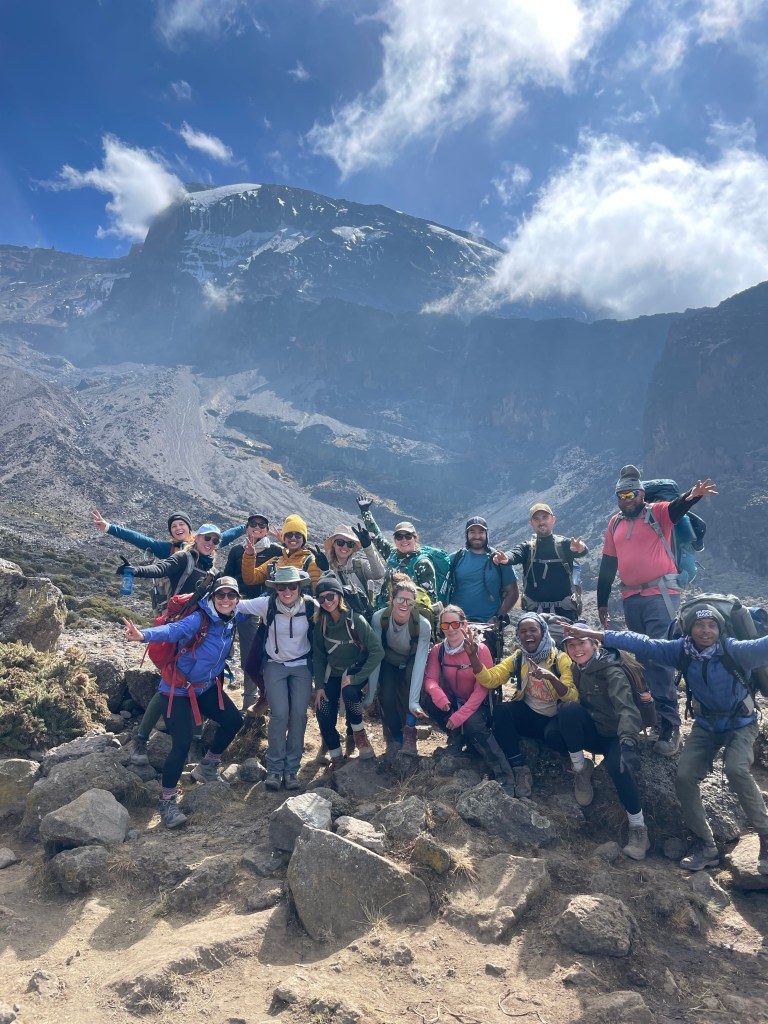
It is extremely difficult to put these two trips into words, summarizing what an incredible experience it was, both times. I would be lying if I said it wasn’t extremely challenging for me to go back the second time. Both trips I was quite ill (a whole other can of worms to open up with that one), but I powered through and can say I summited Kilimanjaro twice, and so close together.
It would not have been possible without the people in the groups, along with the most supportive local team. They were all incredible hard working, caring humans. I would highly recommend Monkey Adventures to anyone wanting to climb Kilimanjaro in the future.
If you have any questions about the above, whether its gear related, travel, or on the hike itself please feel free to leave a comment, or email me at b7.willson@gmail.com. Or you can always send me a DM on Instagram @brookewillson.
Thanks so much for reading! ❤
After the July trip, Craig and I headed out for an 8 day safari. This will be a whole other blog post COMING SOON!
After the September trip, Danci (a traveller on my September kili group), a friend Tara, who lived in Las Vegas (who came on my Alaska trip), and I all went to Egypt for 3 days. Again this will be a whole other blog post also COMING SOON!

Great, Quality Content for The Ultimate Guide, A lot of thanks for sharing, kindly keep with continue !!
LikeLike