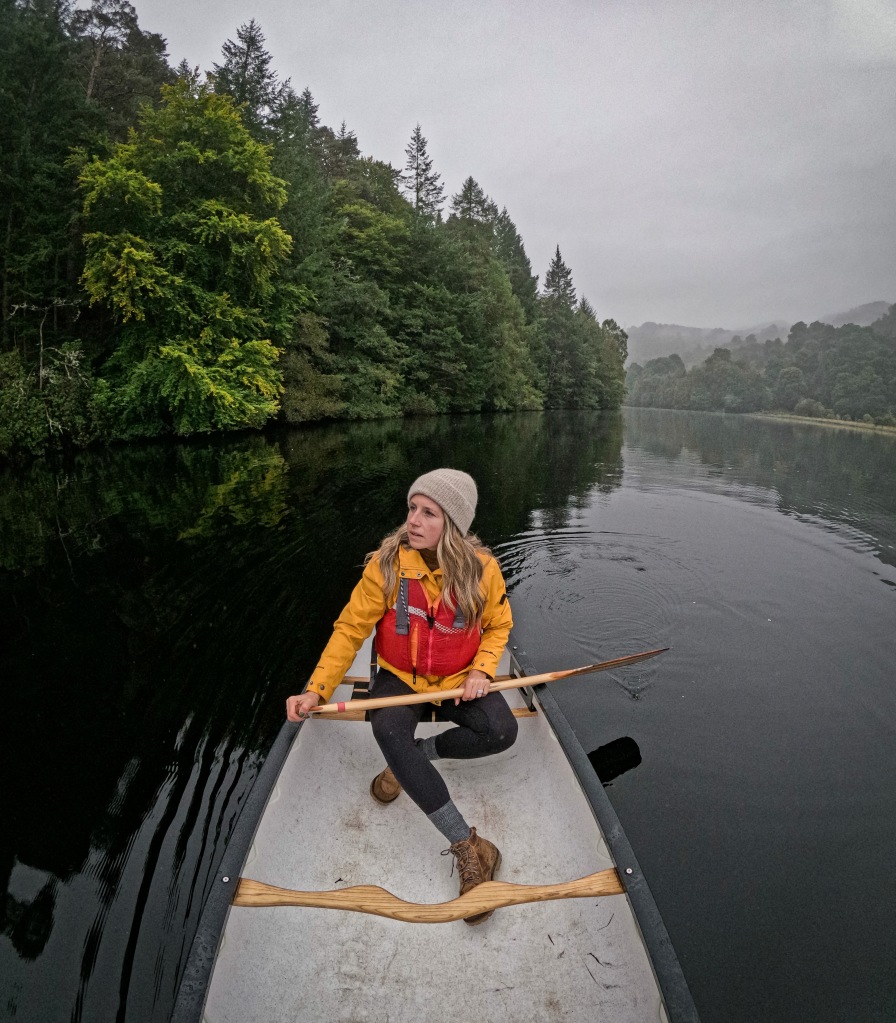
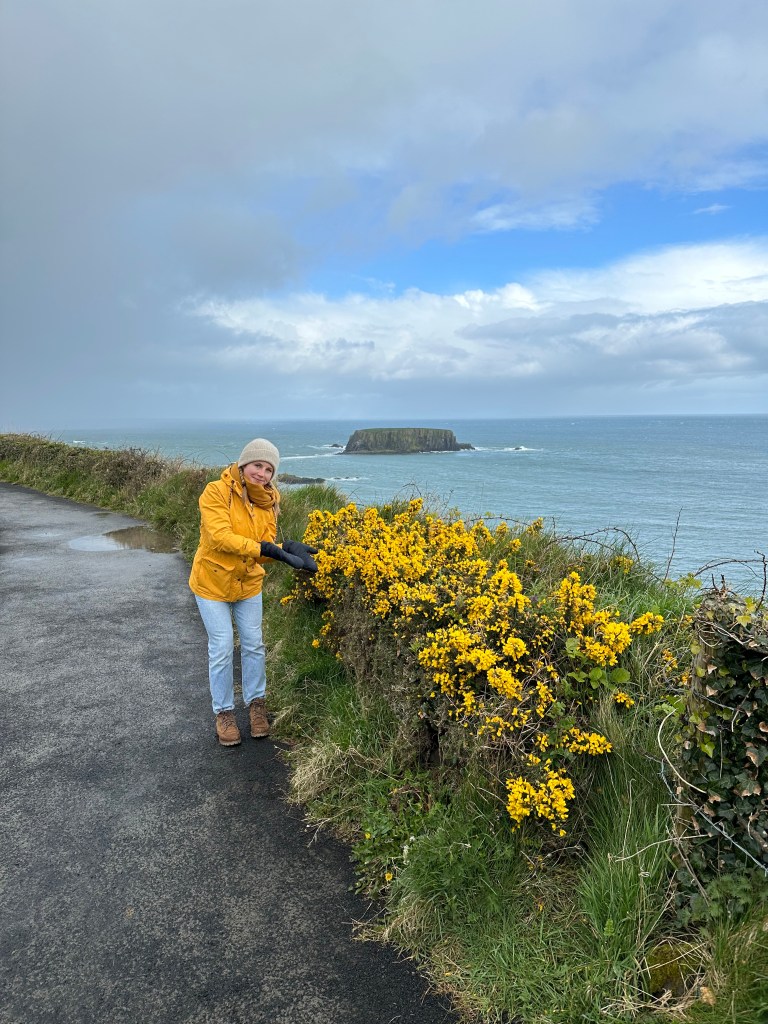
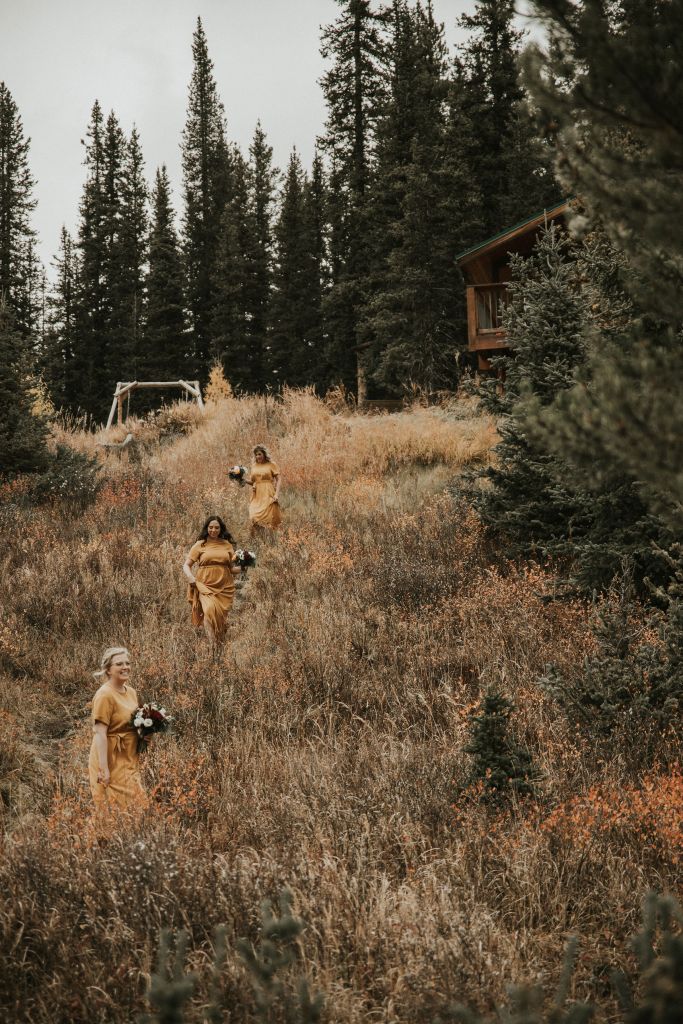
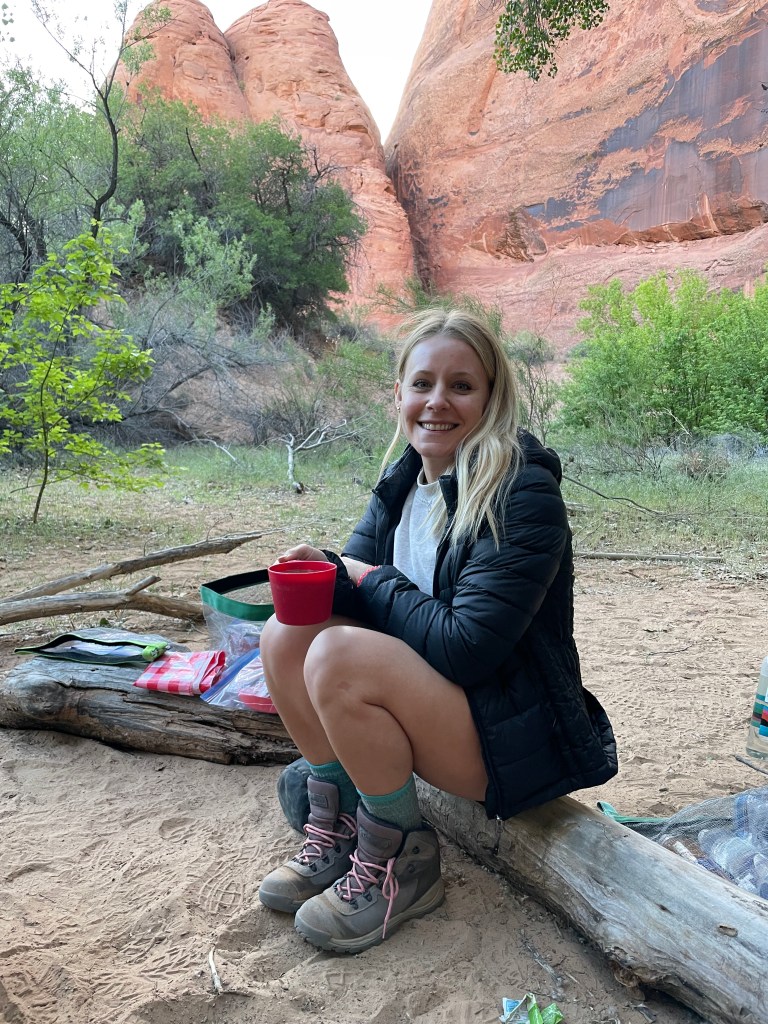
“Running teaches us we are capable of so much more than we ever imagined” – PattiSue Plummer
This blog has been a long time coming… but seeing as SO many of you have questions about running, I felt it was time to address them all here, in ONE place. From finding and maintaining motivation, training for a 5km, what to wear in the different seasons, choosing the right shoe, preventing injuries etc. I do hope this will help you all, or be a starting point, if anything.
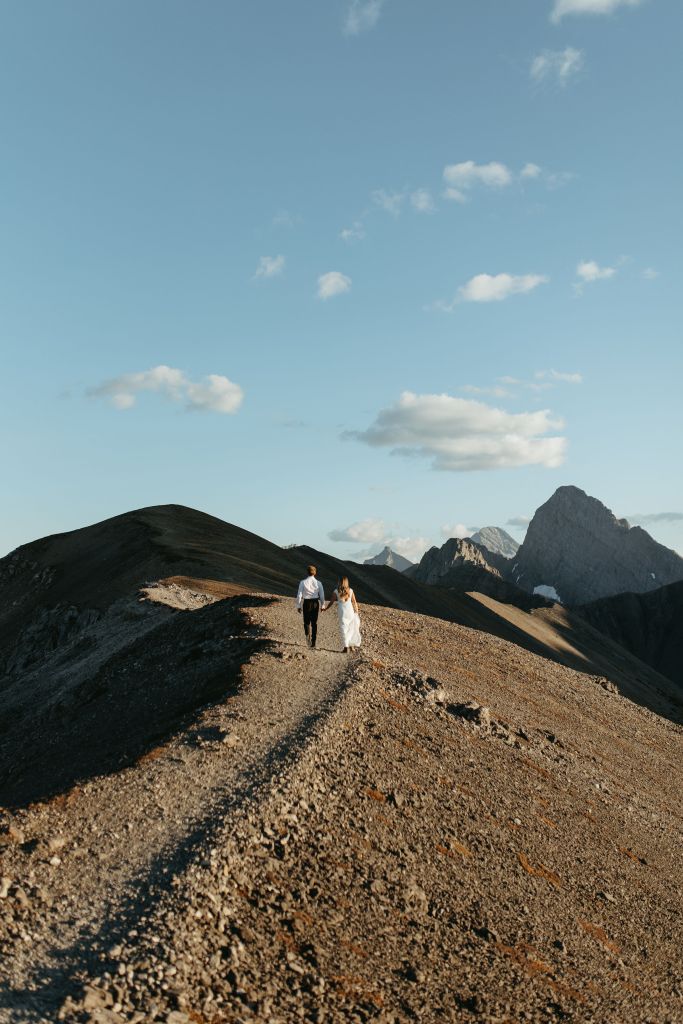
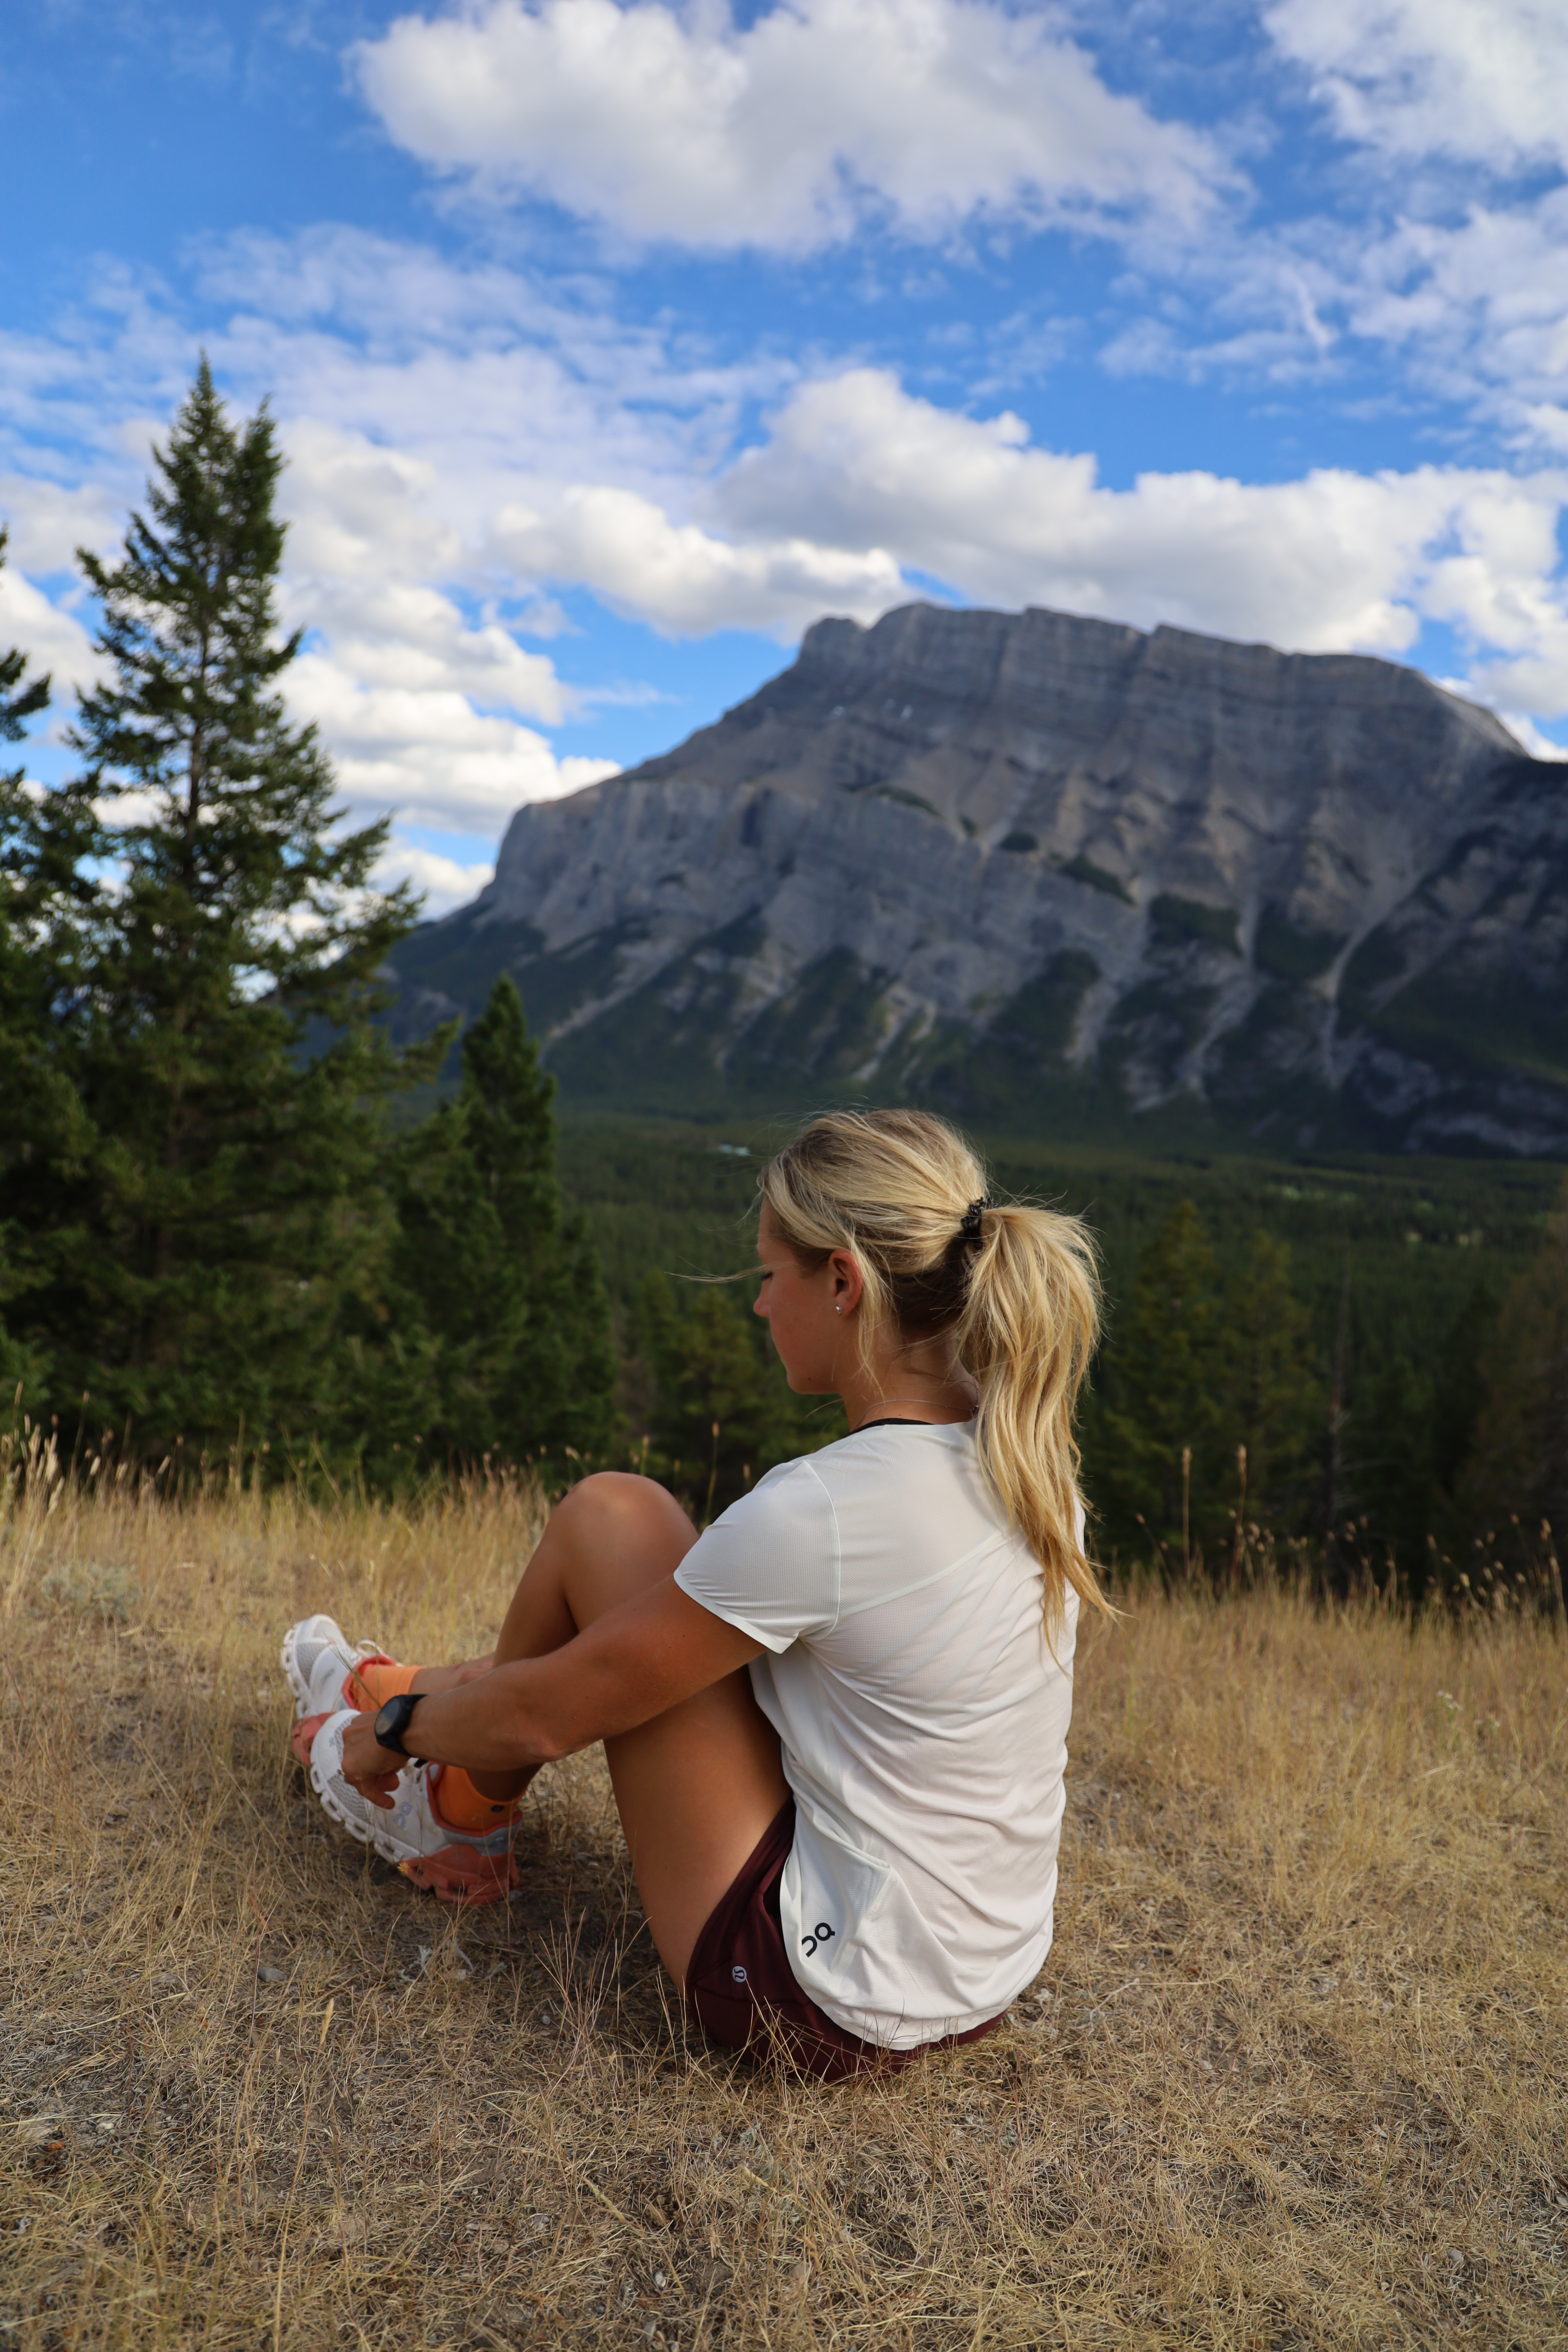
- My story. How I got into running.
- Going from running 400ms to running a 5km.
- Fuelling your body and staying hydrated.
- Finding the right shoe.
- Running attire. Dressing for the weather/season.
- Winter Running Tips
- Running apps/watch recommendations.
- Finding and keeping your motivation.
- Injury prevention.
- Stretching.
- How to increase your speed.
- First off, I will tell you a bit about how I got into running…
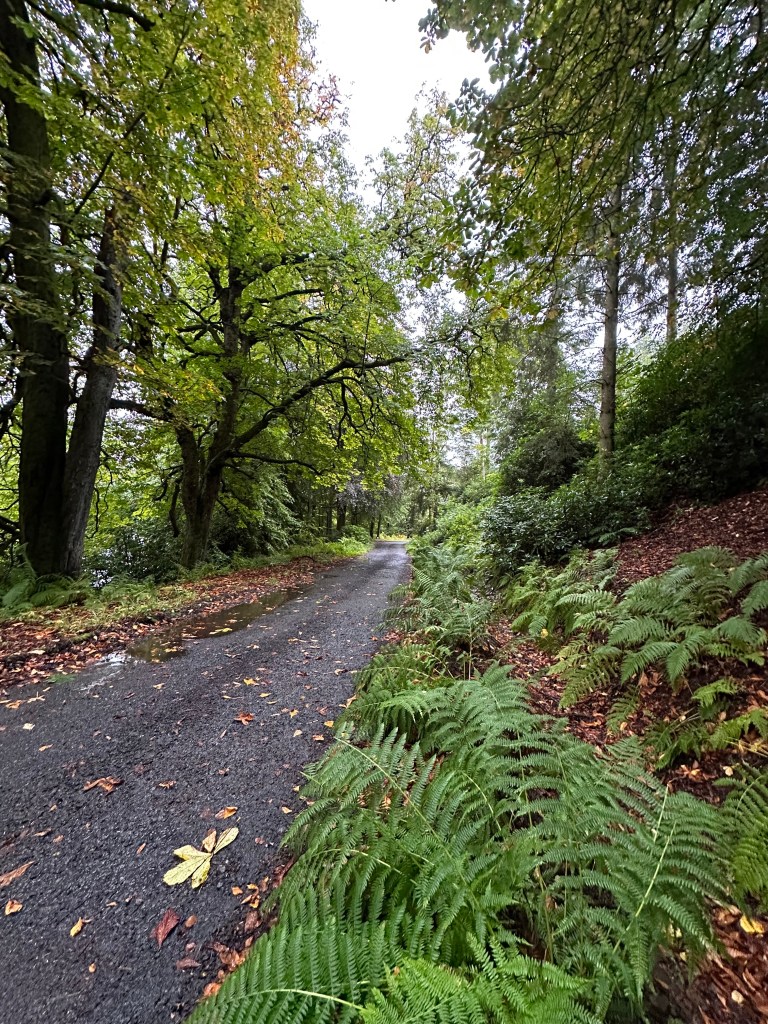
It all started in the Spring of 2008, my graduating year. In grade 10 I had stopped all sports, soccer and dance, so was not partaking in any exercise on a regular basis, and decided I should start SOMETHING at least. Sooo…. I started running. I figured that was something I could do anywhere, anytime and with little ‘equipment’. Also we have SO many beautiful trails in our city, it was a great way to get out and explore them. I had a pair of running shoes and attire that I figured would work, starting out and I just got out there. I wasn’t able to run consistently for longer then 400m when I started, but at least I was out there, giving it my all. I have already been pretty self motivated, so when I told myself I was going to start this I was determined to keep at it. Consistency is key!
Everyday, or couple days I would go for my run and slowly worked my way up to being able to run for longer and longer durations. I ran on my own. I felt like for MYSELF at the start, running solo was better, as I didn’t have to keep up with anyone else, oh and no one had to see me struggling hard. I was my only competition. I do know lots of people who find motivation in others (which I will address later), but I enjoyed the ‘self time’.
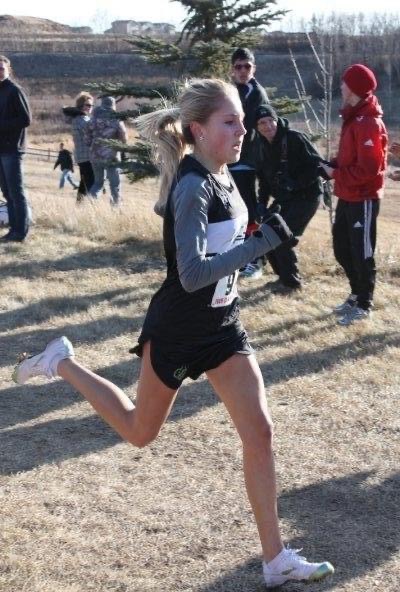
In the fall I got on with the Red Deer College Cross-country running team. It was my first year in post-secondary, attending RDC for my Social Work diploma, and figured, why not? What could it hurt? Maybe I would make a few new friends in the process too. My father was on the RDC team when he attended years ago, and actually had the same running coach as me. My Dad was one of my biggest supporters, with my running. He was SO good, and he encouraged me to push, and go harder. He use to tell me, ‘If you’re not laying on the ground after your race, almost dead, you didn’t run hard enough’ haha. That may sound harsh, but to be honest, I LOVED with encouragement and it was all in good fun. He knew I had it in me. Besides, our coach was pretty chill, and really taught me to LOVE the sport. Yes he wanted us to have great times for our runs, BUT most importantly he wanted us to LOVE running.
I also trained with a couple teammates in Lacombe, with another coach, on the side, who I guess gave us that littttleeee extra push we needed. I remember that during some practices I wanted to give up. Those days that you could taste blood… ya those were hard days haha. BUT I saw the results, and loved it!
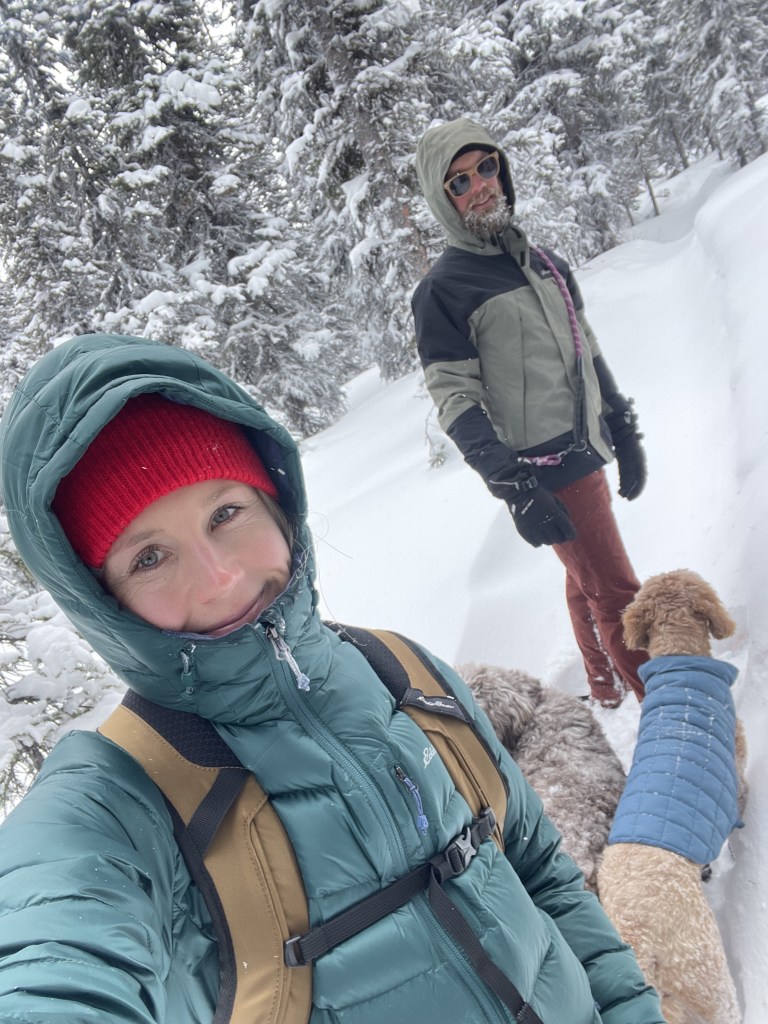
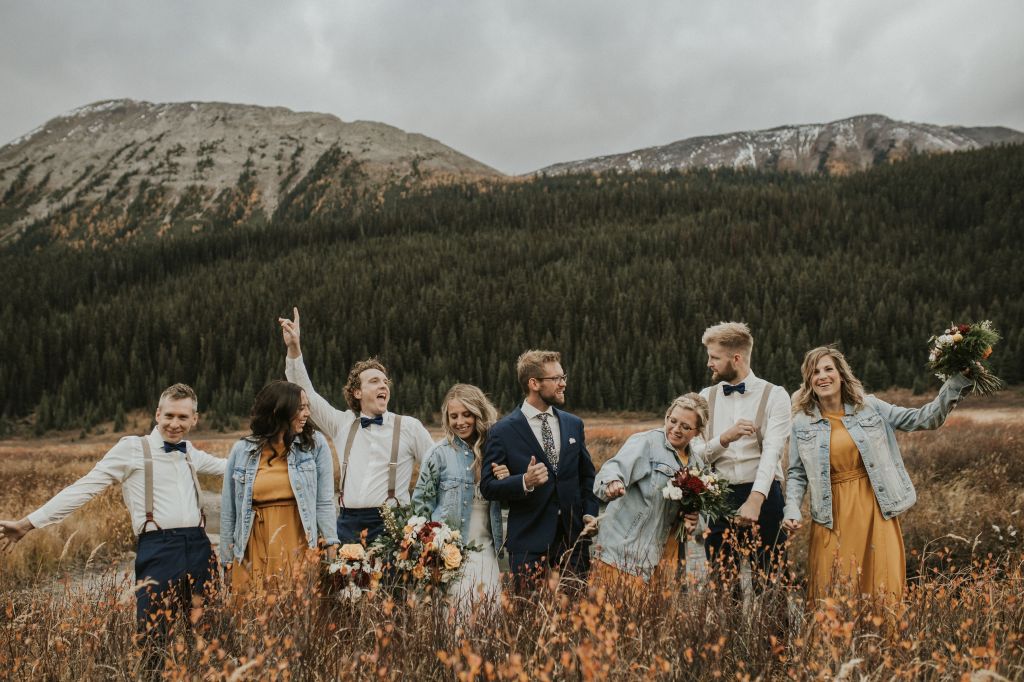
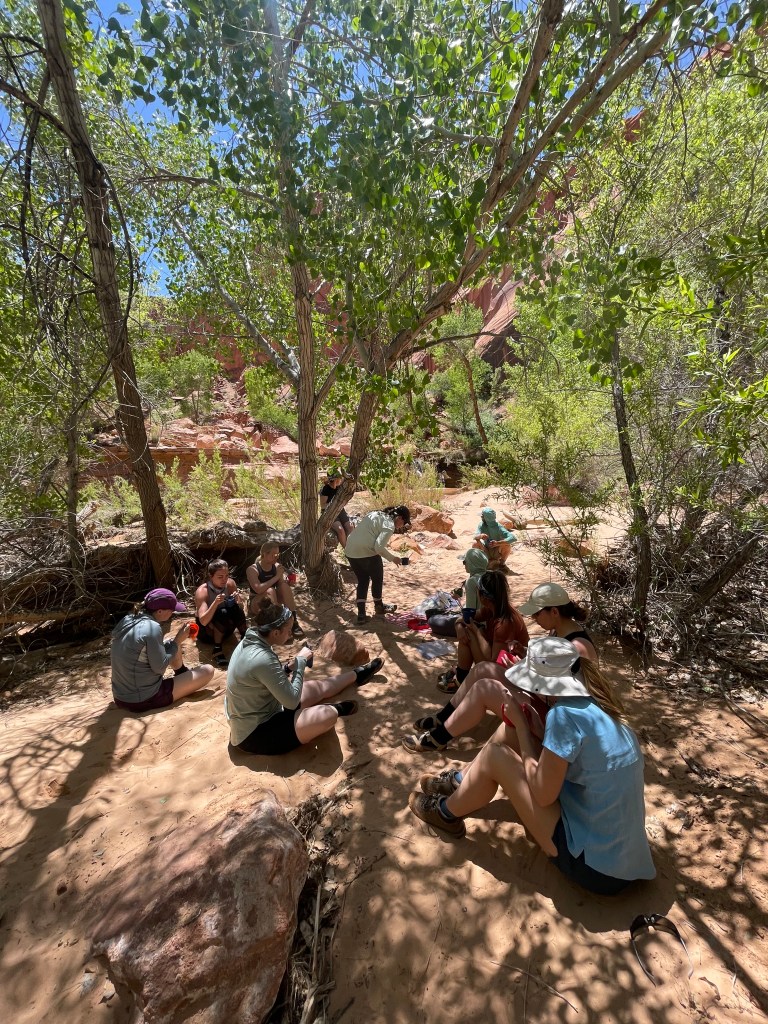
We became a little family, the cross-country team. Outside of running we also had team bonding trips, to the mountains, and house gatherings, celebrations etc. I met one of my very best friends on the team, and she is not my maid of honour. Joining the running team was intimidating, but also was one of the best decisions I ever made. It helped balance me outside my studies, and gave me a purpose. Little did I know how much running was going to change my life.
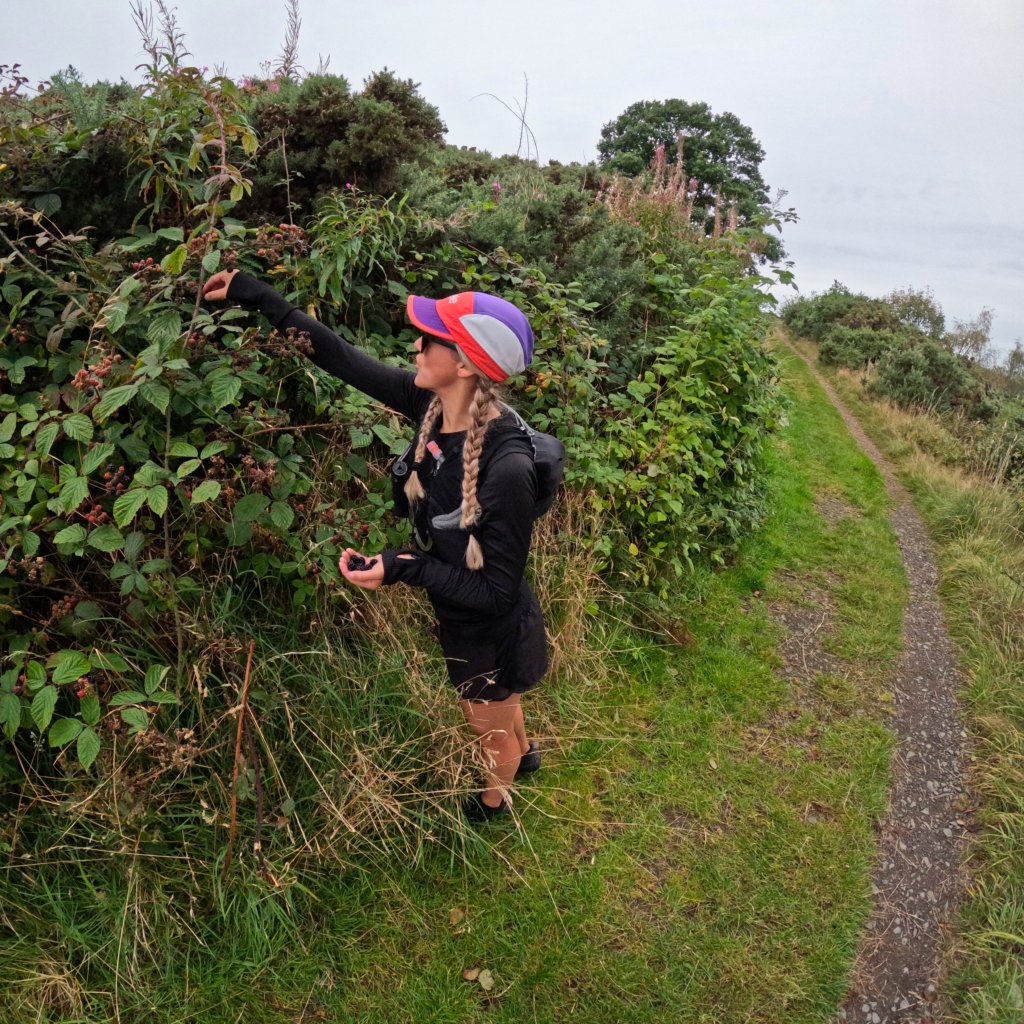
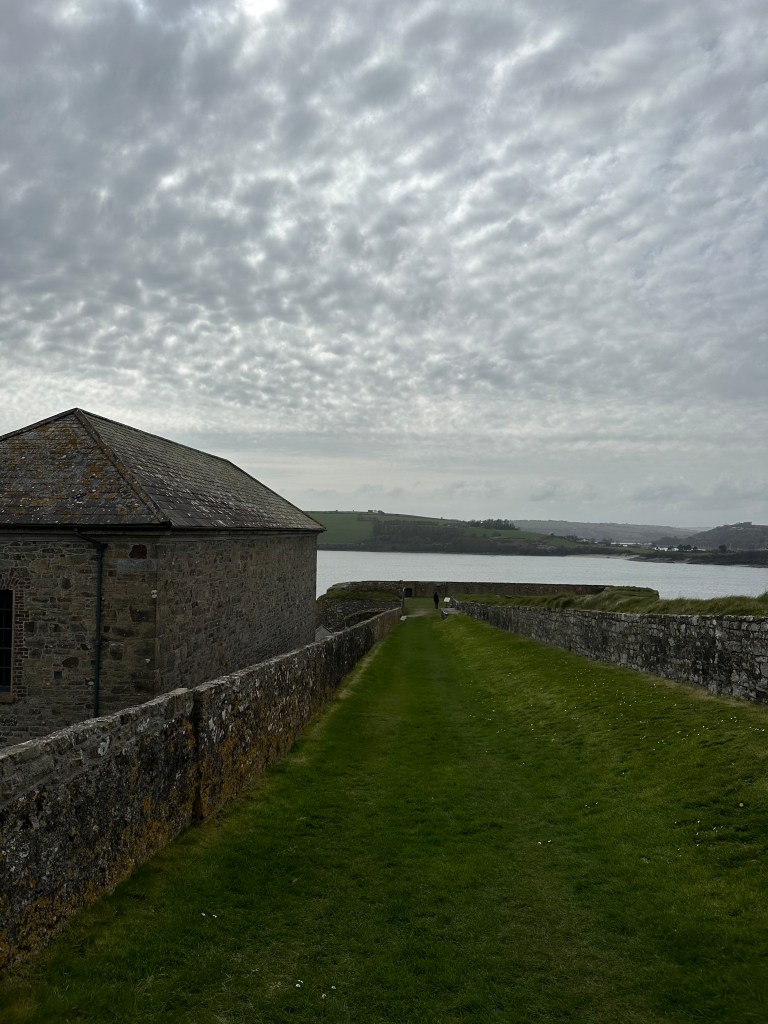
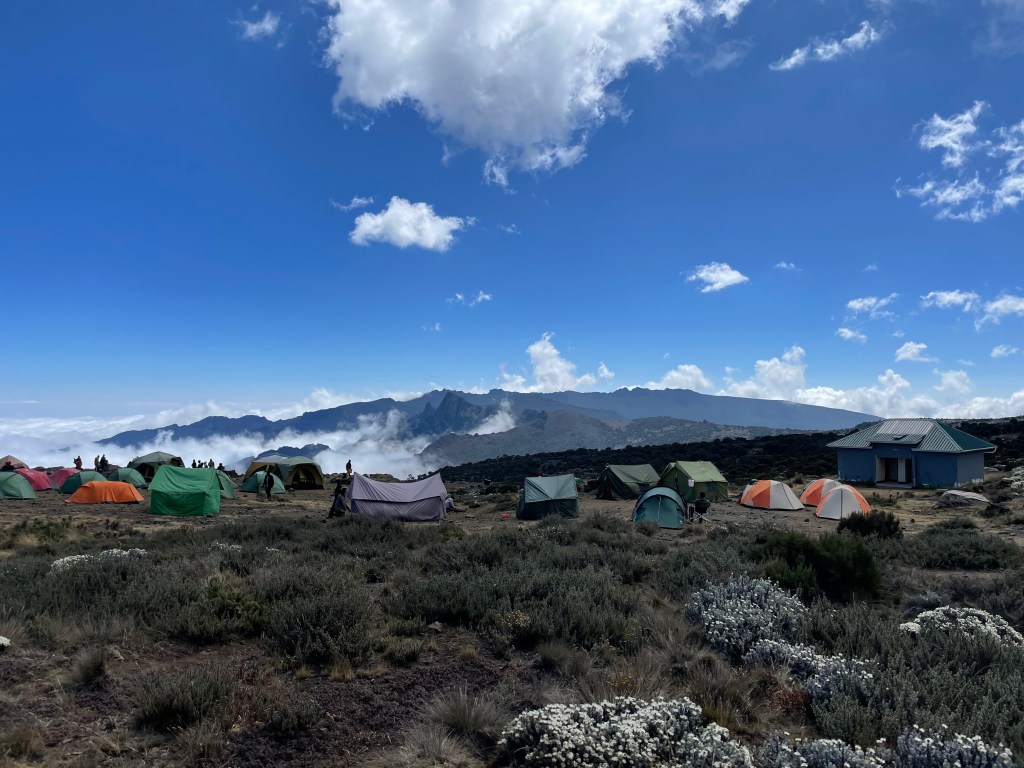
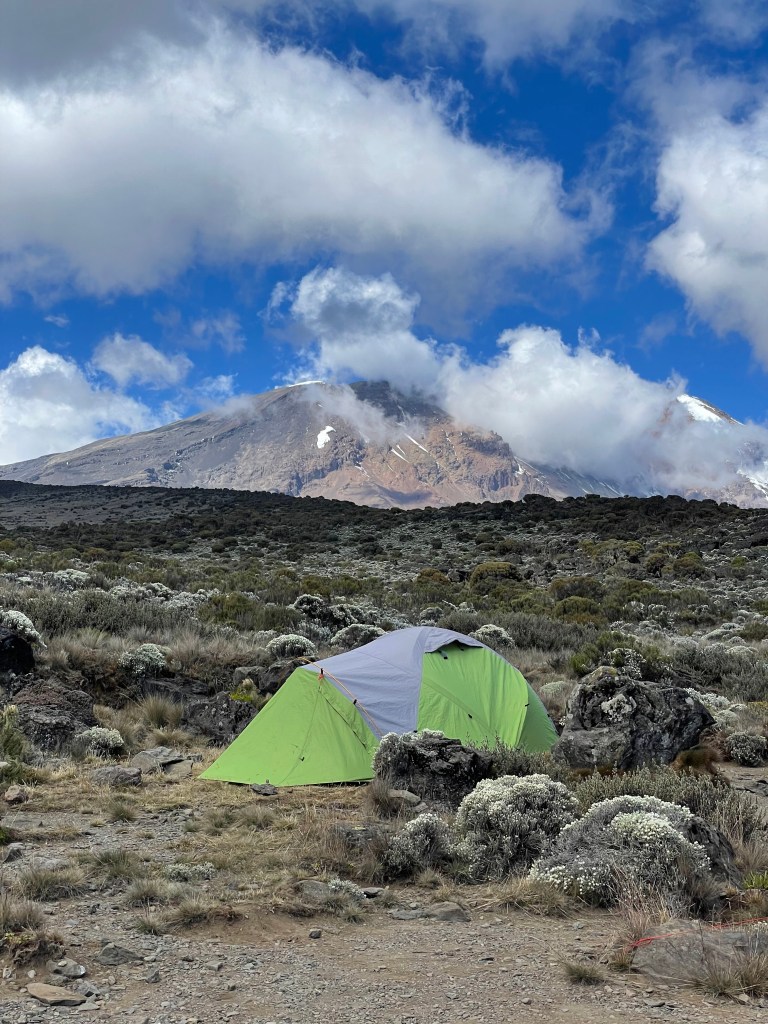
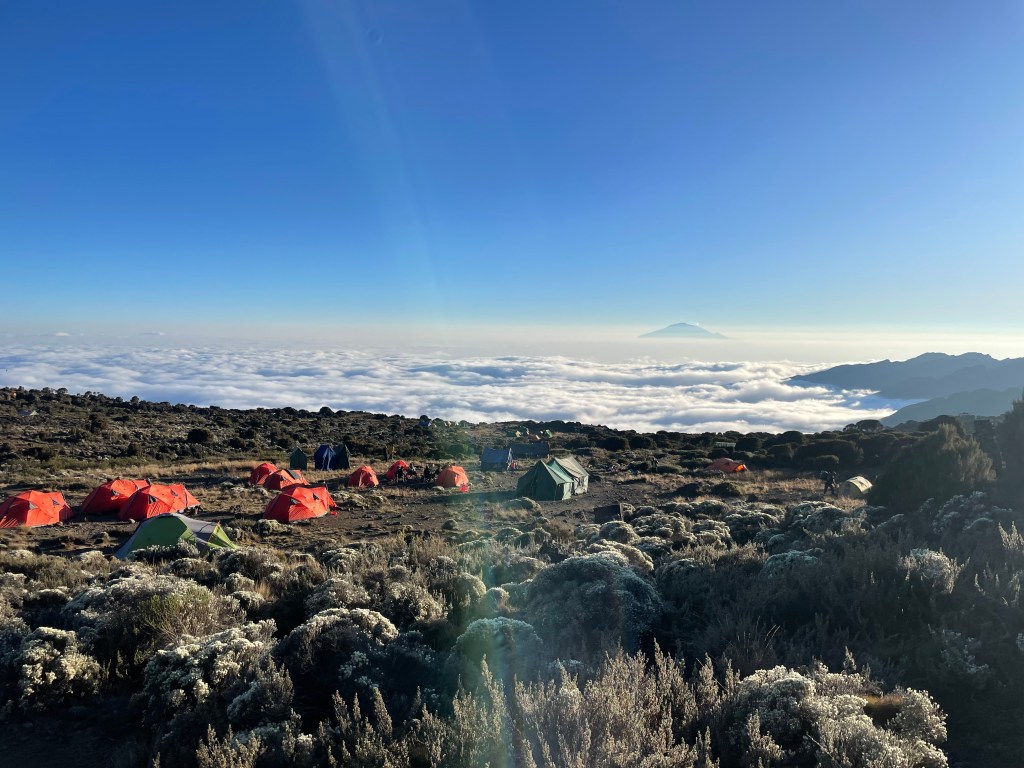
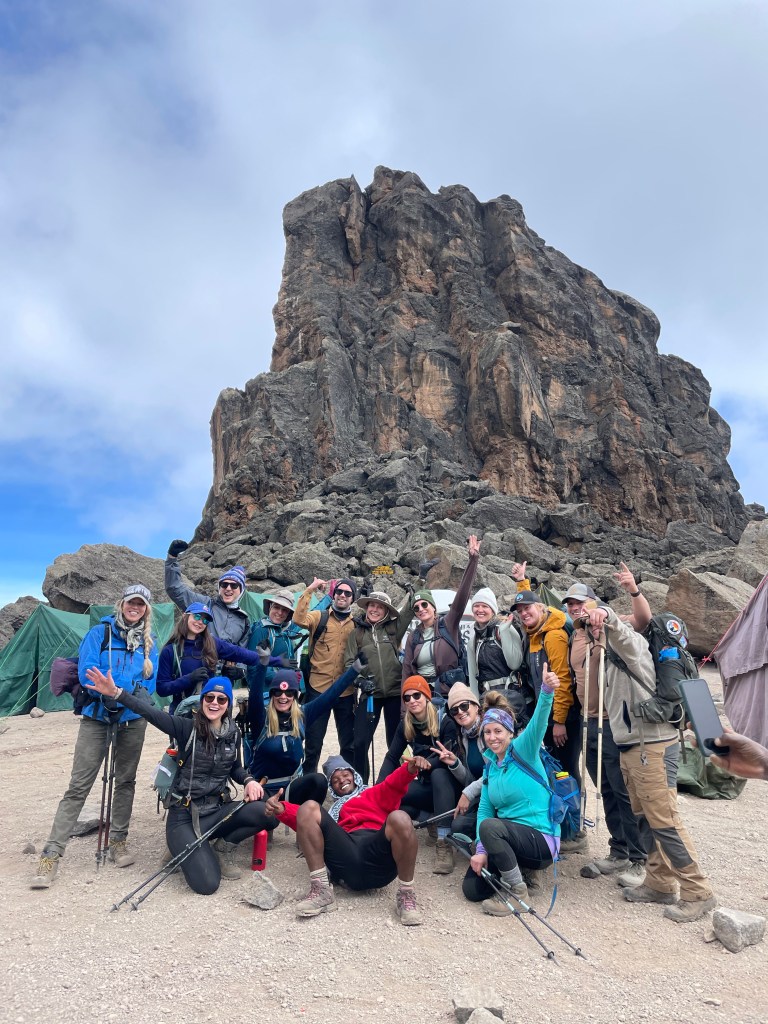
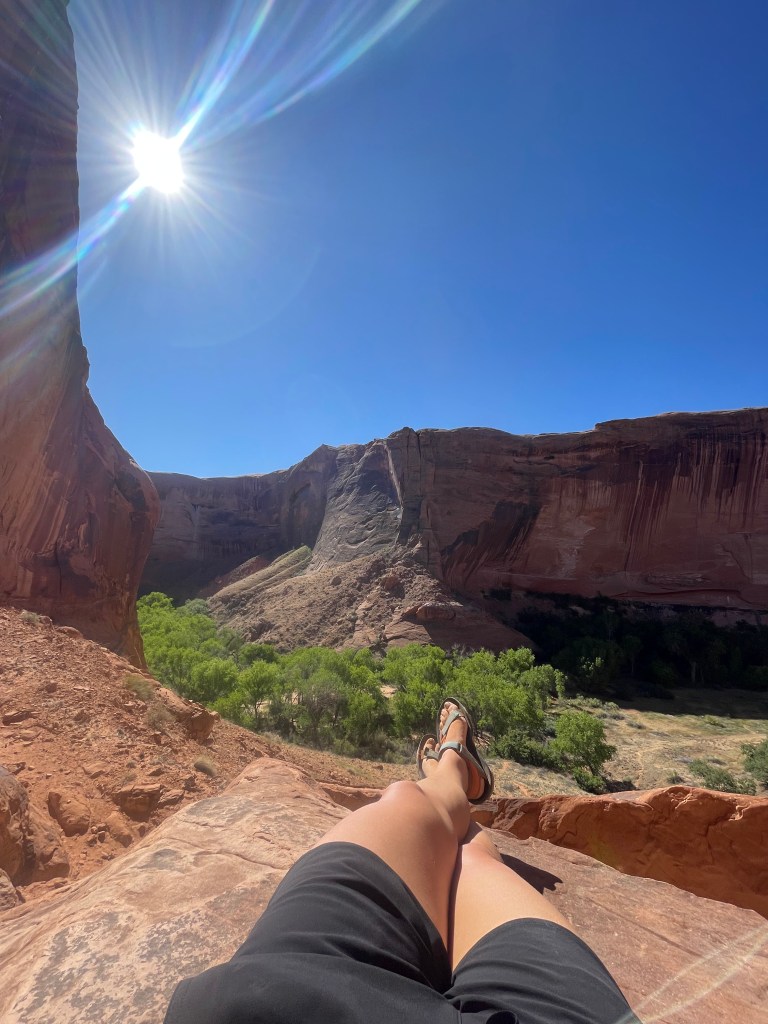
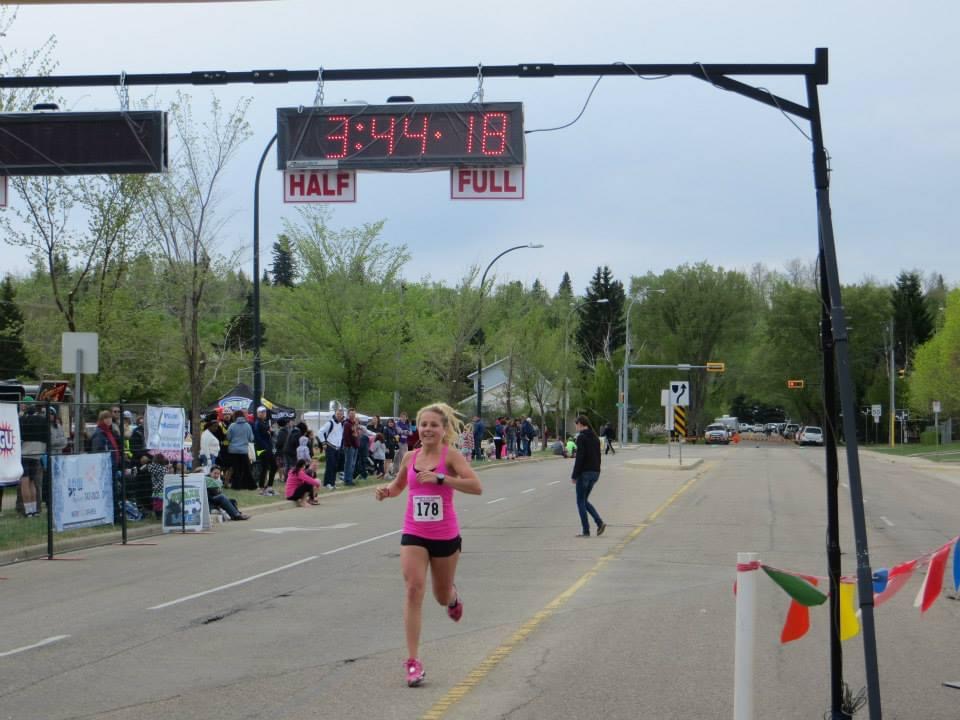
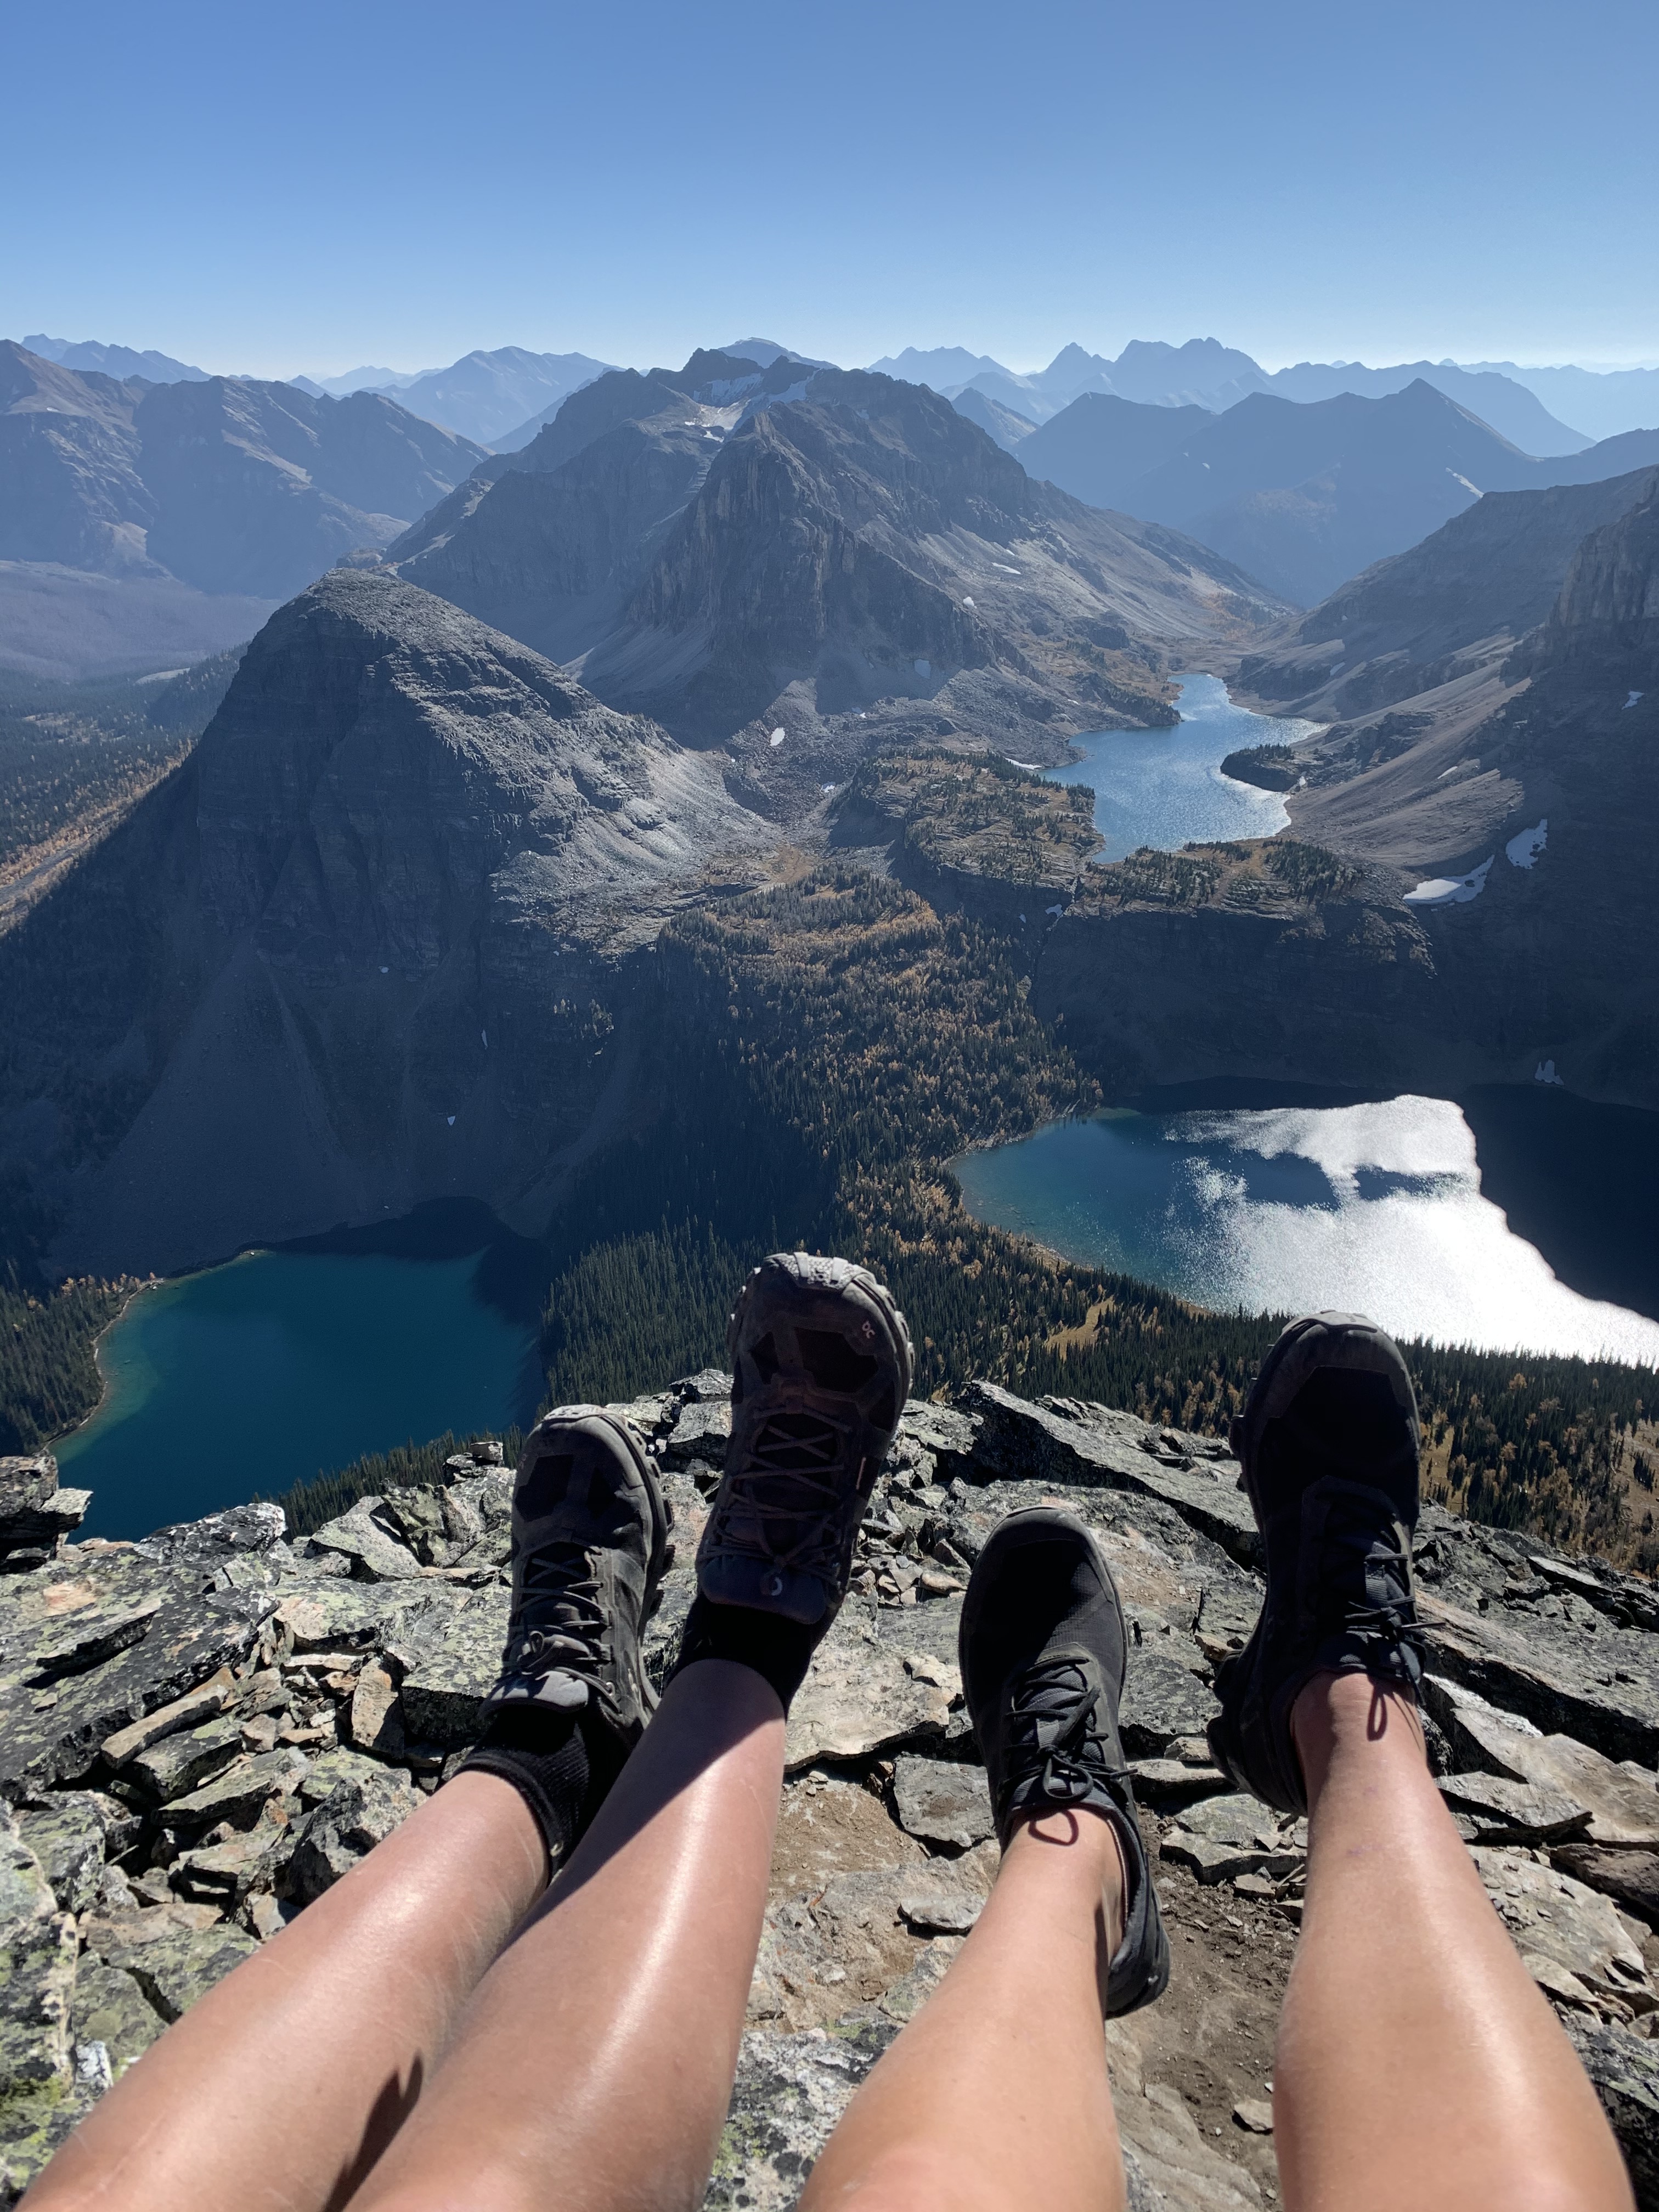
I have raced 5km trail runs, 10km road races, half marathons, and have completed one full. Even though I don’t race as much as I use too, I do have goals! I hope to get into longer distance trail running over the years to come, combining my love for running and the mountains. 40-50km runs is the plan. Running brings me so much joy, and I hope you’re able to find joy in it too.
2. How did I go from running 400ms to running a 5km?
By not giving up. I was committed. Before joining the cross-country team, I ran solo, like I said earlier. Everyday I would push a little more, run a little further. I used light posts to gauge how far I could go. Every time I would go out I would try to run one or two more light posts further. I did not have a running specific watch so I used different landmarks, and my regular watch. I also used different houses, and bridges depending on the area of town I was in. I also never focused on my speed, strictly distance, and pushing further everyday, even if it was slow.
I also would go for ‘run-walks’, meaning I would try to run for 30 second, walk for 30 second, run for 30, walk for 30 and kept at that for a certain amount of time. Eventually I would change it to run for 45, walk for 30, run 45, walk 30. Then run for 1 minute, walk 30 seconds. Eventually I was at the point where I was running for a 5 minutes and only have to walk for 30 seconds, before doing that all over again. From there I kept adding distance. Running for 10 minutes (2kms) and walking 30 seconds, and so on and so on, decreasing the amount of time I spent walking during my runs.
“It takes patience. It takes consistency and it takes commitment to conquer longer distances,” – Michael D’Aulerio
Every bit of success I had, I held onto. It is amazing, the feeling of accomplishment and feeling yourself getting better and better at something, because of the time you put in. When I started running, I told myself that I was going to be able to run 5kms non stop, in 4 months time, at the end of Summer (as I started at the beginning of May). Guess what, I did it! I ended up running even further than 5kms (I think it was 8km), non stop in those 4 months, because of my commitment. It takes time and consistency. It doesn’t happen overnight.
Again, when you are starting out, DO NOT worry about how fast/slow you are going, only pay attention to how far, and try pushing further and further. This just gets you out and moving off the start. Once you hit your goal of being able to run that 5kms, if that’s your goal, you can then turn your focus to more speed work, which I have wrote about near the end of the blog.
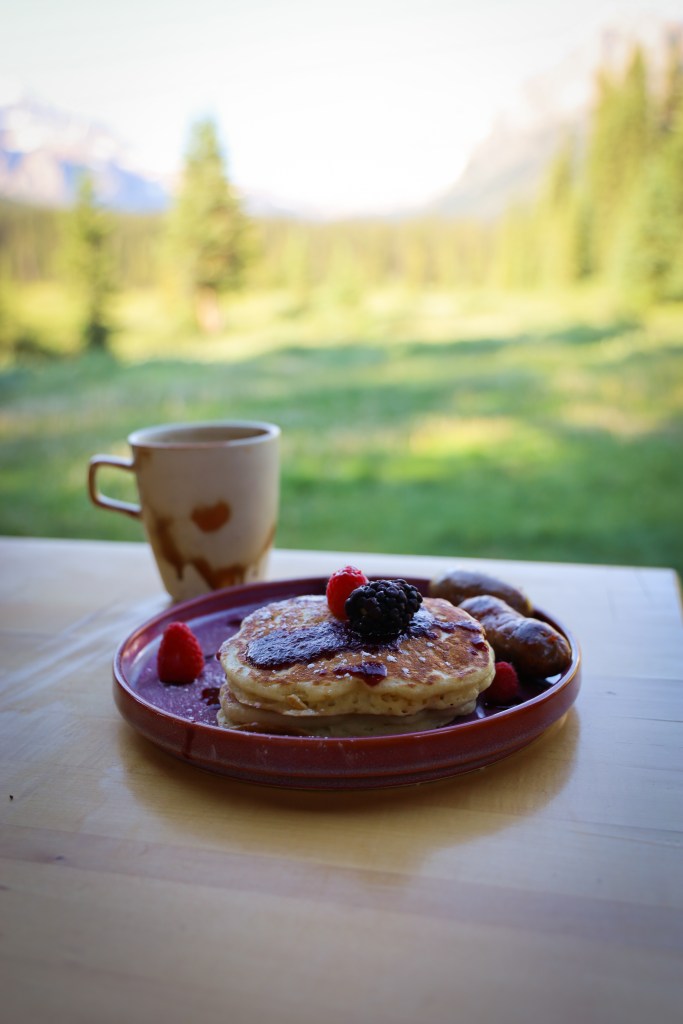
3. FUEL your body and stay hydrated.
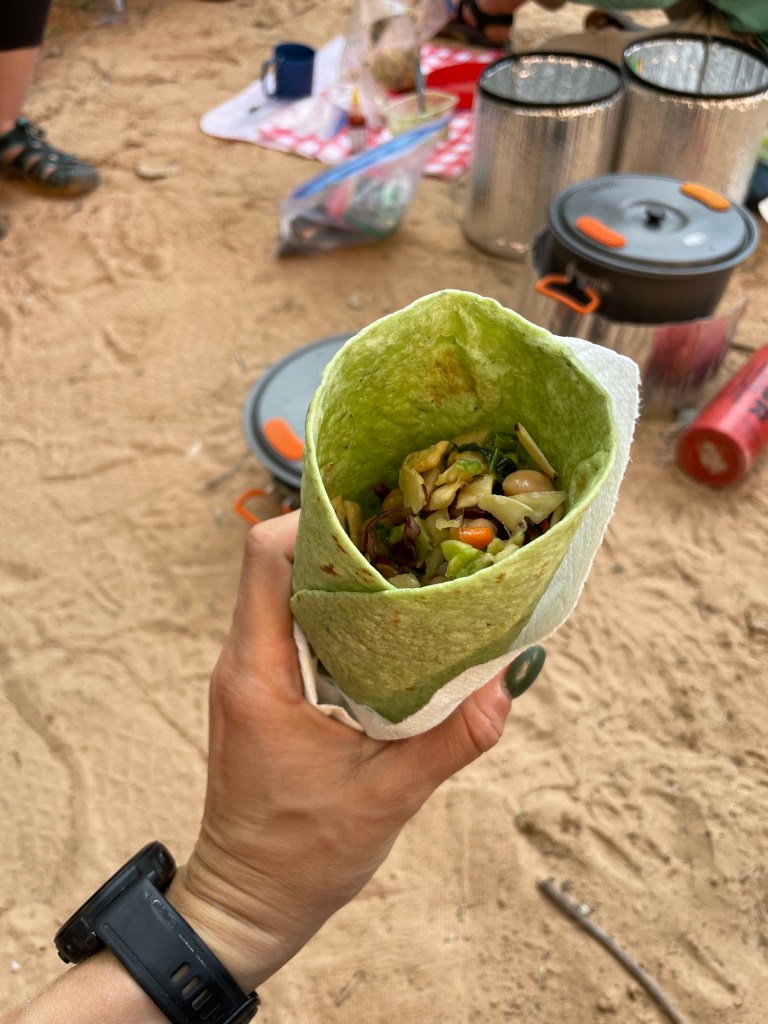
FOOD IS FUEL. Aside from just the training, there all things food related. When I began running, let’s just say I wasn’t always fuelling properly, and paid for it, in injuries. I have learned over the years what my body needs to feel strong. Don’t deplete your body of things it needs, and remember, but because you go our for a run doesn’t mean you can eat EVERYTHING in your house, or think it’s okay to crush that sugar loaded donut daily haha. I am a fan of treating yourself, but just be conscious and choose foods that will benefit you in the long run. I am no EXPERT on this topic, and it has certainly been a learning curve for me over the years.
If you’re concerned about your diet/exercise mix, especially if you are getting more and more into running, and putting on the kms, it doesn’t hurt to meet with a dietician, if you can, about what fuelling your body may look like. Regular doctor check ups are smart too! I find we are all a little different in that sense, depending on our health history, our height, weight, and needs. For example, I LOVE running fasted, in the mornings, and I feel good doing it. Though I also know some people who feel absolutely sick if they don’t eat before a run, and some that can’t even run until the evening, because they need all three meals in them before. I also weigh less then say, my fiance Craig, who needs a lot more food before he runs, and after than I do.
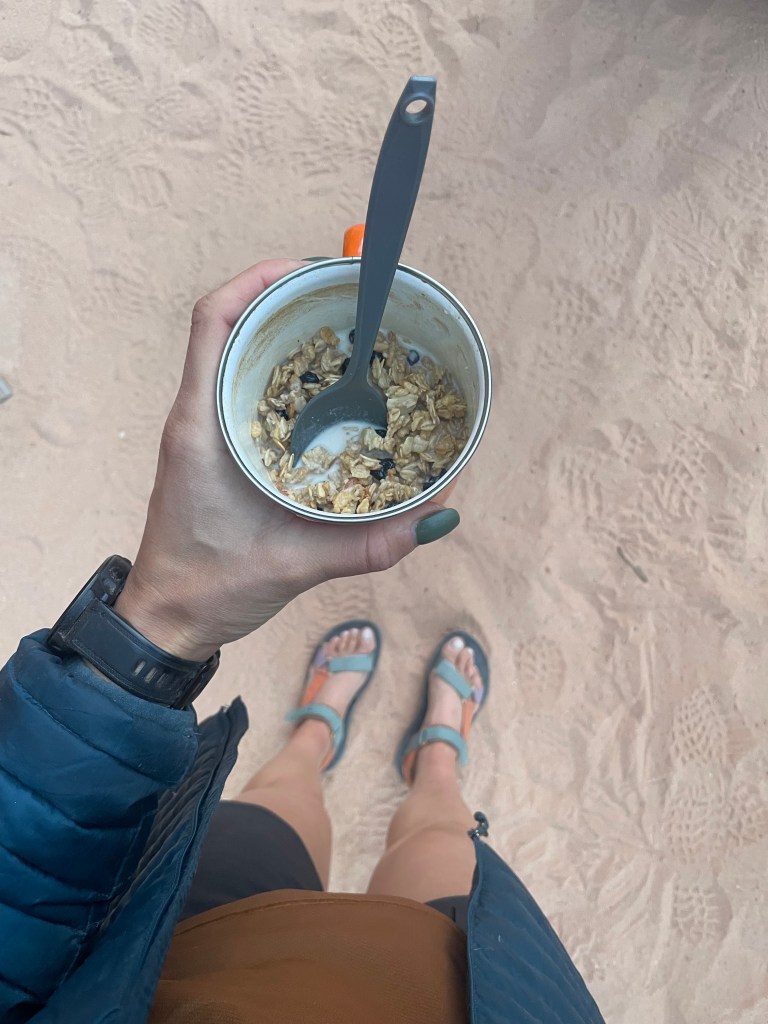
Majority of the time, if I am running in the early morning, I eat a half a banana with some peanut butter. This gets me through. Oh and I always have to have my coffee… and a washroom break before. Yal get my drift. Makes us a little lighter on our feet. I have never taken any pre workout supplements, so I don’t have any advice in that regard. During race season, I will usually have a piece of toast with banana and PB/honey.
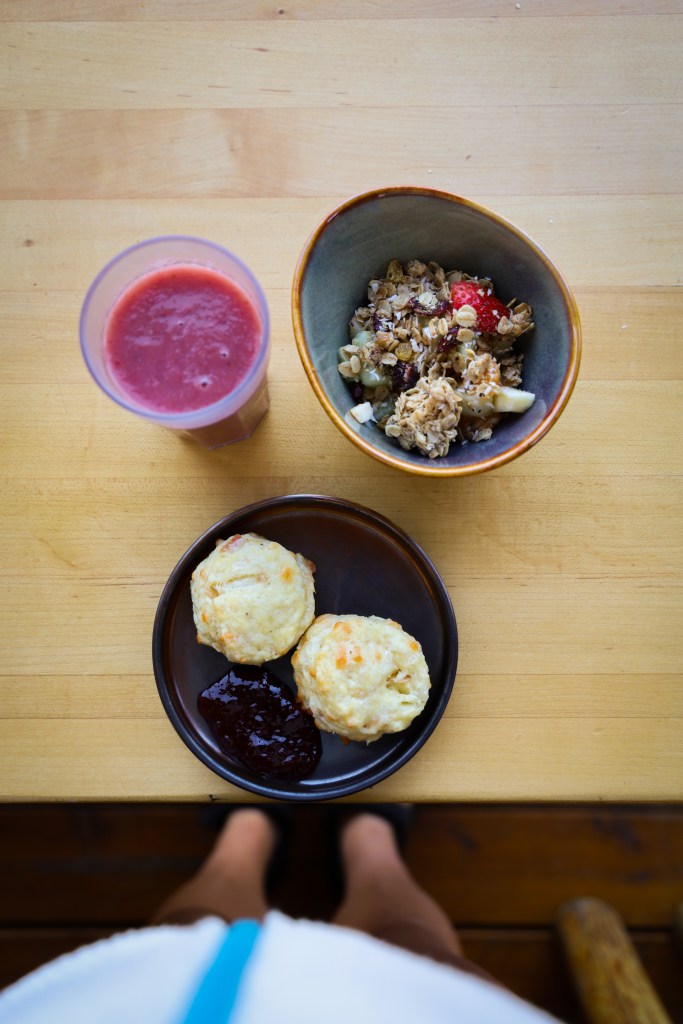
If you need to have something to eat before a run, here are some suggestions:
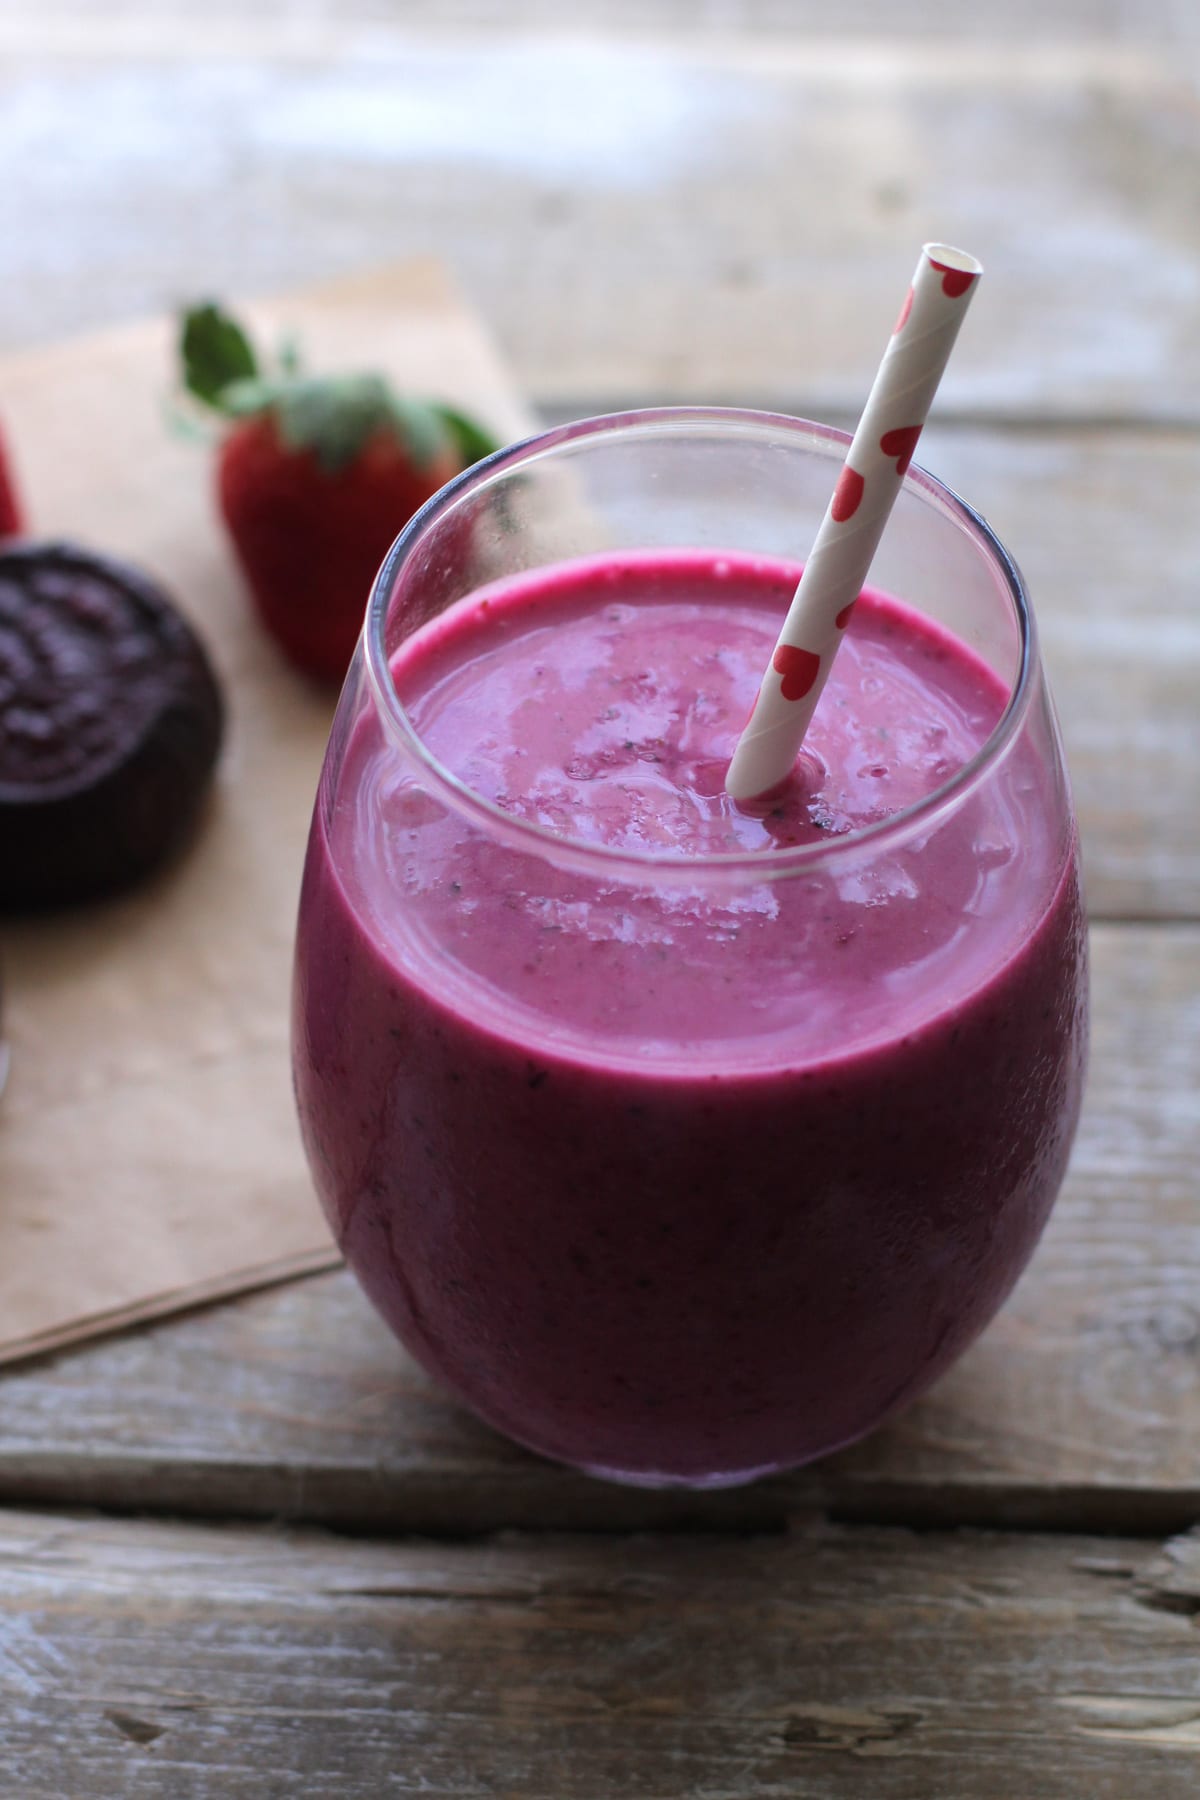
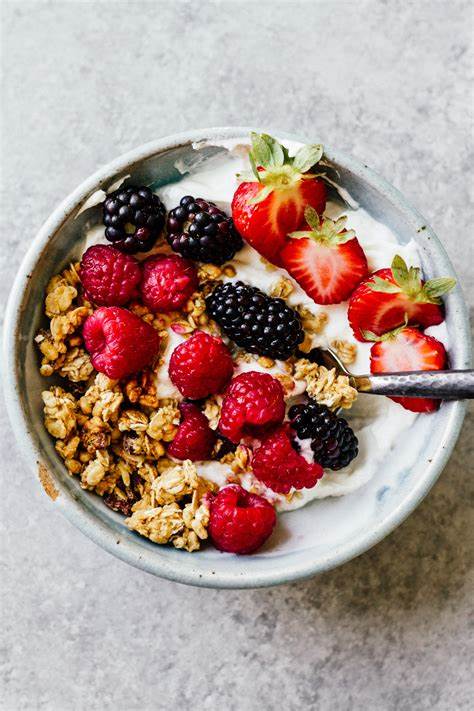
- Plain greek yogurt with berries and granola.
- Whole-fruit smoothie.
- High-protein oatmeal and berries.
- Banana with peanut butter and honey – my FAVOURITE.
- Apple with almond butter and raisins.
- Nut berry energy balls – or other types!
- DIY sports drinks – “Just blend water, freshly squeezed citrus juices, sea salt (sodium chloride), and honey, and you have your own carb- and electrolyte-rich blend.”
- Homemade granola bars.
- Low- fat cottage cheese and dried apricots.
- Peanut Butter and Jelly sandwich – Use whole-wheat bread and natural nut butter.
Click to read the whole article!
Runners World states that, ‘Aside from sodium, getting enough potassium and magnesium is important, and that a deficiency in either mineral can exacerbate the symptoms of dehydration and cause extreme muscle cramps. A well-balanced diet, rich in fruits, vegetables, grains, and legumes will ensure you get enough of these nutrients. These sources are particularly good choices: Magnesium: Leafy greens, almonds, pumpkin seeds, tofu, flaxseeds, broccoli, lentils Potassium: Bananas, sweet potatoes, beets, tomatoes, oranges, pomegranate juice’.
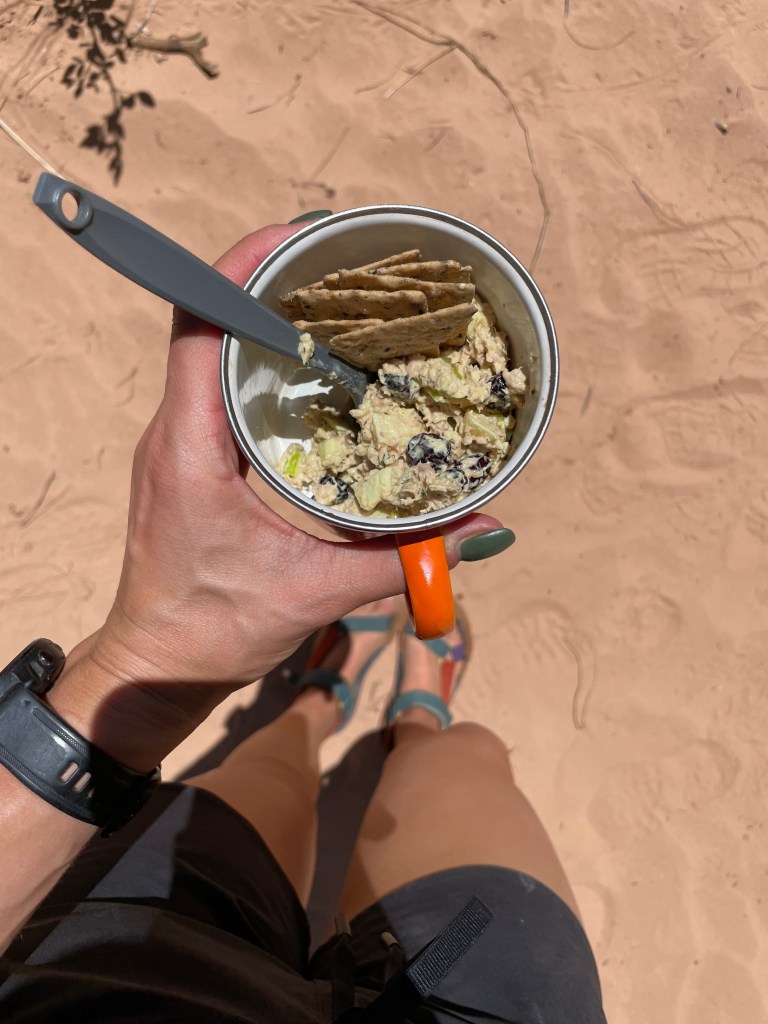
Best foods to eat after a run: What I eat after my run is different then what others eat, based on their own person goals, or preferences. Whether your goal is weight loss, muscle gain, or just training for long distances… you should be eating different foods. I could easily share what I eat on a day to day basis, but that may not necessarily help you (even though I will share down below). Attached are a couple articles that lists various food options, depending on your goals.
How To Eat to Run: Fuelling the body for performance – Map My Run Blog
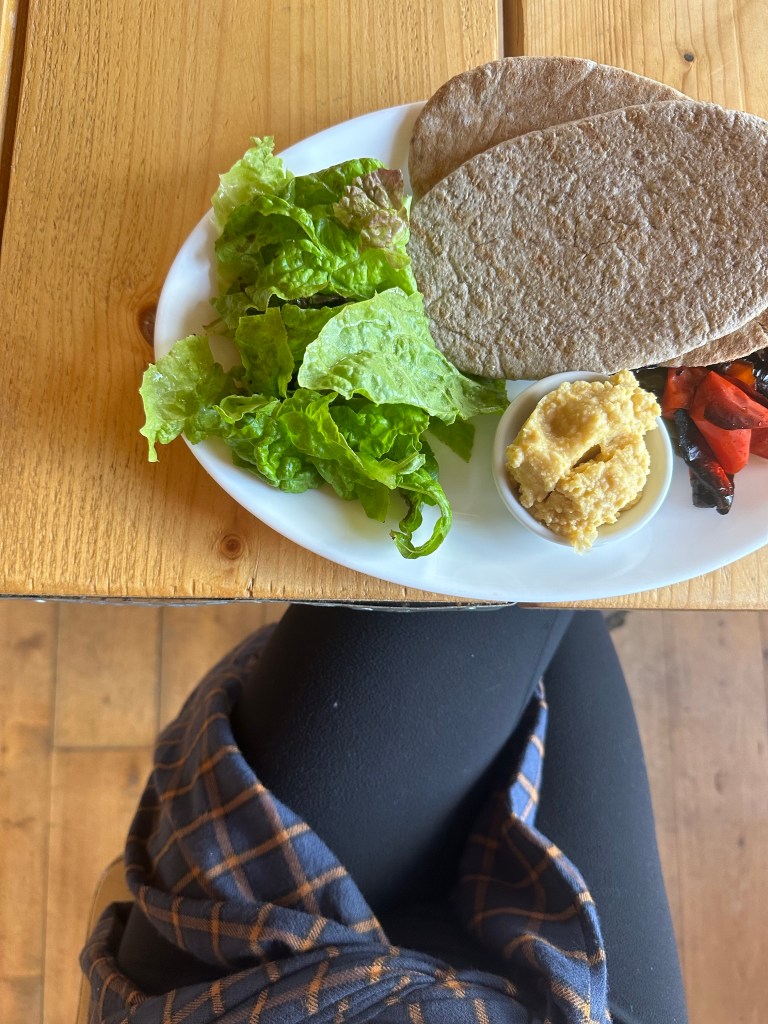
What I like to eat post run/throughout the day: Rice cakes, with tuna, avocado, melted cheese and pepper. This is my go too snack! Also love a good omelette, or yogurt with berries/granola, apple and peanut butter, hummus and veggies/pita chips/crackers, or a real fruit smoothie. For dinner we like to make sure half our plate is veggies. Then we have a protein and a starch. Craig laughs at me cause I always need a little ‘cold with my hot’, meaning a cold salad with a hot meal. We mix up our meals with salmon, chicken, steak, ground turkey, and rice, pasta, and we eat a lot of sweet potato. Lettuce wraps are also one of our favourites. If I plan to do a long run the next day, usually I will toss on a little bit more of that pasta on my plate. My diet really isn’t that complicated, and I have figured out what works for me. I eat clean/healthy most of the time but certainly am not afraid to treat myself. I love a piece of chocolate everyday after dinner, or some chips/popcorn. Pizza night here and there is NEEDED. It is all about that balance. Hope this gives you a bit of an idea to start out.
Don’t forget to Hydrate
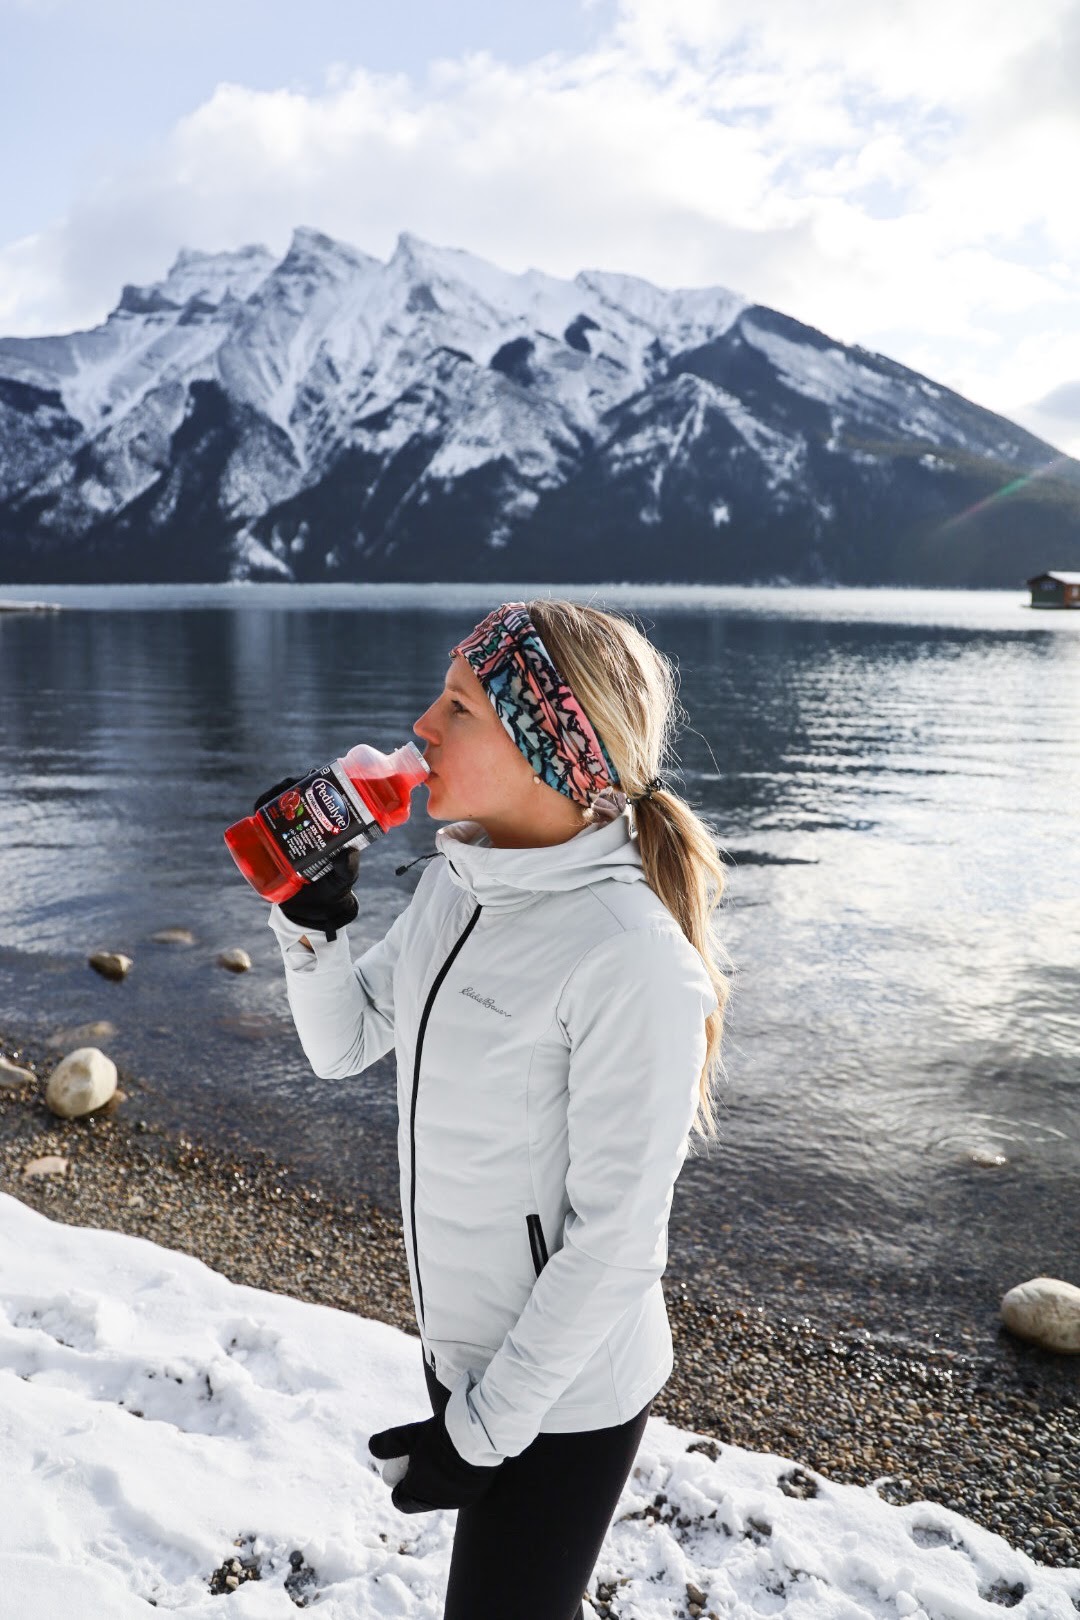
Don’t just hydrate the night before your run, or the day of, instead you should be hydrating all week. Make it part of your routine. Try to avoid chugging a lot of water RIGHT before you go out, as it can be harder on the stomach and cause cramping. Runners World states: ‘Aim to drink about 2-3 mL per pound of body weight at least 4 hours before your run‘. If you are running in the am, have a small glass before you go out. Listen to your body. Headaches, cramping, fatigue, or lowered heart rate may be signs of dehydration. Lastly, consider adding an electrolyte mix to your water or incorporating a salt tablet during long runs or races’. Pedialyte also has Advanced Care Electrolyte solutions to rehydrate, by the litre and individual packets.
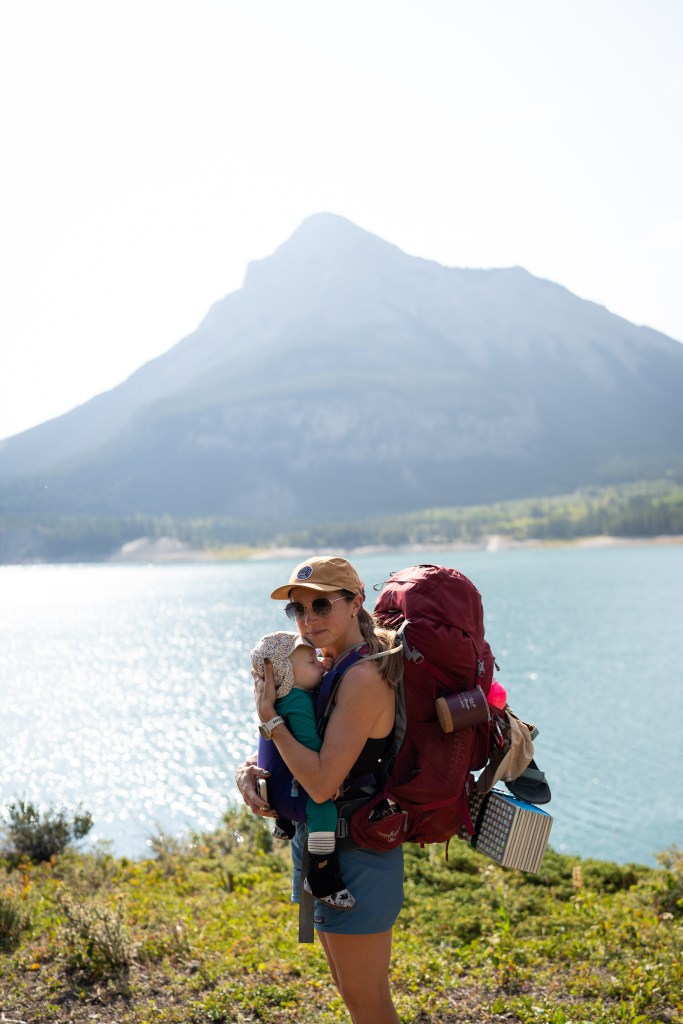
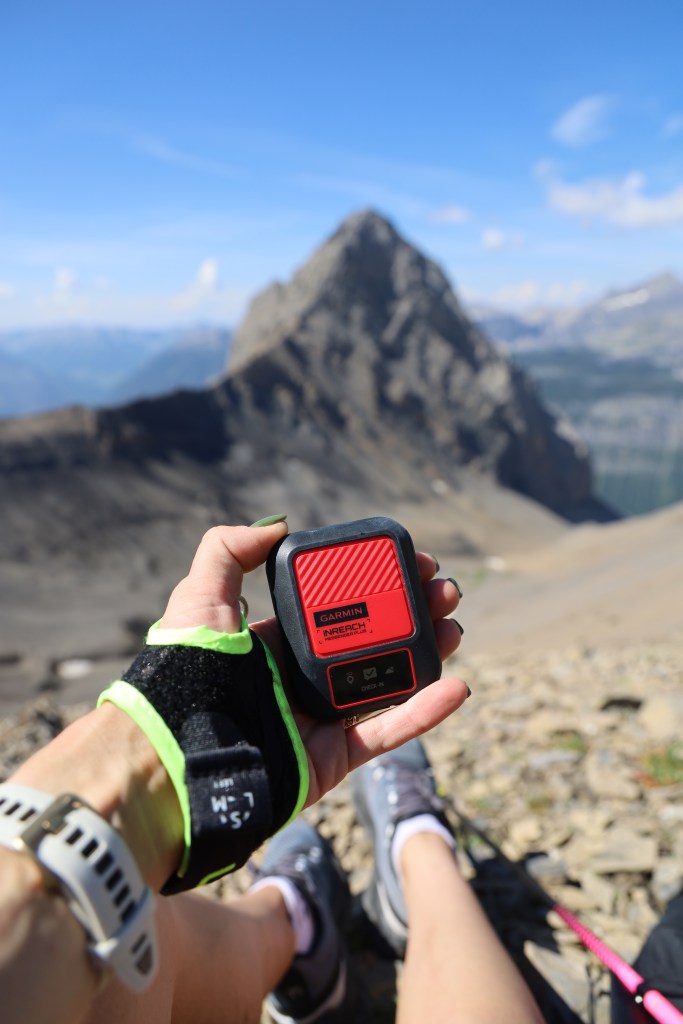
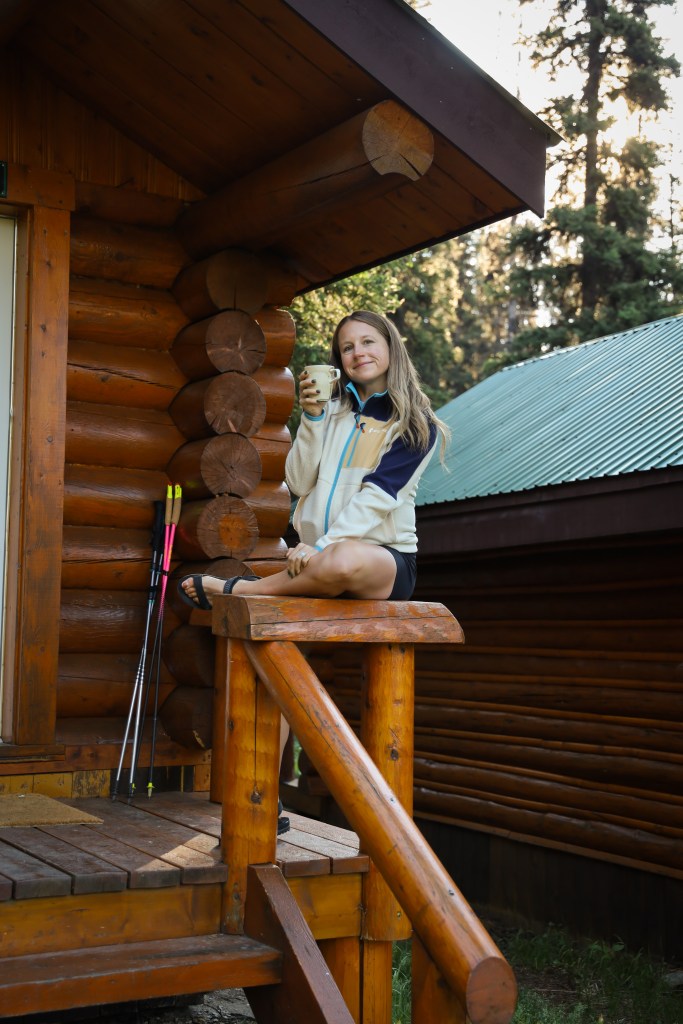
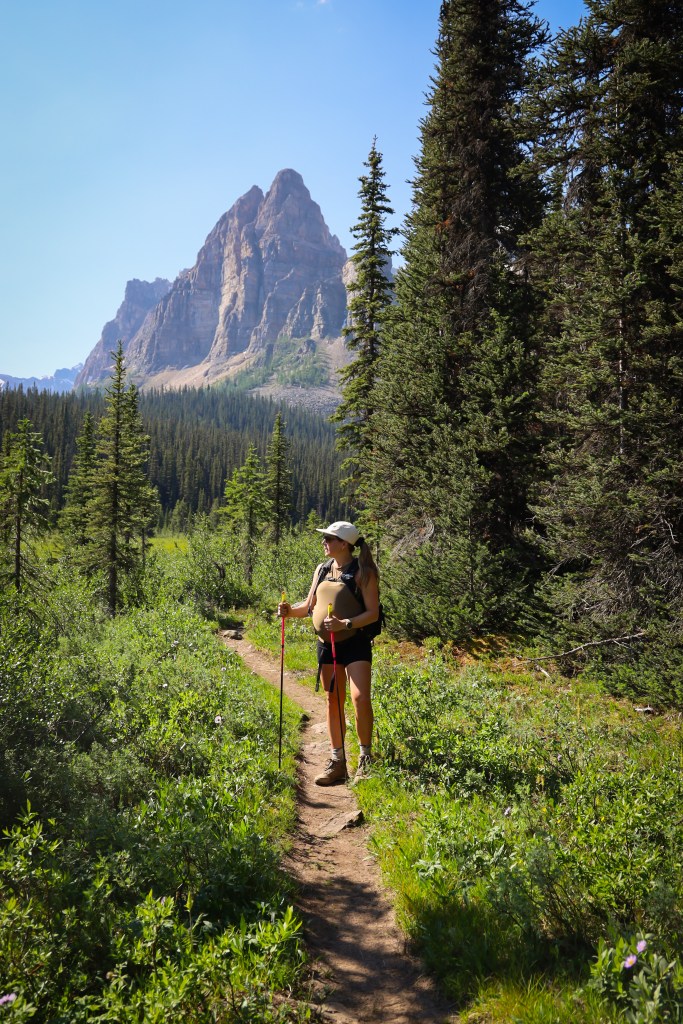
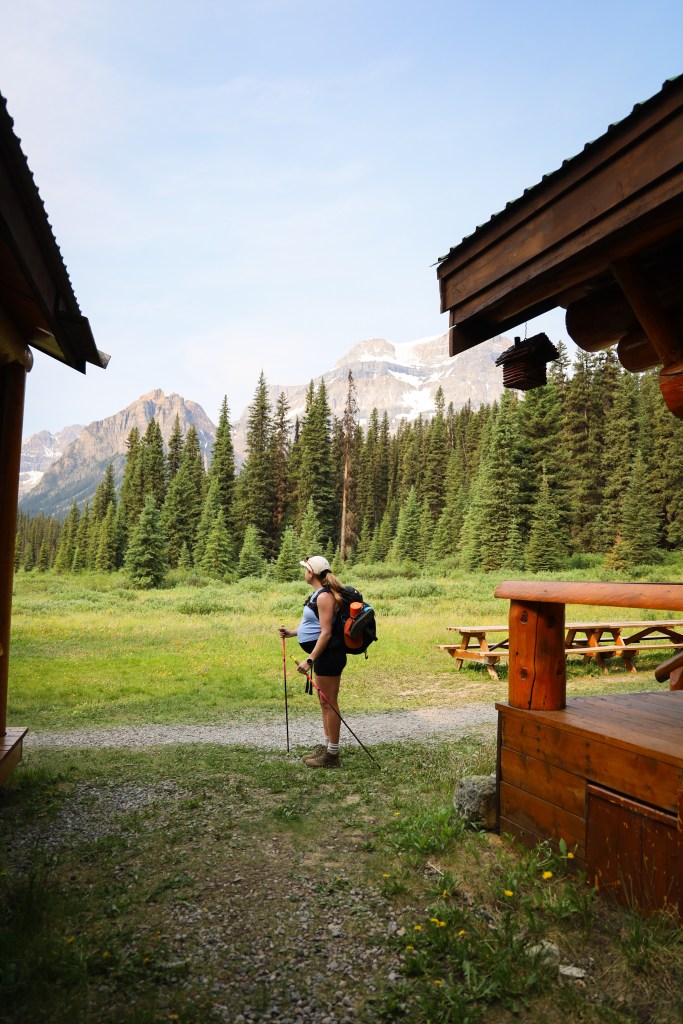
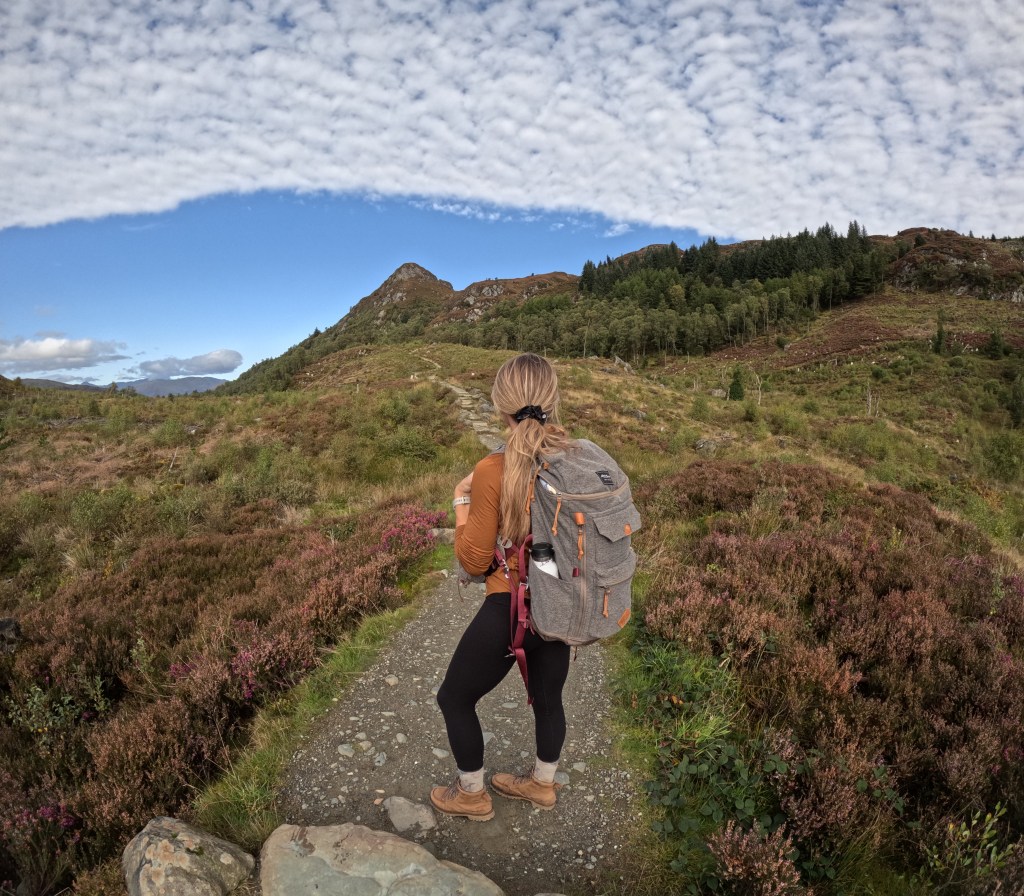
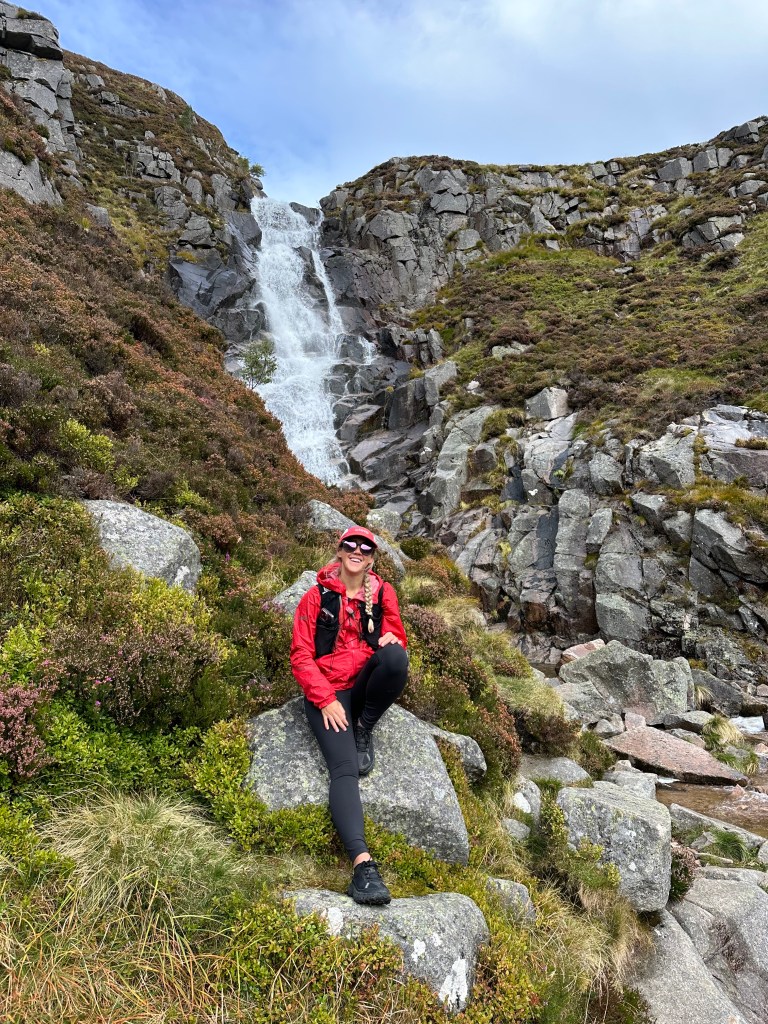
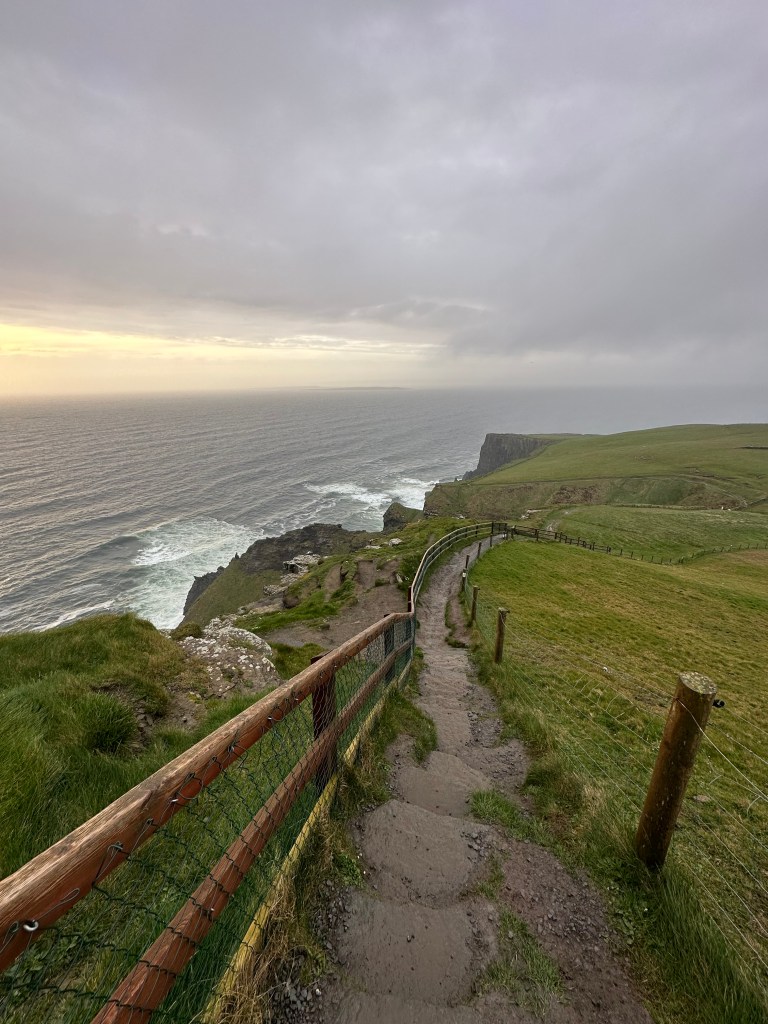
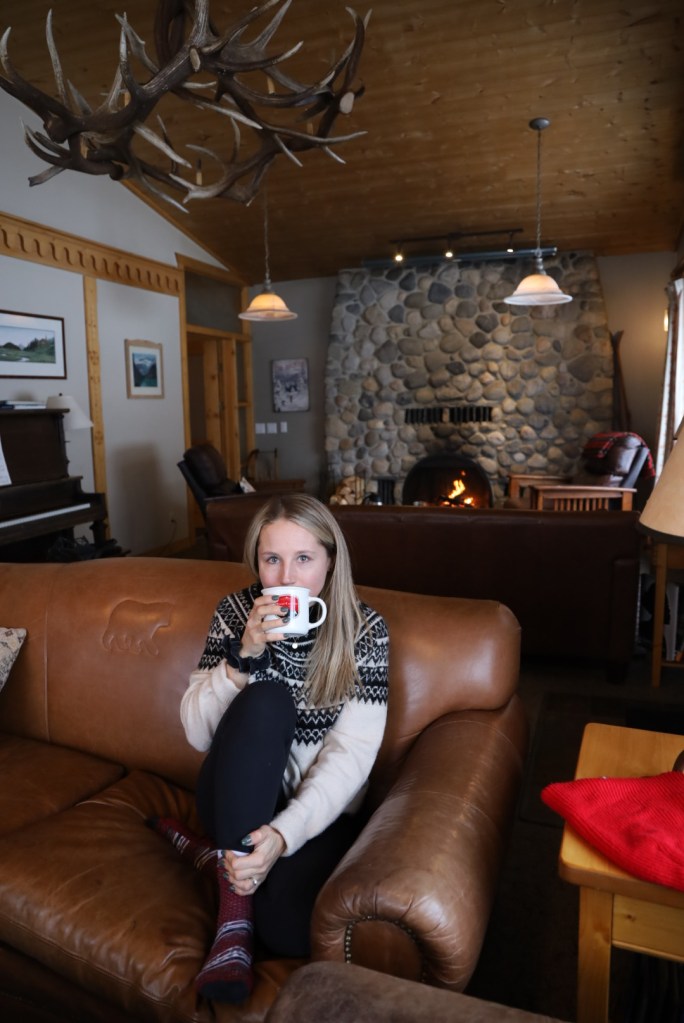
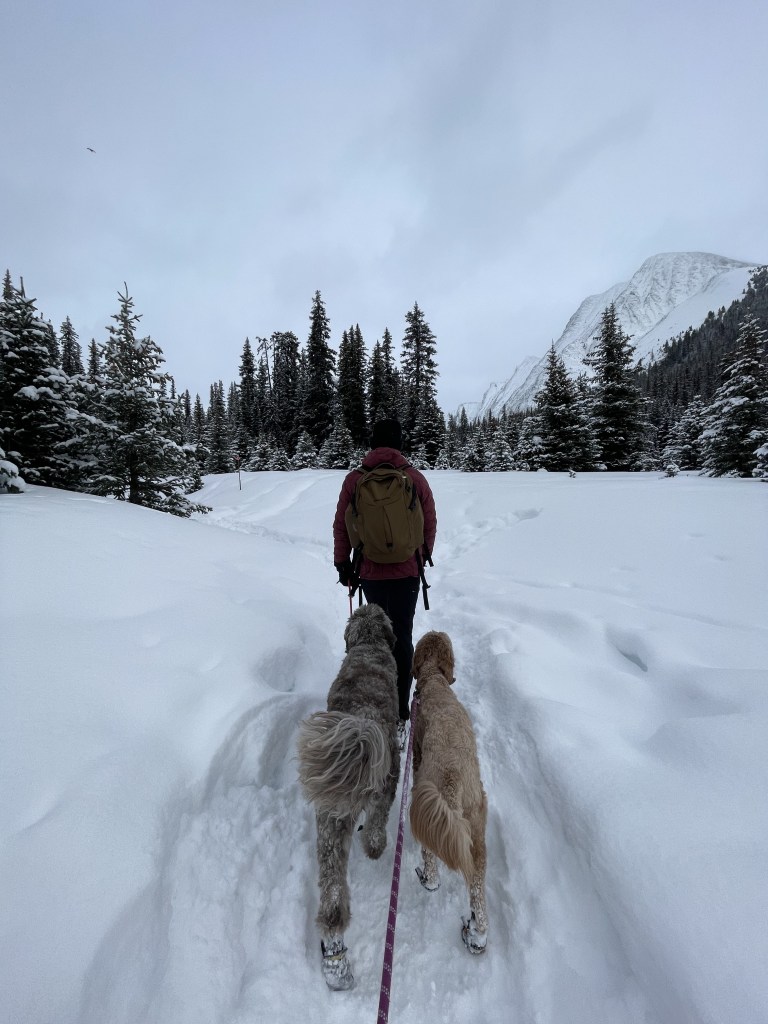
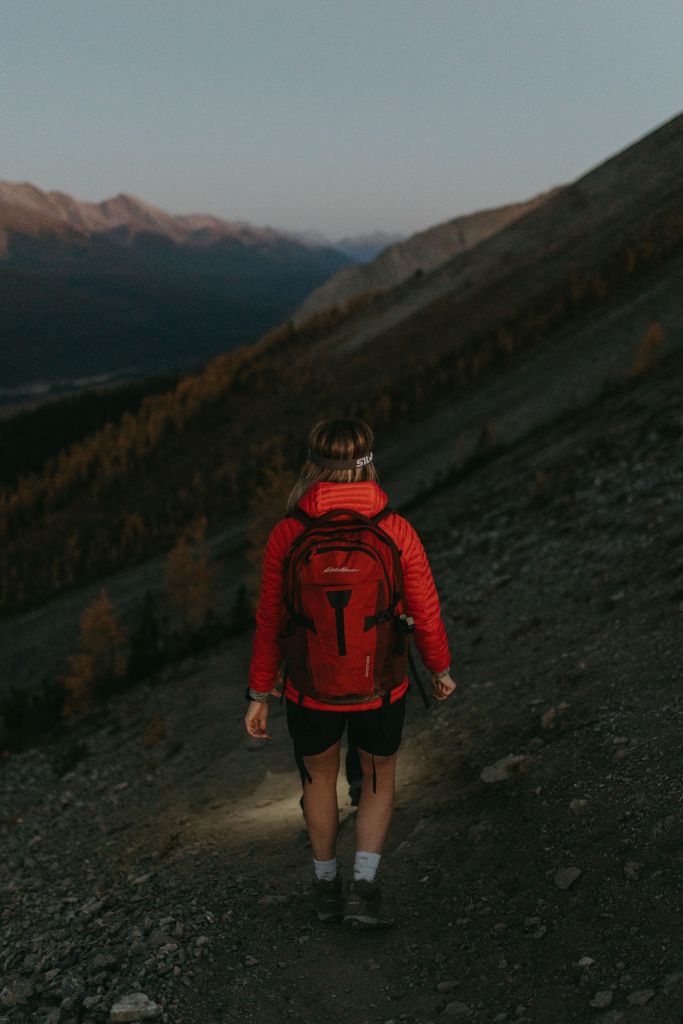
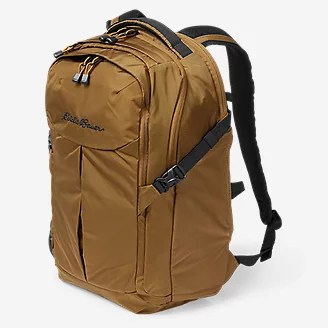
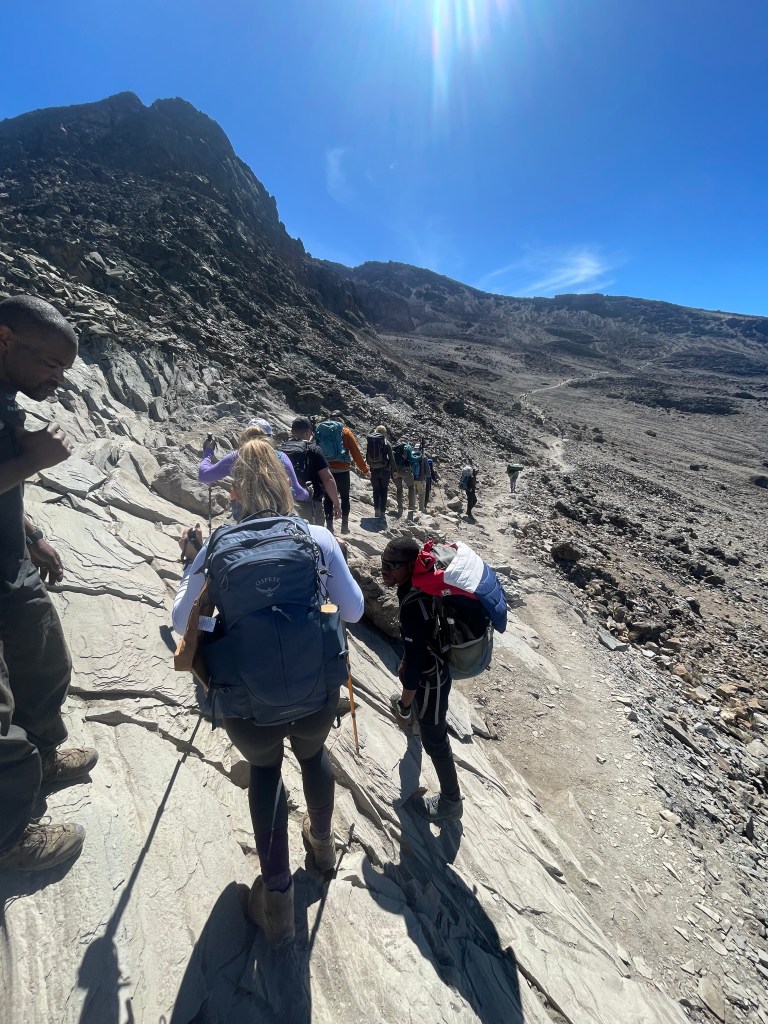
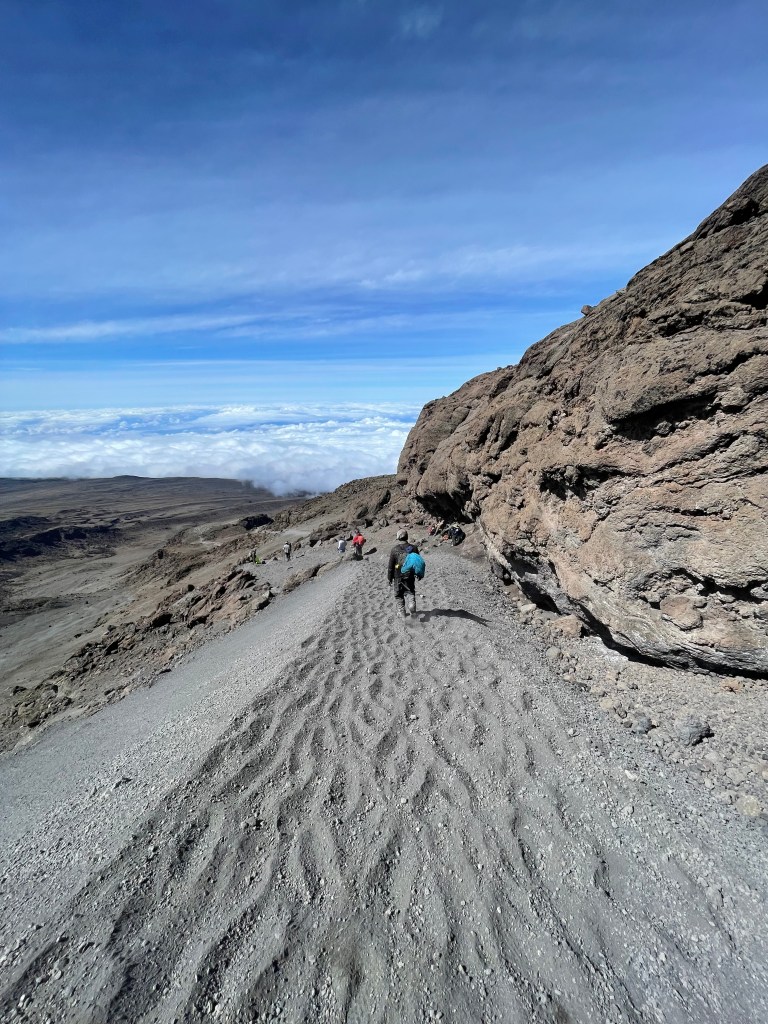
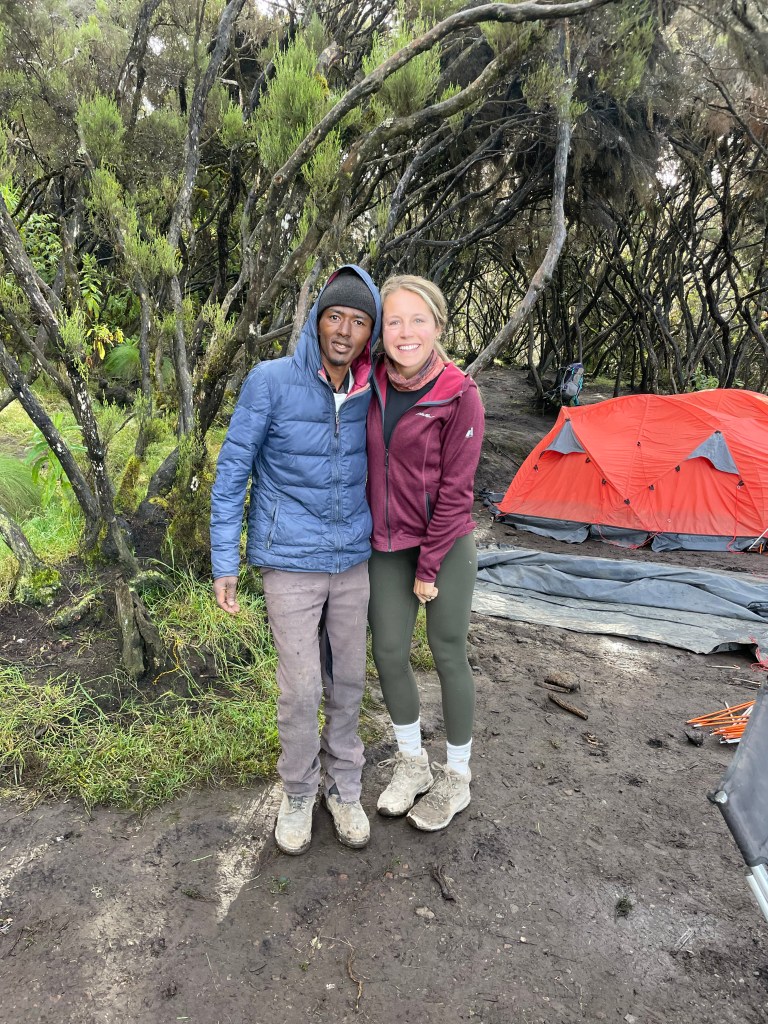
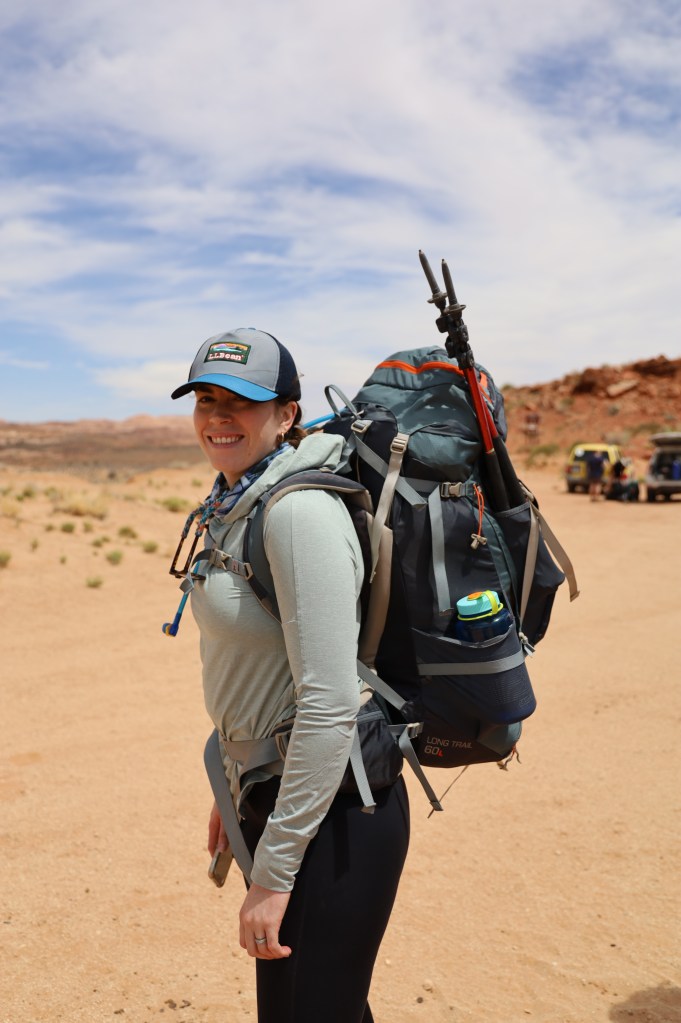
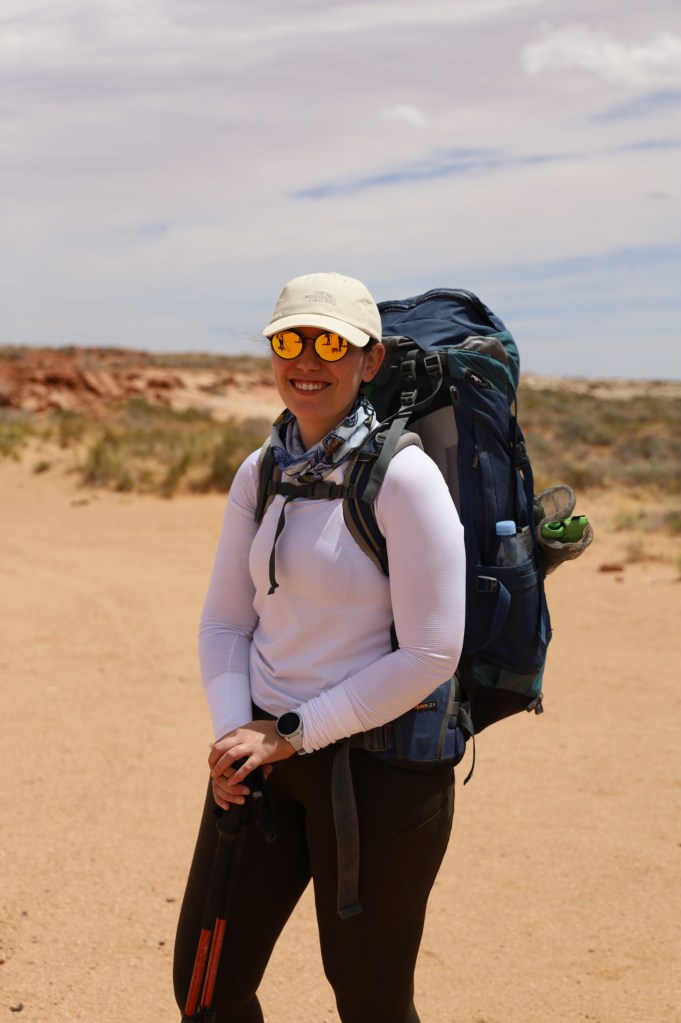
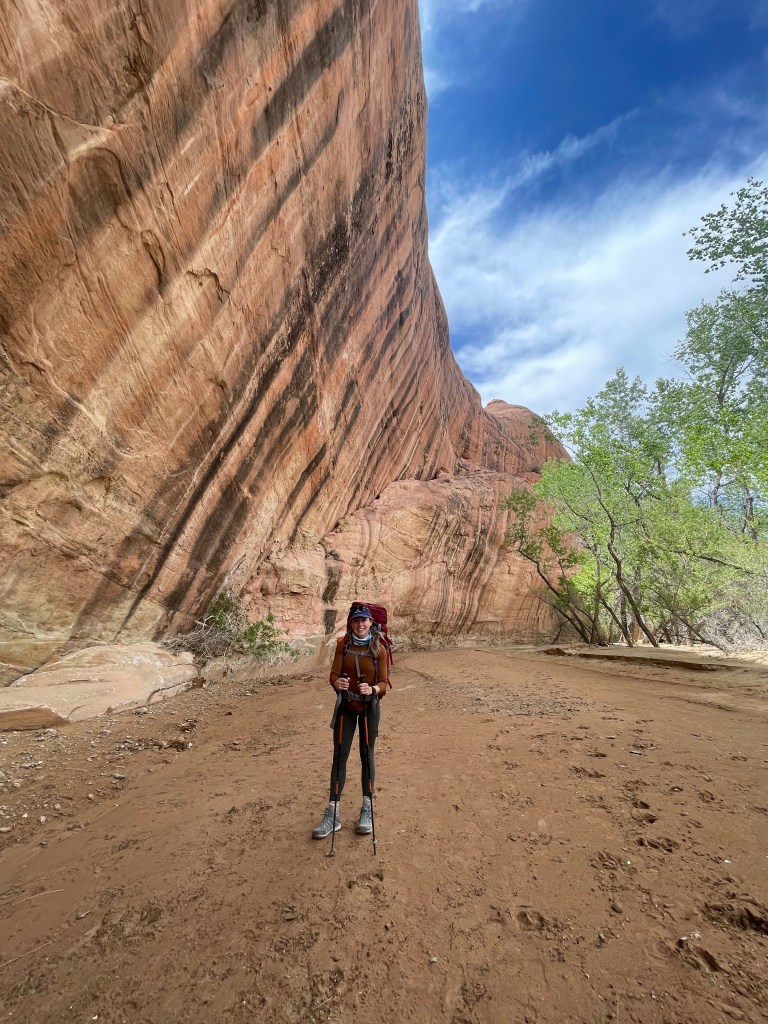
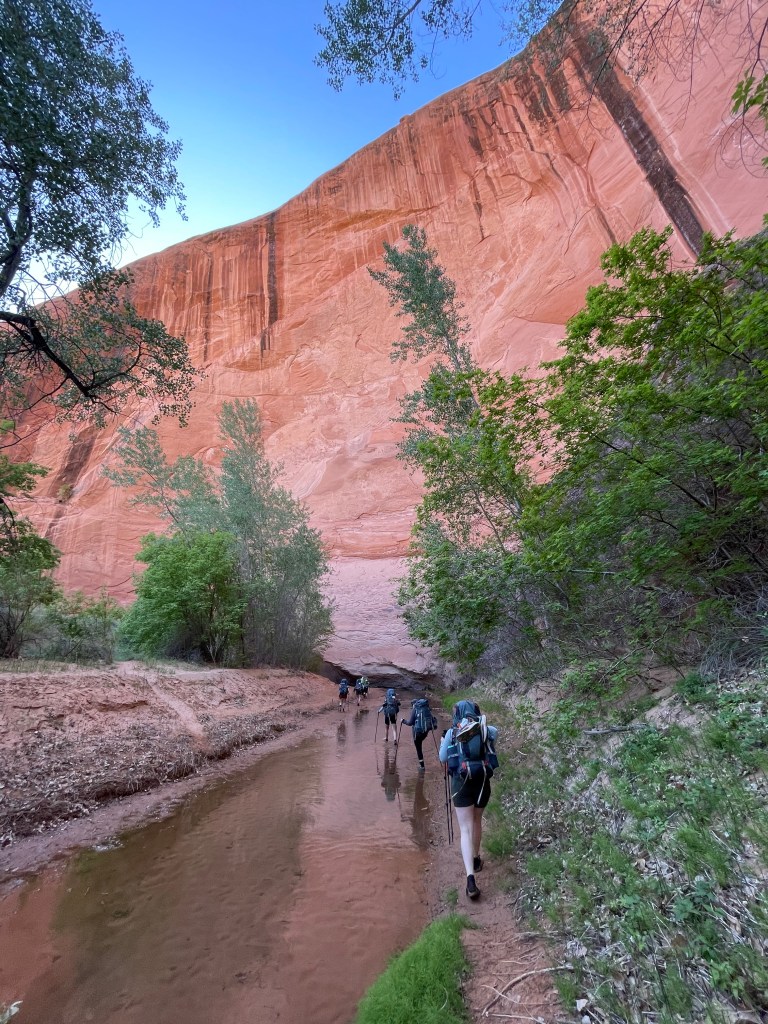
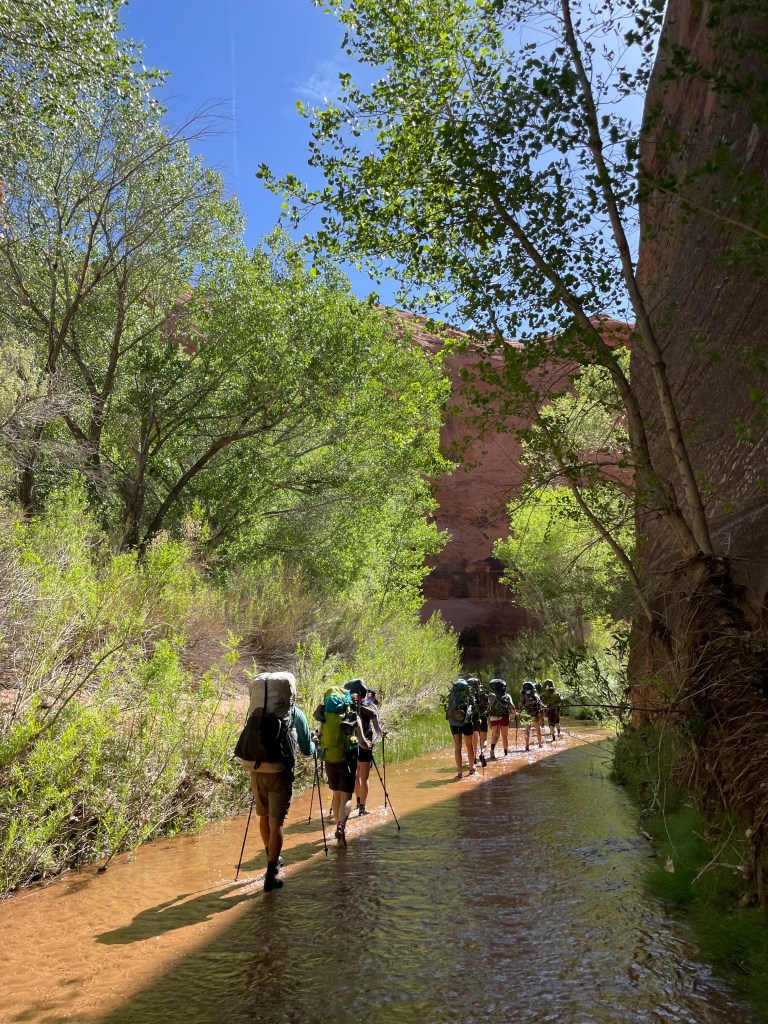
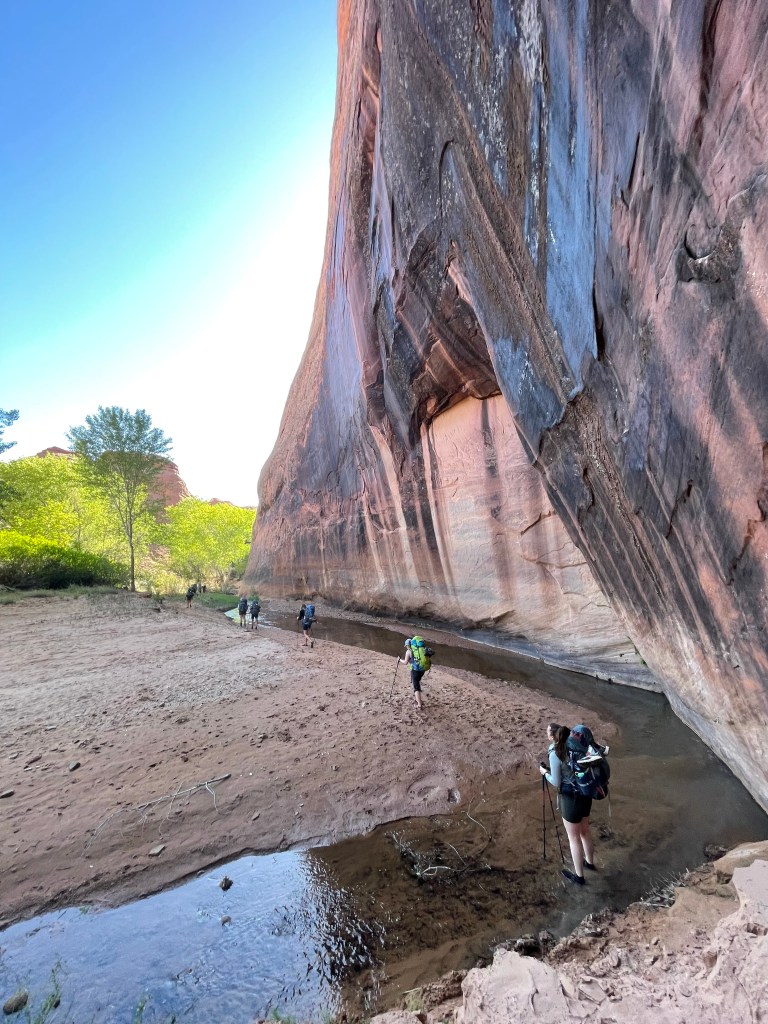
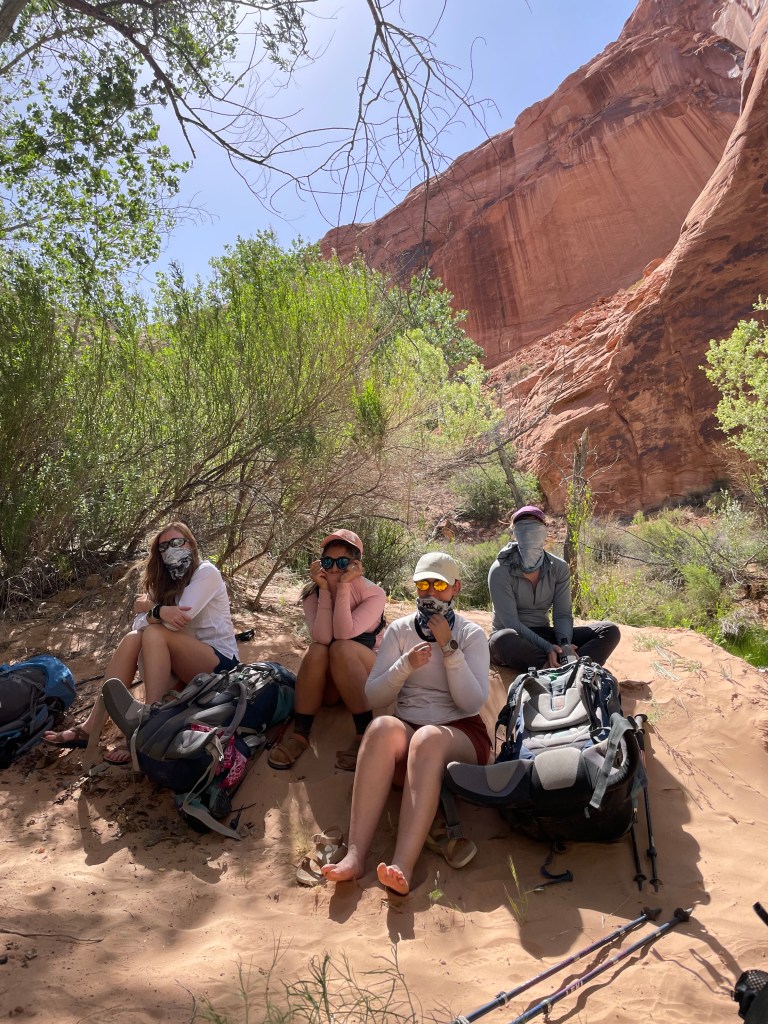
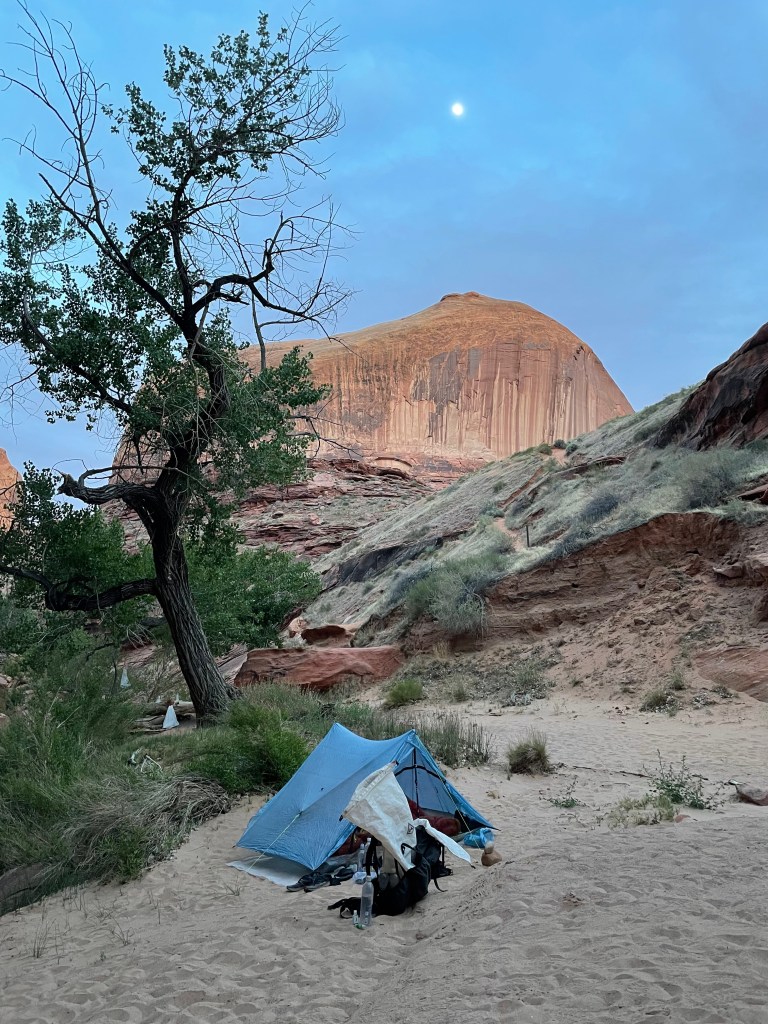
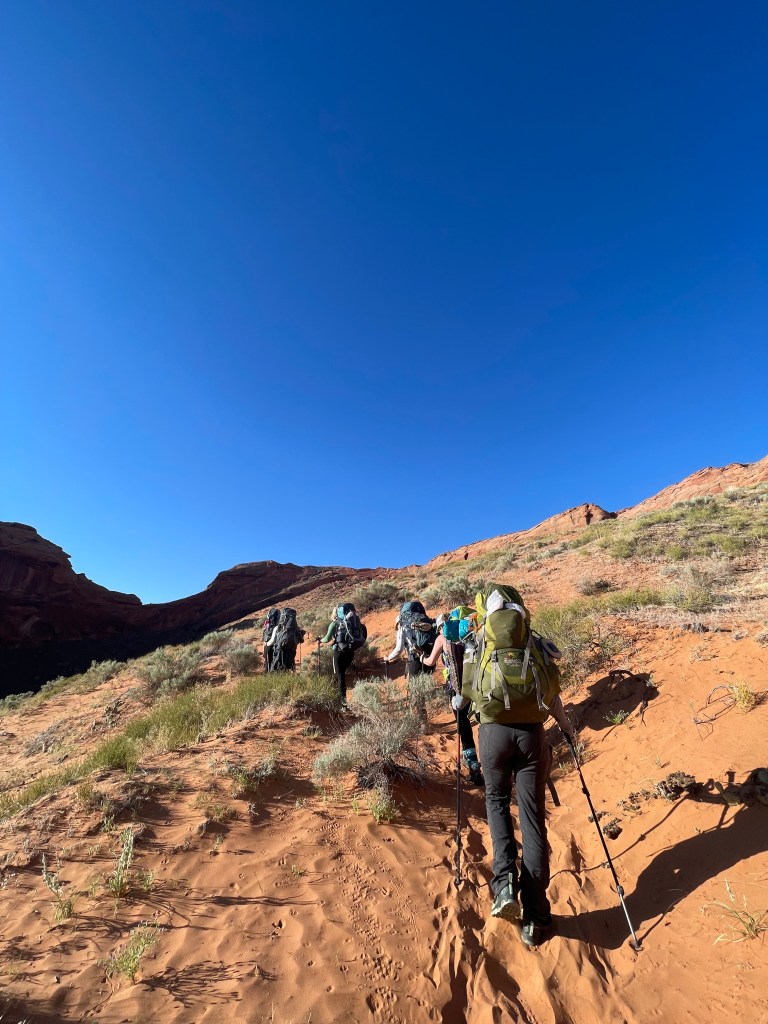
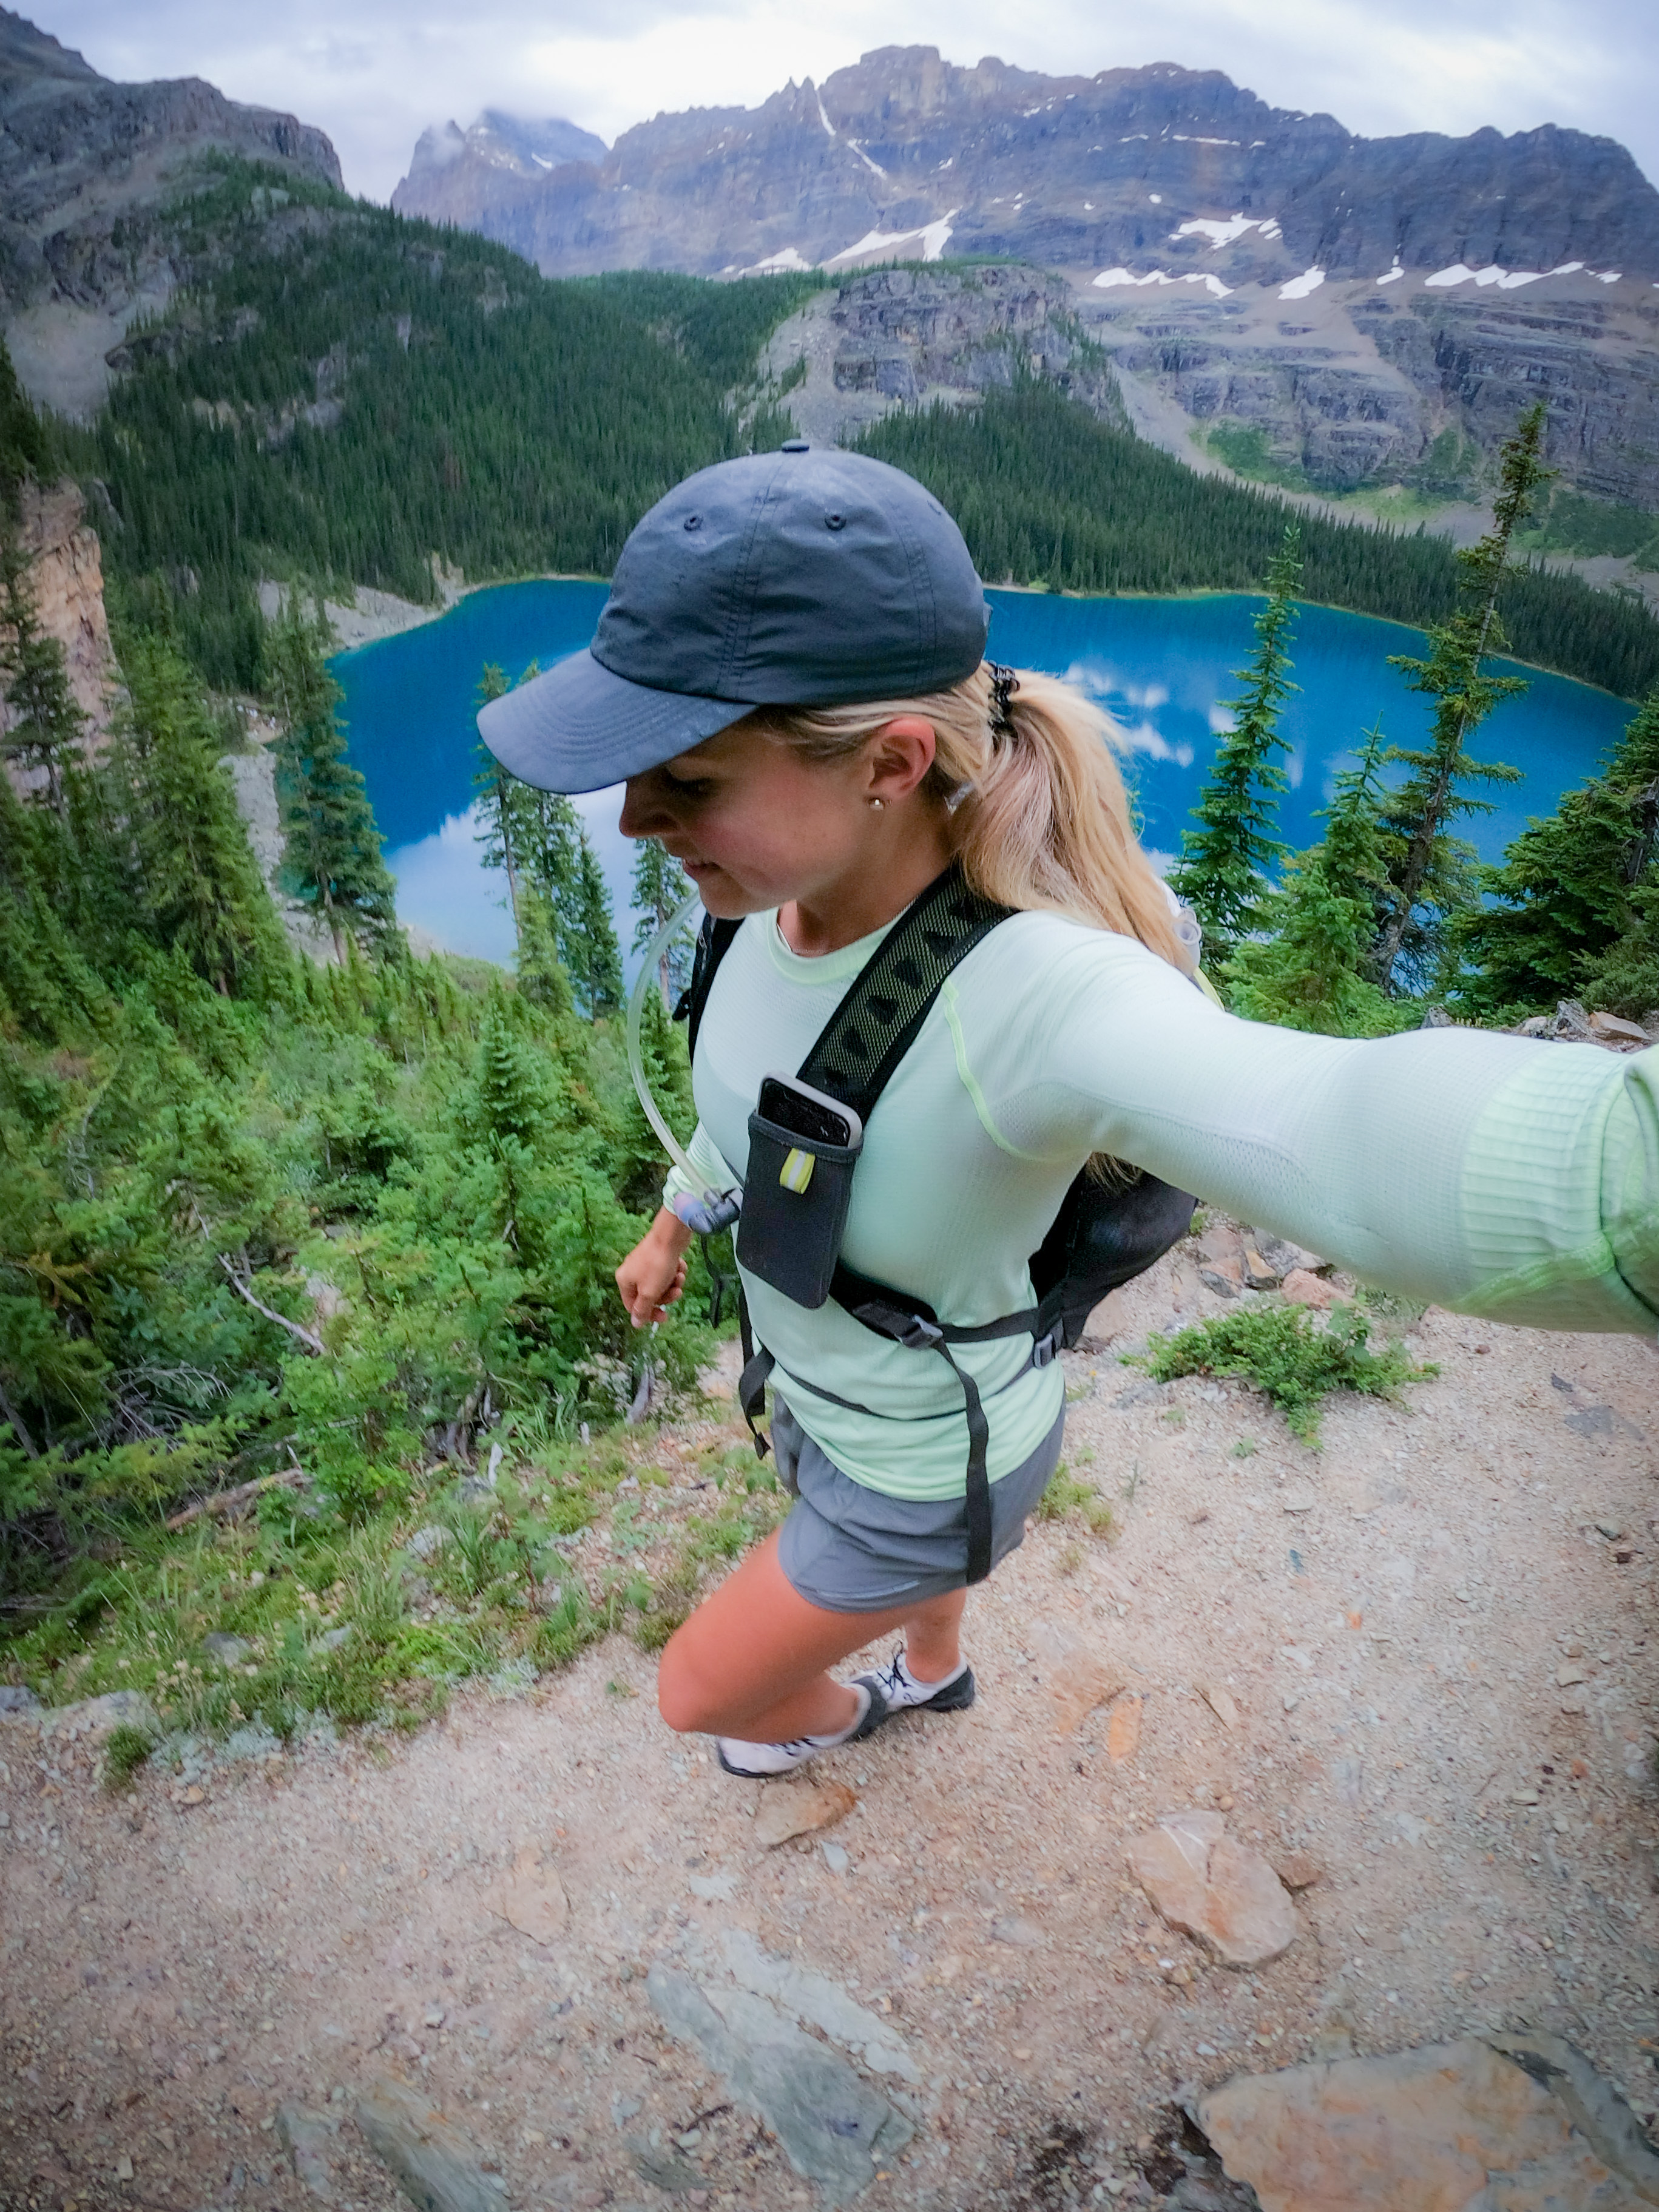
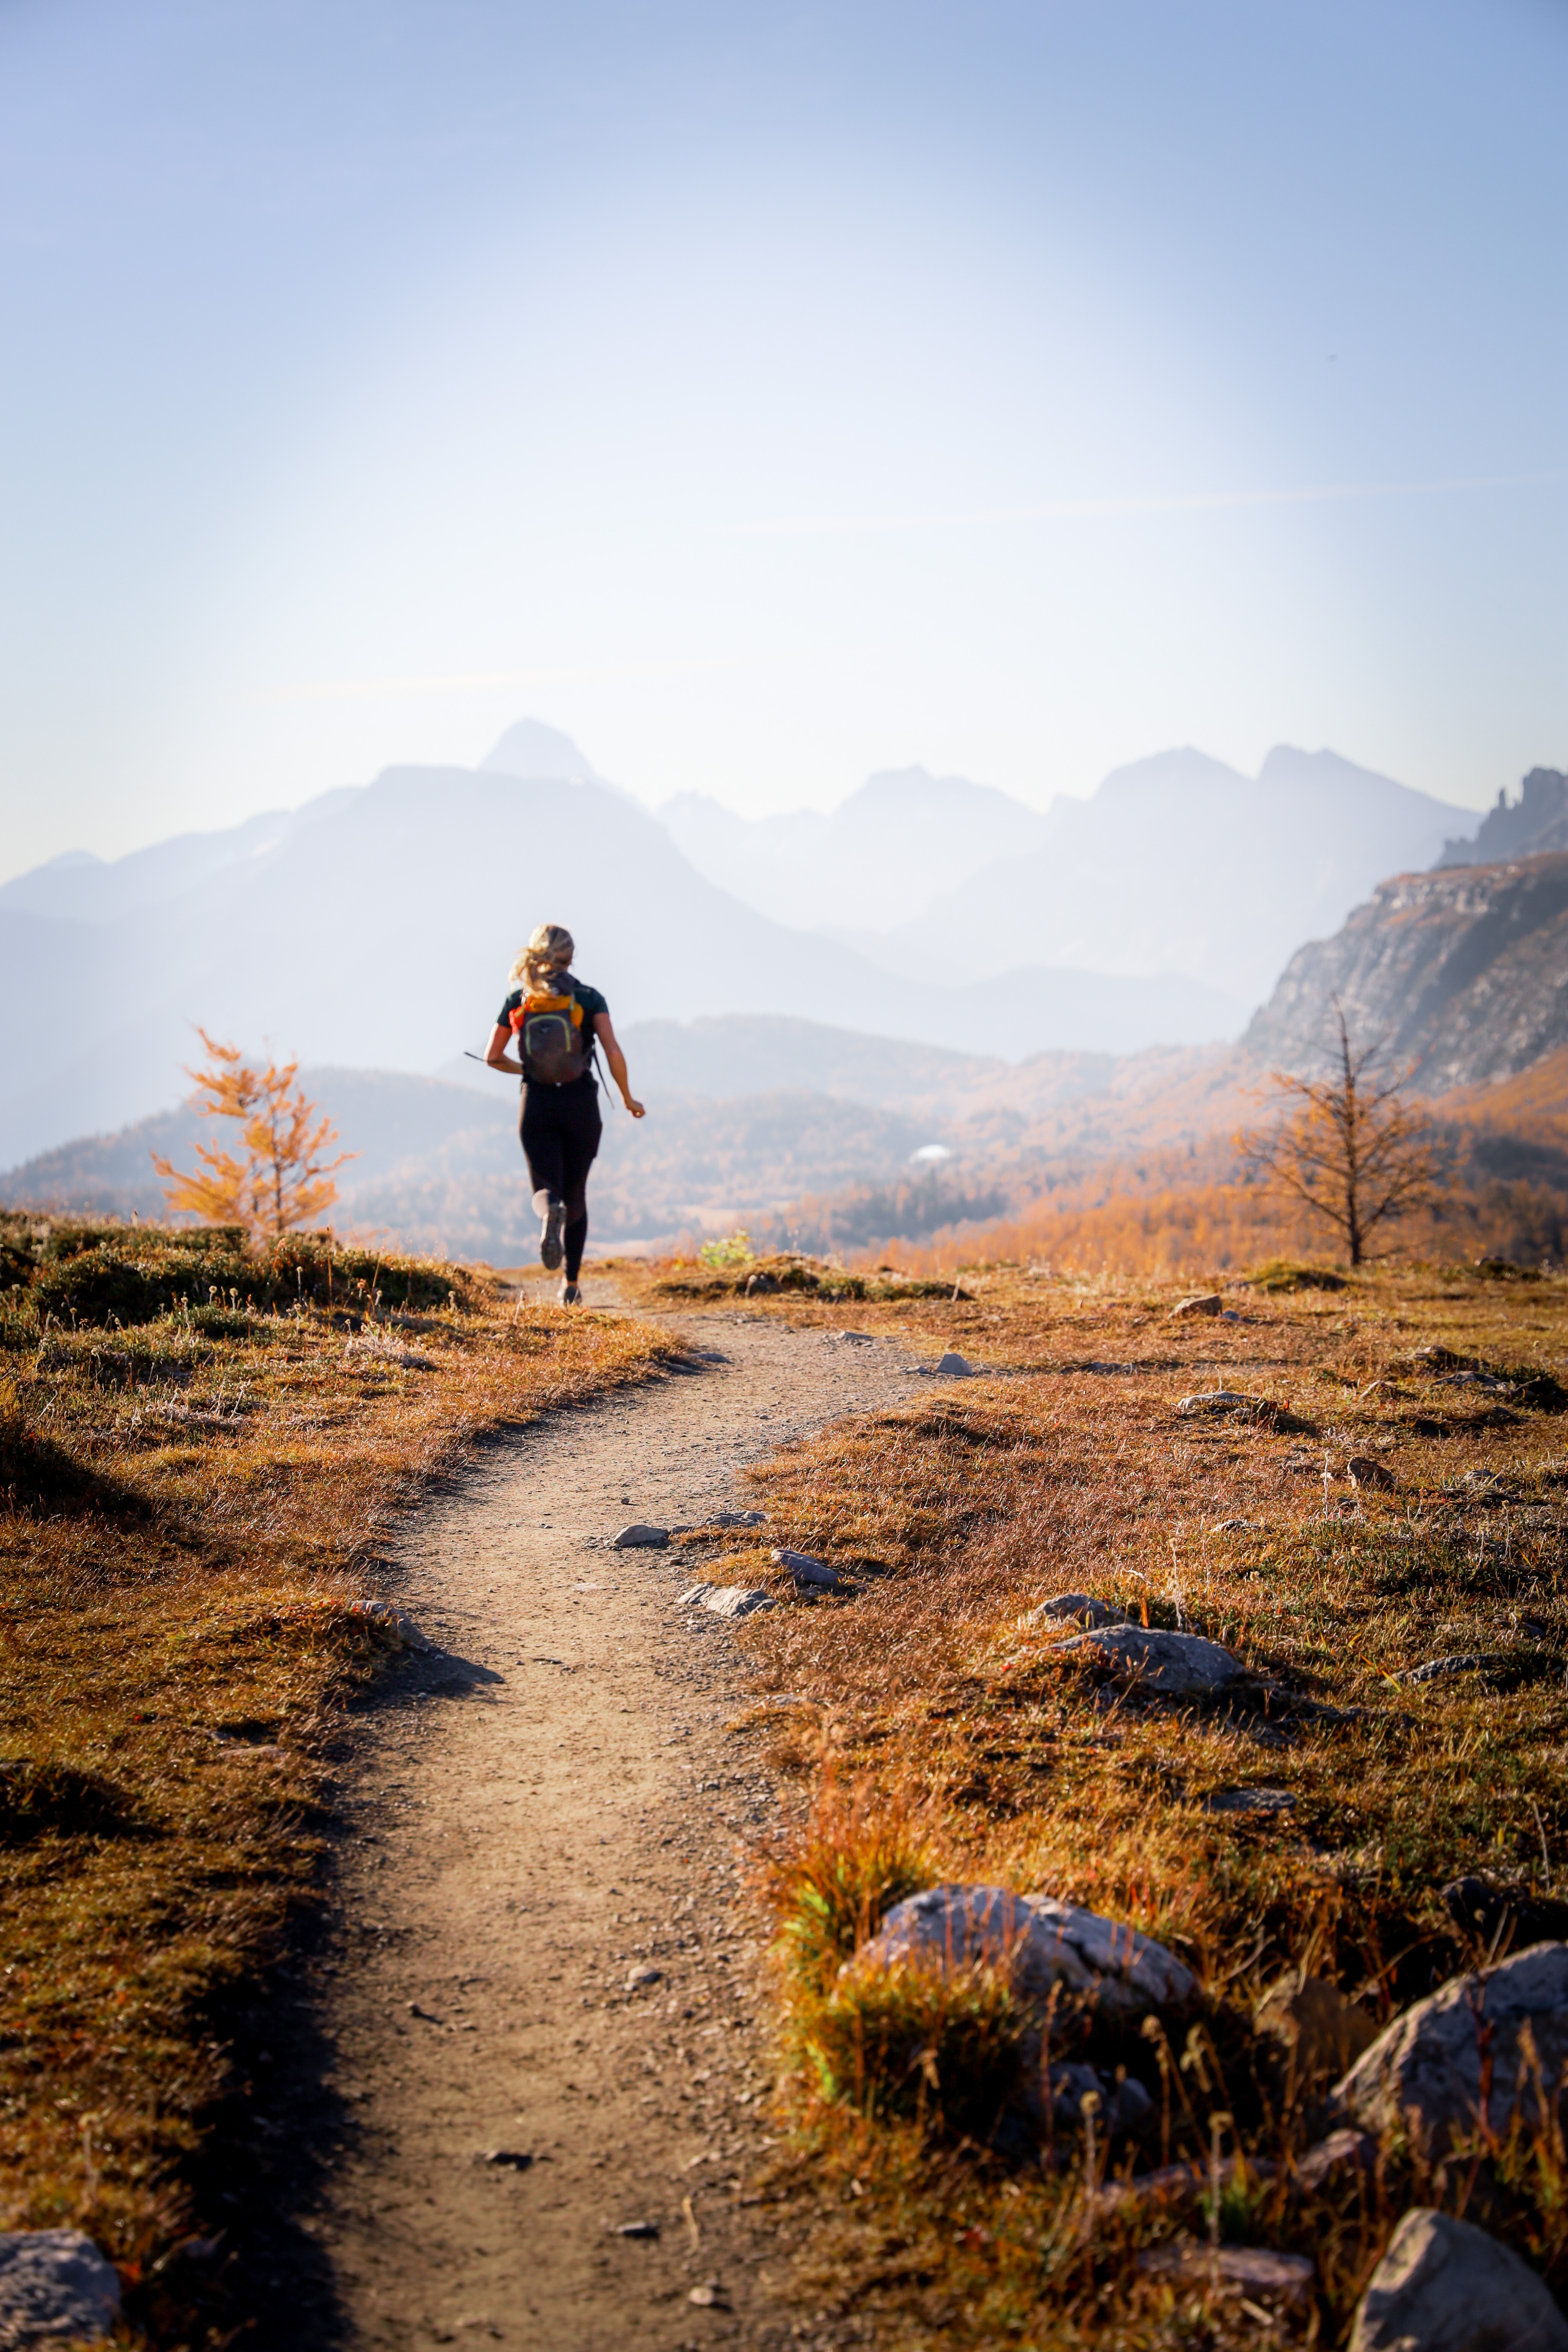
People also ask me, ‘How much water do you bring with you on your long runs’, ‘Do you carry any sort of water pack while running’. I don’t actually. Though some people NEED the water during their runs. It changes from person to person. So if you need those sips of water, buy a running water bottle hip belt, or run vest. I JUST recently got into longer trail runs and purchased a running vest (Salomon Advanced Skin 8L), the one I am wearing below is an older Osprey pack. If I am out for hours and hours, or all day for that matter, that’s when I feel I need the hydration and electrolytes. Oh and there are pockets for snacks. YUM. Trail running is a whole new ball game I feel…
4. Choosing the right shoe for you.
So many people ask me, what shoes do you run in!? Well, I can give you my shoe of choice, but that doesn’t mean it will necessarily work for you. We all have different foot types, strides, running styles etc. That’s why there are so many types of shoes out there! If you really want to get into the sport it is SO important to be in a shoe that is right for YOU. Stopping be a run specific store and talking to a shoe expert would be a great place to start, especially if you are training for a 5km, or any type of distance race, and are going to be in them often. Your shoe can make or break your enjoyment, and can be one way to help prevent injury.
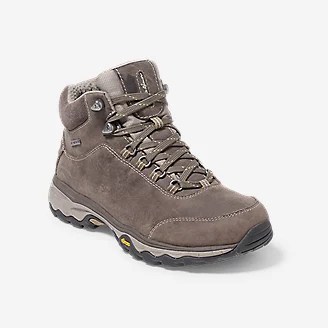
I ran in Asics Nimbus for years and years, as that is what I was recommended, and so many others on the team ran in, though eventually my body was telling me something was up. I was getting injured. I had achilles problems, and my hips weren’t so happy. I went to a run clinic and met with something who told me that I was in the wrong shoe, so they switched me over to a Mizuno Rider. Our feet change and that’s okay! The Mizuno shoe worked for me and was my go-to up until about 3 years ago.
On Running had reached out, asking if I wanted to partner, and try out some shoes. I was hesitant at first, because the Mizuno Rider was working for me, and if you are a runner reading this you understand our hesitation when switching brands, moving away from something that works. But I did say heck with it, I will try them out, but I wasn’t going to promote the shoes until I tried them for a few months and figured out if my body agreed with them. Wellll…. lets just say I never went back to Mizuno. I am dedicated to my On Running shoes and haven’t had an injury since switching.
Here are the types I use for various running terrain/seasons:
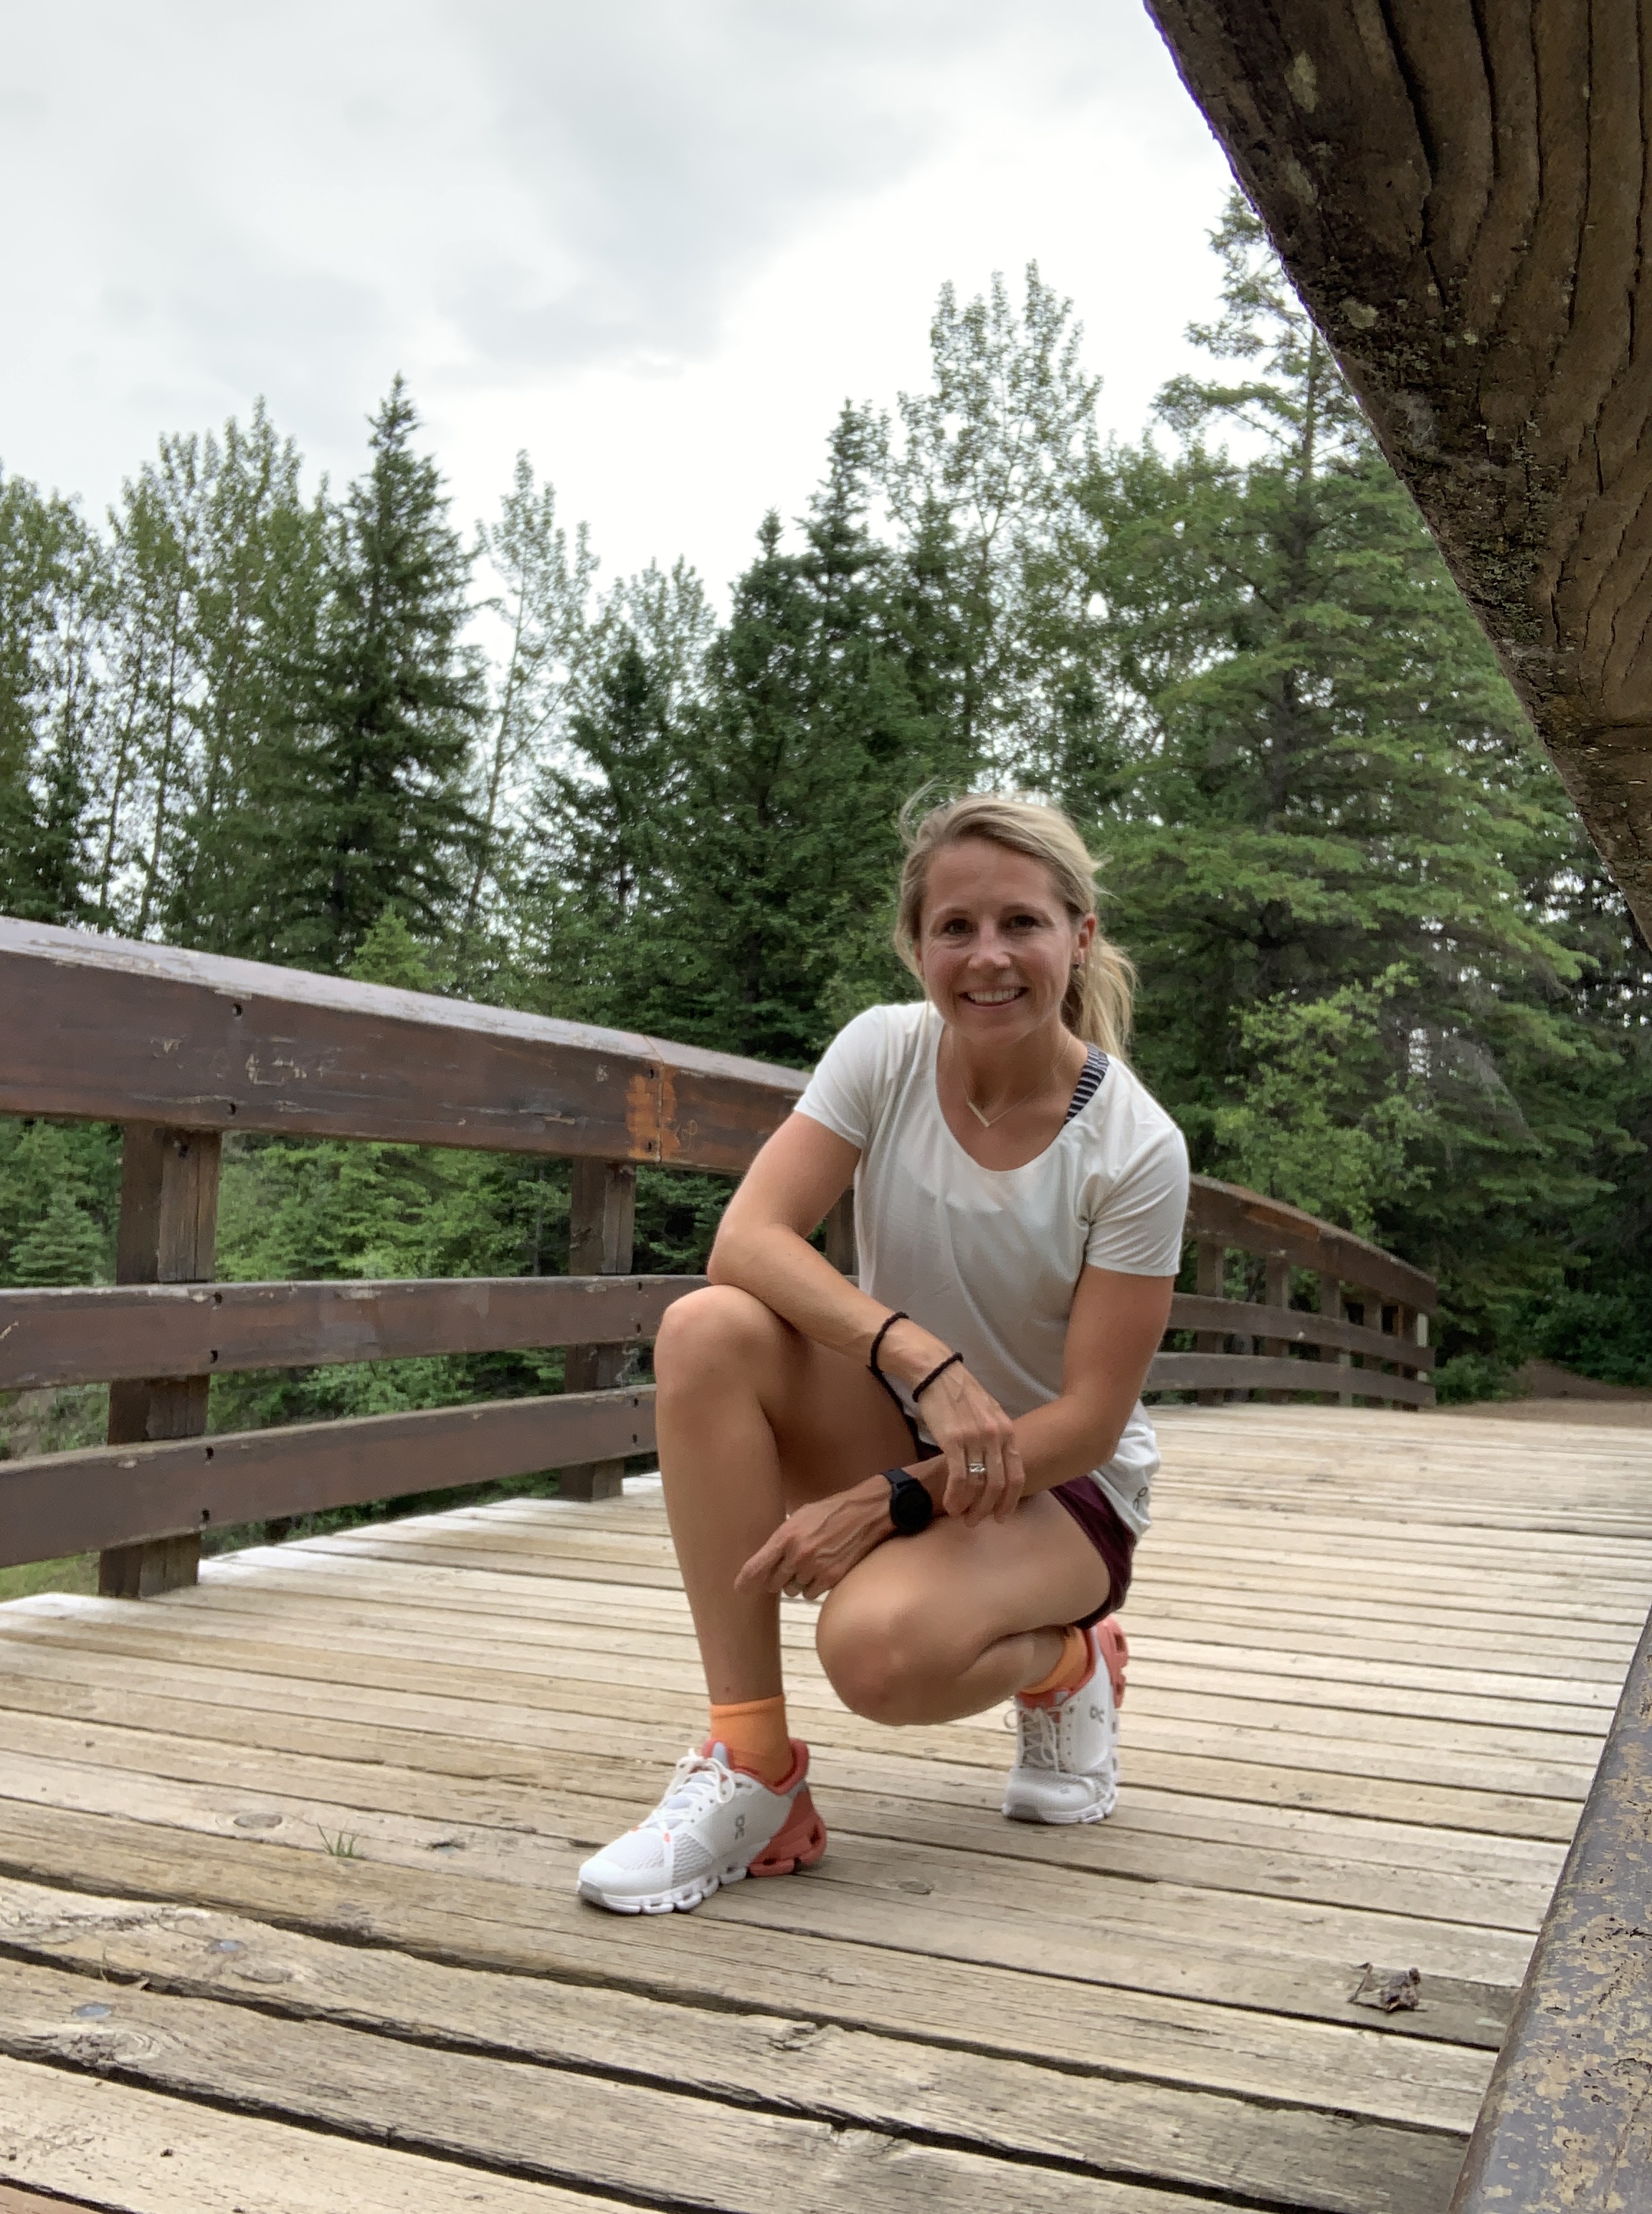
Pavement running – Cloud Flyer – A lightweight shoe with supreme support and cushioning. I wear these in the Summer months on pavement, yet haven’t put them on in the Winter months, as I tend to need more grip.
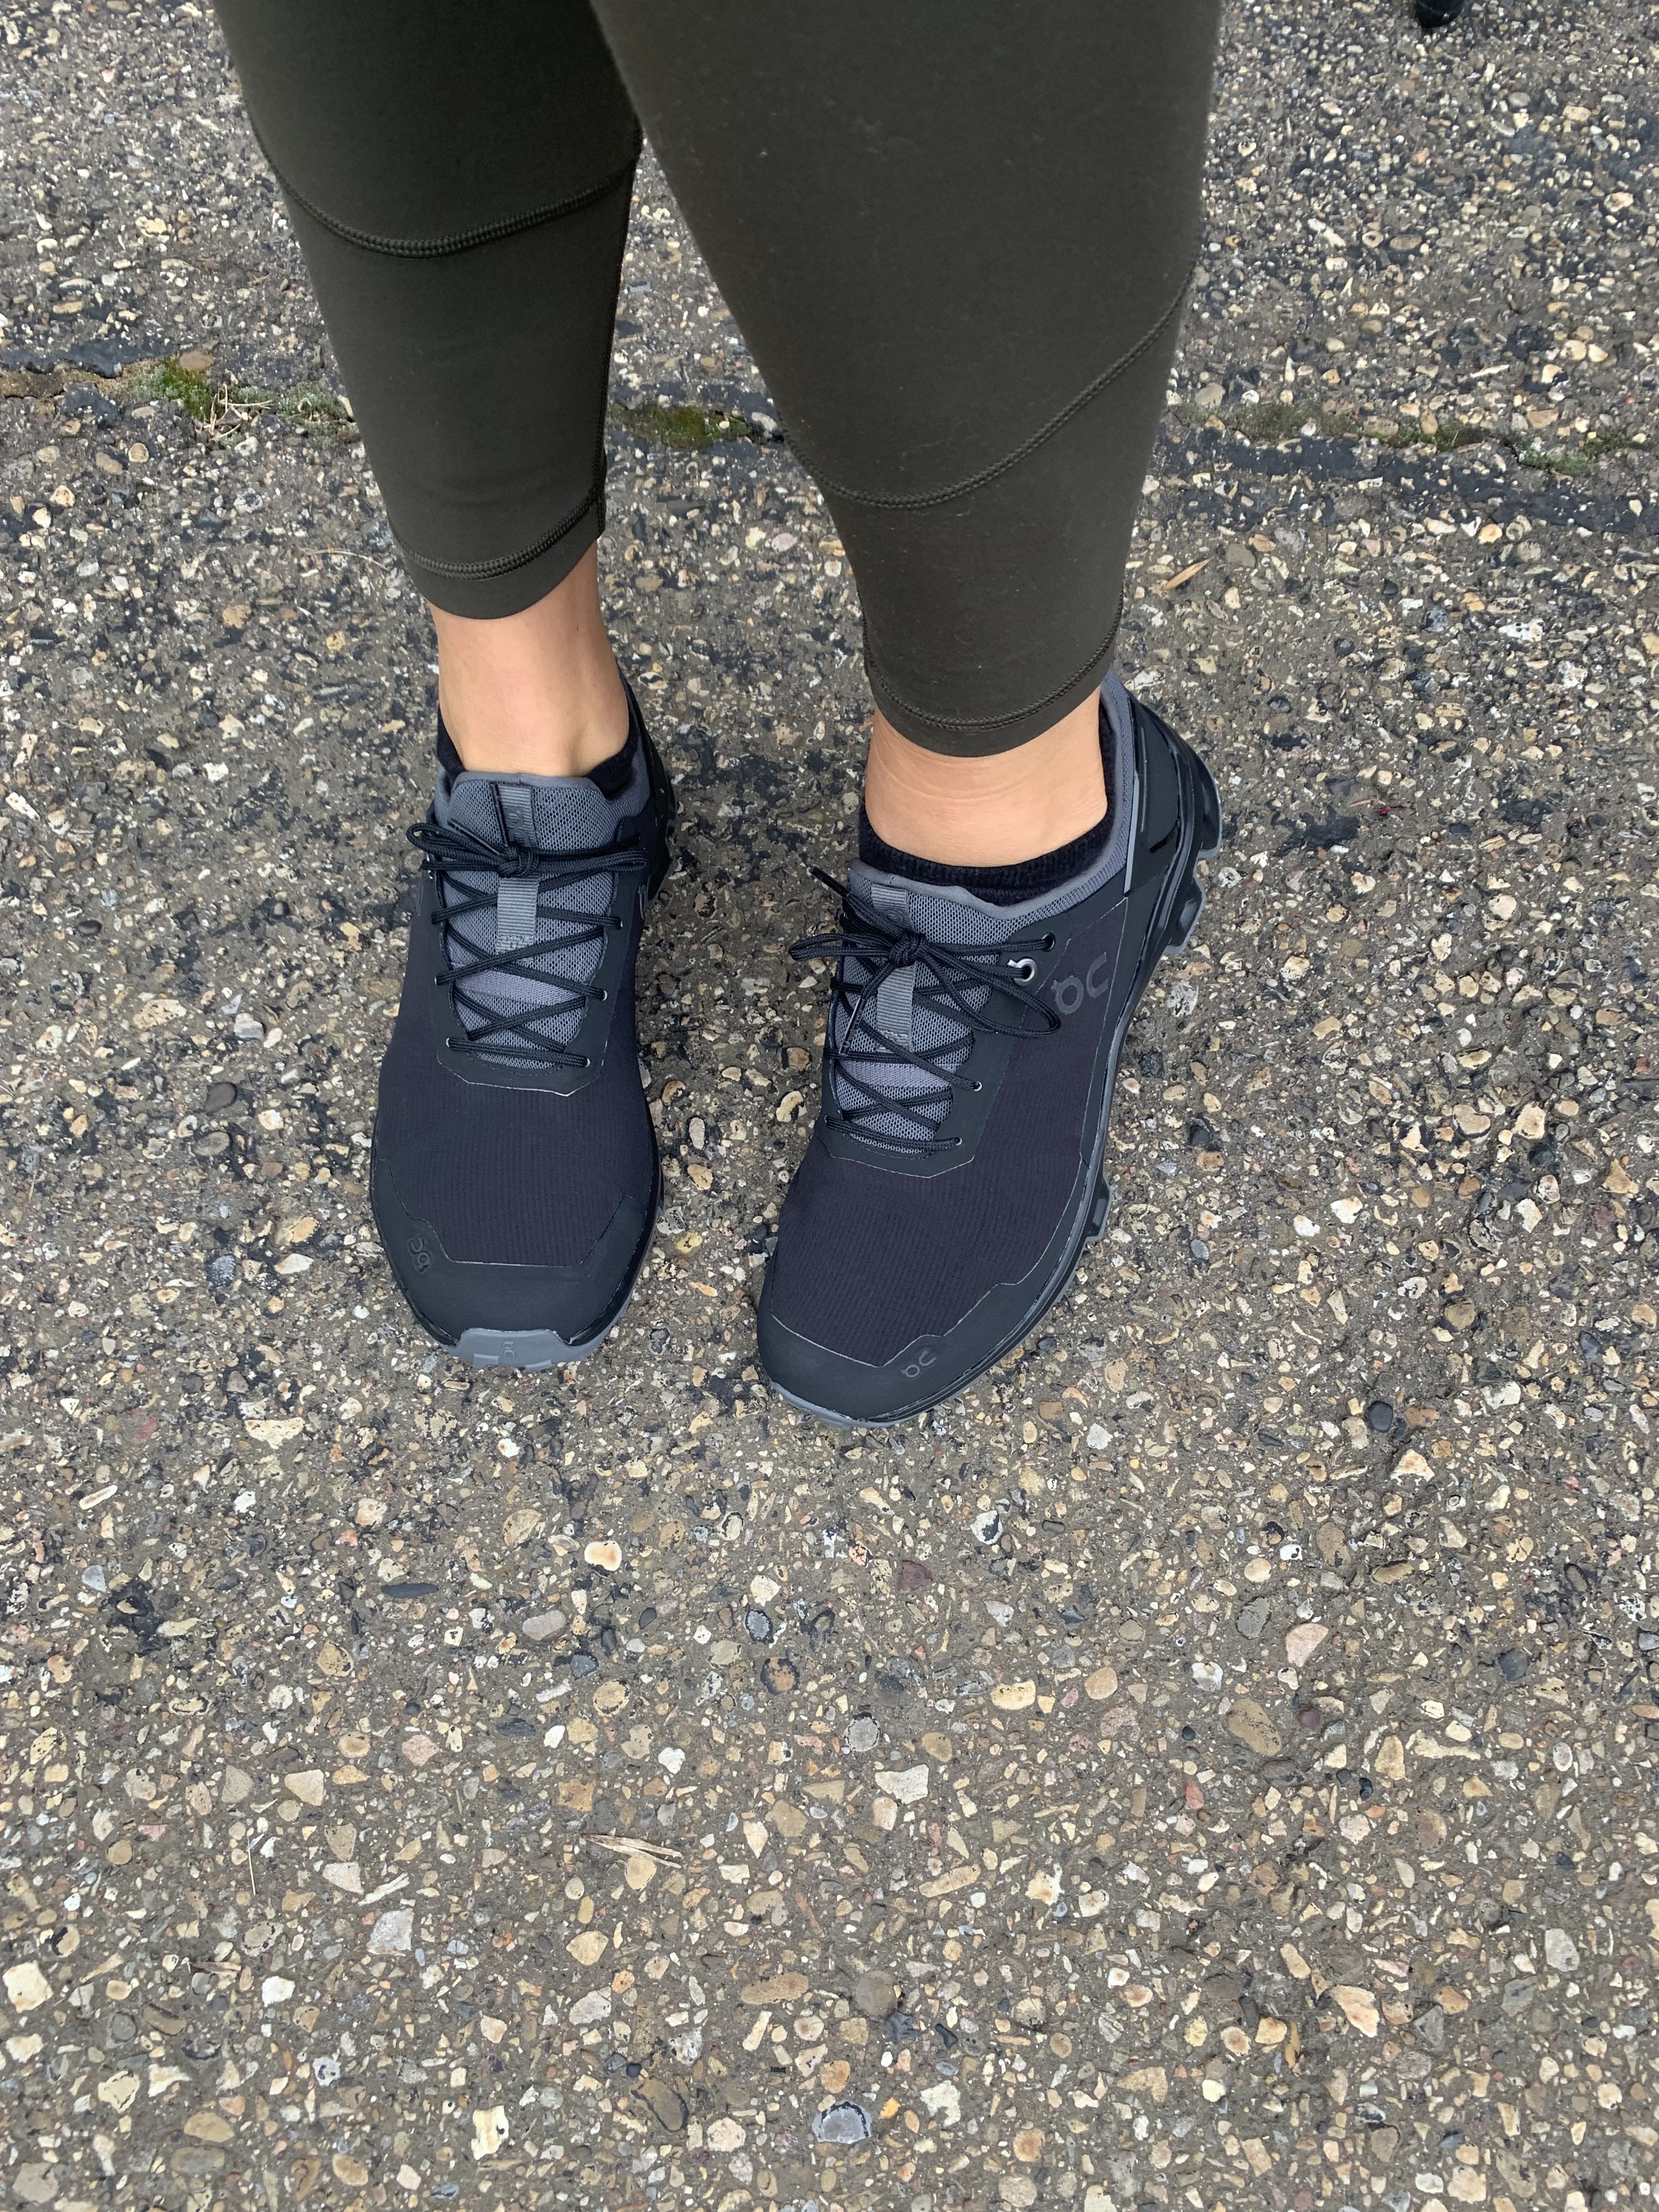
Trail running – Cloudventure Peak – I wear these year round when trail running, and in the snow. A lightweight trail-racing shoe with Missiongrip, along with the Cloudventure – A lightweight trail running shoe that’s big on cushioning and grip. The grip is amazing and I highly recommend them for Winter running, when it gets slippery out.
All three styles also come in a waterproof option, if you live somewhere where it rains a lot.
You can complete the Shoe Finder questionnaire to figure out which On Running shoe would work for you, based on your needs. ‘Whether you need a shoe for cross-town commutes, marathons or mountain ascents, ensure premium fit and comfort‘, by completing the questionnaire – On Running.
It is important to monitor your shoe life as well. It can vary from person to person, but usually shoes have to be replaced after 300-500miles depending, or every 4-6 months if you’re running 20 miles a week. Though just pay attention to your body, and how it’s reacting. I have ran 250kms a month, for the last 5-6 months in my one pair of Cloudventures and my body still feels great. I guess I also owe kudos to the On Running brand. The kicks are holding up SUPER well. If your arches are blown, or there are holes in the sides, and you have pain in your hips or ankles, back etc. Perhaps it is time for new shoes, though try not to let your body get to that point and be proactive. New shoes may be costly, but it’s sure worth it. Tracking your mileage on a calendar would help with this.
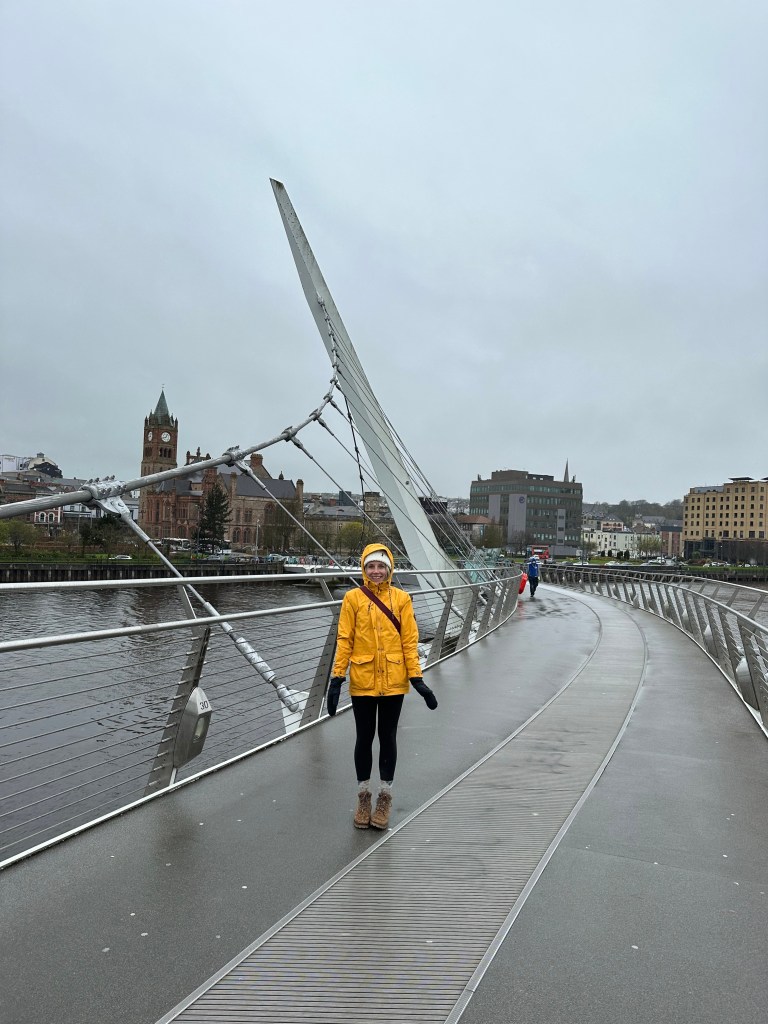
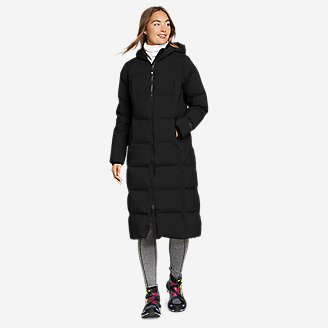
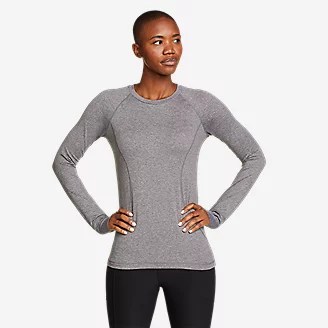
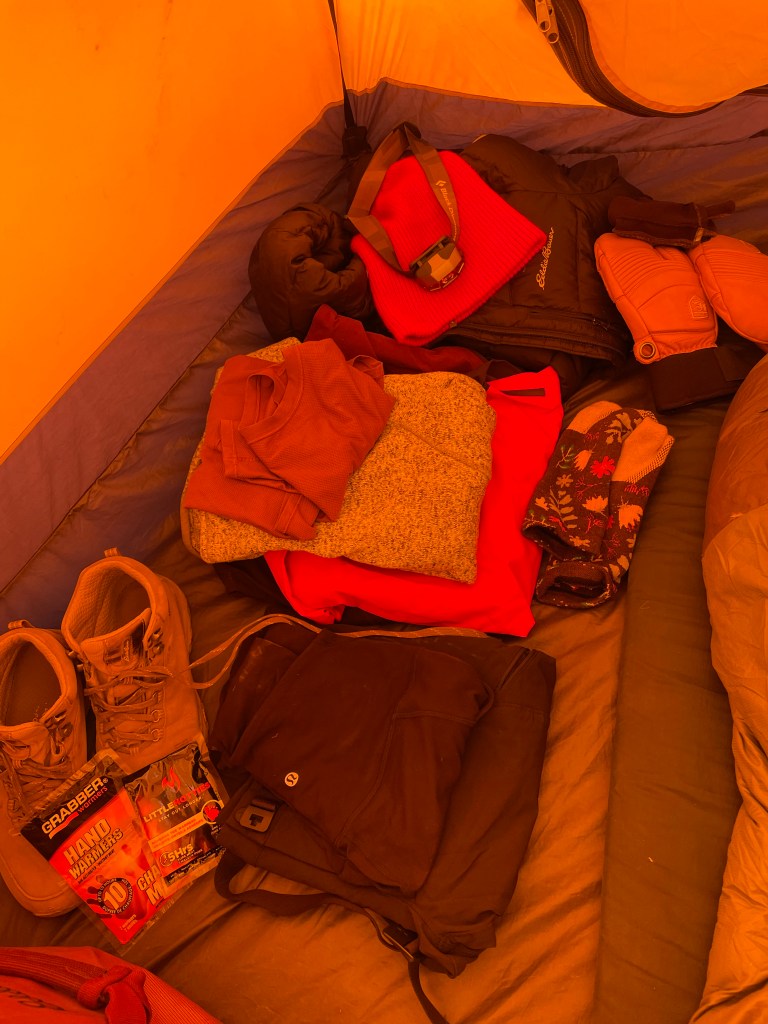
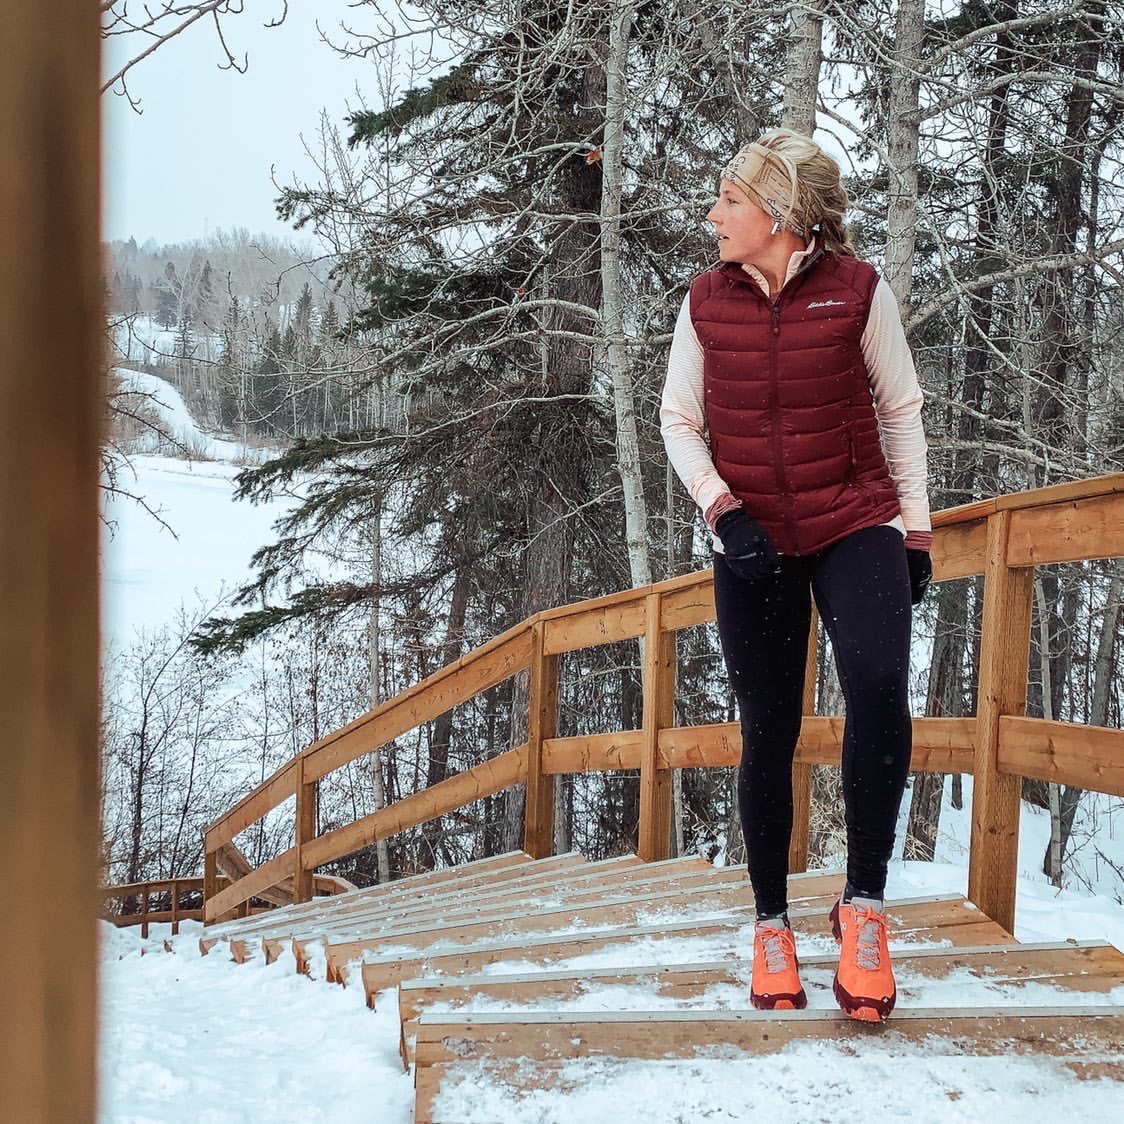
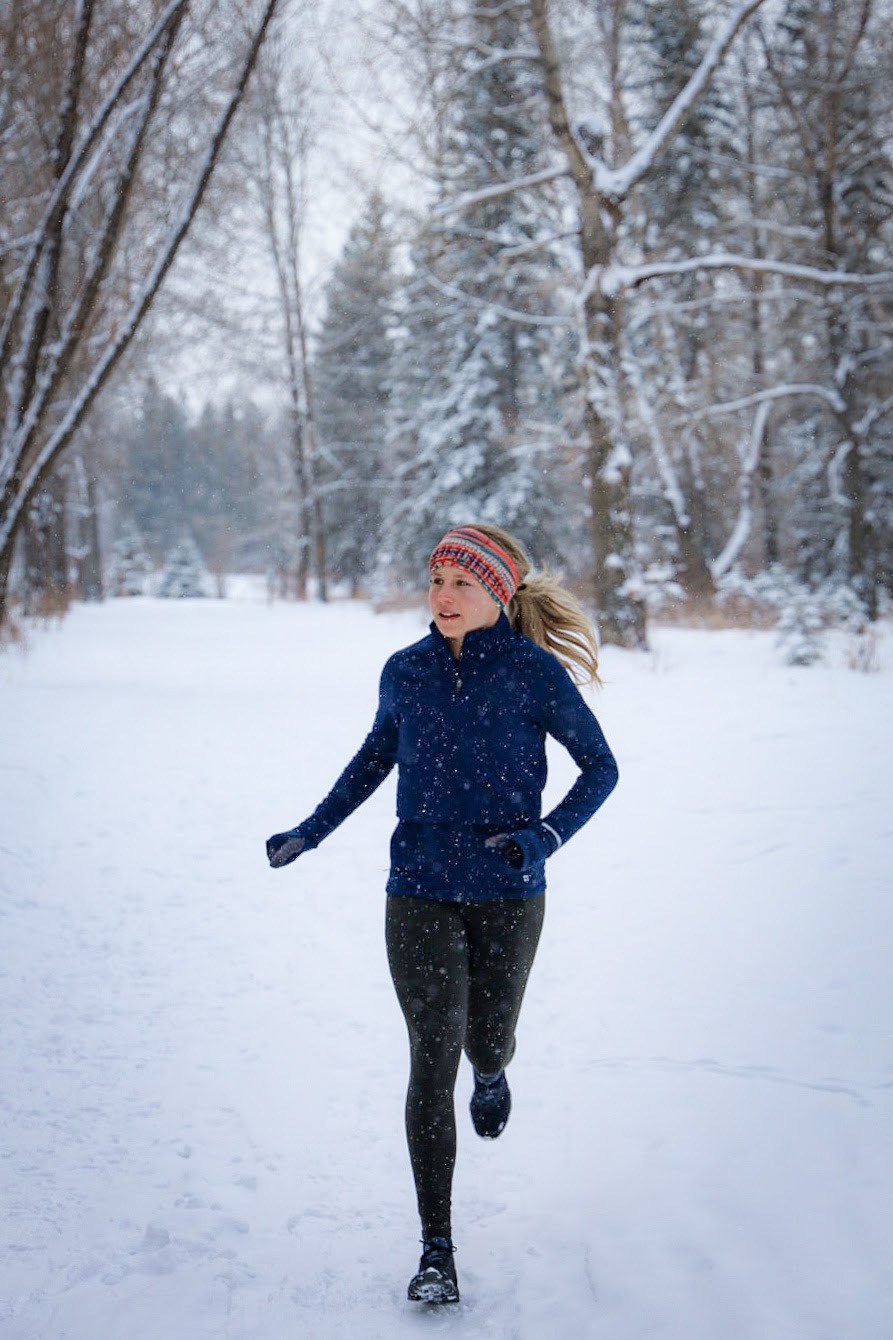
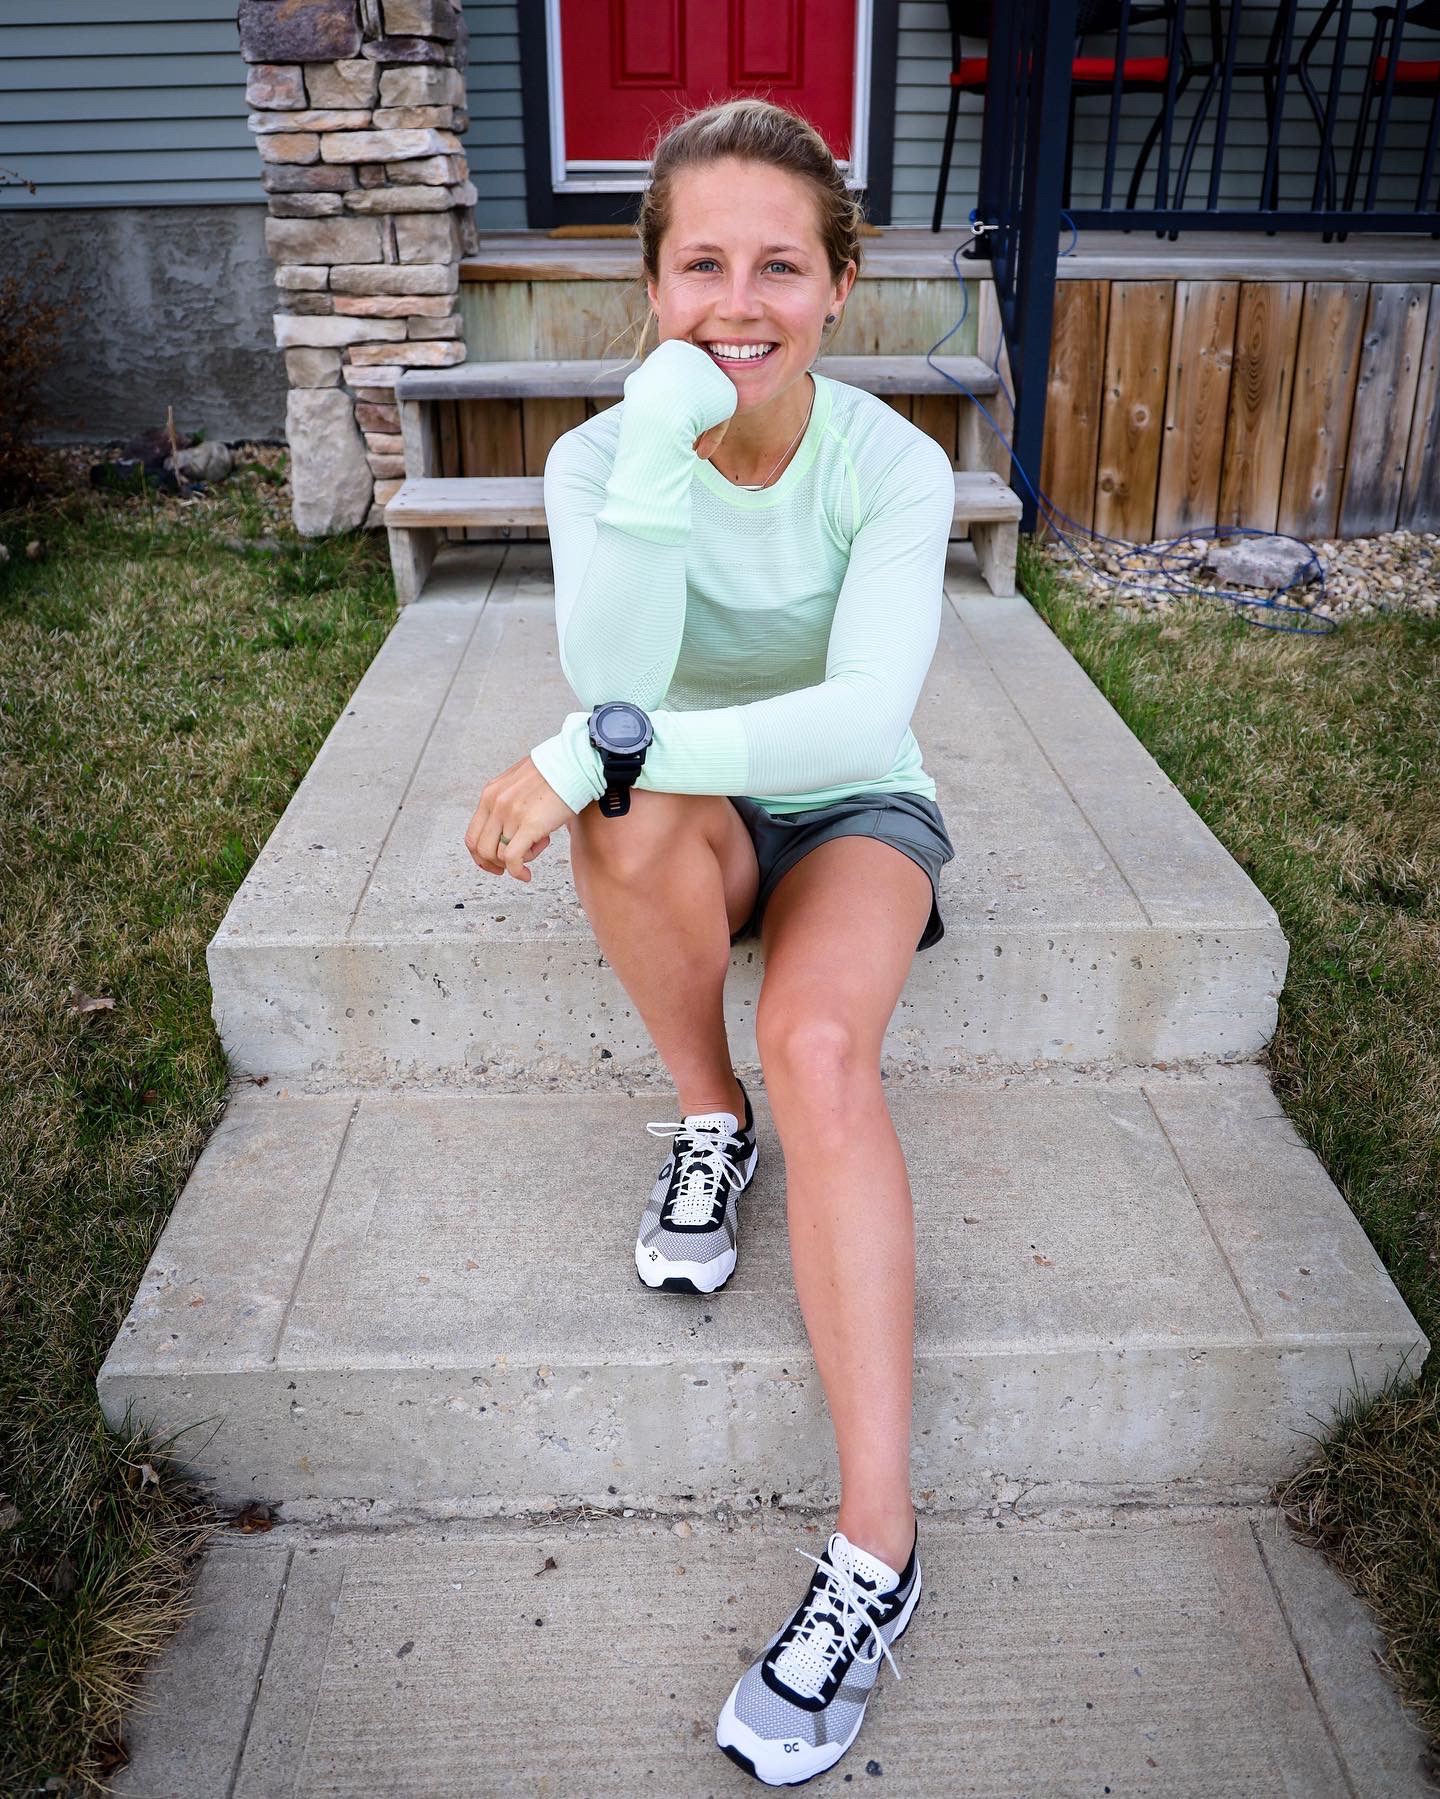
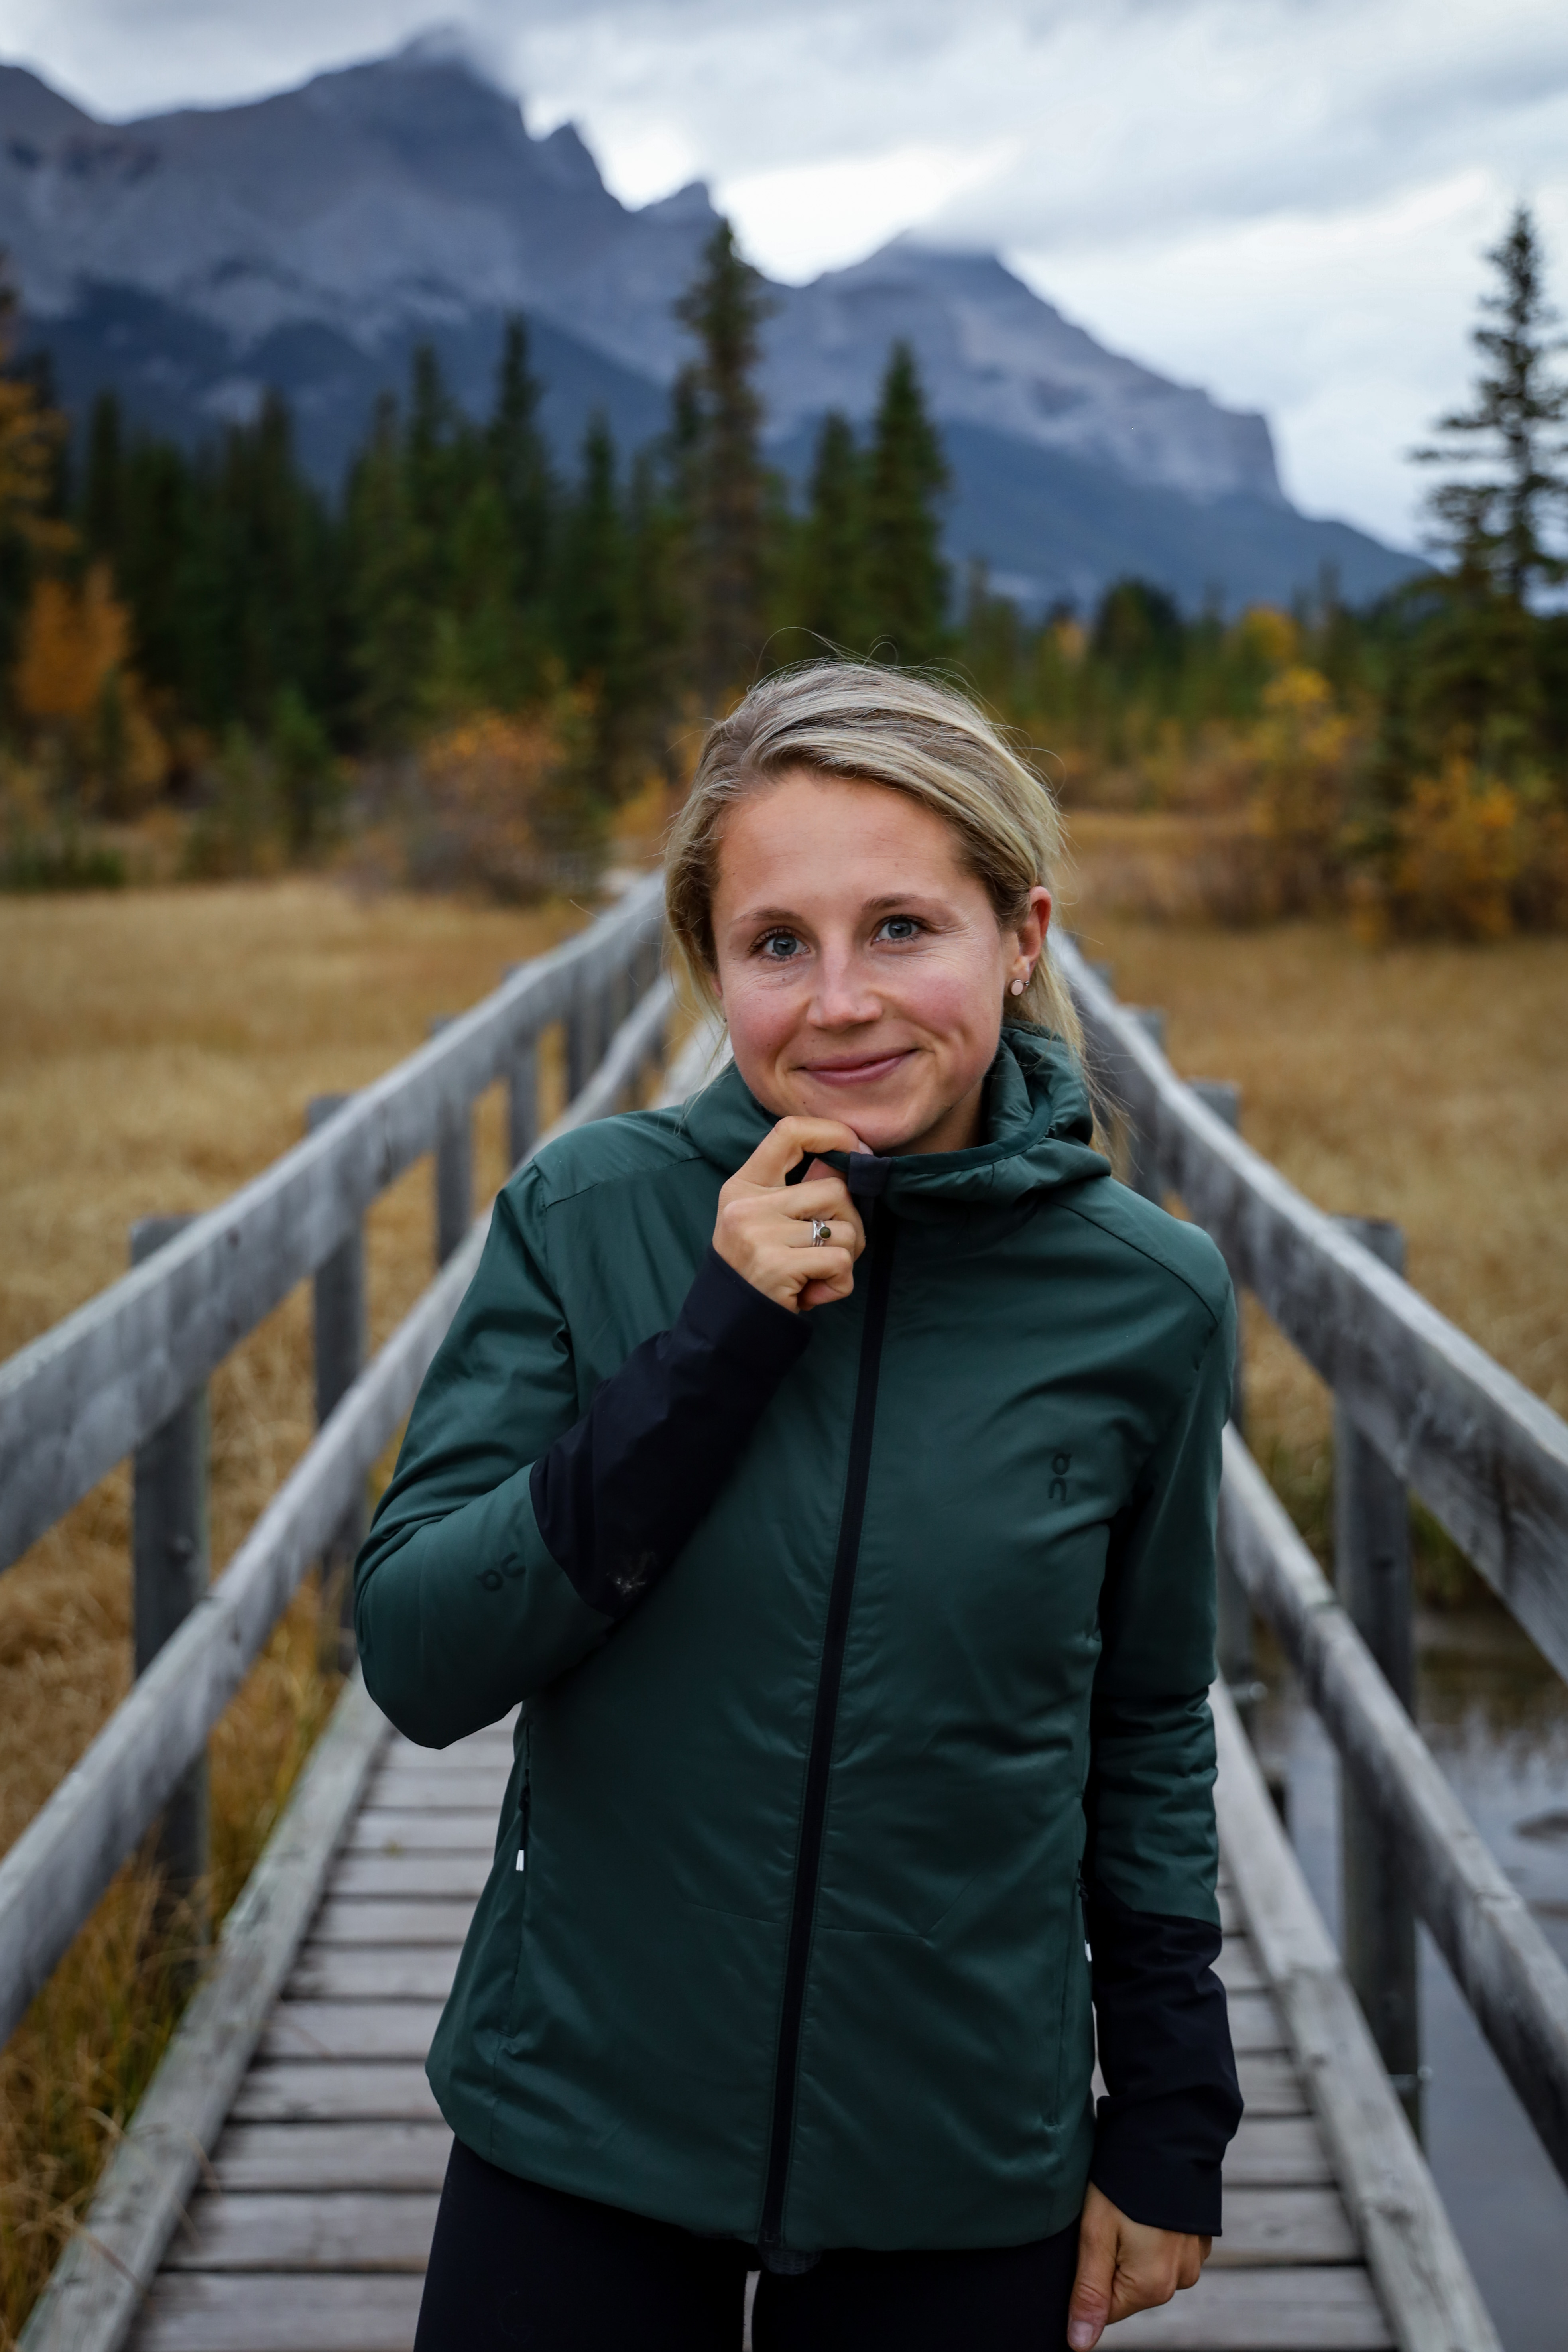
5. Running attire. Dressing for the weather/season.
Okay… this is a topic MANY of you asked for me to touch base on.
Your attire can certainly make or break your run, depending on the weather or temperature. I have learned this over the years, and have grown my running wear collection, to better meet the various temperatures/conditions outdoors. First off, I do want to note that we all are different, and some of you may get colder easily and need more layers then I do outdoors. I get hot SUPER easy, so there for am conscious of wearing too many layers when I go out. This will be a learning process to start, but I promise, you will figure it out. I am now able to just check the weather app, the temperature, along with the wind (ALWAYS checking the wind speed), and the ‘feels like’ temperature. From there I dress appropriately.
I am sharing my own layering/attire for the temperatures/seasons, so just remember that, when reading. You may have to adjust a bit, accordingly. I have been a ‘Lululemon girl’ since I started running, and have sworn by their gear. I have been wearing some of the same items since college, so over ten years and they’re still in great shape. So even though is may be pricier, I find it worth the investment.
Summer/Indoor training:
I sweat a lot when it is hot out so I like to have gear that is sweat wicking, light, breathable, non chaffing (so seamless helps), and not too tight to my body. Try to avoid cotton if you can. Nylon, polyester, elastane, are all great materials.
Running shorts:
- Lululemon – Low-rise Hotty Hot Short II 2.5″ – Designed for running. They come in a 4″ as well, and a high-rise version, if you prefer those. They have built in liner, a continuous drawcord, a discreet zipper pocket, a secret stash pocket in the liner and reflective details.
- Lululemon Track That High-Rise Short 3″ lined – Designed for running. The waistband lies flat and won’t dig, a continuous drawcord, built in liner, and a side zipper pocket. There is also a 5″ version.
Tank tops/t-shirts:
- Lululemon – Swiftly Tech Racerback, and the Sculpt Tank, which is designed for running and training. I like to have both length/fit options. Both are sweat wicking, quick drying, stretchy, and co comfy. The sculpt tank sits below the waistband, which allows for more coverage, and is an easy, loser fit.
- On-Running – Performance t-shirt
Sports bra:
- Lululemon Energy Bra – for B to D cups. I wear this by itself sometimes too, for indoor workouts or outside running and hiking when it is too hot for a tank over. It is extremely comfortable. Great support, with the band and back straps. If you neemore/less
- support Lululemon has many other options.
Sunglasses:
- Bliz – Mattrix sport glasses
- Goodr which are a more affordable option
Also lets talk socks for a second… if you are like me and your feet sweat a lot, make sure you have a few good running specific socks. 95% nylon, which allow your feet to breathe easier. Nothing like sweaty, chaffing feet, or socks that ride down your foot while you are out. Some people prefer a higher sock, so the lip of your shoe doesn’t rub against your skin (depending on your shoe choice).
Spring/Fall training:
Tops
My three go-to long sleeve tops are:
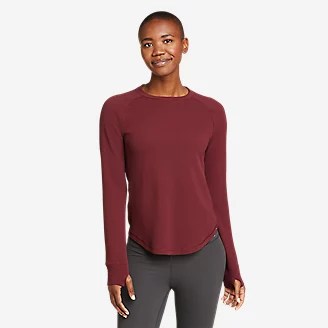
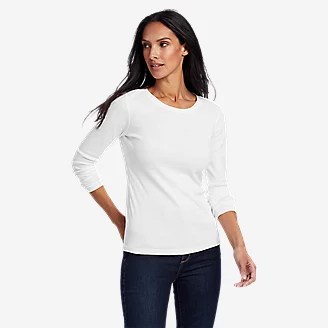
- Lululemon – Swiftly Tech long-sleeve, I have it in probably 6 colours. It is designed for running and training. Again, minimal seams to reduce chaffing, lightweight, breathable, sweat-wicking and added elastane which improves stretch and shape retention. Also, they have thumbholes, which I love in a long sleeve top. I also have one thicker swiftly, and wear it if I need even more warmth.
- Eddie Bauer – High-Route Grid Fleece. I love the 1/4 zip, as I can do it up, or unzip it if I get to hot. It is four way stretch, and fleece lined, so it is a bit warmer on its own, but still breaths well. Sometimes I layer the Lululemon swiftly tech under it was added warmth. Oh and again… thumbholes. The chest zip pocket is great to throw keys in, money, bank cards etc.
- Sweaty Betty – Athlete Seamless Long-sleeve – very similar to the Lululemon Swiftly Tech long-sleeve.
When it is a bit cooler I often toss on:
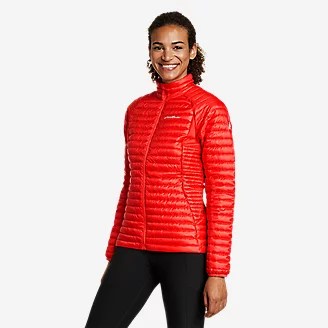
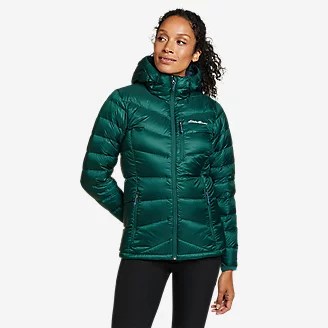
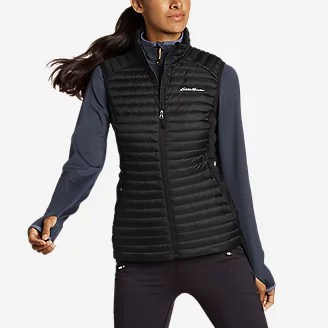
- A vest – Eddie Bauer Microtherm Down Vest which keeps my core warmer, but also allows my arms to breathe. I have been wearing it for the last 5 years and love it. The stretchy side panels allow for breathability, and mobility.
- Thin jacket – Eddie Bauer Sandstone Backbone Jacket – which I toss on if it’s a bit cooler/windy.
- On Running – Trail Breaker Long-sleeve – 1/4 zip. Thumb holes and a watch window. ‘Featuring zonal water repellency and ventilation, the Trail Breaker is engineered for running through the rain‘ – On Running.
Rain jackets:
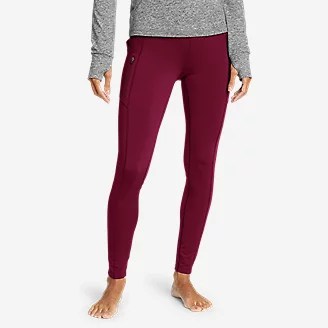
Tights
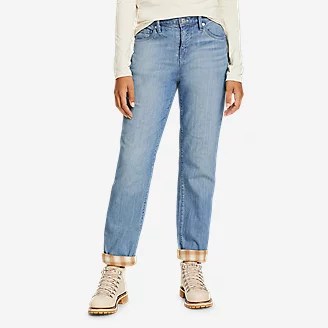
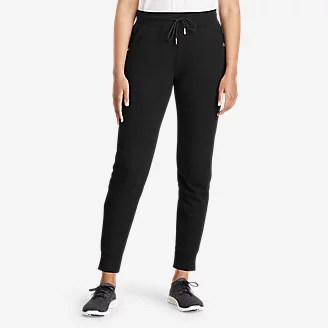
For tights, when running, 90% of the time I am in Lululemon, and like I said earlier, some of these have been with me for over ten years, so the exact styles are a bit different online currently. I love 7/8 length, and full length pants. I have also recently been training in Sweaty Betty tights. Here are some suggestions:
- Swift Speed High-Rise Tight – full length tight, which is designed for running. I LOVE a good high-rise tight, as I feel it doesn’t ride down. Also I love drawcords on my tights, which help to keep them from bagging/riding down also. Sweat-wicking, stretchy, breathable, reflective detail, side pockets (which I love to be able to put my phone in, or gloves if I get too hot). There is also a secure back pocket.
- Fast and Free Tight – which is a 25″ length (7/8), also designed for running specifically. Five waistband pockets, two side pockets. The waistband is tighter then other styles, so you aren’t yanking them up, along with a drawcord.
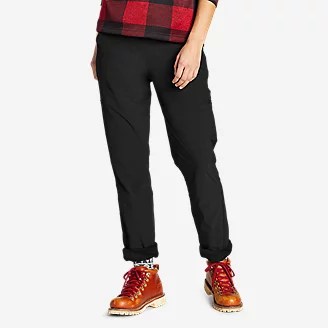
- Eddie Bauer – Trail Adventure High-Rise Legging – moisture wicking, odor control, secure pocket, UPF 50+, and stretchy!
- Sweaty Betty – both come in 7/8 and full length options.
Accessories
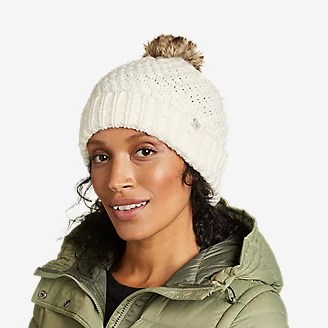
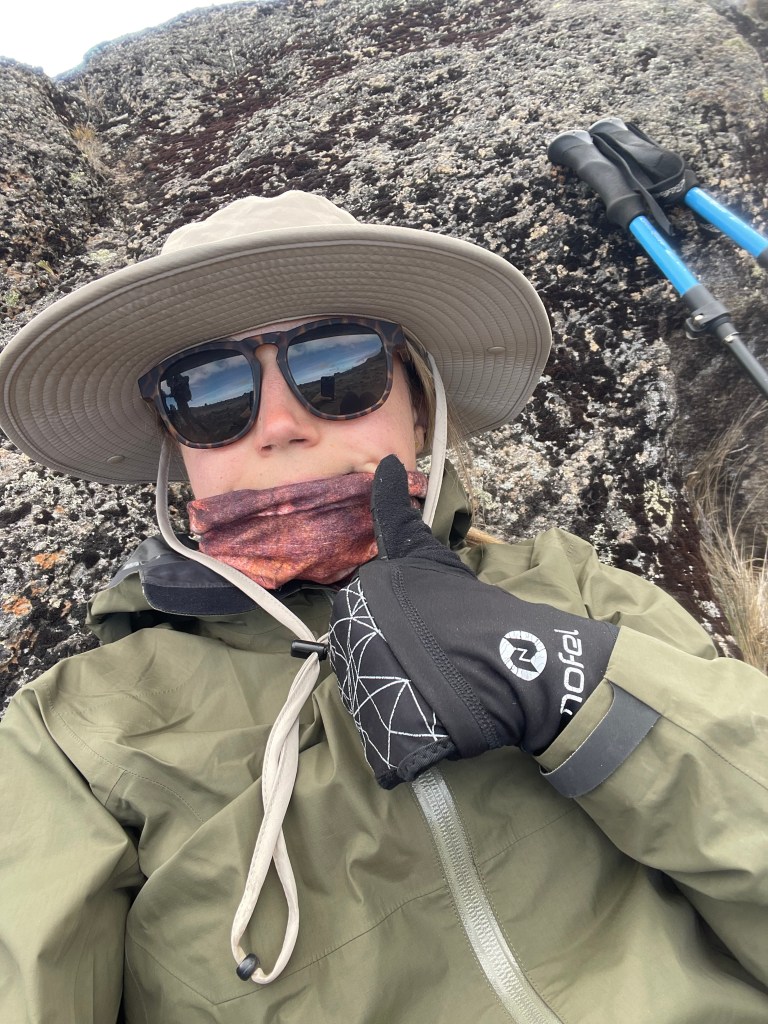
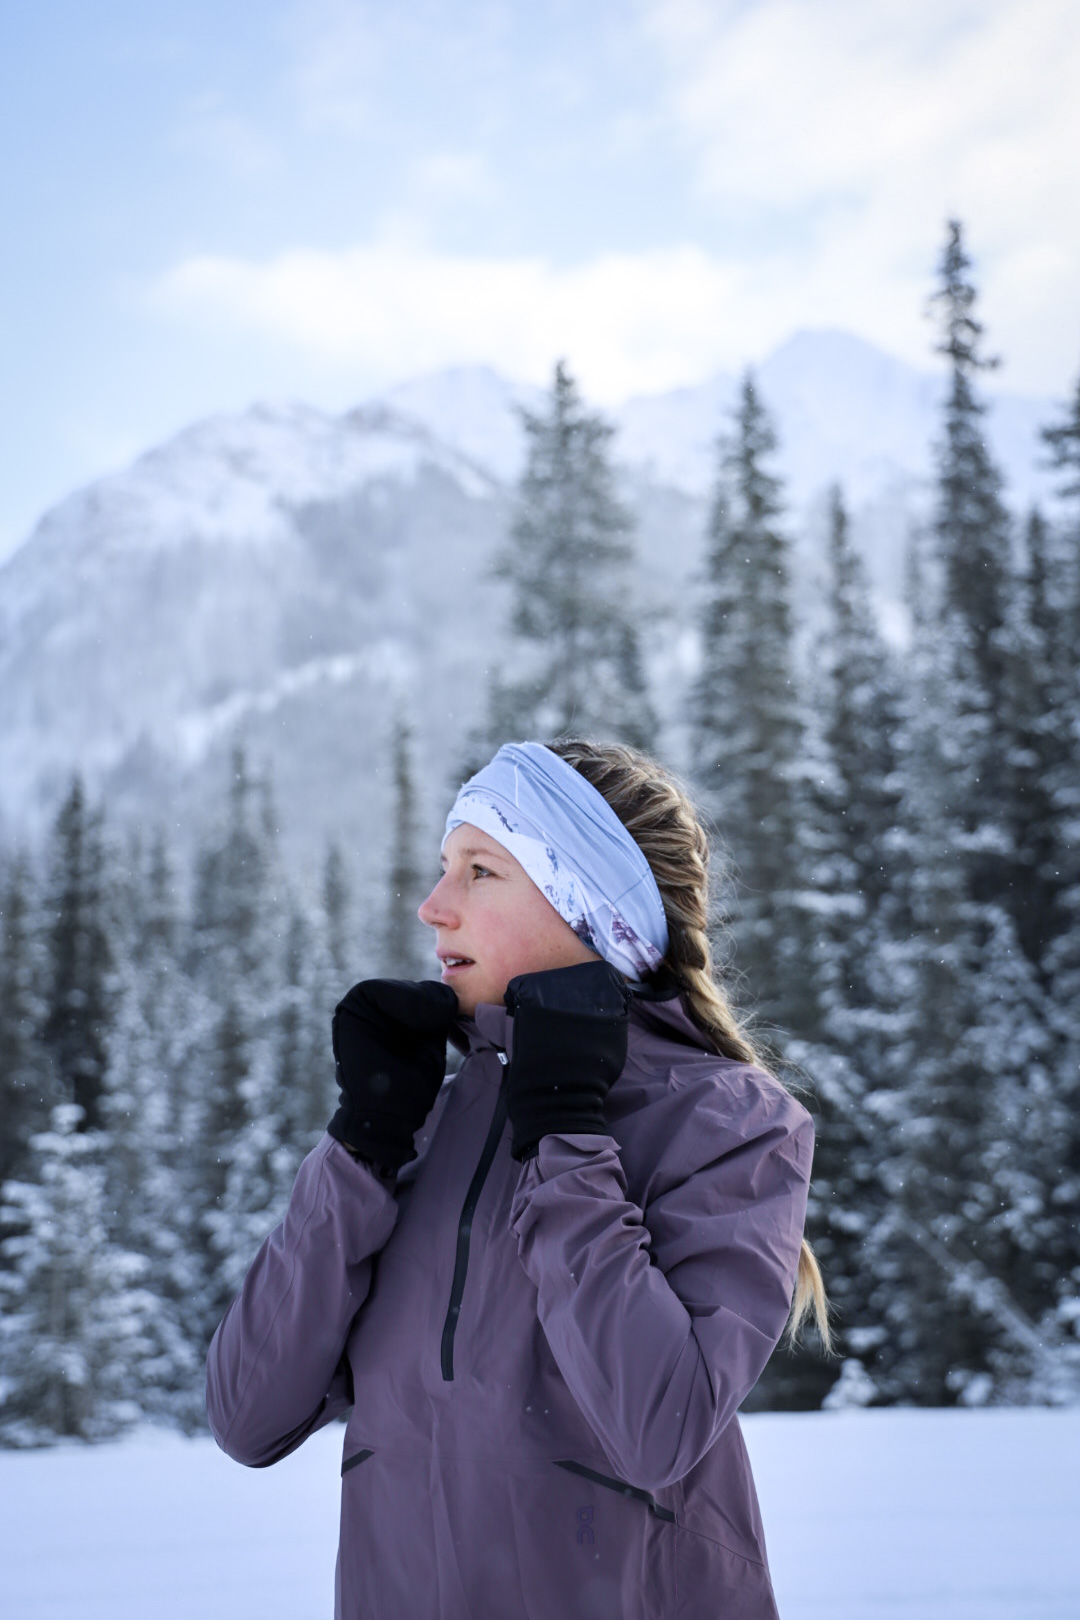
BUFFS! I am always wearing a head buff, when it gets chillier out, to keep my ears warm, and hair out of my face. Spring, Fall & Winter, I am in one! I just fold it over a few times and use it as an ear warmer. You can also use one around your neck/cheeks if you get colder in the cooler months, or if there is wind. You can get fleece lined buffs too.
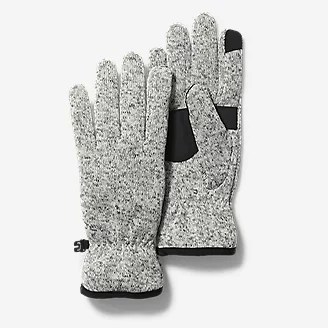
Gloves – For Spring/Fall weather I like to wear a thinner glove. The Lululemon Run For it All Gloves are a great option. I have similar ones, the styles are always changing a tad, but these are the most comparable online currently. They breath well, are light weight, water repellent and are brushed for warmth. Your local running story will have similar options, or try Winners (if you have those where you live). I have found more affordable options there.
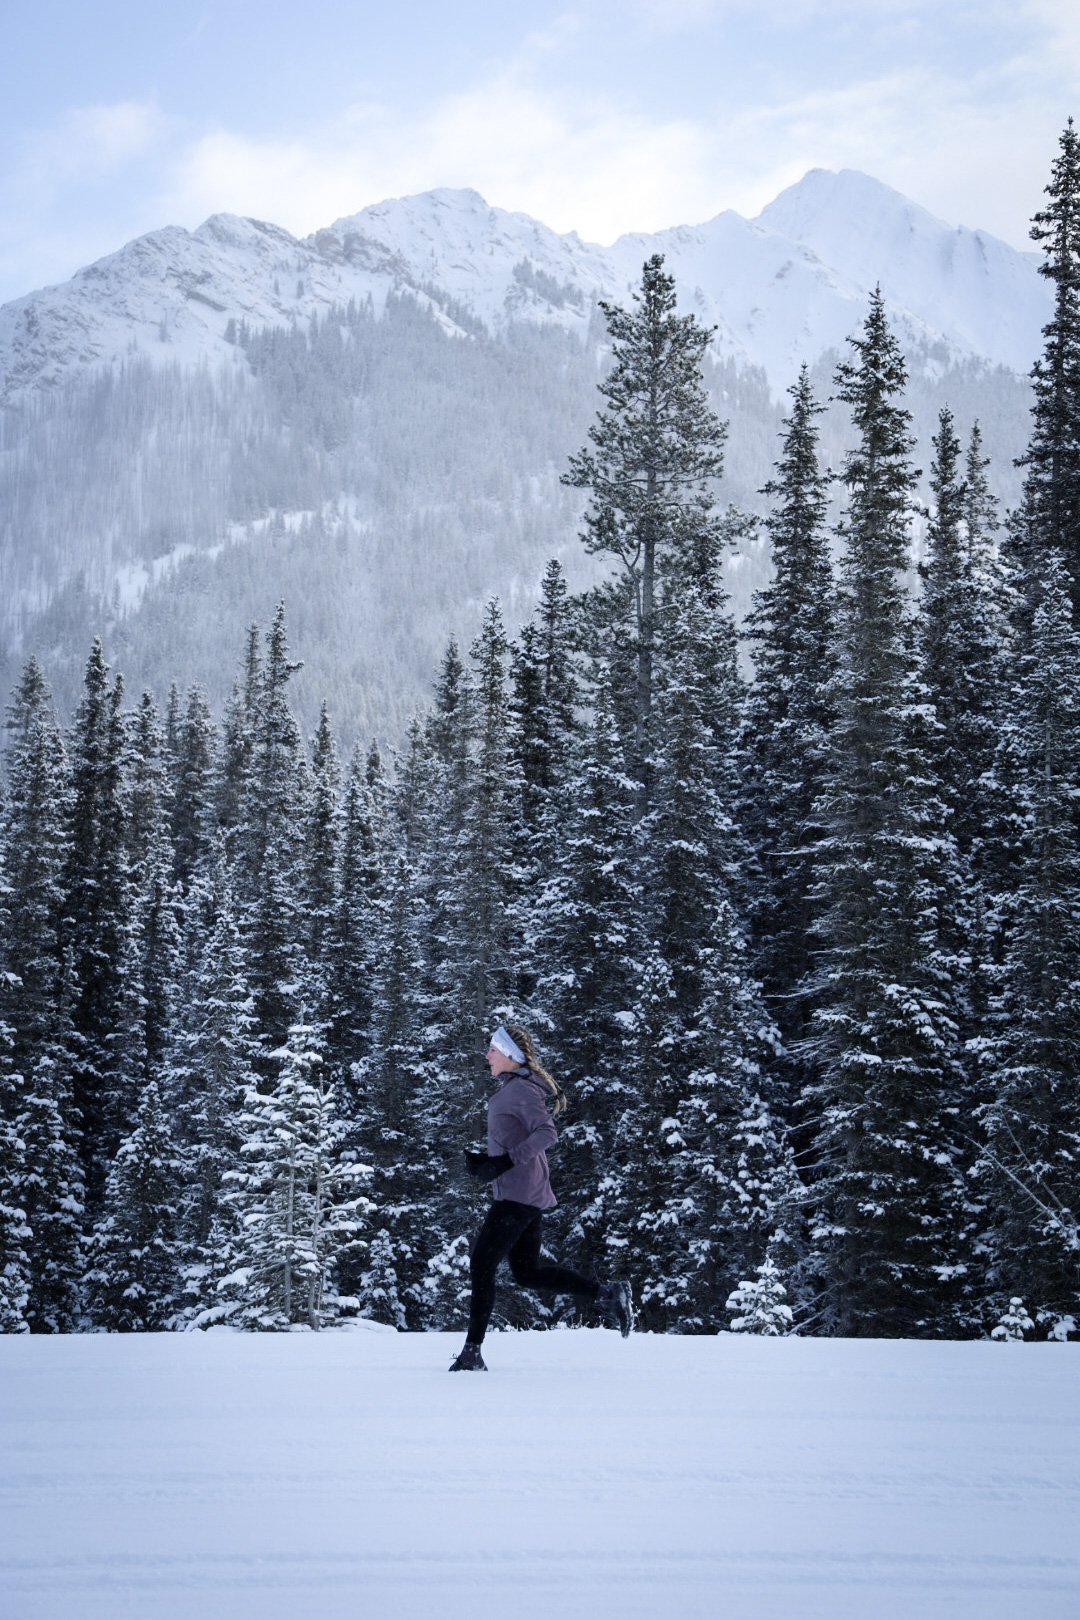
Winter training:
The most difficult type of running to dress for, and it can make or break your run. Making sure you are warm enough, and wearing gear that is still breathable, and gives you mobility. I sweat a lot, so the fabrics I choose have to allow for circulation, or else you just freeze. I try not to run in anything colder than -25, as it is hard on my lungs and on my body in general. My face takes a beating.
My top layering consists of a long-sleeve top, and a thicker jacket. I rotate between a few different styles of each, and stay comfortably warm. I know some people who run in like 6 layers in the cold, but I am a FIRM believer in quality of pieces, over quantity. If you are wearing quality pieces (warm/good material), you will be warm. 3 layers is enough for winter running. A base later long sleeve, a fleece lined pullover, a good jacket, and you’re good to go!
Long sleeves:
- Lululemon – Swiftly Tech long-sleeve, I have it in probably 6 colours. It is designed for running and training. Again, minimal seams to reduce chaffing, lightweight, breathable, sweat-wicking and added elastane which improves stretch and shape retention. Also, they have thumbholes, which I love in a long sleeve top.
- Eddie Bauer – High-Route Grid Fleece. I love the 1/4 zip, as I can do it up, or unzip it if I get to hot. It is four way stretch, and fleece lined, so it is a bit warmer on its own, but still breaths well. Sometimes I layer the Lululemon swiftly tech under it was added warmth. Oh and again… thumbholes. The chest zip pocket is great to throw keys in, money, bank cards etc.
- Sweaty Betty – Athlete Seamless Long-sleeve – very similar to the Lululemon Swiftly Tech long-sleeve.
Here are a couple jackets I highly recommend, that I have worn to -25 Celsius.
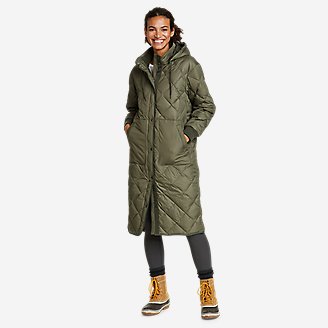
- Eddie Bauer – MotionLoft Hybrid Jacket – Great for running and everyday. Packable Hood. Thumbholes. Close to the body, without restricting mobility. StormRepel finish, helps repel moisture, which is SO important if you sweat a lot. 650 down fill.
- Sweaty Betty – Fast Track Thermal Running Jacket – Thermal, sweat-wicking, ultralight and breathable. Water resistant, fleece lined, thumbholes and reflective detailing (which is great if you plan to run in the dark).
- On Running – Insulator Jacket – ‘A lightweight breathable jacket that keeps you warm whether you’re exploring in the mountains or the city‘ – On Running. The stretchy side panels allow for great mobility.
Tight/pant recommendations:
For -15 and warmer I will usually only wear one pair of tights, and anything colder usually I will throw on a second pair, or one fleece lined pair. If its -25 I will be wearing a regular pair of tights and then a fleece lined over top, or a windbreaker/run pant.
- Lululemon – I have a few fleece lined pairs, that I have owned for YEARS. They currently don’t have any on their webpage, but do stay on the lookout for when they release some. Depending on how cold it is out in the Winter I will wear a ‘brushed’ pair. Some options for -15 and warmer:
- Eddie Bauer – I did pick up a fleece lined Trail Adventure High-Rise leggings earlier this Winter, but they are sold out. Keep your eye out for future pairs to pop up. I did link a pair in the fall section of this blog.
- Sweaty Betty – Thermodynamic running leggings – Thermal, squat proof, high-rise, side pocket, back zip pocket, reflective details, need I say more. They come in 7/8 or full length.
- On Running – Running Pants – ‘Running pants that are at home on and off the track. Unique design features mean these pants can be changed to match the season or run‘ – On Running. I would layer these on top of a pair of thinner leggings, like the Lululemon aligns.
Gloves – For winter you surely want gloves that are a bit warmer.
- The Lululemon Run Fast Gloves are a great option. I love having a mitt with a fold over glove top, for extra protection when it’s even chillier. Also water repellent. Or again, check out your local running store, or Winners.
- Arcteryx – Venta Gloves – Bulkier then average but WARM. Brushed inner lining. Touch screen. Water repellent.
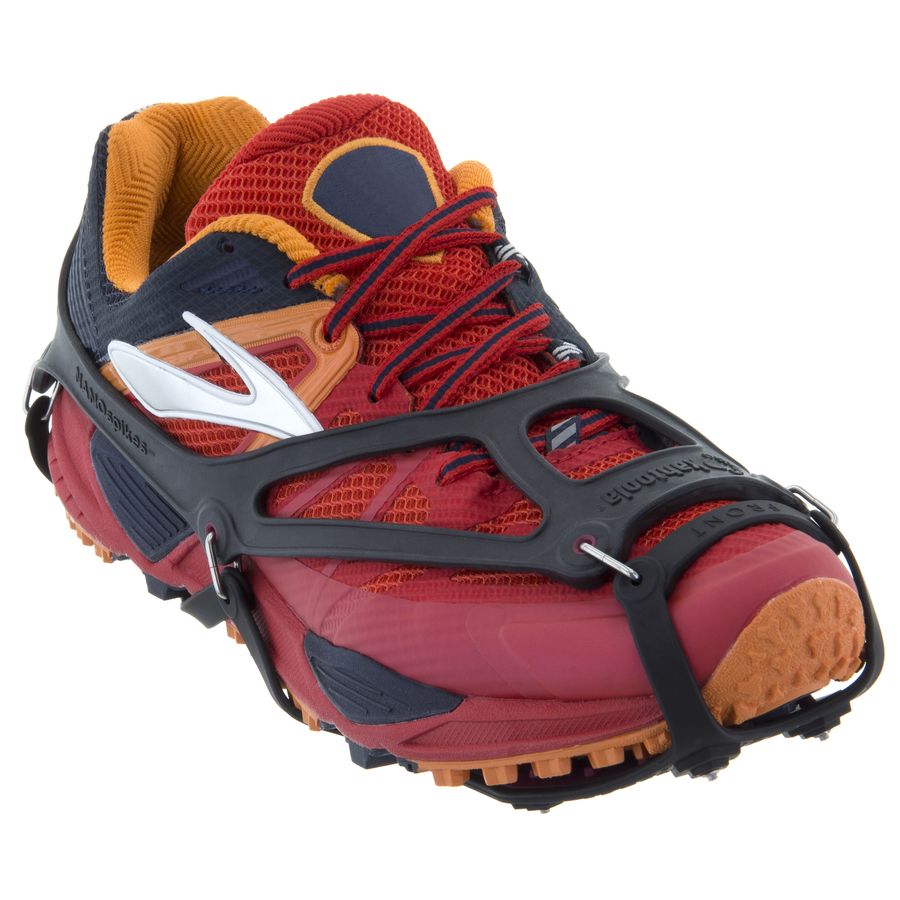
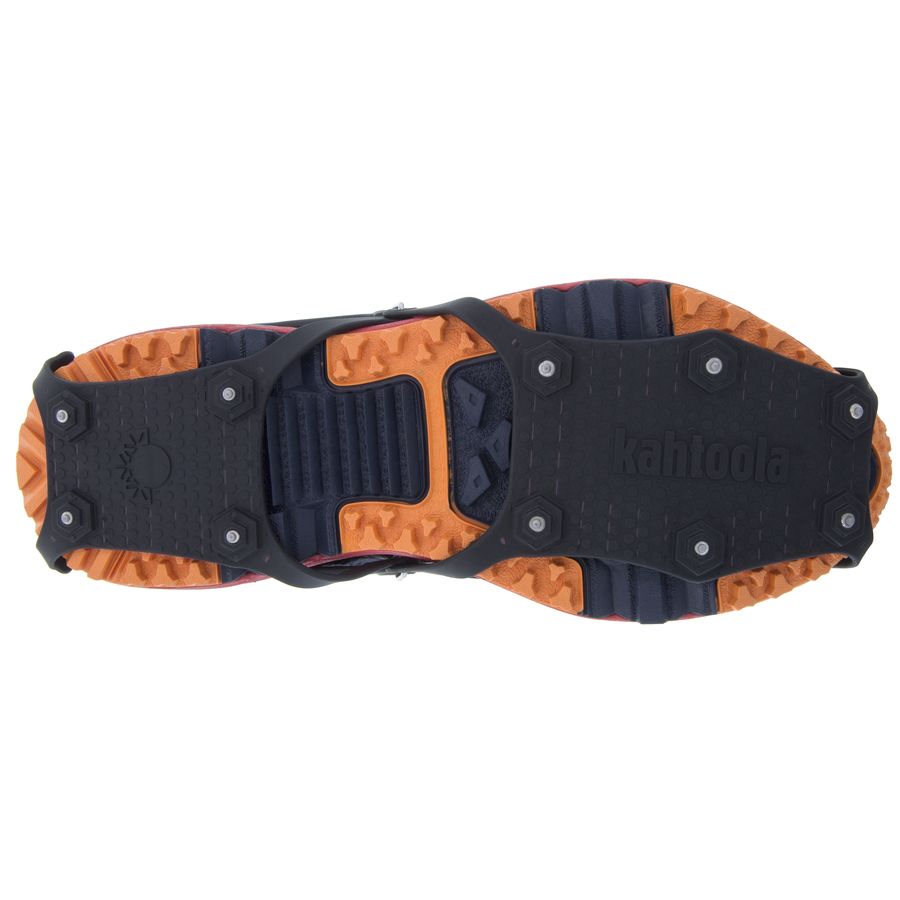
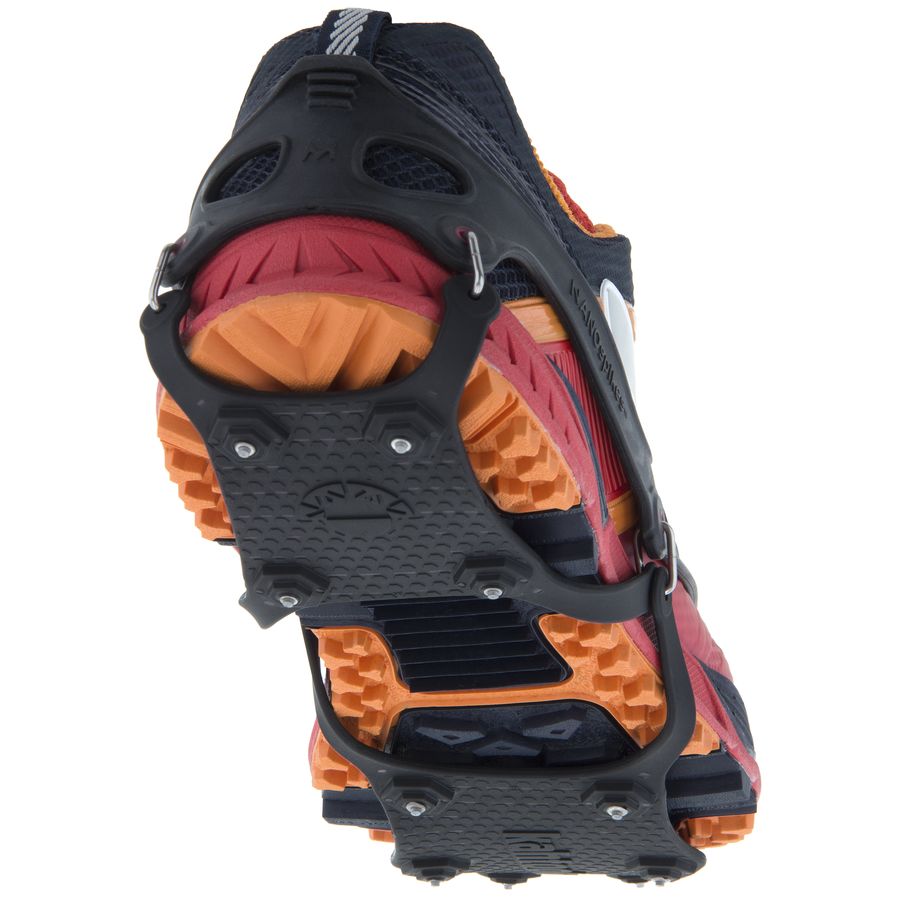
Running spikes – I find that my Cloudventures are grippy enough that I don’t need spikes in the Winter, but some people are more comfortable wearing them, or don’t want to have to buy a new pair of Winter specific shoes. Here is a pair I would recommend:
I listed my shoes of choice up in section 4. Choosing the right shoe for you.
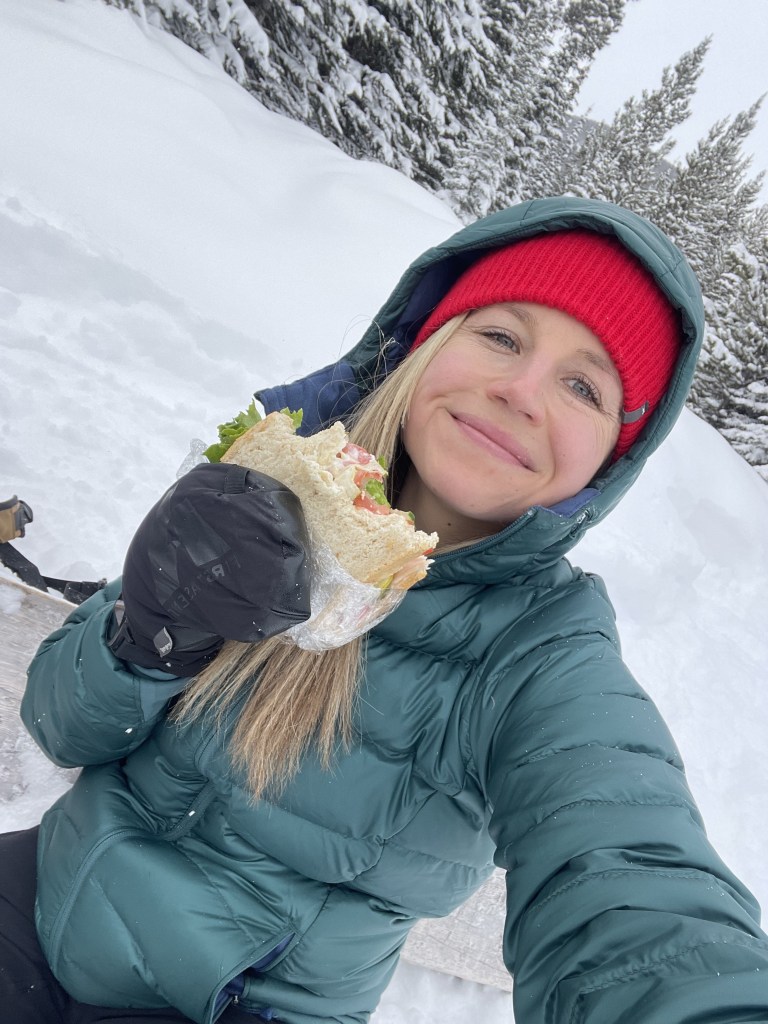
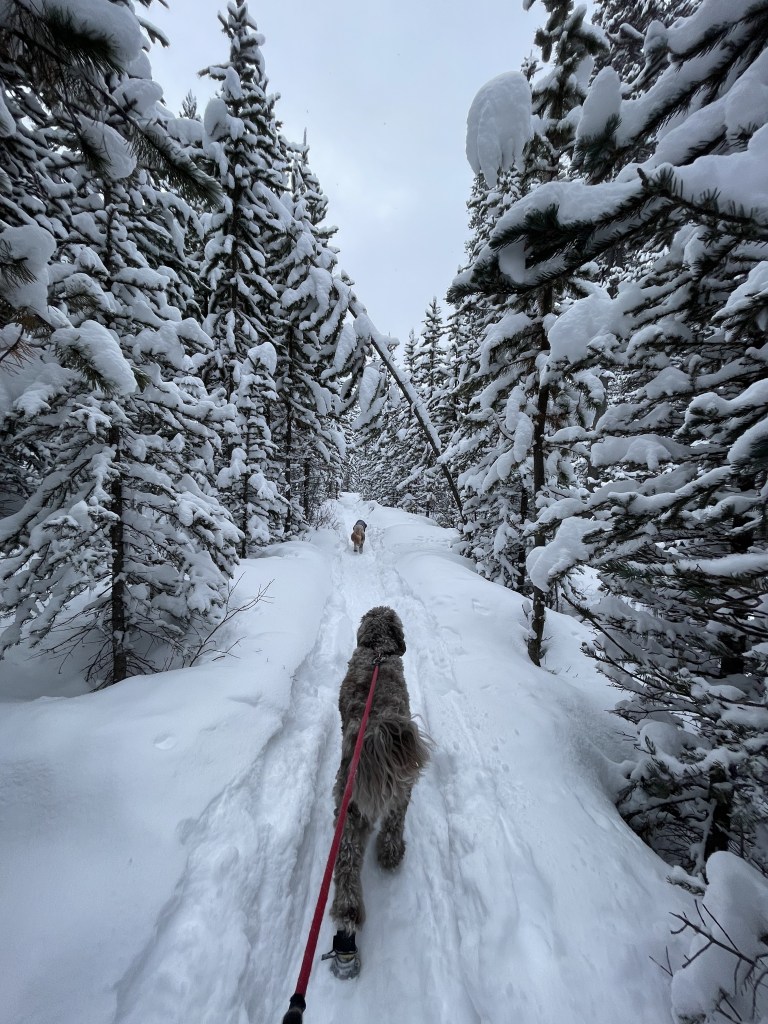
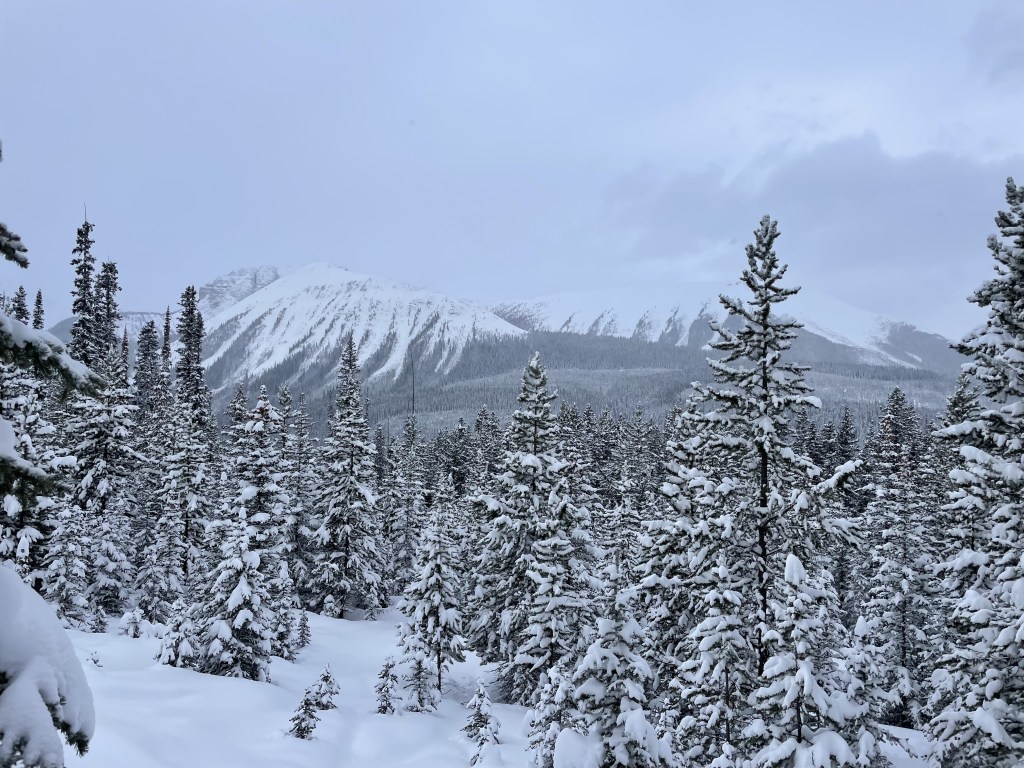
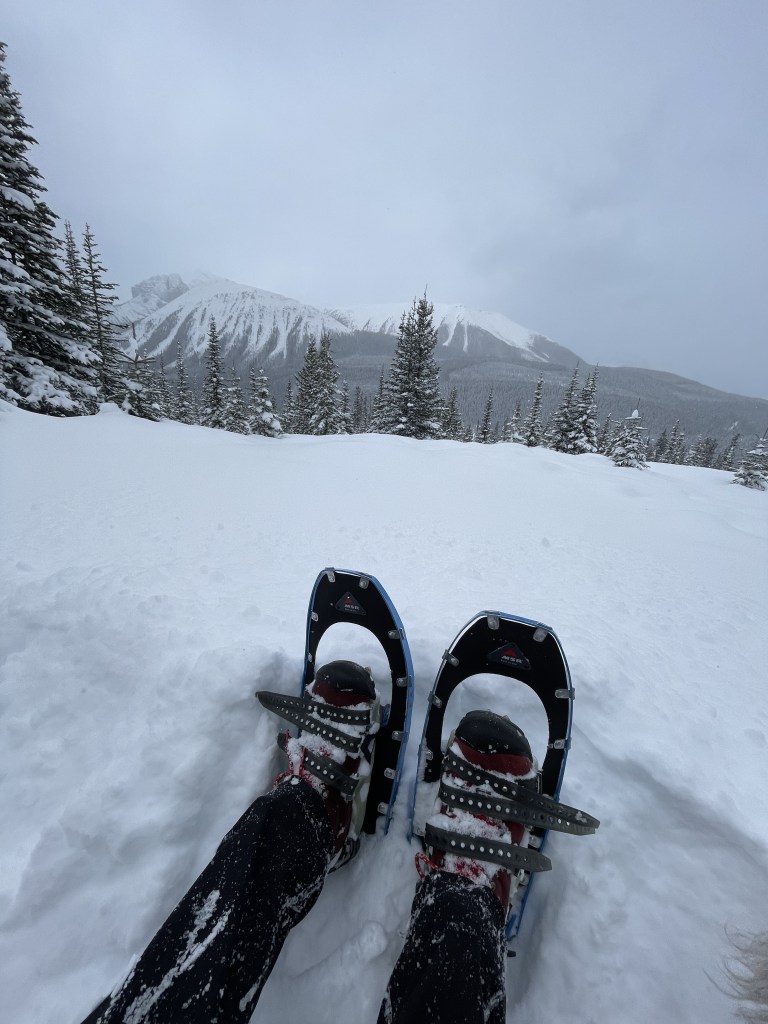
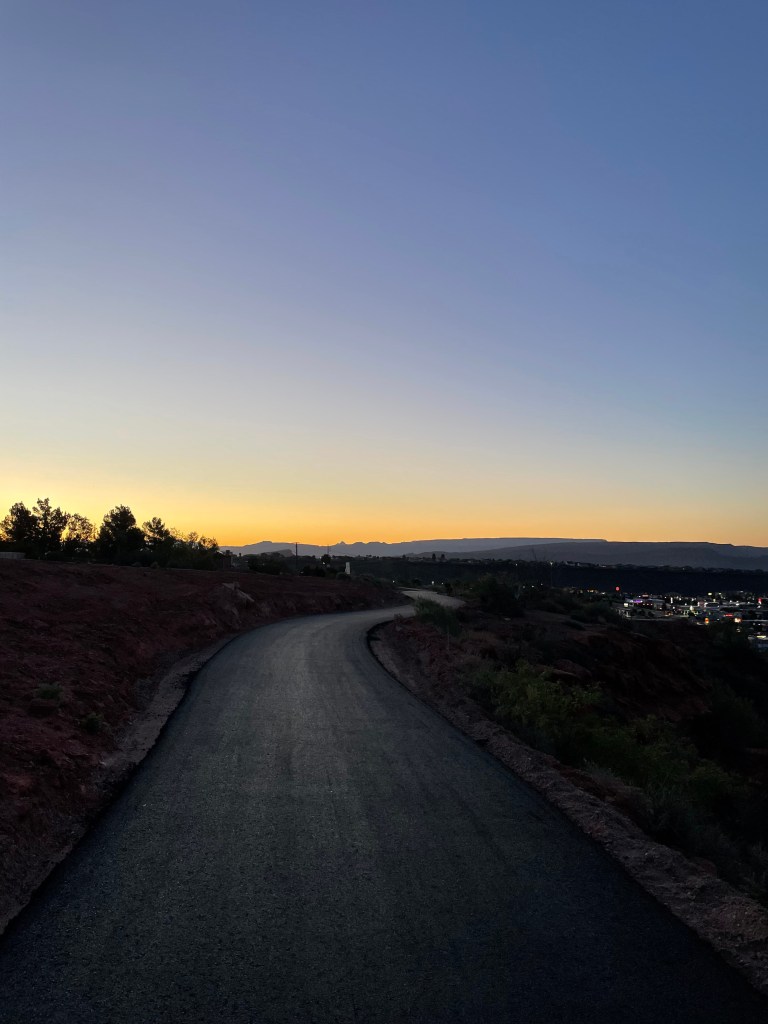
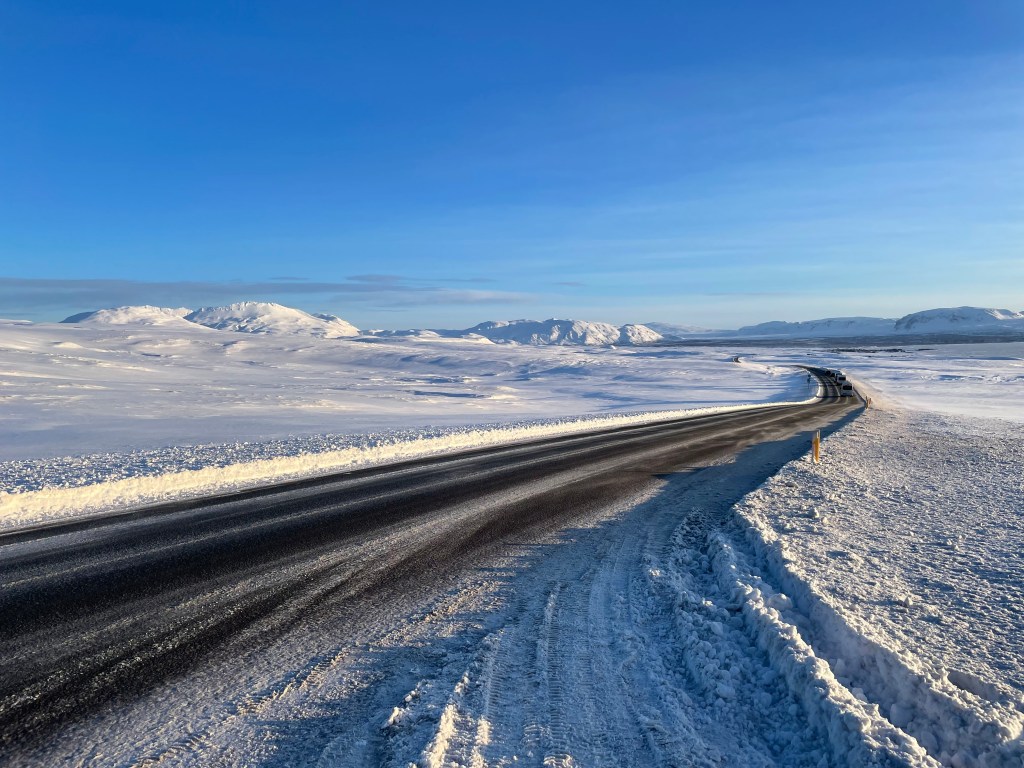
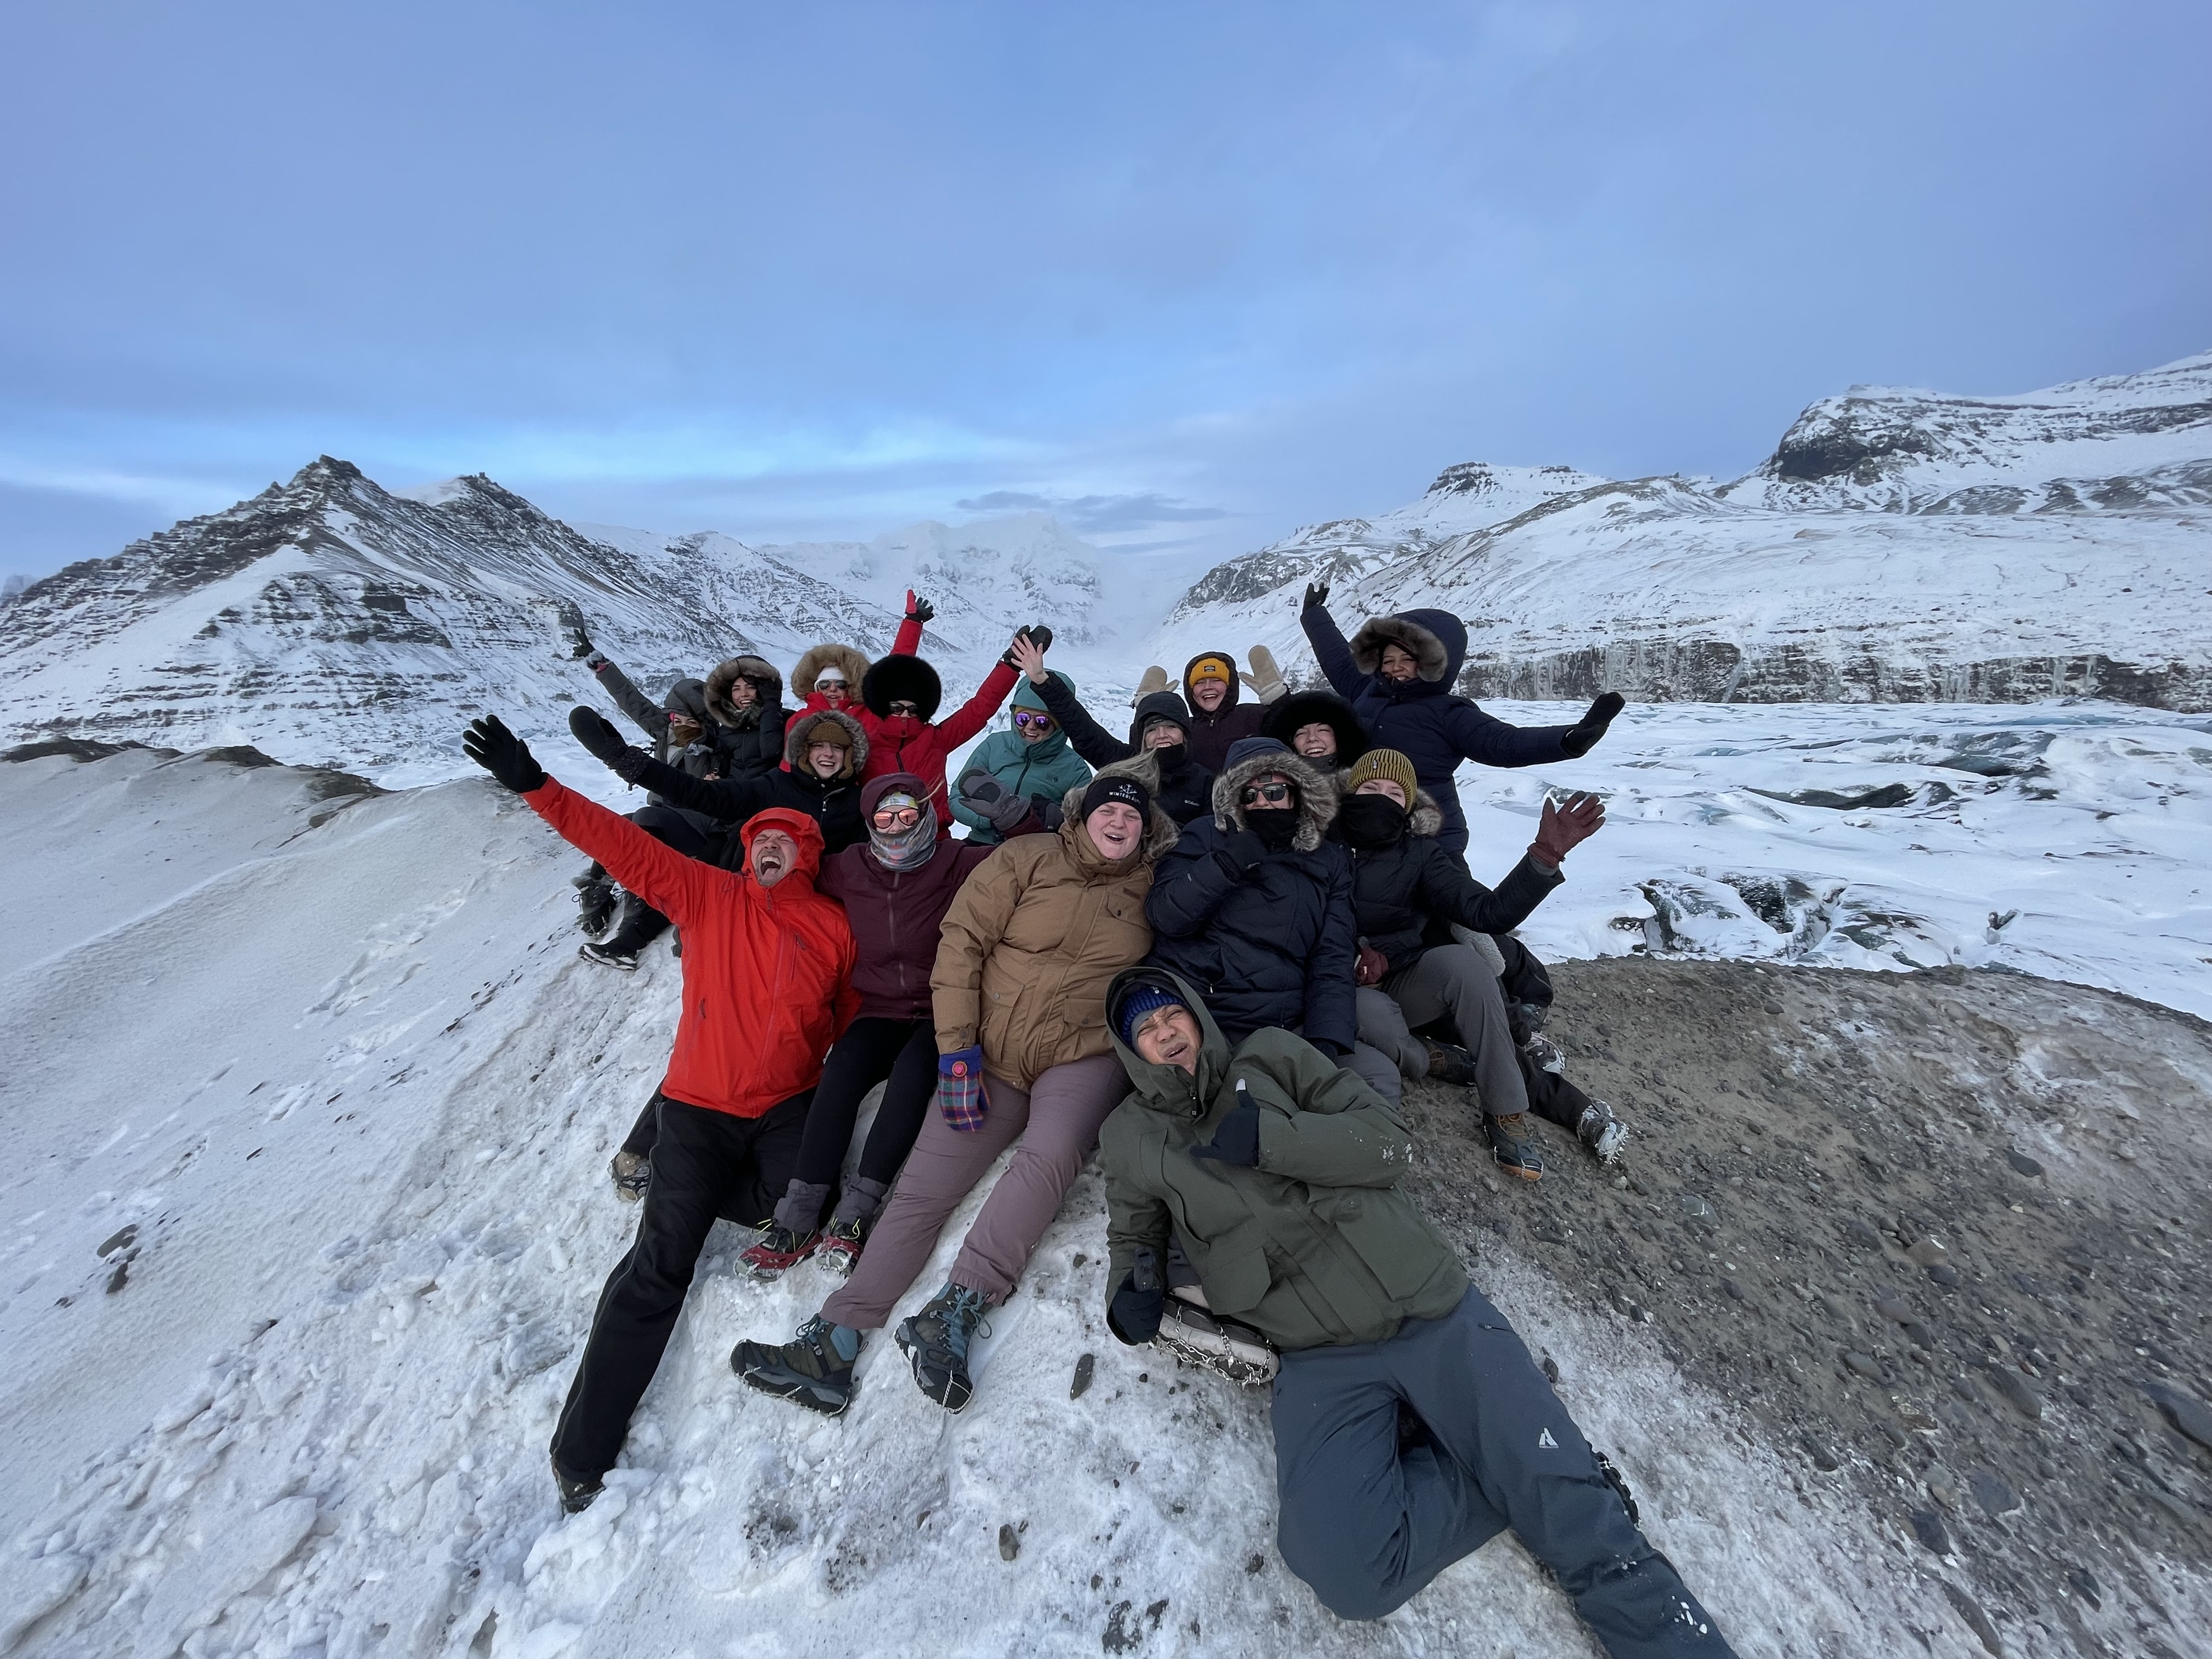
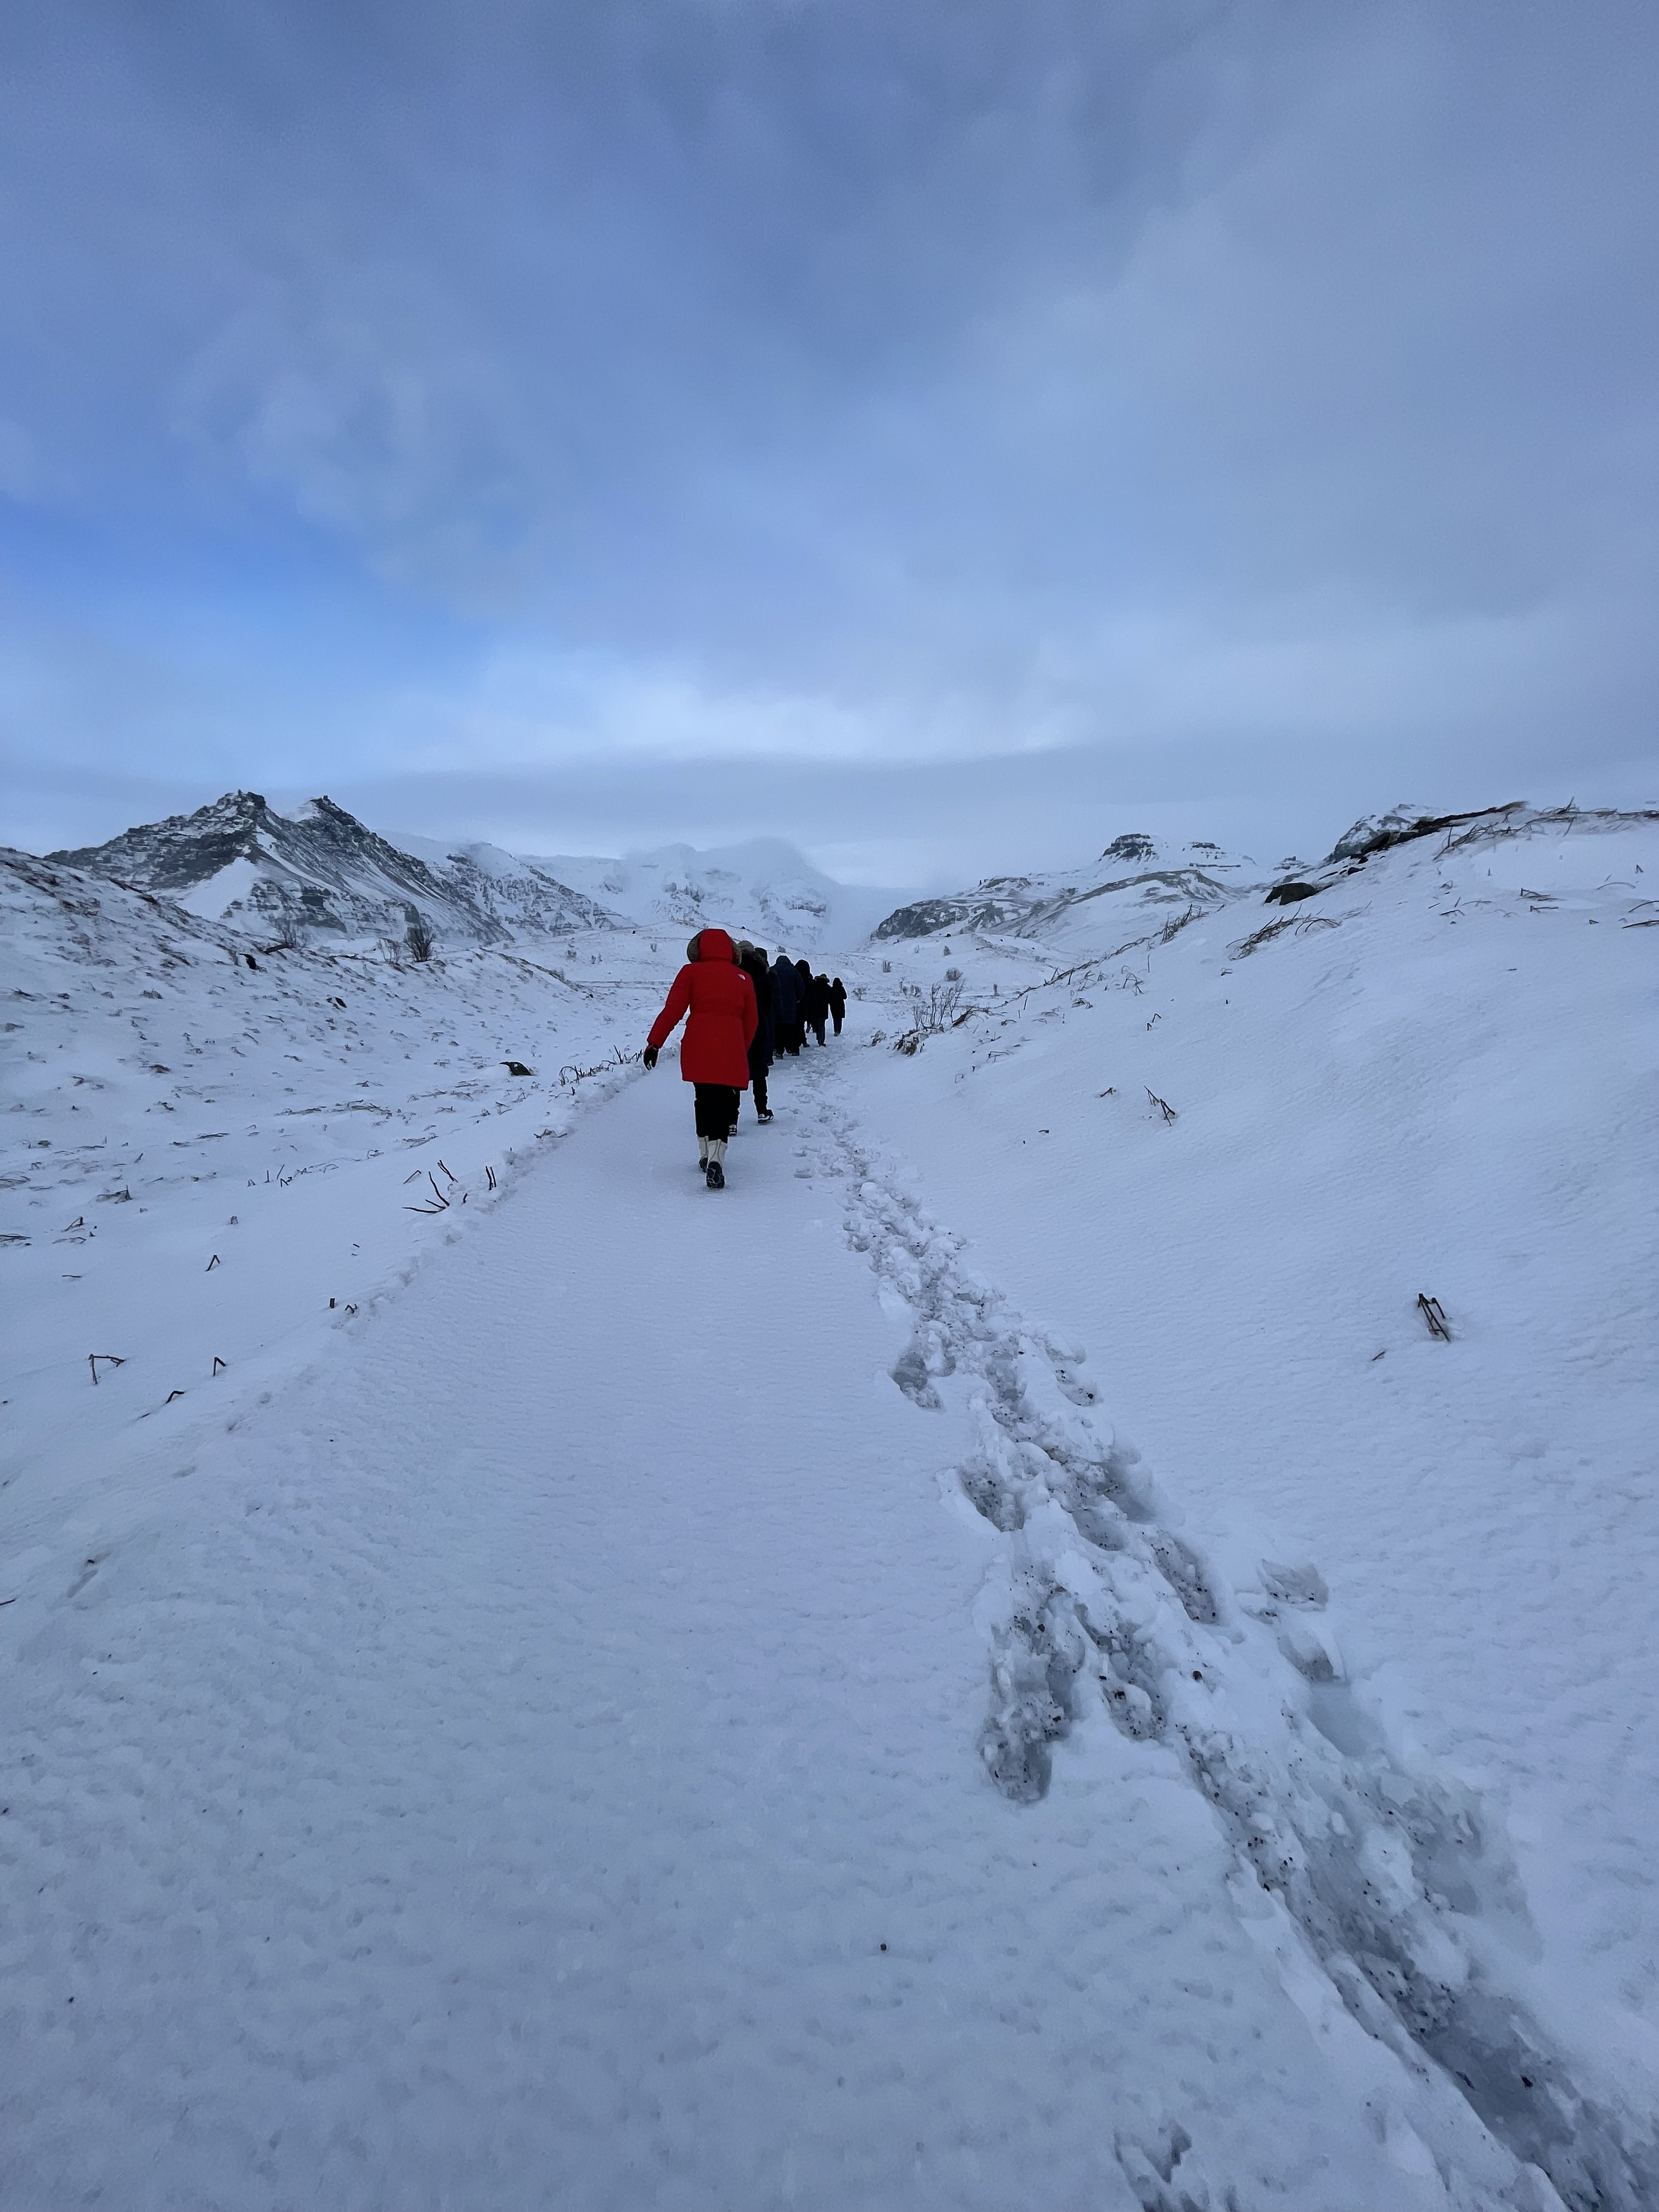
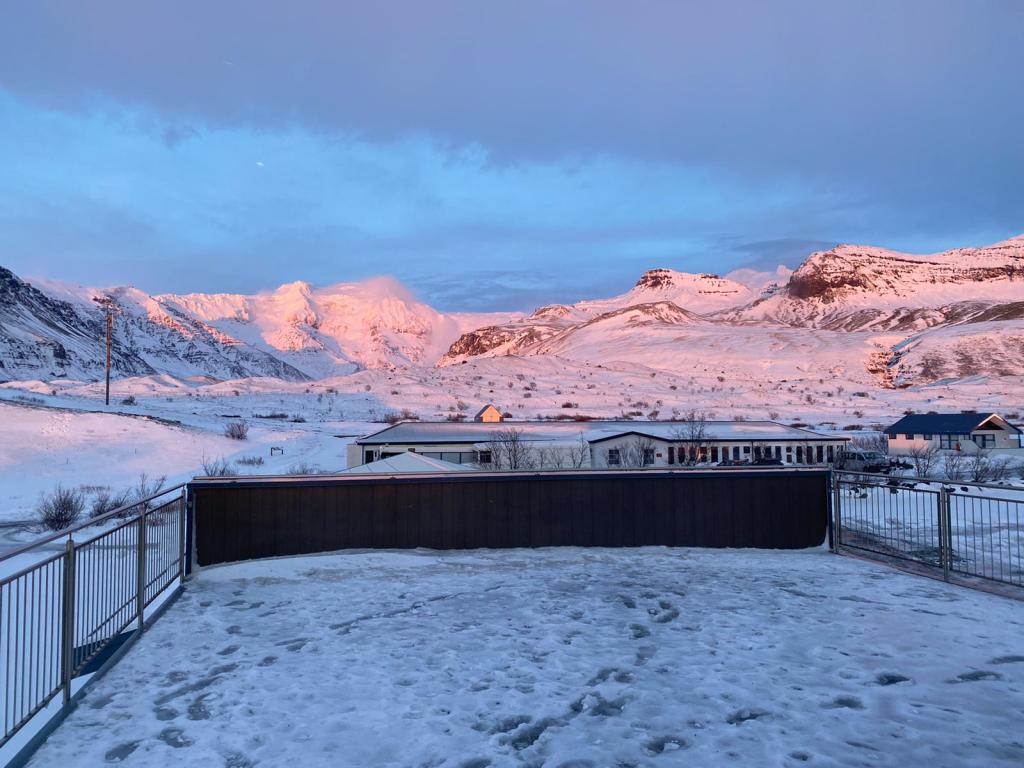
6. Winter Running Tips
So you want to run outside in the Winter hey? Good on ya! As a runner, I see/hear of so many people who run outside in warm temperatures only, and then when it gets at all cold out, they turn to indoors only, or stop running all together until it warms up again. This is due to a few reasons. The fact that they don’t have proper Winter running clothes, which I spoke about above, it tents to get icy and the running surfaces can be uneven, which can lead to injury. Also it is overall harder, especially starting out. It is cold, takes a bit longer to warm up, it can be harder to breathe, you tend to get tired more easily. All of these things lead people to putting those shoes aside for a few months, BUT you don’t have too. I am hear to make you feel more comfortable getting outside when those temps drop.
I find that after running outside all Winter, come Spring when the snow melts I feel a lot stronger, and faster. My core. My ankles. Mental strength. It also revs up your metabolism, burns more calories, and overall increases our aerobic activity. Let’s not forget that fresh air, which is good for us, but keep an eye on that weather. Too much cold air exposure can effect your lungs, so starting out slow is important and not running if the risk is too high.
Here is an article that goes further into Tips for Winter Running:
- Checking the forecast
- Dress appropriately
- Start slowly
- Wear something reflective
- Stay hydrated
- Tell someone where you are going
- Warm up and cool down
- Pay attention to the weather
- Stop if something goes wrong
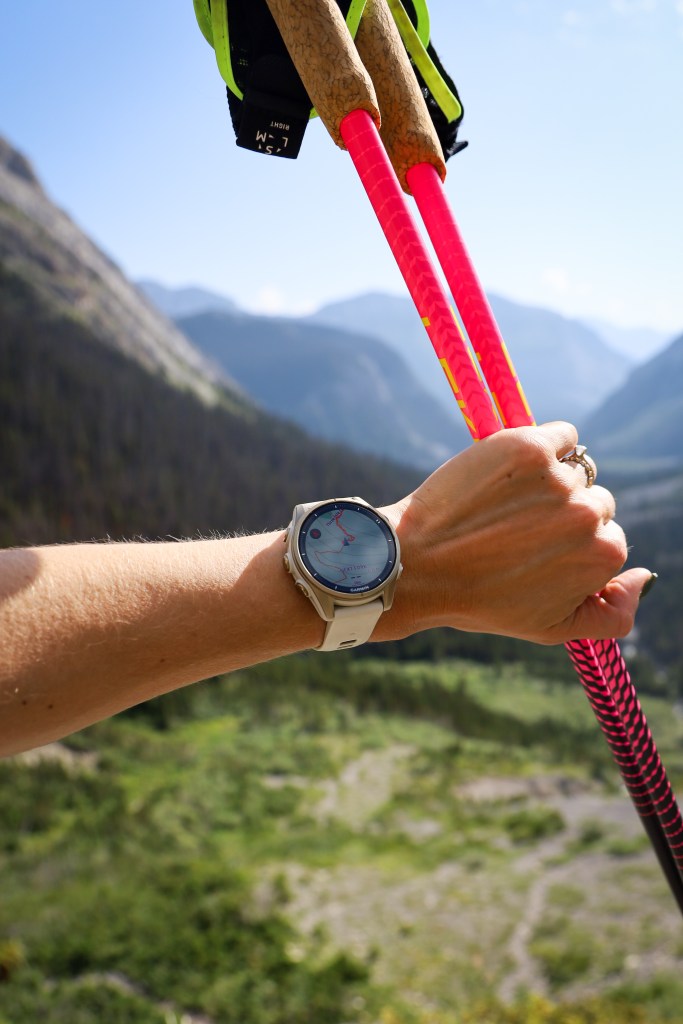
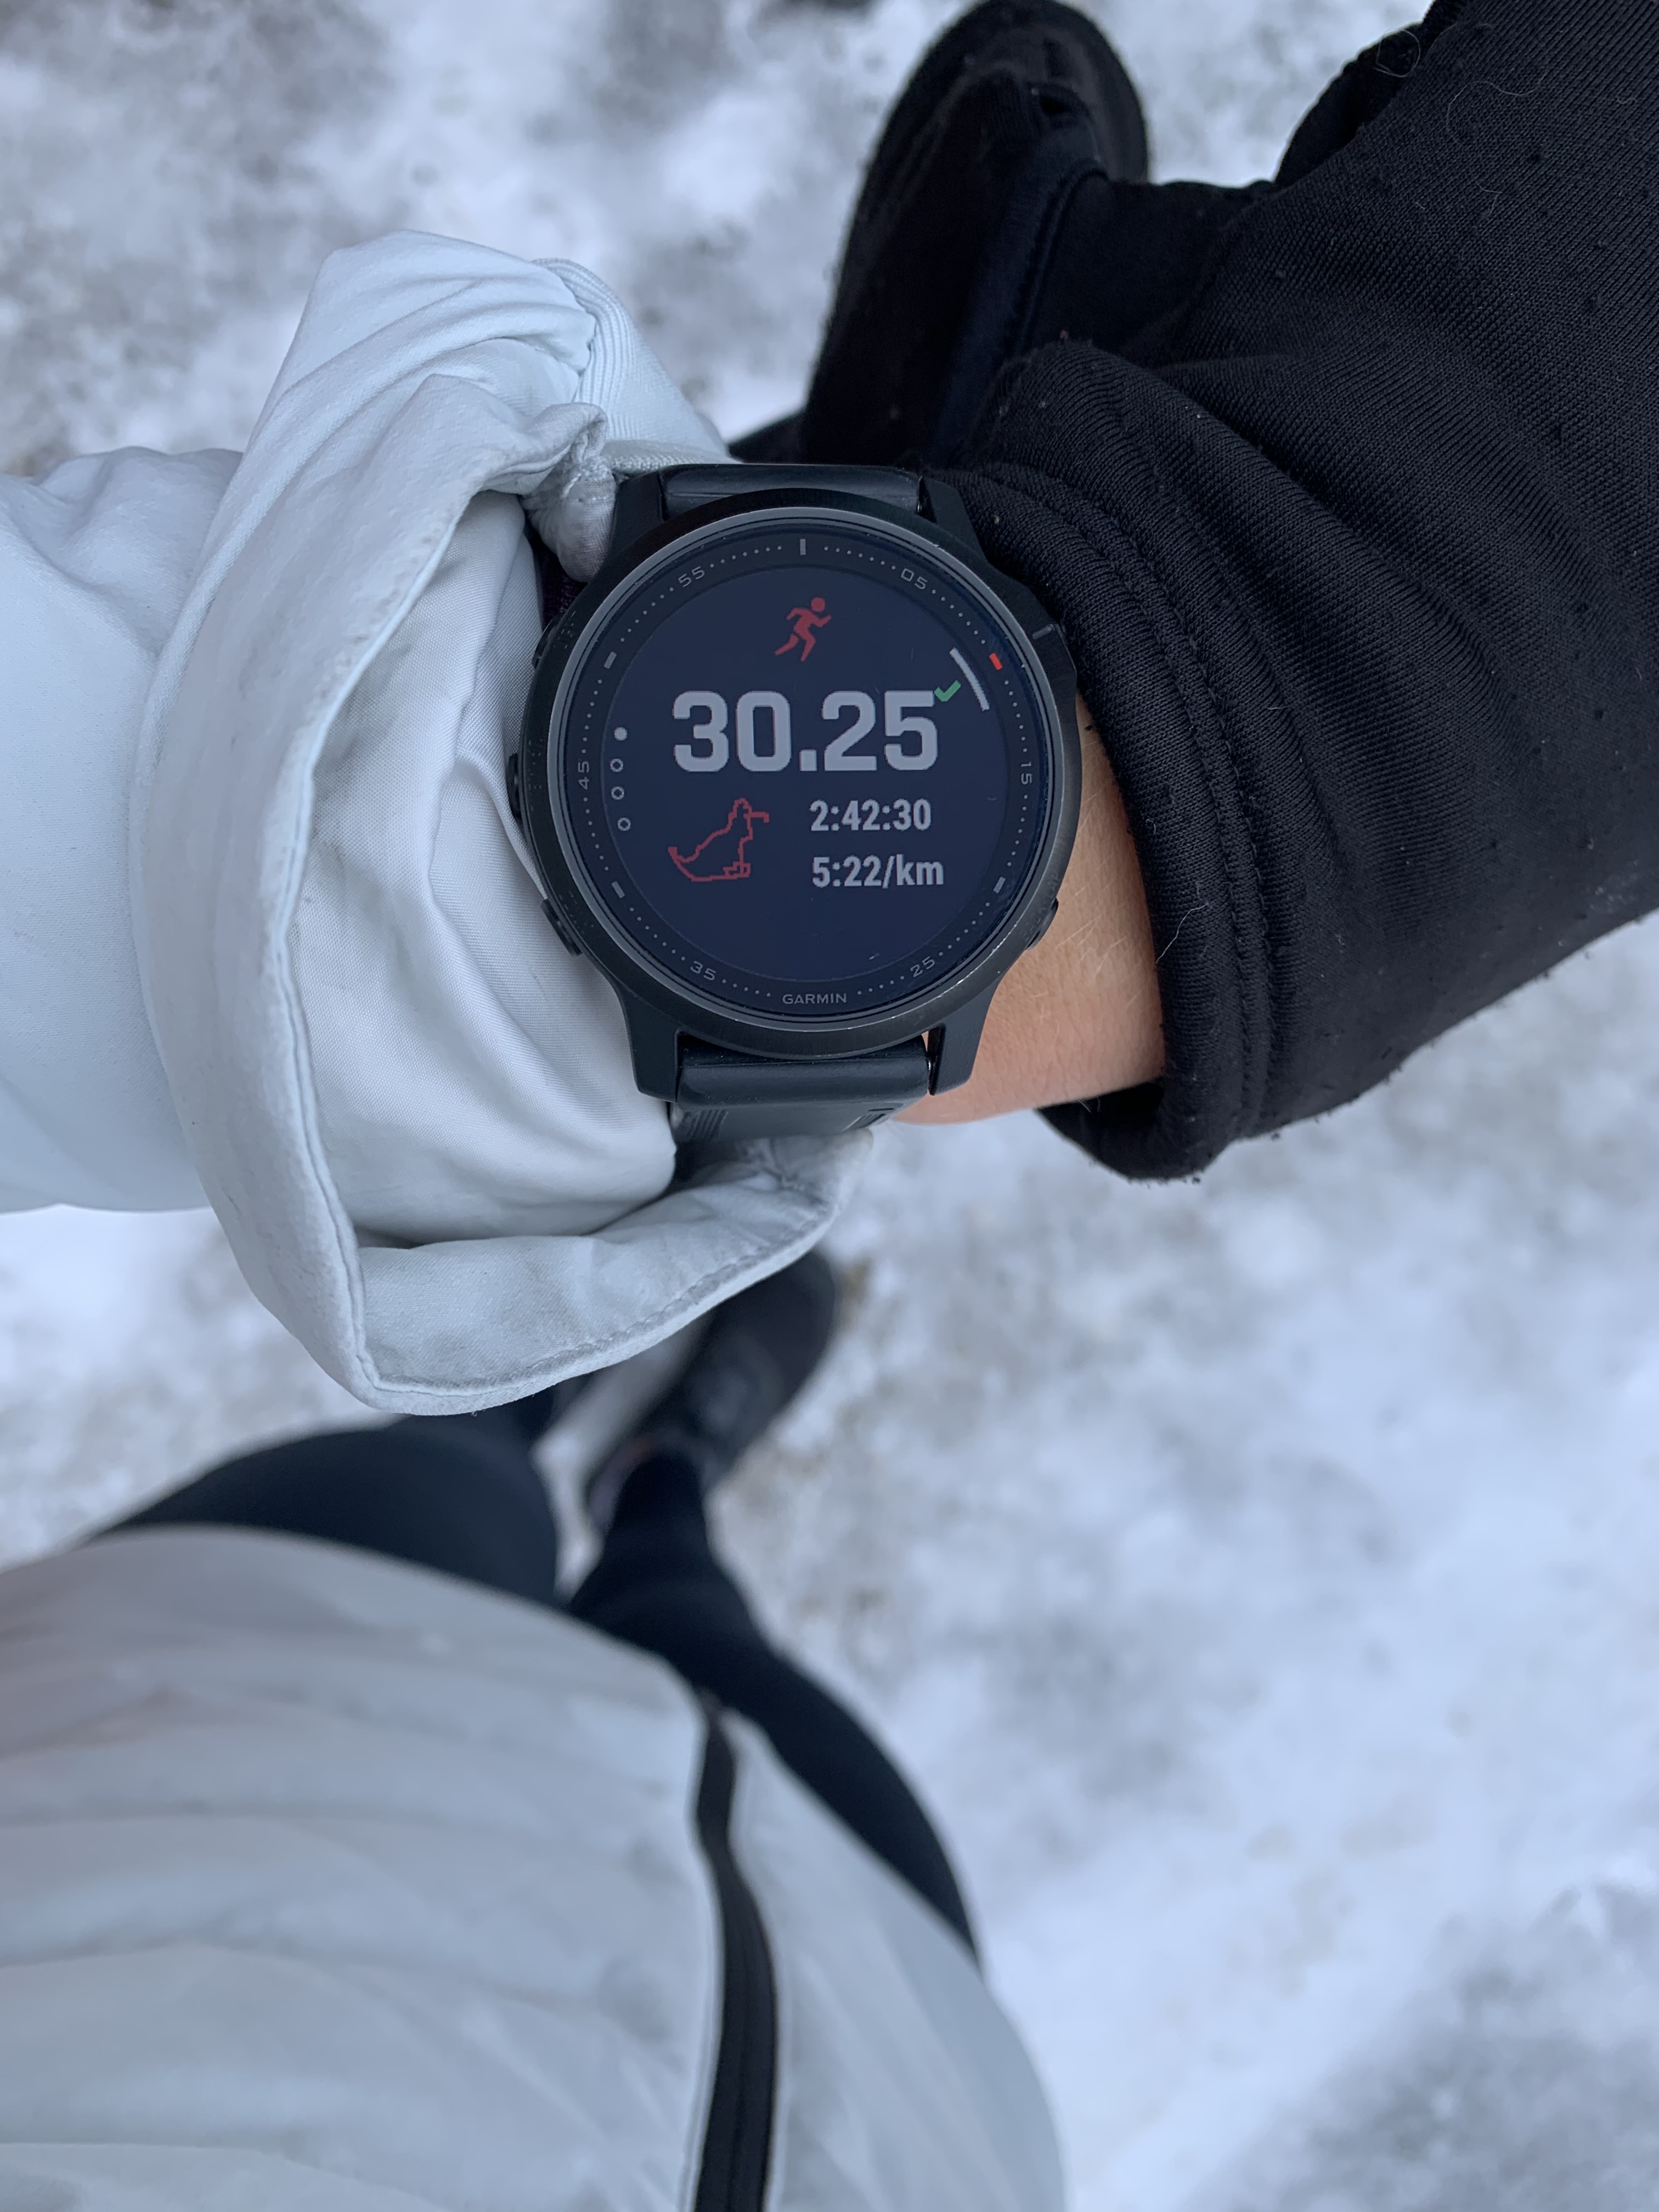
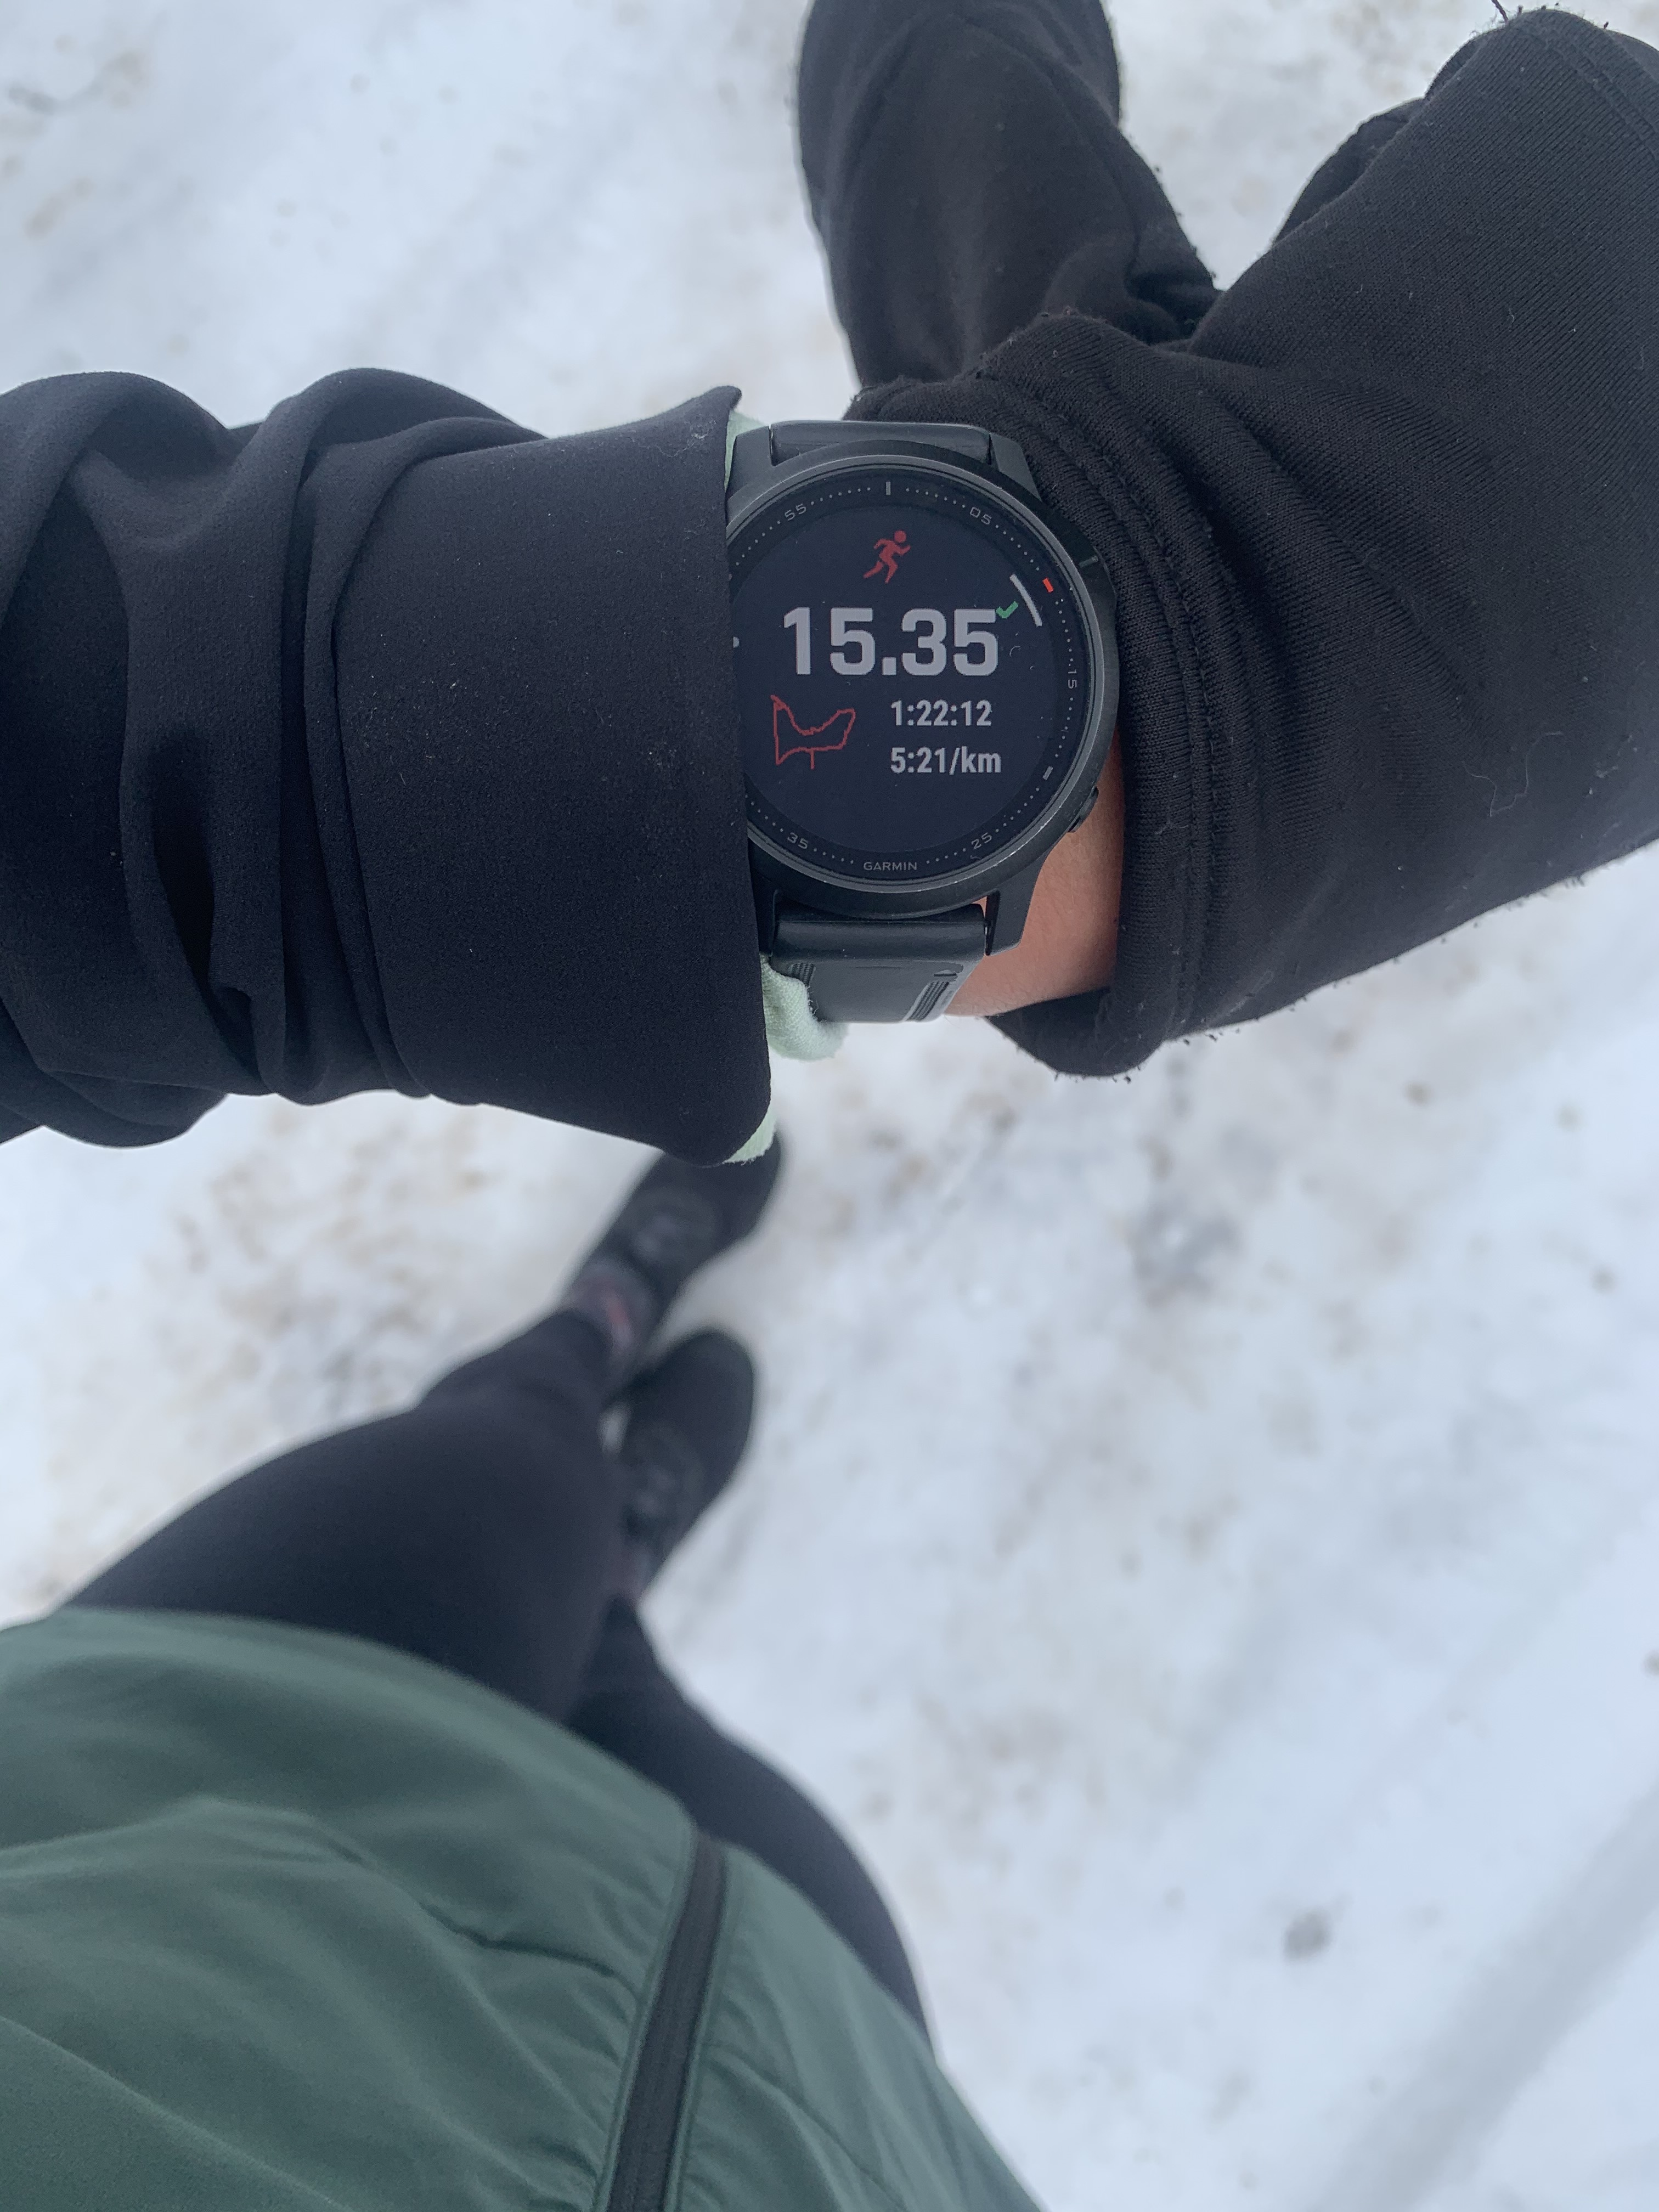
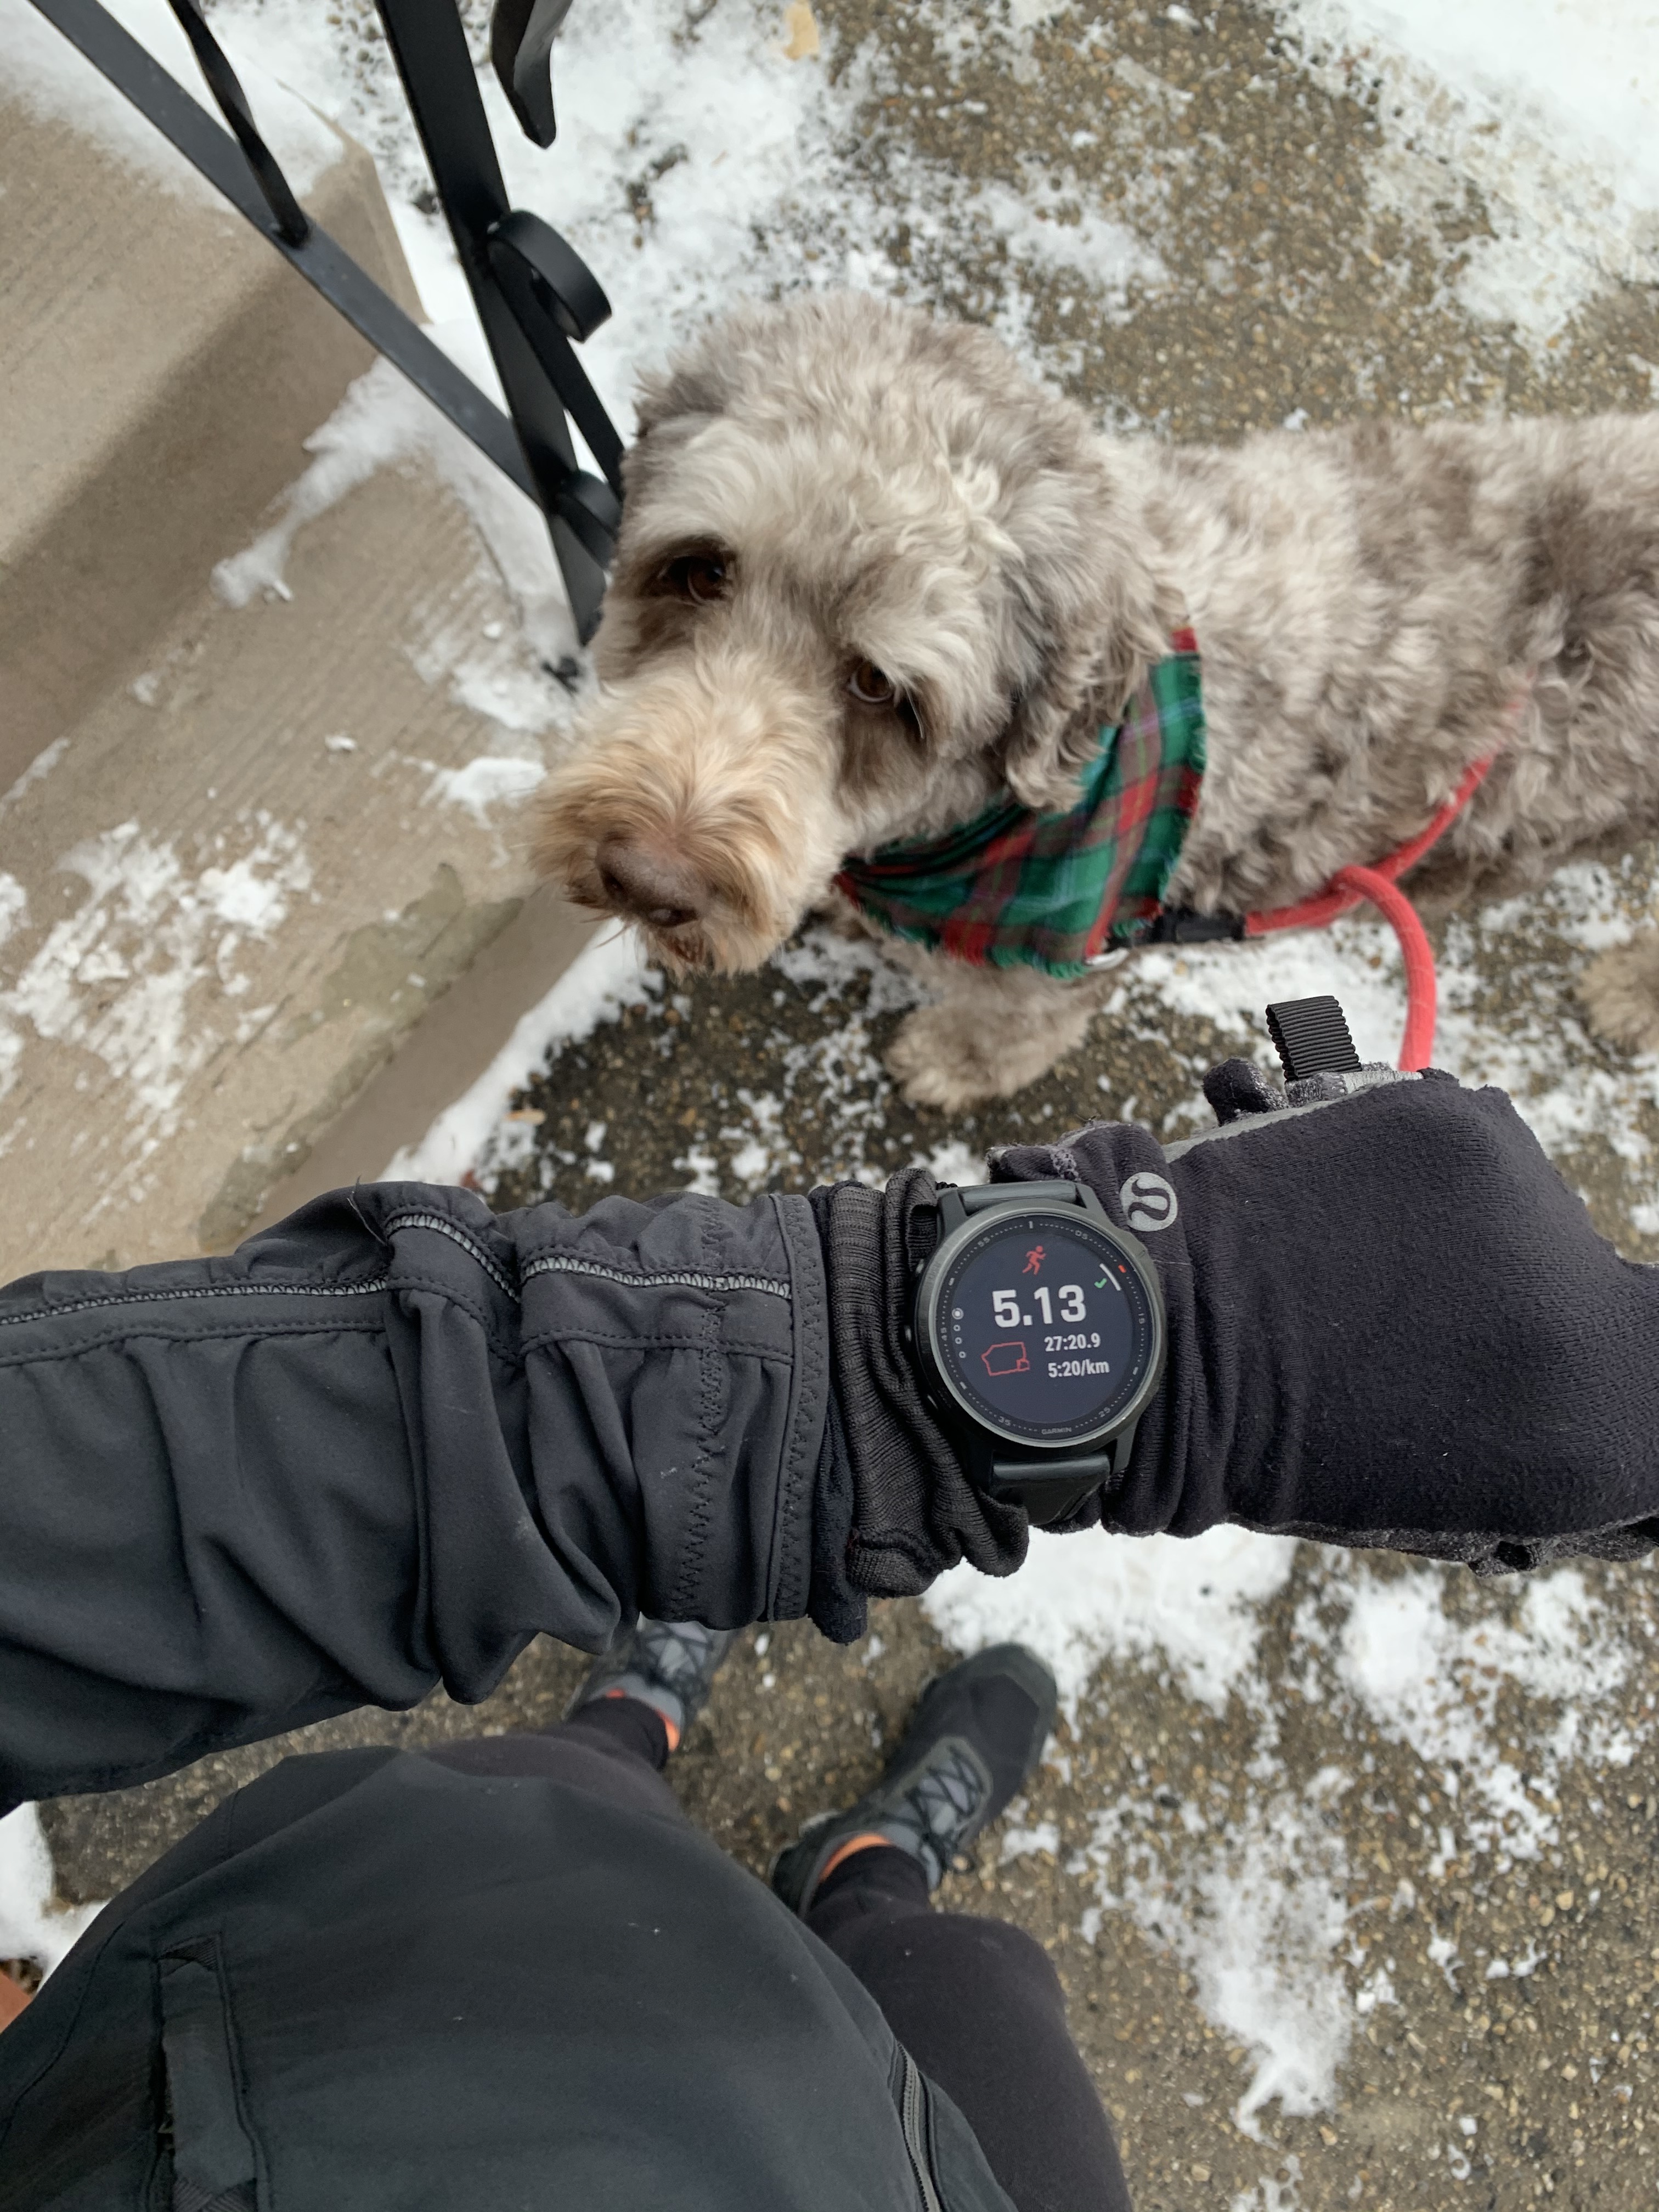
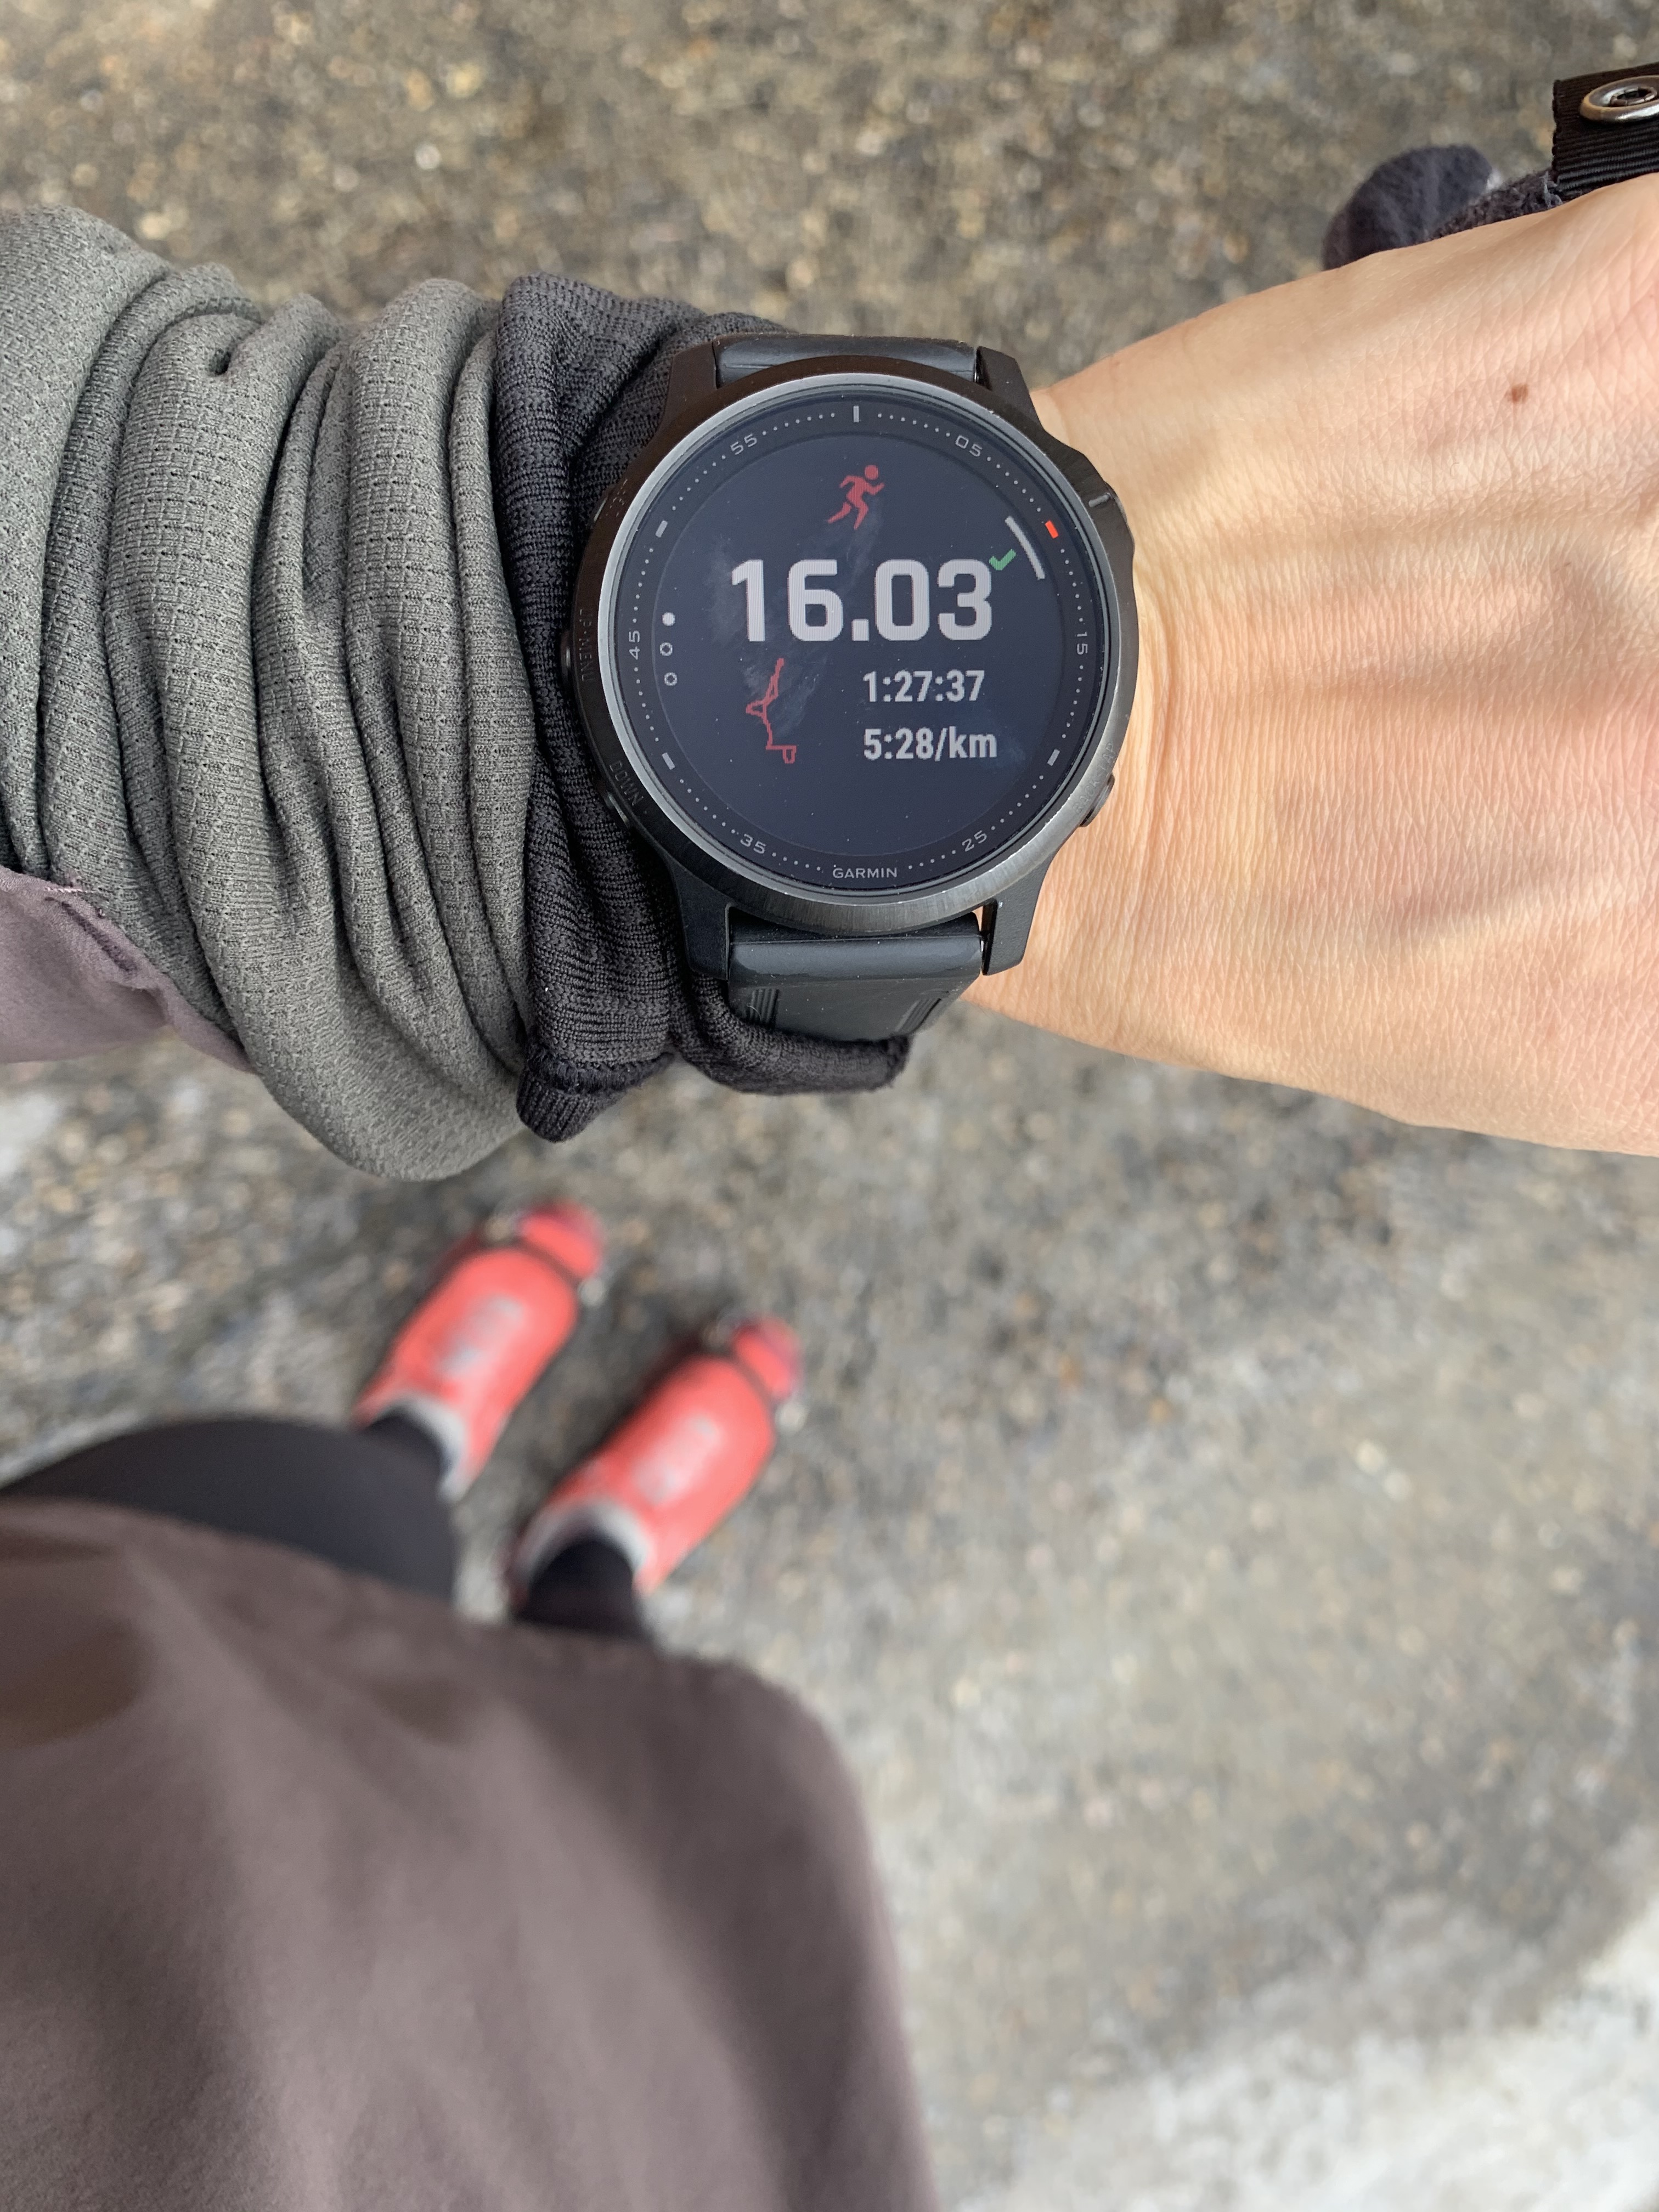
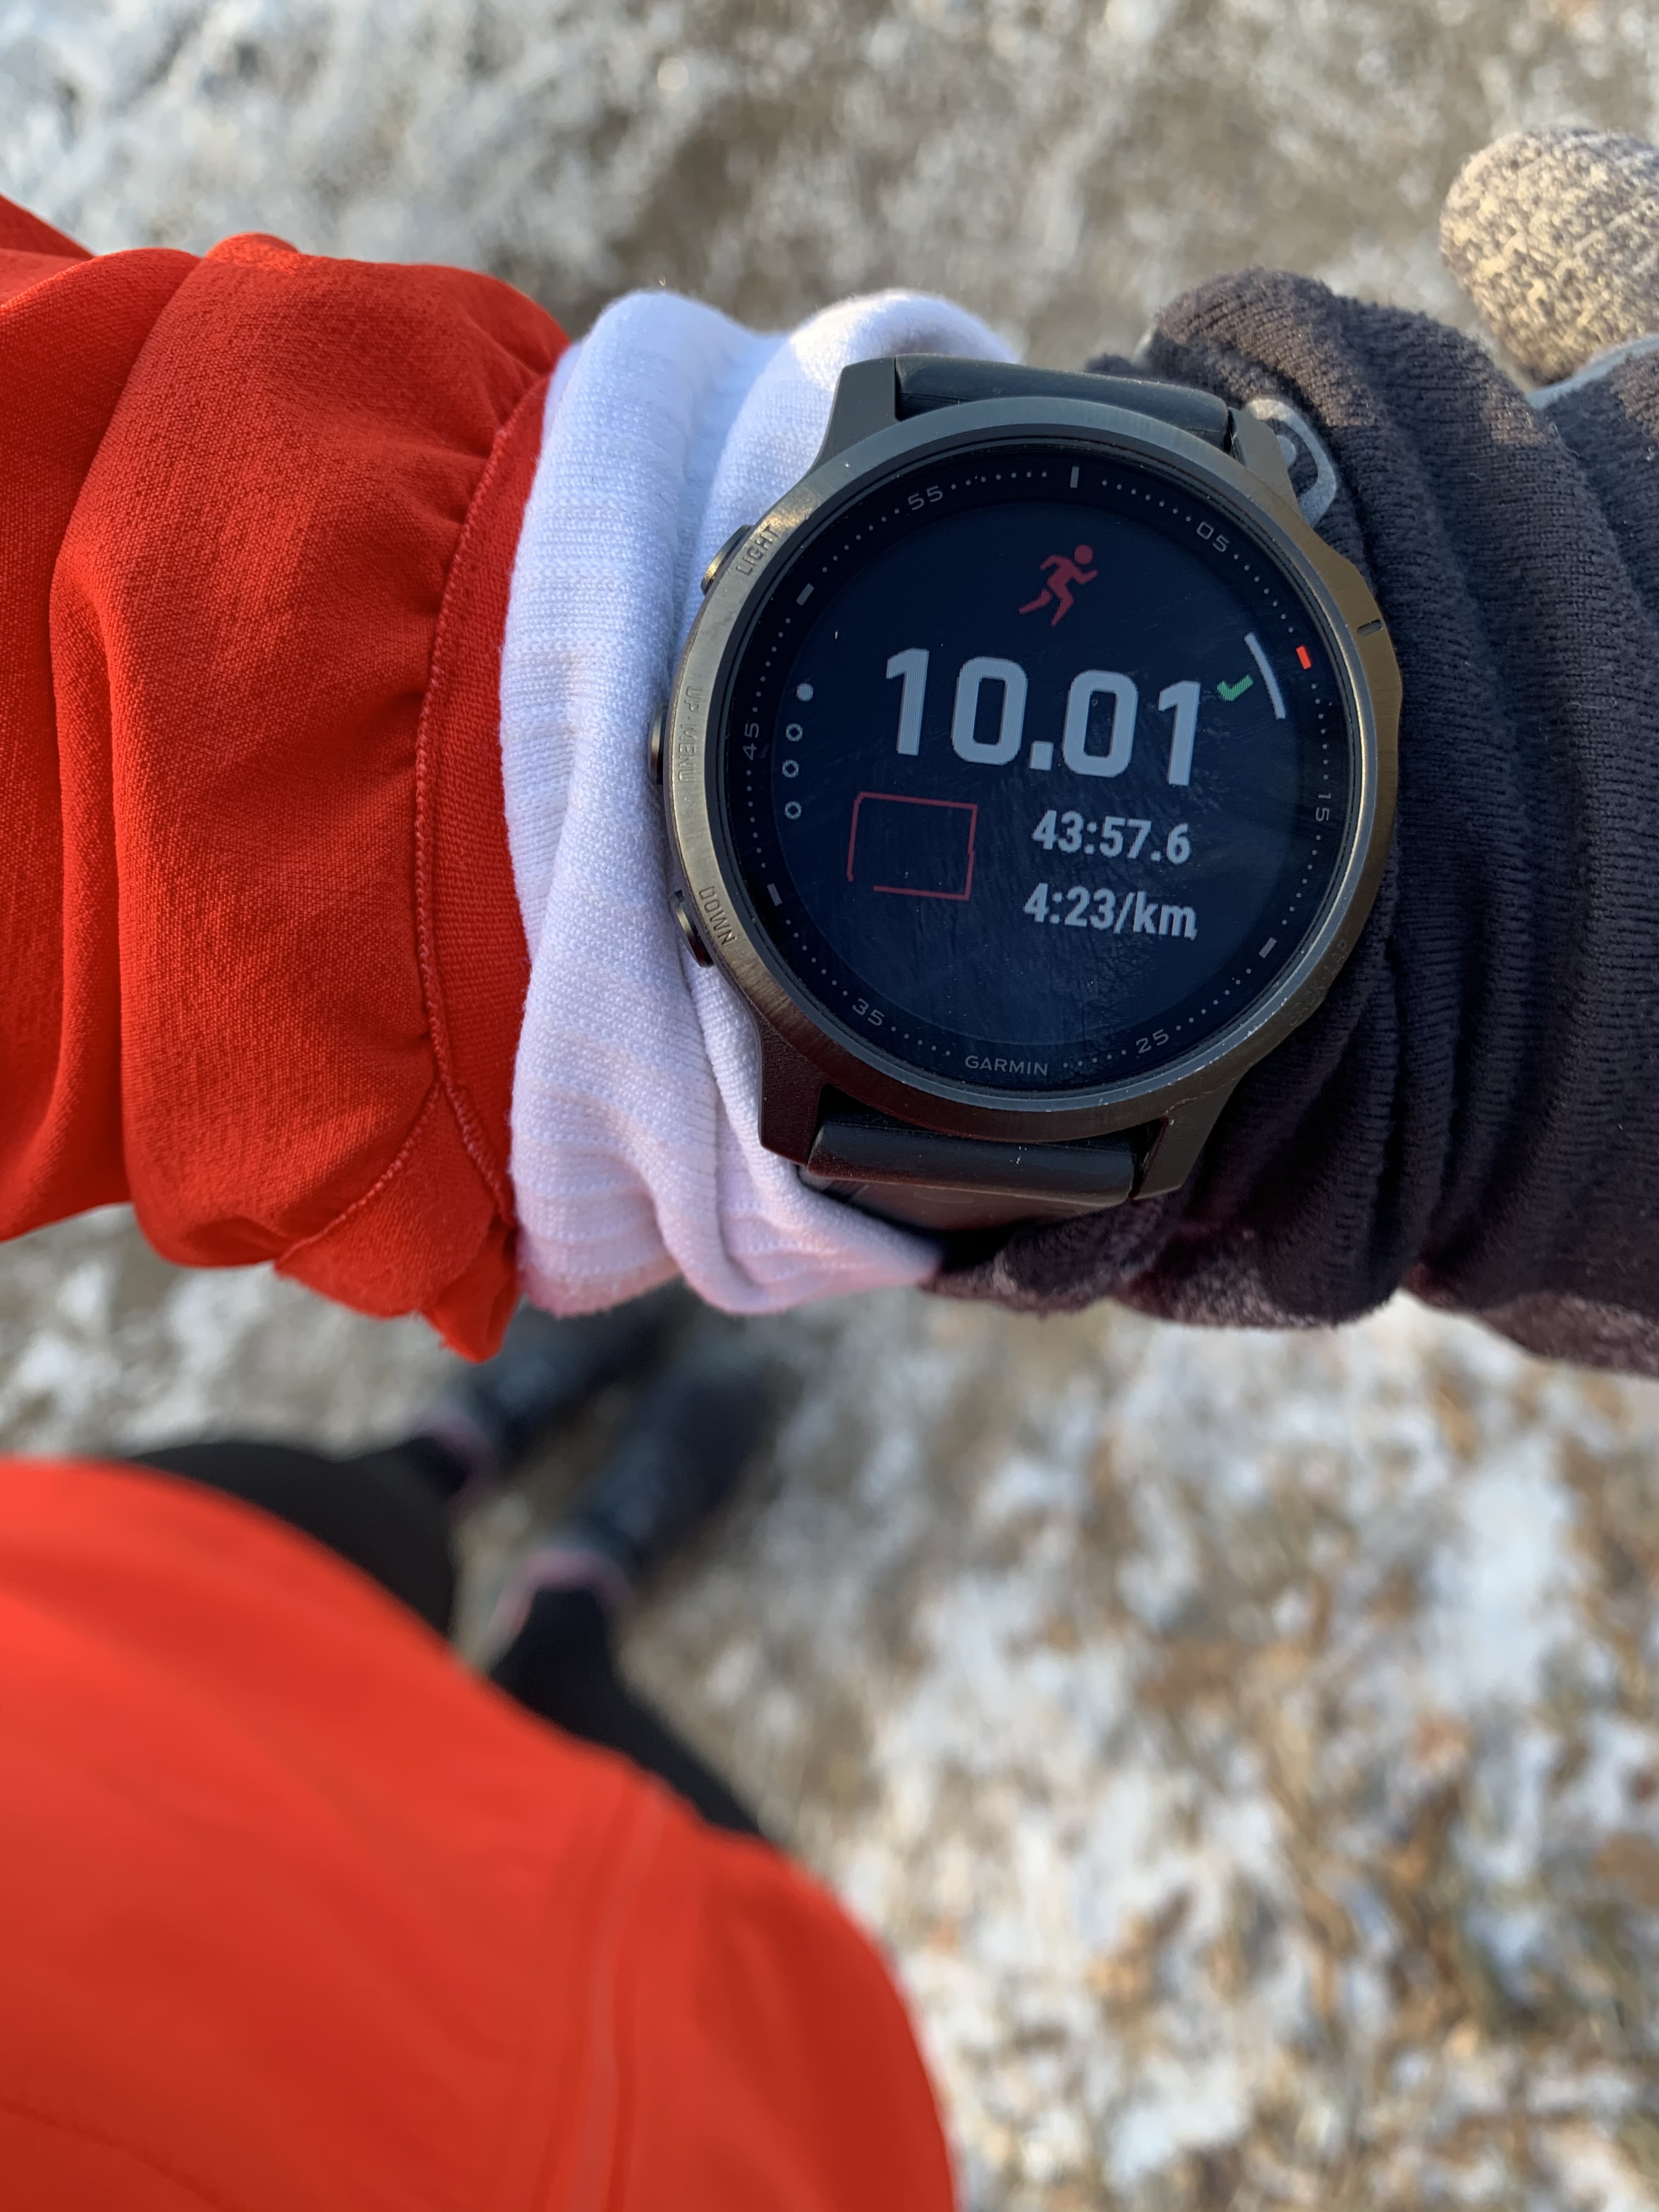
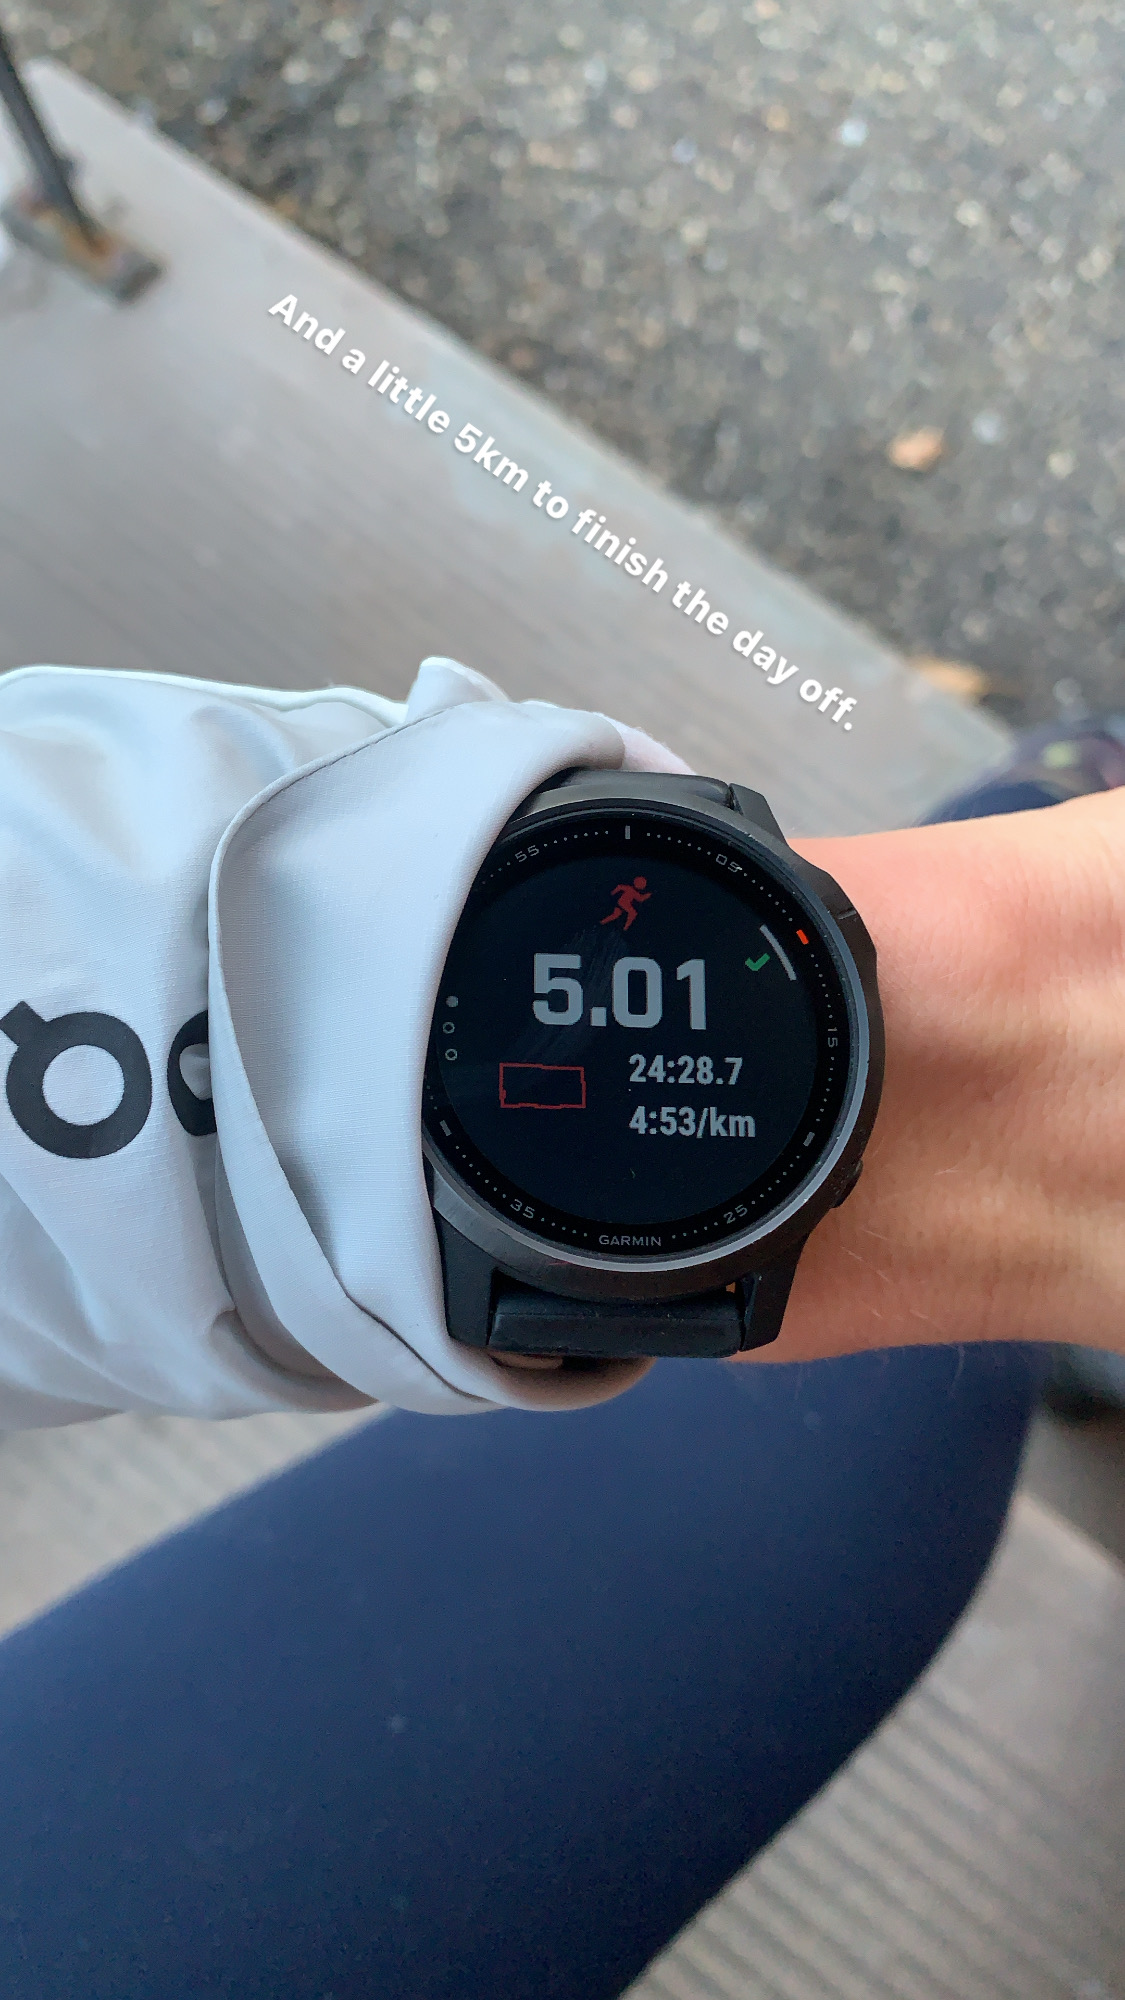
7. Running apps/watches.
Depending on how much you are willing to spend, you have lots of options. Our phone can be the best place to start, as there are various apps that you can download to track your time and distance. They may not be as accurate as a running watch, or reliable, as our phones can die and they can be awkward sometimes to run with, BUT they can do the trick, if you are not wanting to spend more money right away. I currently use Strava and Garmin, but there are lots of other options out there, these have just worked well for me.
- Strava – An app I used for a long time before buying another running watch. Also you can connect with people on the app, following one another and motivating each other. You can join monthly challenges and push yourself that way. Strava awards you when you reach different goals, when you hit personal records, and more. It can be a very fun way to track progress.
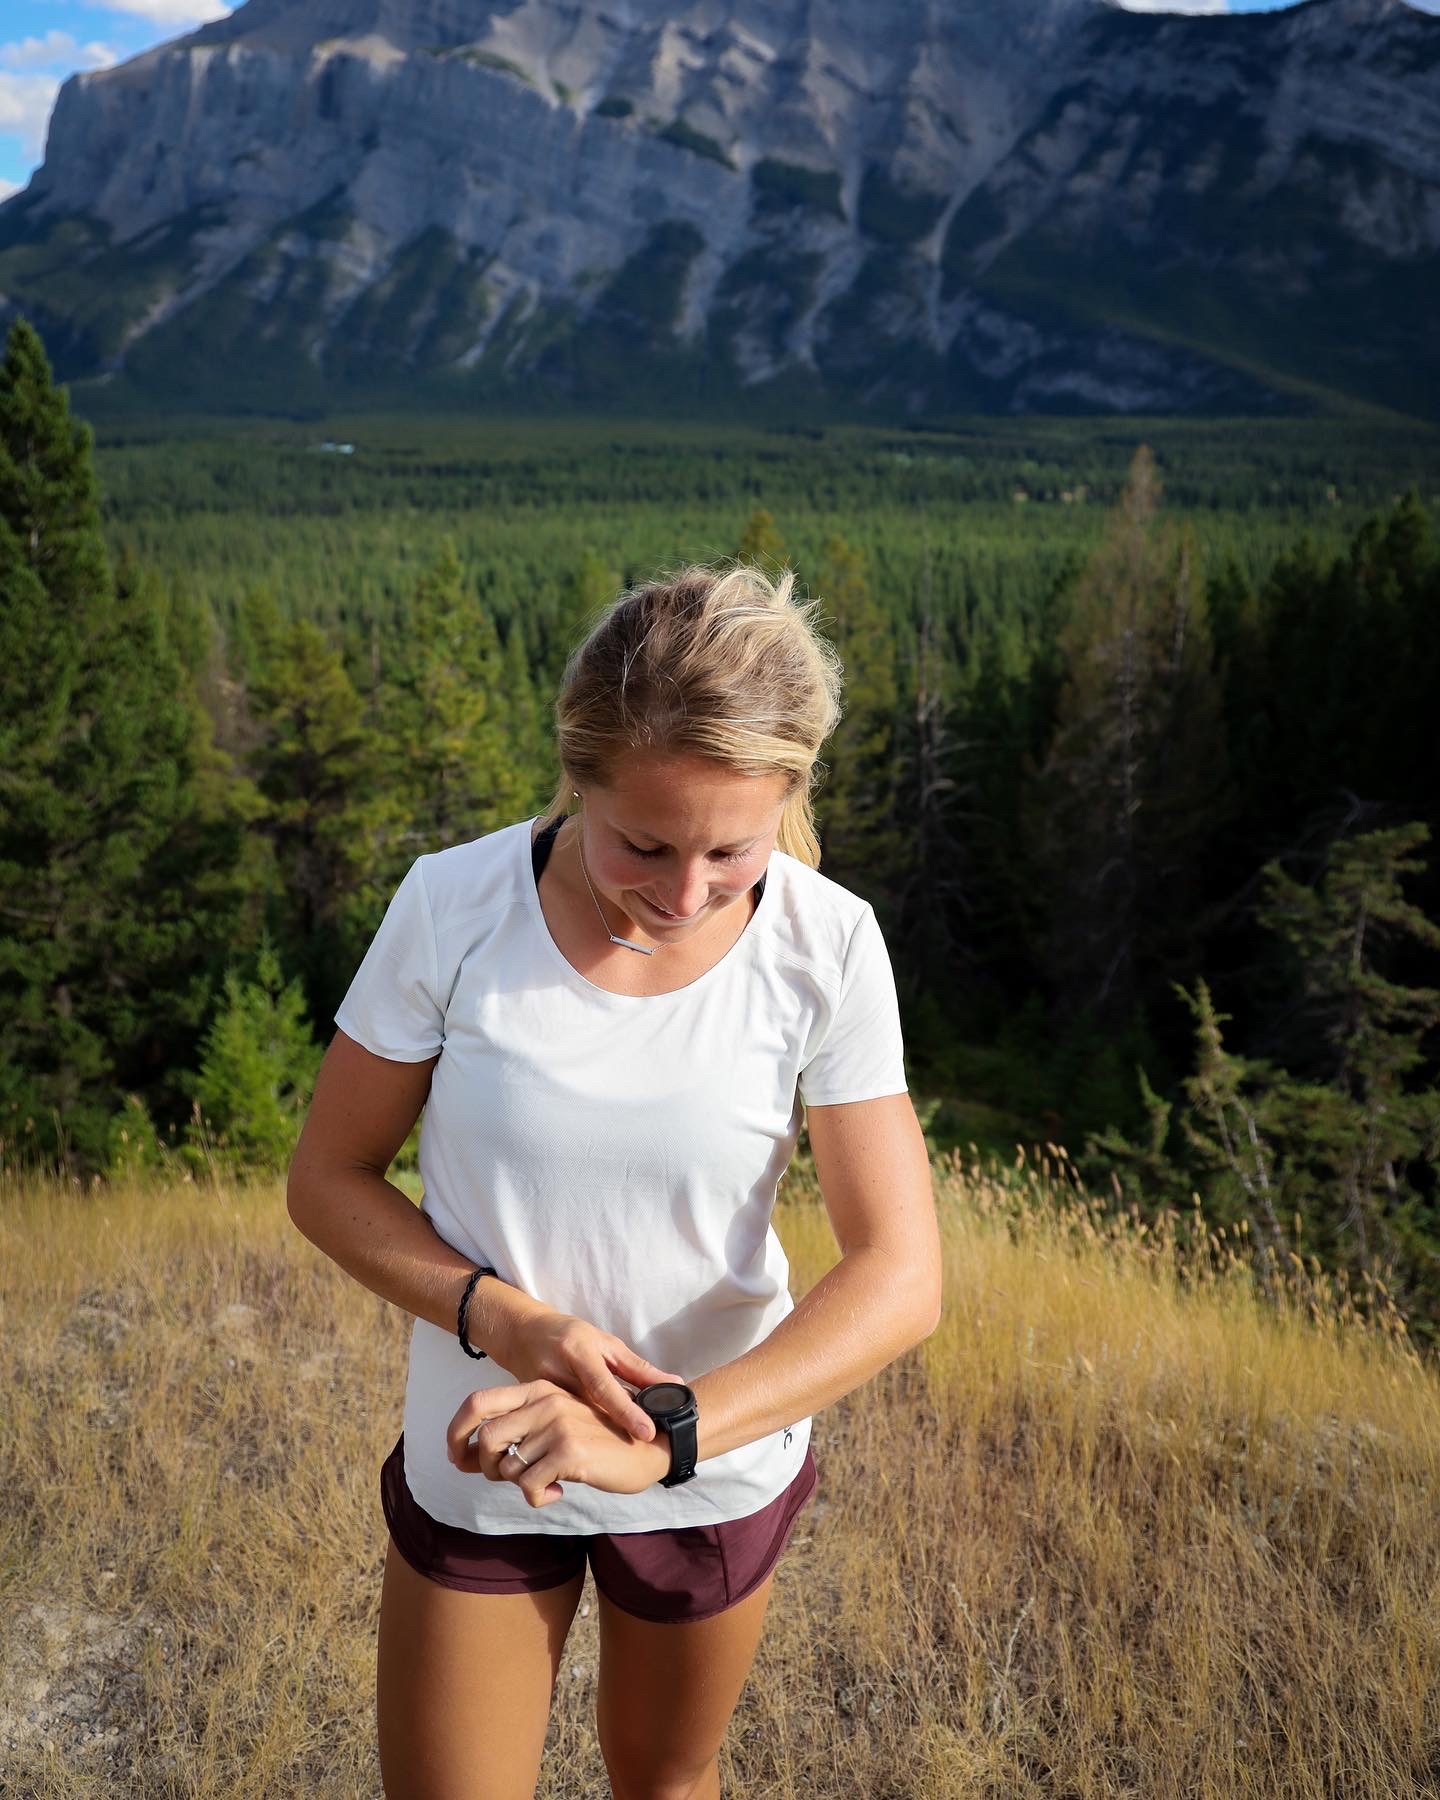
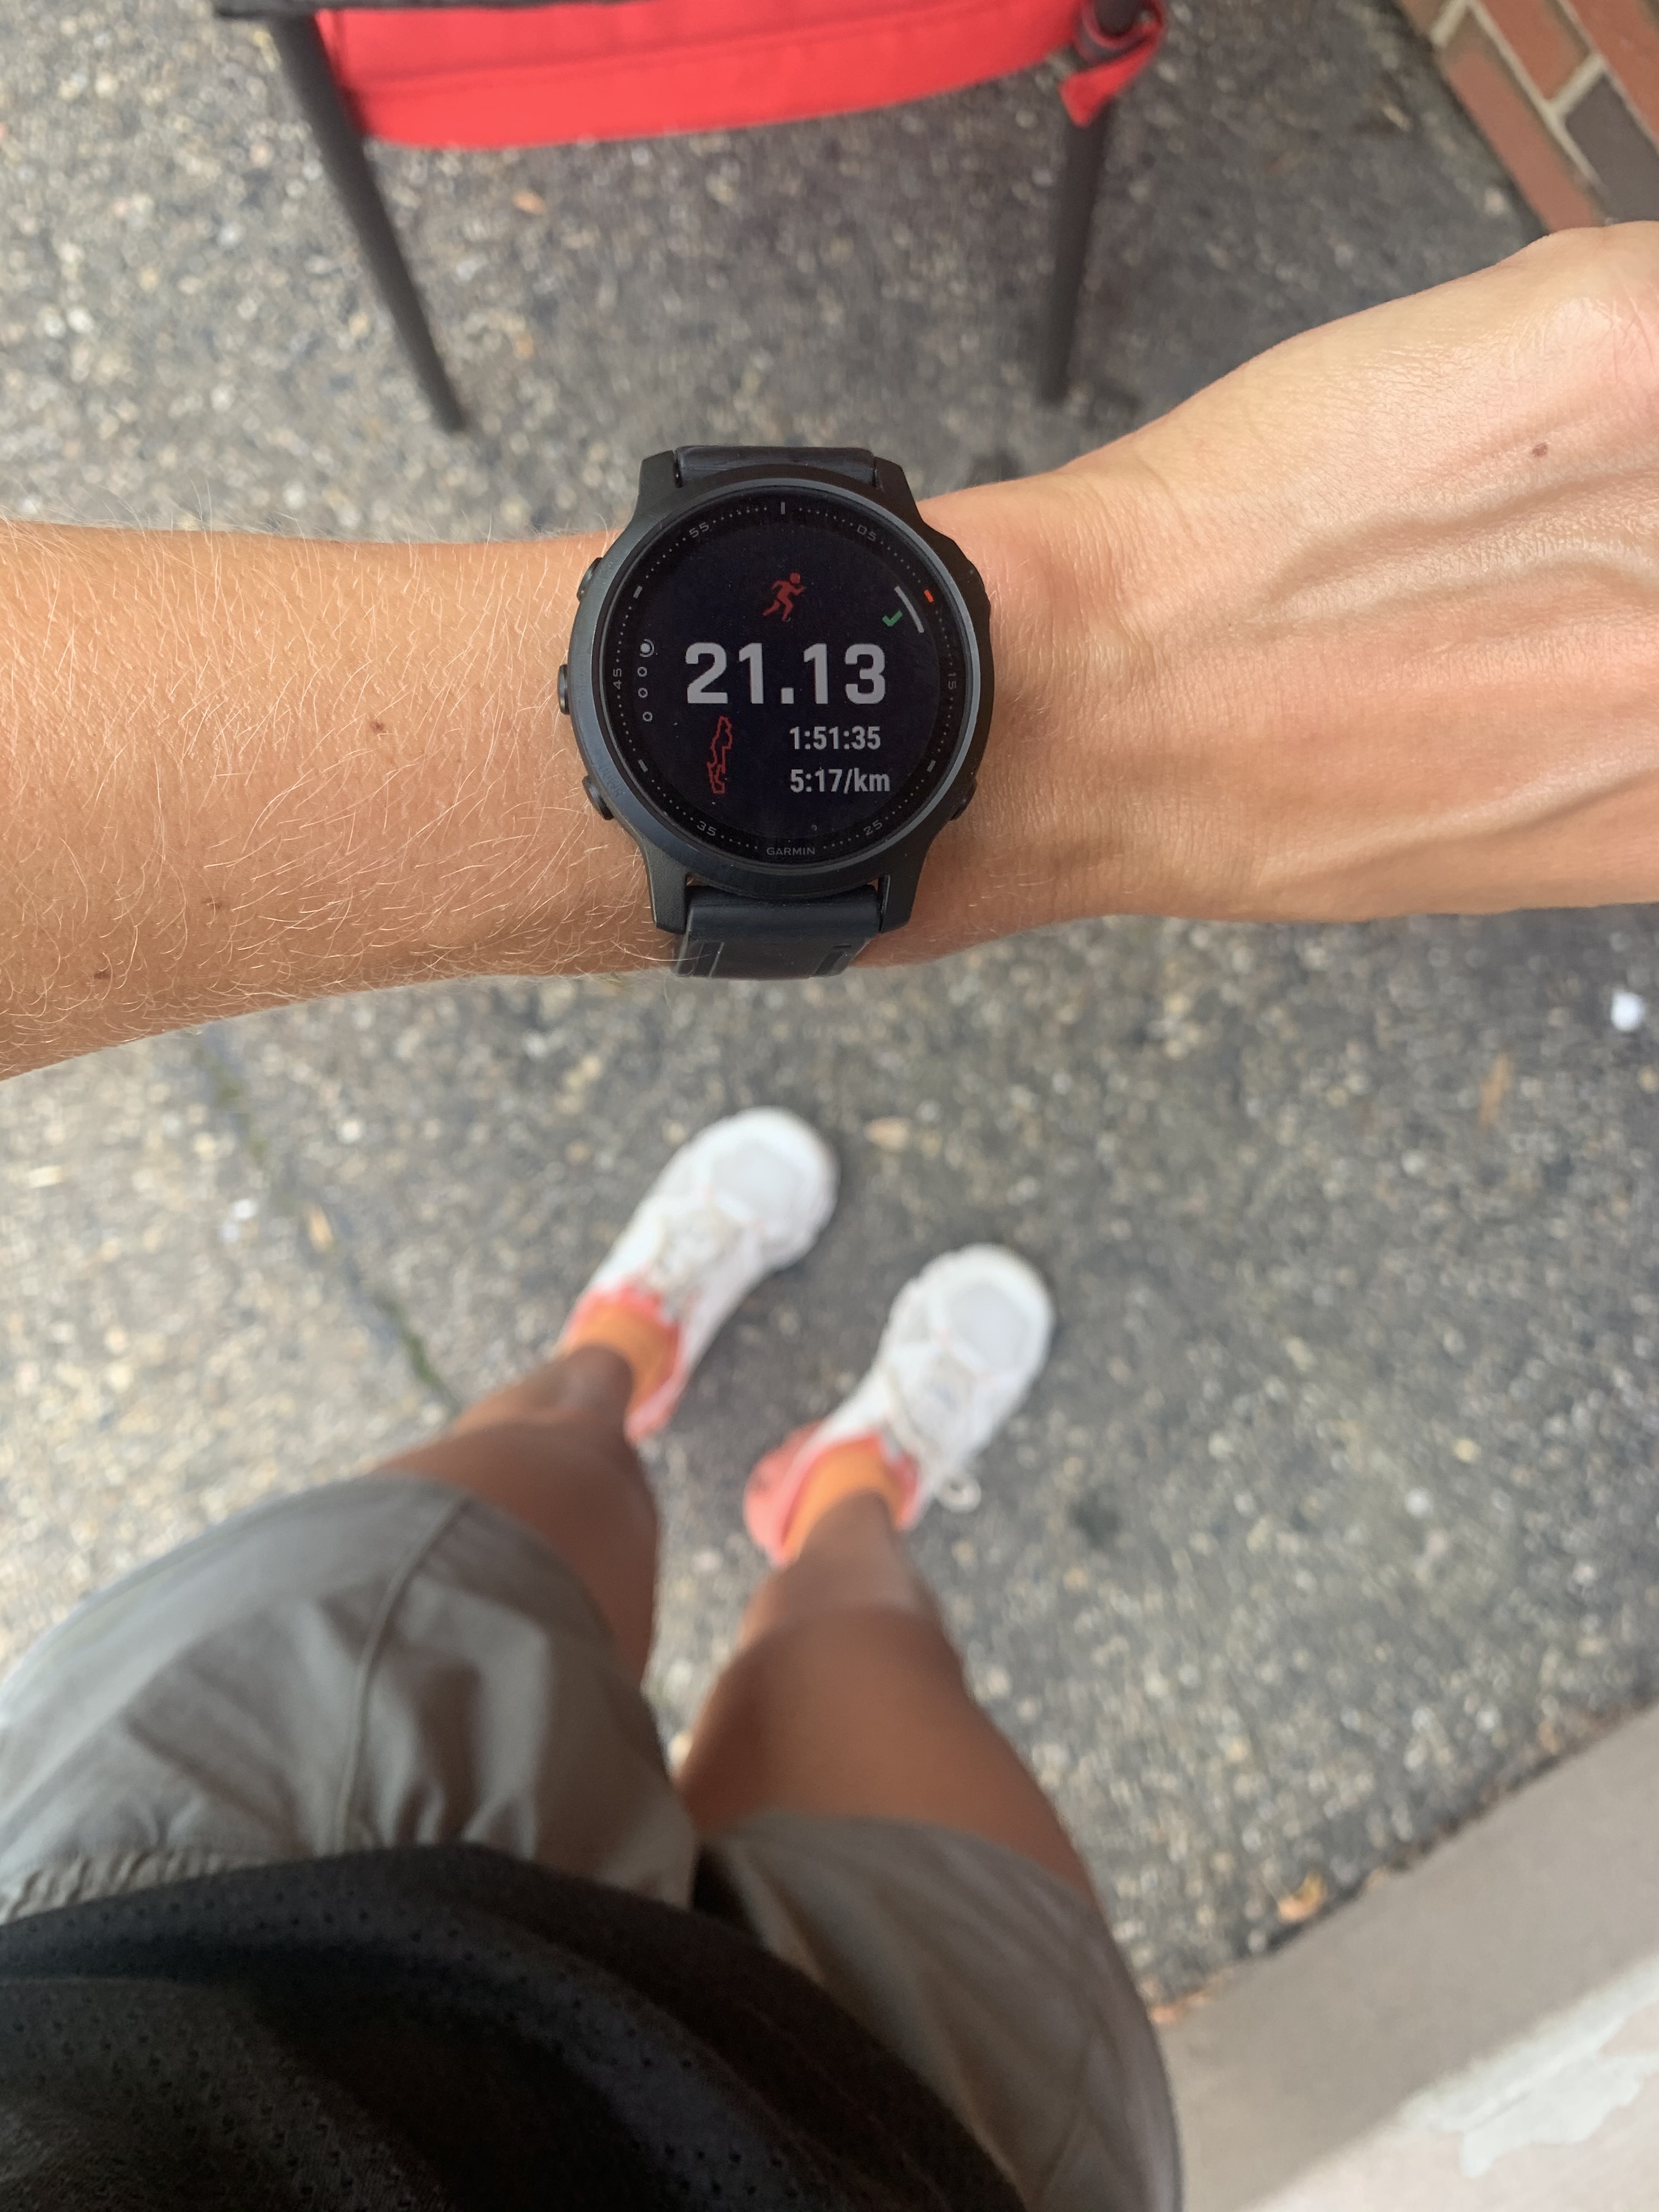
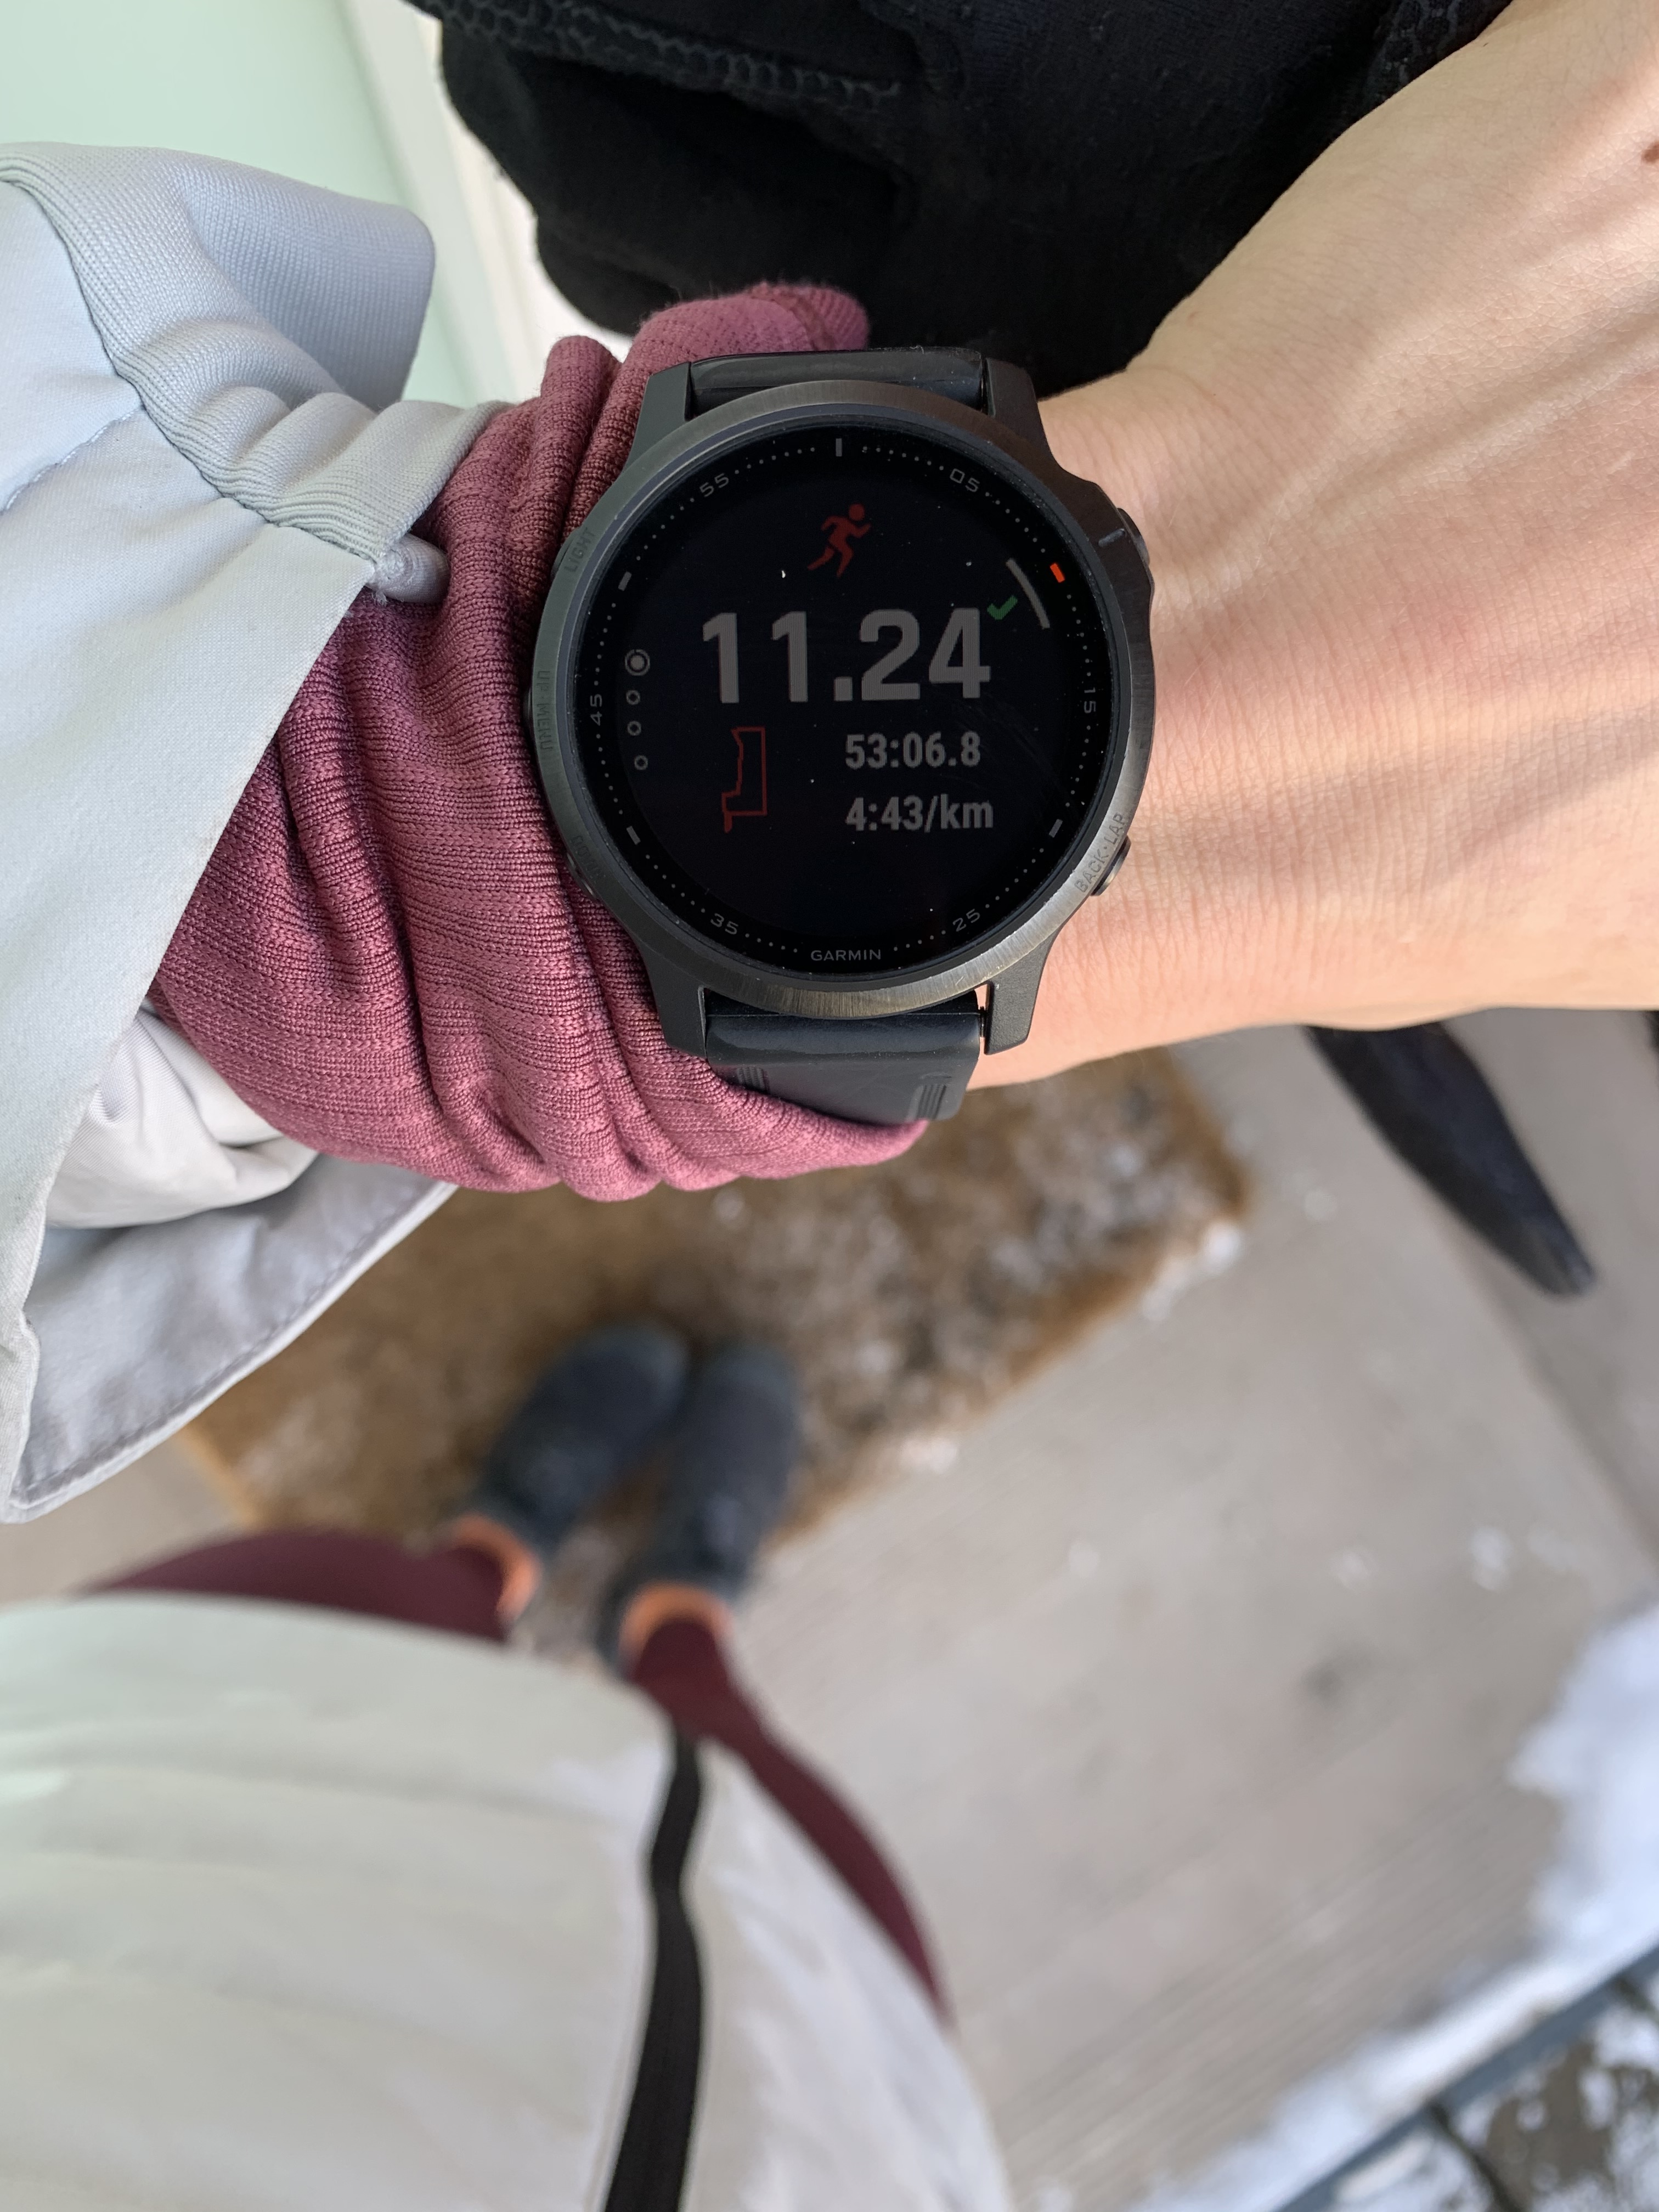
- Garmin – My father gifted me a running watch in my first year of college, when he saw me getting more serious about it. I guess he thought I was worth the investment haha. I LOVED having my Garmin Forerunner, as it made it easier to check my progress, during training and while racing. It also came with a hear rate monitor (which some runners like to have – I don’t use it personally). My current, the 6S Pro, has all the features one person would need, and can definetely can be great, if you’re planning on using all/most of the features, but for just starting out there are more feasible watches. I also use mine for hiking, and it has all the pre downloaded maps, biking, strength training and more, as it has many different sport options.
I have been using Garmin for 13 years now and have nothing but great things to say about their watches. They have more simple options like the Garmin Forerunner 45S which is $279CDN, then theres the 6S Pro which retails at $949CDN. If you are still unsure, I would hop into your local BestBuy or another store locally and chat with someone about which watch may work best for you!
8) Finding (and keeping) the motivation.
1) Attire – Making sure you are prepared for the sport. Purchasing proper running shoes, and comfortable clothing, will help you get out the door (or on the treadmill). Investing in a new outfit or pair of shoes helped to motivate me, and continued to as the years go on. Nothing like a new clean pair of running shoes, or tights to get a person going.
2) A buddy system – Find someone to run with OR someone to keep you accountable. Like I said, I have always been pretty self motivated to workout/run, but having a buddy can help make your runs go faster, or keep you accountable. If your friend shows up at your door step at 6am for that run, you can’t say no. Right? Plan to message each other and check in. Send screen grabs of your runs over to one another, if you can’t run together in person.
3) Join a challenge – I find that there are always challenges going on at various gyms, or online that you can join. Having a goal can be motivating. Even if you can’t find any challenges, make your own, or create a challenge with friends or family. I had the honour of hosting two challenges with my followers over the last year, with sponsorship from On Running. #May100withBrooke and #NovemberRunWithBrooke , as a community we came together and ran as much as we could, sharing stories and motivating each other on Strava and Instagram. Oh and there may have been some prizes involved… Who doesn’t like prizes?
4) Write your workouts down – Some of us need to see things in writing/on a calendar. Don’t just try to ‘sneak’ that workout in – make time for it, in advance. Even if it means waking up a bit earlier. Maybe you work from home are are able to fit in a lunch break run. Once done, check it off!
5) AN AWESOME PLAYLIST – Need I say more? Having a good playlist on my phone helps me a lot. Download some of your favourite songs, ones that will get you pumped up. I notice a huge difference in my motivation when I have some new tracks to listen to while I am running. OR if you are into podcasts, downloading some to get ya through those runs!
6) Change things up – As you continue to run, the same routes may get boring, so change it up. Map out new routes, drive to new trail heads in town. Run different distances. Plan some runs outside of town too – in new cities. New scenery makes a run go by faster I find. This also challenges the body, and keeps ya on your toes. Do some interval training, mixed in with stairs, or strength training. Try not to OVER run. Allow your body to have breaks and don’t be afraid to take a rest day. BUT if you are going to rest, don’t get too use to it haha. Get back at it when you are feeling good again!
This last one is my favourite. It gets me out the door every time:
7) Think ahead! REMIND yourself of the AFTER feeling. No matter how much I don’t want to run some days, or am feeling unmotivated, for whatever the reason may be, I ask myself, ‘But how good will you feel once you ran?’ I have never regretted a run, only have regretted not going. There’s nothing quite like a ‘runners high’. I find I am in a better mood after I exercise, get some fresh air or get my body moving on a treadmill, if the weather is saying no to outside. A little sweat can change my day. I also enjoy my food more after I run, I tell myself, ‘If I run I get an extra scoop of potatoes, or that piece of chocolate for dessert’ haha. Whatever works for you!
8) Put the watch away – Sometimes we feel defeated, and want to give up. Slow is okay, and our bodies need it sometimes. Don’t worry about how fast you are going, instead just focus on enjoying your run, going whatever speed your body is happy with. Reminding yourself it is okay to walk. Do not compare your times to previous times of yours, or anyone else’s. Just be proud of yourself for getting our there.
9) Celebrate the little victories – Yes, you got it. You deserve to be celebrated. When you have a ‘crappy’ run, just remind yourself that not every run will go as planned. Hang on to and remind yourself of the small wins you have had in the past. Maybe it is about having ran for 22 minutes straight, without stopping, where before your time was 21 minutes. Maybe you ran a 5 km in 35 minutes, instead of 34 minutes. Maybe you ran one light post further, or a block further (if you are like me and use landmarks). Maybe you got out and ran, even for a couple kms, when you didn’t feel like it AT ALL. Celebrate those moments.
10) Don’t give up – Even when it gets tough. Remind yourself constantly, that running taking patience, consistency and commitment. Not everyone is going to love running overnight. It can be hard, but hard is what makes it great! When you start to see those little improvements over time, it will become easier to keep going.
9) Injury prevention
I have learned this over the years, as I was not always very good at listening to my body. I have become WAY better at balancing my runs, not over training, fuelling my body, stretching, switching things up, cross-training, making sure I change out my shoes before they get worn out, and being conscious of the surfaces I am running on. If you are anything like me, and find it hard to take rest days, remember, our bodies with thank us in the long run. If your body is hurting, don’t run. It can be easier said than done.
I had a lot of people ask me to share various ways to treat particular running injuries, like: IT band syndrome, achilles Pain, shin splints, and more. As healthy as we think running may be for us, it can surely lead to injury if we don’t do things to prevent it, or catch it at earlier stages. If you are anything like me you would do whatever it took to keep running, whether that was denial, pushing it too far, not wanting to go to the doctor because you were scared they’d tell you not to run.
I found an awesome blog post: ‘Common Running Injuries’, written by Amanda Brooks, which may help you figure out what running injury you are dealing with.
Another blog post written by Amanda is: ‘9 Running Injury Preventions’. Instead of re-typing it all here, you can head on over and give it a read. It goes into depth about these 9 topics:
- Build mileage gradually
- Listen to your body
- Strength Training
- Stretching
- RICE – Rest, Ice, Compression, Elevation
- Do not race or do speedwork TOO often
- Cross train
- Wear properly fitted shoes
- Run on a level surface
I would also recommend warm ups, foam rolling, and reminding yourself that SLOW is not a bad thing. Some days our bodies just need to take it down a notch. Put the watch away and focus on the run. The faster you notice an injury and deal with it, the faster you can get back out there. Don’t be like the old me and push and push until it gets worse.
10) Stretching
Stretching is a large part of injury prevention, but I figured it deserved a portion of its own in this blog. I am guilty of not doing enough of this over the years, and have really tried over the last few months to bring it into my routine and make it a daily thing. My body is already is thanking me.
Back in college we always warmed up before our runs, beginning with dynamic stretching. Dedicating 5-10 minutes to this, before your run, will improve your run as it utilizes momentum, and increases your range of motion.. In the end it will make you a better runner anyways, and help you prevent injuries. It is about loosening up the muscles, and helping to improve your stride.
Seeing as I am not an expert in this field, I found an awesome blog post on the topic. I asked Amanda Brooks if I was able to share them here and I was given the go ahead. She states, ‘If I had to pick a few key dynamic stretches, I’d start with these‘:
- Leg Swings – Forward and back, side to side, do both for roughly 10 swings on each leg. Hold on to a wall or bar for better balance and don’t try to push the leg, just let it swing and the range will increase.
- Knee Circles – Rock out with your bad self and circle those ankles, knees and hips. It lubricates all the joints. You quite literally place your knees together, bend a little and rotate in circles with knees remaining touching.
- Lunge Matrix – If there is one thing my athletes have learned it’s how to do a couple moves from the IT Band lunge matrix before every single run! It’s just a great way to hit muscles from different directions and activate the glutes.
- Figure 8’s – Lifting your knee up to 90 degrees, move the knee through a figure 8 motion to open up the range of motion in your hips.
- Bent Over Toe Taps – Standing in a star position, bend at the waist reaching your right arm to your left toe. Return to standing and repeat on the opposite side. Great for warming up the trunk and getting you to start engaging your core.
Amanda stated that these dynamic stretches, along with a cool down walk, helps keeps IT band issues at bay. She also wrote a blog for warming up in the Winter, ‘5 minute indoor warm-up‘. Which are a mix of dynamic movements and fast-paced moves, to get your heart pumping!
Dealing with tight hips? This is a VERY common occurrence with us runners. Amanda wrote a blog post titled…. yep you guessed it, ‘Tight Hip Stretches for Runners’, which includes these 5:
- Kneeling hip flexor stretch
- Deep squat
- Childs pose
- Assisted quad stretch
- Lying knee lung
I try to stretch out my hips daily, in the evening. I don’t rush through it, instead take time to breathe through the different stretches, taking 60 seconds for each. It’s easy to find time for… hope onto the floor while watching TV. Also if you are dealing with IT band issues or knee pain, these will help. Your body will thank you!
All of her blogs are quite detailed and include photos and/or videos of the dynamic warm ups and stretches, if you are more of a visual person, like me.
11) How to increase your speed.
People tend to ask me ‘How did you get so fast?’, ‘What is your secret to increasing speed!?’, ‘Tell me, how do I become a faster runner’, etc. No matter if we are running for leisure, or wanting to race, its natural for us to want to be faster. Though it is important to first focus on getting some mileage in, before we can talk about speed. Yes mileage over speed first, like I wrote earlier in the blog. It is important that you simply focus on getting outside, putting some kms in, even if its slower, to build your strength up, and endurance. Once you are happy with your distance, maybe it’s having accomplished running 5kms without stopping, you can start to incorporate some speed work.
In college I remember having quite the training schedule – I would look at the calendar on the bulletin board to see what was in store for the week, ‘Interval training’, ‘Track work’, ‘ Longer run’, ‘Hill work’, ‘Short run’, etc. We would also begin every practice with a warm up – slow jog, dynamic stretching, and working on our cadence.
Here are some tips to increasing your running speed:
- Run MOST of your runs at an easier/leisurely pace. It sounds a little backwards, but it is necessary. Do not over train, or go out sprinting on every run. Incorporating those easier runs during your training will help you in the long run. This helps to prevent over training, and gives your body time to recover, yet still being able to put those kms in. Easy runs should be 60 seconds slower/per km, than your goal pace. This is something I have found to be difficult, but worth it.
- Incorporate interval training. In college, we would usually have two interval training practices a week, one being on the track and the other out on the trails, in the trees, seeing as we were training for cross-country running. Speed work is vital, for becoming a better runner, but knowing WHEN to do it can be tricky, and not over working your body. Like in college, we usually had two speed workouts a week – which should be the MOST in a week. I would start to focus on one day a week, where you focus solely on quickening your pace. If you are planning to race, or do have a goal in mind for minutes/km, make sure your shorter intervals/quick intervals are FASTER than that goal pace. This will push your body a bit more and give you more confidence when you go into your race day, or when you go out for that goal run.
- Try a variety of different intervals:
- 400m repeats – Running ‘fast’ for 400m, then jogging it out for 400m (or resting), and continue to do that 6x over.
- 800m repeats – Running at ‘fast’ for 800m, then jogging for 400m (or resting), and continue to do that 4x over.
- km or mile repeats – Running at ‘fast’ for 1 km/mile, then jogging for a bit (or resting), and continue to do that 3x over.
- Race pace kms/miles – During your longer runs try running some of those kms as ‘race pace’. So if your goal is a 5minutes/km for a 5km, maybe you will run your first km at a 6minute/km, then 2nd at 5, 3rd at 6, 4th at 5, then last at 6 again.
- Intervals + strength work – I like to switch it up too, and incorporating interval training with some core work, example. Sprinting for 400m (200m out and 200m back) and then doing 10 push ups, 10 jumping jacket, 5 burpees, etc. Resting for a minute and then doing it again, for a certain amount of sets – say 4x over.
- Hill sprints – My least favourite workout, because it can be a grinddddd. BUT I always see an improvement with my pace long term when I incorporate hill work into my training. Find a hill in your town and do hill repeats. Sprint up it, and jog down, and rest for 30 seconds/a minute and then go again. Do this as many times as you see fit. Also depends on how long the hill is haha. Every fall I compete in a 10km race in the mountains, and there is one HUGE hill, so training for this, I am sure to add hill sprints/runs into my routine. Once a week, I would go and run hill repeats. 500m faster up a slow gradual hill in town, and then would jog down. I would do this 10x over (so would take about an hour). I found HUGE success in this. My training hills, I found that my pace on flat ground increased drastically.
- Strength training – No matter how much you run, day in day out, if you don’t incorporate some strength training, you will plateau. Our body likes to change it up. Ab workouts, and doing body weight/weighted workouts, you will see increased strength out on your runs. Core strength is key, and just building muscle in other parts of the body, not just in your legs. I love doing little half hour circuits at my house – and there are SO many YouTube HIIT/strength videos online you can follow. Having some small weights at home may be a good idea too. Try also incorporating one strength session per week.
- FUEL your body – I already touched base on this section, but this is a big factor. Make sure you are eating properly, and hydrating. Up the protein and healthy fats throughout the week. Increase fast acting carbs before and then re-fueling after with sugars and protein after. If you aren’t eating right you will feel sluggish, and not see improvement, and all those training sessions won’t even matter.
- Perfecting your running form – Cadence and form are KEY. We all run differently, and can exert unnecessary energy, just in the way we may be arching our backs, leaning forward, swinging our arms, over striding etc. If you swing your arms to much, and are taking really big strides, you will tire yourself out more easily and will have a harder time increasing your pace. You want to be striking mid foot, and by shortening your stride, you will be able to do that.
- Negative Splits – Do not go out SPRINTING, you will tire yourself out and end up with a slower time then desired. Over the years I have always been one to start my runs slower, and finish faster. I feel out my run, and try to have some of my fastest kms during the second half/near the end of it. Training faster on those tired legs seemed to help. Training this way will get you ready for race day. My watch and Strava both show me my km split times, and I find my most successful/best feeling runs are when I went out slower and finished quicker. I tend to start my run, and get in a nice rhythm without tiring myself out TOO much, all while keeping an eye on those in front of me, and then over the last km or so I would step it up a notch and hammer out the last km or couple harder, usually pacing those people I was pacing. In college coach always loved to see those negative split times during training, and on race days!
Sources:
Active – https://www.active.com/running/articles/9-running-injury-prevention-tips
Garmin – https://www.garmin.com/en-CA/
Eddie Bauer – https://www.eddiebauer.com/
Fuelling your body – https://blog.mapmyrun.com/eat-run-fueling-body-performance/
Healthline – https://www.healthline.com/nutrition/what-to-eat-after-running, https://www.healthline.com/health/winter-running#winter-running-tips
Lululemon – http://lululemon.com/
On Running – https://www.on-running.com/en-ca/
Running Faster – https://runninforsweets.com/how-to-run-faster/
Runners World – https://www.runnersworld.com/trail-running/g20856053/5-hydration-mistakes-you-are-probably-making/
Run To The Finish – Amanda Brooks – https://www.runtothefinish.com/