Prepare yourself for a long blog post… so much to write about during my trip to Peru! From how it all came about, to the itinerary, the experiences, the memories, the accommodations and more.
To start let me tell you how this trip even came about…
Back in August of 2018 I got an email from Trova Trip (@trovatrip), a new group travel company asking me if would be interested in hosting an international trip. At first I didn’t think too much into it and was hesitant but then I said to myself ‘How cool would it be, getting a group of ‘strangers’ together, with similar passions for adventure, somewhere around the world.’ So I emailed back asking for more information and details as to how exactly it would roll out and what my options were for destinations, timelines etc. What would my role be and expectations on the trip.
They had said that they would like to do a poll with my audience saying ‘If I were to host a trip somewhere internationally, would you be interested in joining!?’ So I did that and the responses were quite high, so after that we decided on two destinations that my audience may be interested in going to, we ended up deciding Peru and Costa Rica, so I did another poll asking ‘If I were to host a trip, where would you want to go, Peru or Costa Rica?’ Majority responded back saying Peru, sooo….. we chose some dates that would work for me and chose some dates (July 15-22nd, 2019). Once the itinerary was lined up, I threw up the sign up page and eventually had deposits rolling in.
I would be lying if I said I wasn’t nervous about hosting a trip, I wasn’t sure if anyone would actually sign up, spending money to come travel with me, with other random strangers etc. but I ended up getting 20 sign ups (which is the max). By the time the trip came around there were 14 people who came. Due to the sign ups being months before the actual trip took off, some people had things come up/changes personally, with work, etc. where they had to opt out, though that is life, it can be hard to plan months in advance!
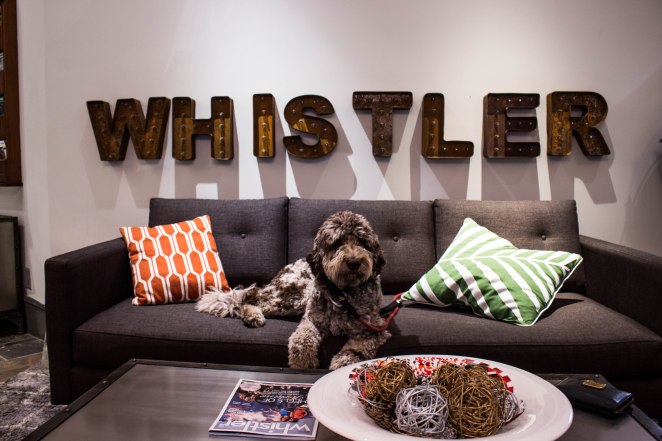
Of the 14 people who came, 2 were from Canada (Calgary and a friend from Red Deer who is also a teacher), and the rest from the U.S. There were two trip managers with me as well, Hope and Belen. Usually there is only one with @trovatrip, though it was Belen’s first trip so Hope came along to guide her and for support. We also had a local tour guide, Yuri, who spent the 8 days with us, touring us around Peru.
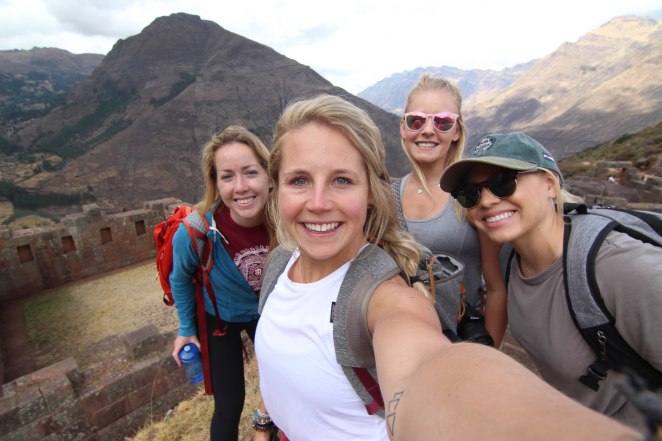
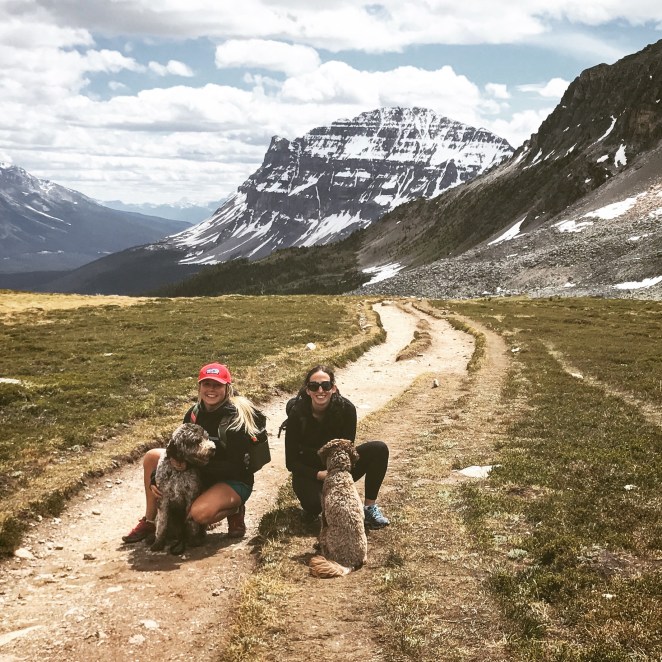
From Left to Right: Tara, myself, Jill & Julie
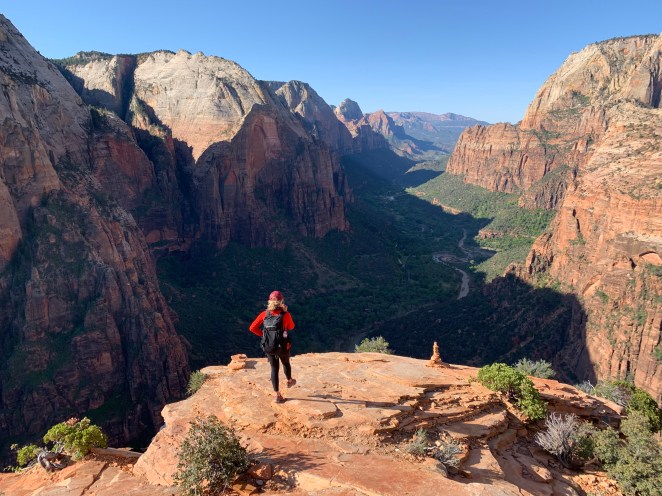
I had been to Peru about 4 years prior, with another group travel company, I acted as their social media promoter and photographer. This was with a group of 20, and I found it to be a ton of fun. The bonds made and experiences shared are ones to remember. Though the timelines were way different. My first time in Peru I spent 20 days with the group, with TrovaTrip it was only 8 days, which I feel is more then enough time to see a lot of great things, our itinerary was FULL to say the least, and tiring, but well worth it.
Peru is FULL of colour, culture, food, history and endless adventure. I truly believe it is a destination that suits all passions and ages. Whether you are into hiking everyday, or hanging out in colourful markets, or touring temples, museums and studying the history of Peru, you can stay very busy. Our itinerary was a mix of it all. The group trip didnt start till July 15th, but myself and Dessee left on July 9th in the evening, and had a few days to travel around and see some other things before meeting up with the group.
There following is our itinerary broken down day by day:
July 10th:
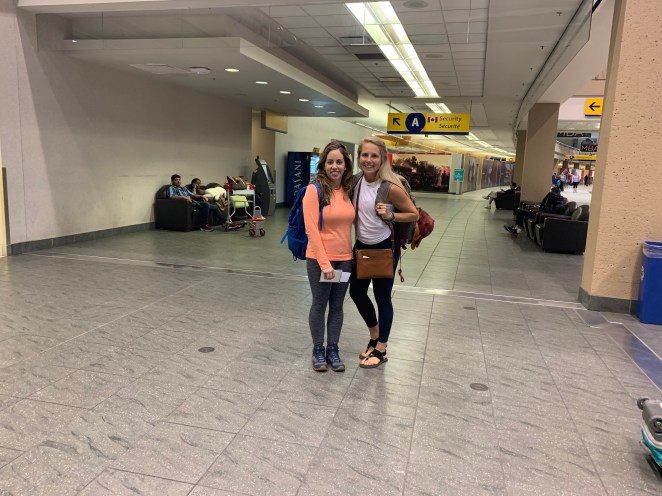
Dessee and I at YYC International Aiport
Our flights down to Peru involved over 24 hours of travel. We got to the airport at 1030pm July 9th, flights were out at midnight, and then we didn’t arrive in Lima Peru until around 1130pm on July 10th. We had layovers in Toronto and Mexico City, and then we flew to Lima. We booked a hostel in Mira Flores, a downtown district in Lima, which is a popular place for tourists to stay, as it is close to most things (the ocean, hostels, restaurants, shopping, sight seeing etc.) We arranged for someone from our hostel to meet us at the airport, to avoid any hassle of trying to figure out transportation to the airport/our hostel. We finally got to our hostel around 1am and crashed quickly! We booked with Inka Life Hostel, which was about a ten minute walk to the ocean and close to so many things.
The hostel was $90 USD for two nights for two of us.

July 11th:
We woke at around 8am , got changed and didn’t want to waste anytime. We were only giving ourselves 24 hours in Lima, to explore, get organized and figure out our bussing over the next couple days. I didn’t plan anything in stone for us in advance cause I know how easy it is to book things once you get to your destination – and if you are anything like me its WAY easier to talk to people in person and book then try to do it online or over the phone.
We went straight to a local historic sight (Huaca Pucllana), that’s popular for tourists in the area, about a 10 minute walk from our hostel. They are ancient ruins in the middle of modern high rises. We did a one hour tour from 11-12 and then headed down to the shoreline to find a place to each lunch. Last time I was in Peru I remembered going here and really wanted to visit again, so I led Dessee, myself and two friends we made at the tour down to this on the ocean restaurant for Ceviche and Pisco Sours (Peru’s local drink)
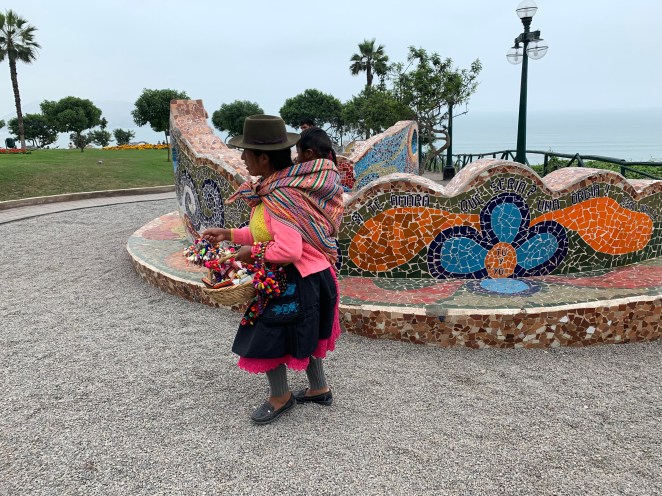
The colours are so vibrant!
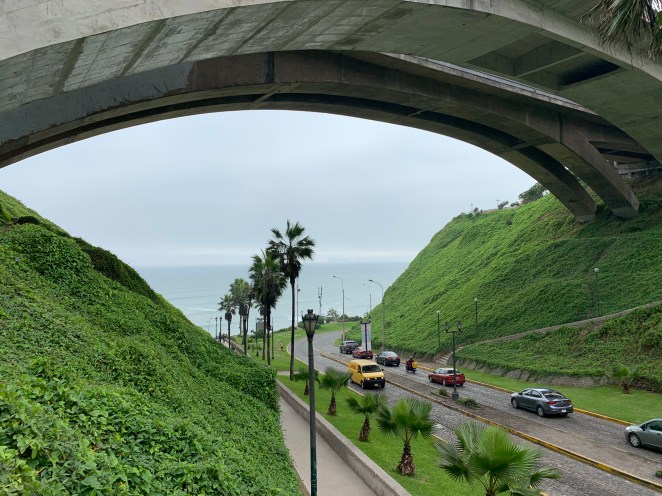
Our walk down to the ocean, Lima.
Below is the restaurant we had lunch at (La Rosa Nautica) – which I highly suggest visiting if you have the chance, along with photos of the ceviche, which is a South American dish of marinated raw fish or seafood, typically garnished and served as an appetizer (but I think I ate it daily for lunch or dinner as well). I LOVE it, but it can be an acquired taste.


After we decided to head to Peru Hop – a bus tour company to book our bus to get to Huacachina, which is located five hours south of Lima. The desert oasis is home to an extraordinary adventure tour of dune buggying and sand-boarding. I really wanted Dessee to get to experience this! We endedup booking a ‘Get to Cusco Quick’ bus tour, which was going to end up dropping us in Cusco, with stops to Paracas along the way (around 2 hours South of Lima, and then 3 more to Huacachina). The bus is a hop on hop off type deal and there are a variety of options you can opt in on depending on what route or how many days you are wanting to stay in Peru. I do highly suggest them as a company to book through, for the convenience (even though it in not necessarily cheap). The bus picks you up from your hostel and drops you off at your hostel in the next destination (or a bus stop and has a taxi arranged to drive you the rest – if certain places have roads to narrow for a bus to get through).
We ended up meeting up with Paige and Brittany – who were both booked in on the group tour, but also decided to fly in a couple days earlier to visit Lima and Huacachina as well. We met them for a later lunch down by the water, at ‘Mango’s’, another little restaurant I advise poppin’ into if you have the time.
After dinner we headed right back to our hotel and were in bed by 830 as we knew we had an early morning, our bus was picking us up at 6am, we were the first – and had to be waiting by 530am in the hostel lobby.
July 12th:
We didn’t end up leaving Lima till 7am by the time we picked everyone up and got on the highway. We arrived in Paracas (Southern Peru – a beach town) at around 9am and had a boat tour booked to tour Ballestas Island. The town is becoming more and more popular with travellers heading South of Lima, and a great little pit stop. You can book your tour through Peru Hop or on your own once you get to Paracas, depending on what you do for transport. They also do day trips from Lima if you plan to go back to Lima after.


Once we were done the boat tour we had lunch in Paracas and then were on our way to Huacachina.

Paracas
We arrived in the afternoon and got settled in at our accomodation. I had booked La Casa de Bamboo weeks prior to ensure we had a place to stay as there are a limited amount of accommodations. Though once we started to talk to other people we realized how easy it was to just book your accommodations even a day or two before. If we were to rebook I would have chosen to stay at Banana’s Adventure Hostel, which was just across the street from Bamboo. Banana’s is a cute little hostel with a pool and many food options on site and also very affordable. Bamboo was also very affordable at only $30USD for a double occupancy room.
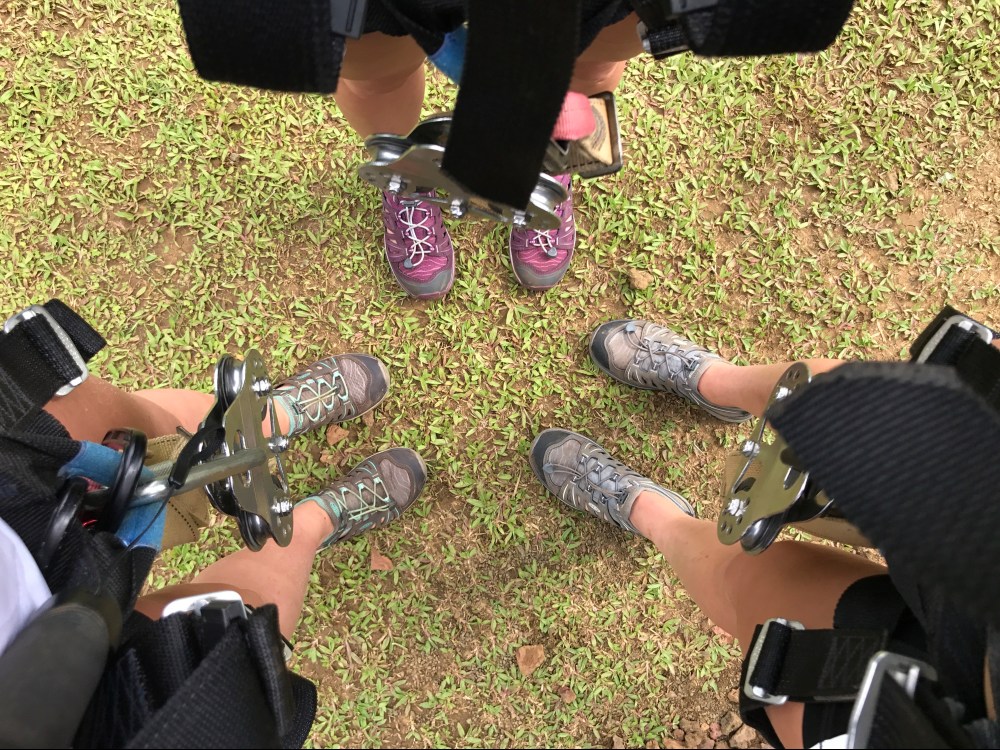
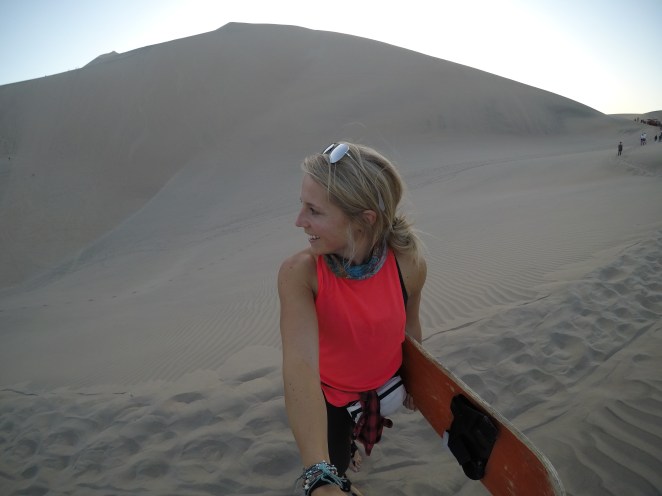
Once we were checked into Bamboo we got changed and made our way to the dunebuggy/sandboaring tour which started at 5pm – it was a sunset tour meaning we would watch sunset from out in the sand dunes.

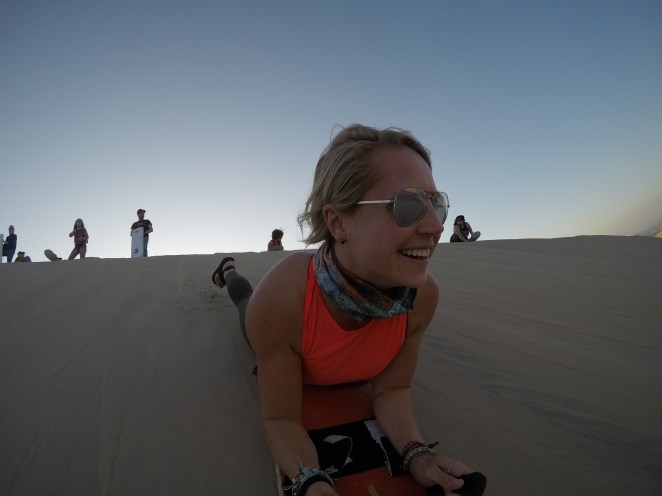
After the dunebuggying, we went for dinner, the hostel had their own little restaurant and we ate there out of convenience, though there are multiple options all within walking distance around Huacachina. We went to bed around 9pm and then were up early the next day.
July 13th:
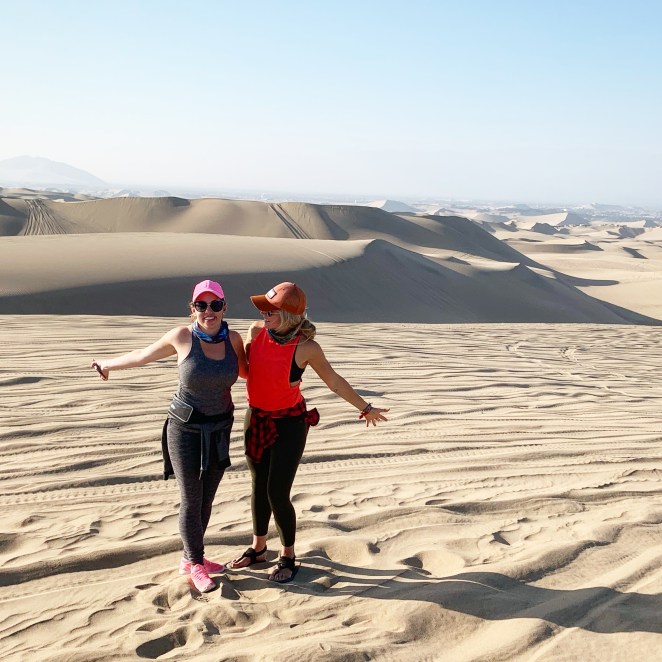
We decided to do a little hike up the sand dunes the next morning, when it was a bit cooler. We headed up around 8am and took in the oasis from an aerial view, it only took about 45 minutes to hike up to the top of the dunes from our hostel (pictured below).

Huacachina
We hiked back down and walked around the town for a while – and were stopped by a school group. The group was practicing their English and asked if we would help the students out and ask them some questions – they had to ask us and respond in English. As a teacher I found this so awesome, as the students were out chatting and interacting with the tourists in the area.
Huacachina
We left the town at around 3pm that afternoon – on the Peru Hop bus that was going to take us to Cusco, we were going to be doing a night bus. From Huacahina to Cusco it is 17 hours direct, though with Peru Hop it ended up taking us almost 27 hours to get there, with the stops and the ‘detour’ to drop other people off in a different town.
We stopped at the Nasca Lines – which are about 200miles Southeast of Lima – we stopped here in the evening and they allowed us a few minutes to get up high on top of a tower to view them. In total, there are over 800 straight lines, 300 geometric figures and 70 animal and plant designs, also called biomorphs. Some of the straight lines run up to 30 miles, while the biomorphs range from 50 to 1,200 feet in length (as large as the Empire State Building).

Nazca Lines
Peru Hop would stop at various places for breakfast, lunch and dinner. So after the Nazca lines we stopped for dinner before continuing to Cusco.
July 14th:
We spent the entire day on the Peru Hop bus again! So not much to say other then that it was a very very very long day. Many people opt to fly from Lima to Cusco to avoid the bussing. The persons who choose to bus also break it up into a number of days and make more stops in between. Some people stay over night in Paracas, then in Huacachina they spent more then one night, then often will stop in Arequipa, a place we decided to skip due to being limited on time and the group tour starting on July 15h.
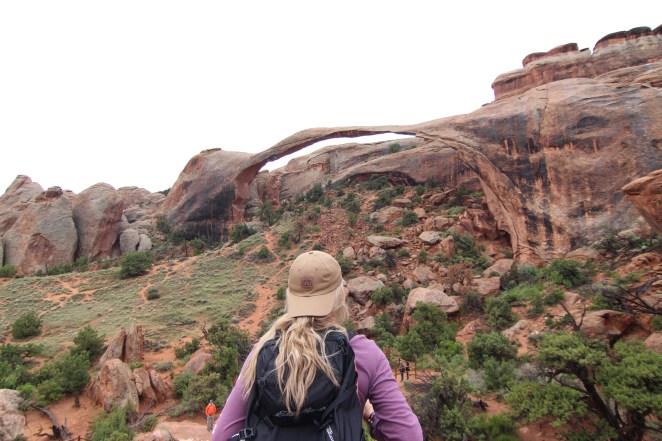
I would highly suggest stopping in Arequipa and visiting Colca Canyon, the second largest canyon in the world, second to the Grand Canyon. Last time I was in Peru we spent time hiking in the canyon and stayed overnight at the bottom of it which was such a neat experience.

Colca Canyon

Colca Canyon
We did not get to Cusco until around 630pm – and checked into our hostels and then I went and met up with Belen and Hope, from Trova Trip to chat about what the next 8 days were going to look like. It was nice to finally meet them after months of anticipation waiting for the trip to start. We were in bed by around 930!
July 15th:
I woke up early and took a little morning stroll through some of the streets of Cusco, grabbed a coffee and then met Belen and Hope in the lobby of the hostel at around 10am, as we were going to pick up a few of the group members from the airport, where we were going to begin our journey!
Kathryn, Reimon, Kaitlyn and Kayla were all being picked up, then we headed towards Pisac, a town where we were going to be spending our first night together as a group!
There were some other group members that had already been in Peru for a while, traveling around and had already had the opportunity to meet one another. A couple had been in Cusco days before and were planning to make their way to Pisac on their own, so we ended up meeting them a little bit later in Pisac, so the 5 of us explored a bit on our own then joined up with them.
After we got checked into our hotel (which was my favourite accommodation of the entire trip) we headed out to explore the town a bit, scoped out some of the markets and potential coffee shops (always scouting those out) and some restaurants. There was a celebration going on in Peru – so the streets were filled with colour, dancers, music etc. They were celebrating Virgin Carmen, this continued to other towns we ended up passing through and staying at during our time in Peru as well.
When we got back to our hotel around 4pm, we met up with some of the other group, and the final few made their way to the hotel from the airport (Britt and Paige who had flown from Lima to Cusco – instead of bussing).
It was SO nice to have the entire group together, and meeting face to face for the first time though it was weird, it also felt like we had known each other for a while already. I had created an instagram group chat as members joined the group so people had been chatting prior to leaving, and also some had the opportunity to travel a couple days together before.
We had dinner all together in the evening, making sure to do some introductions, got rid of some of the initial nerves and gave the group opportunity to ask questions and get to hear a bit more of what the week was going to look like together.
Due to the long travel day for some we went to bed at a decent time, in order to get some good sleep and prepare ourselves for our first full day together!
July 16th: